

Learn how to efficiently upload a batch of Pointcloud data to your project
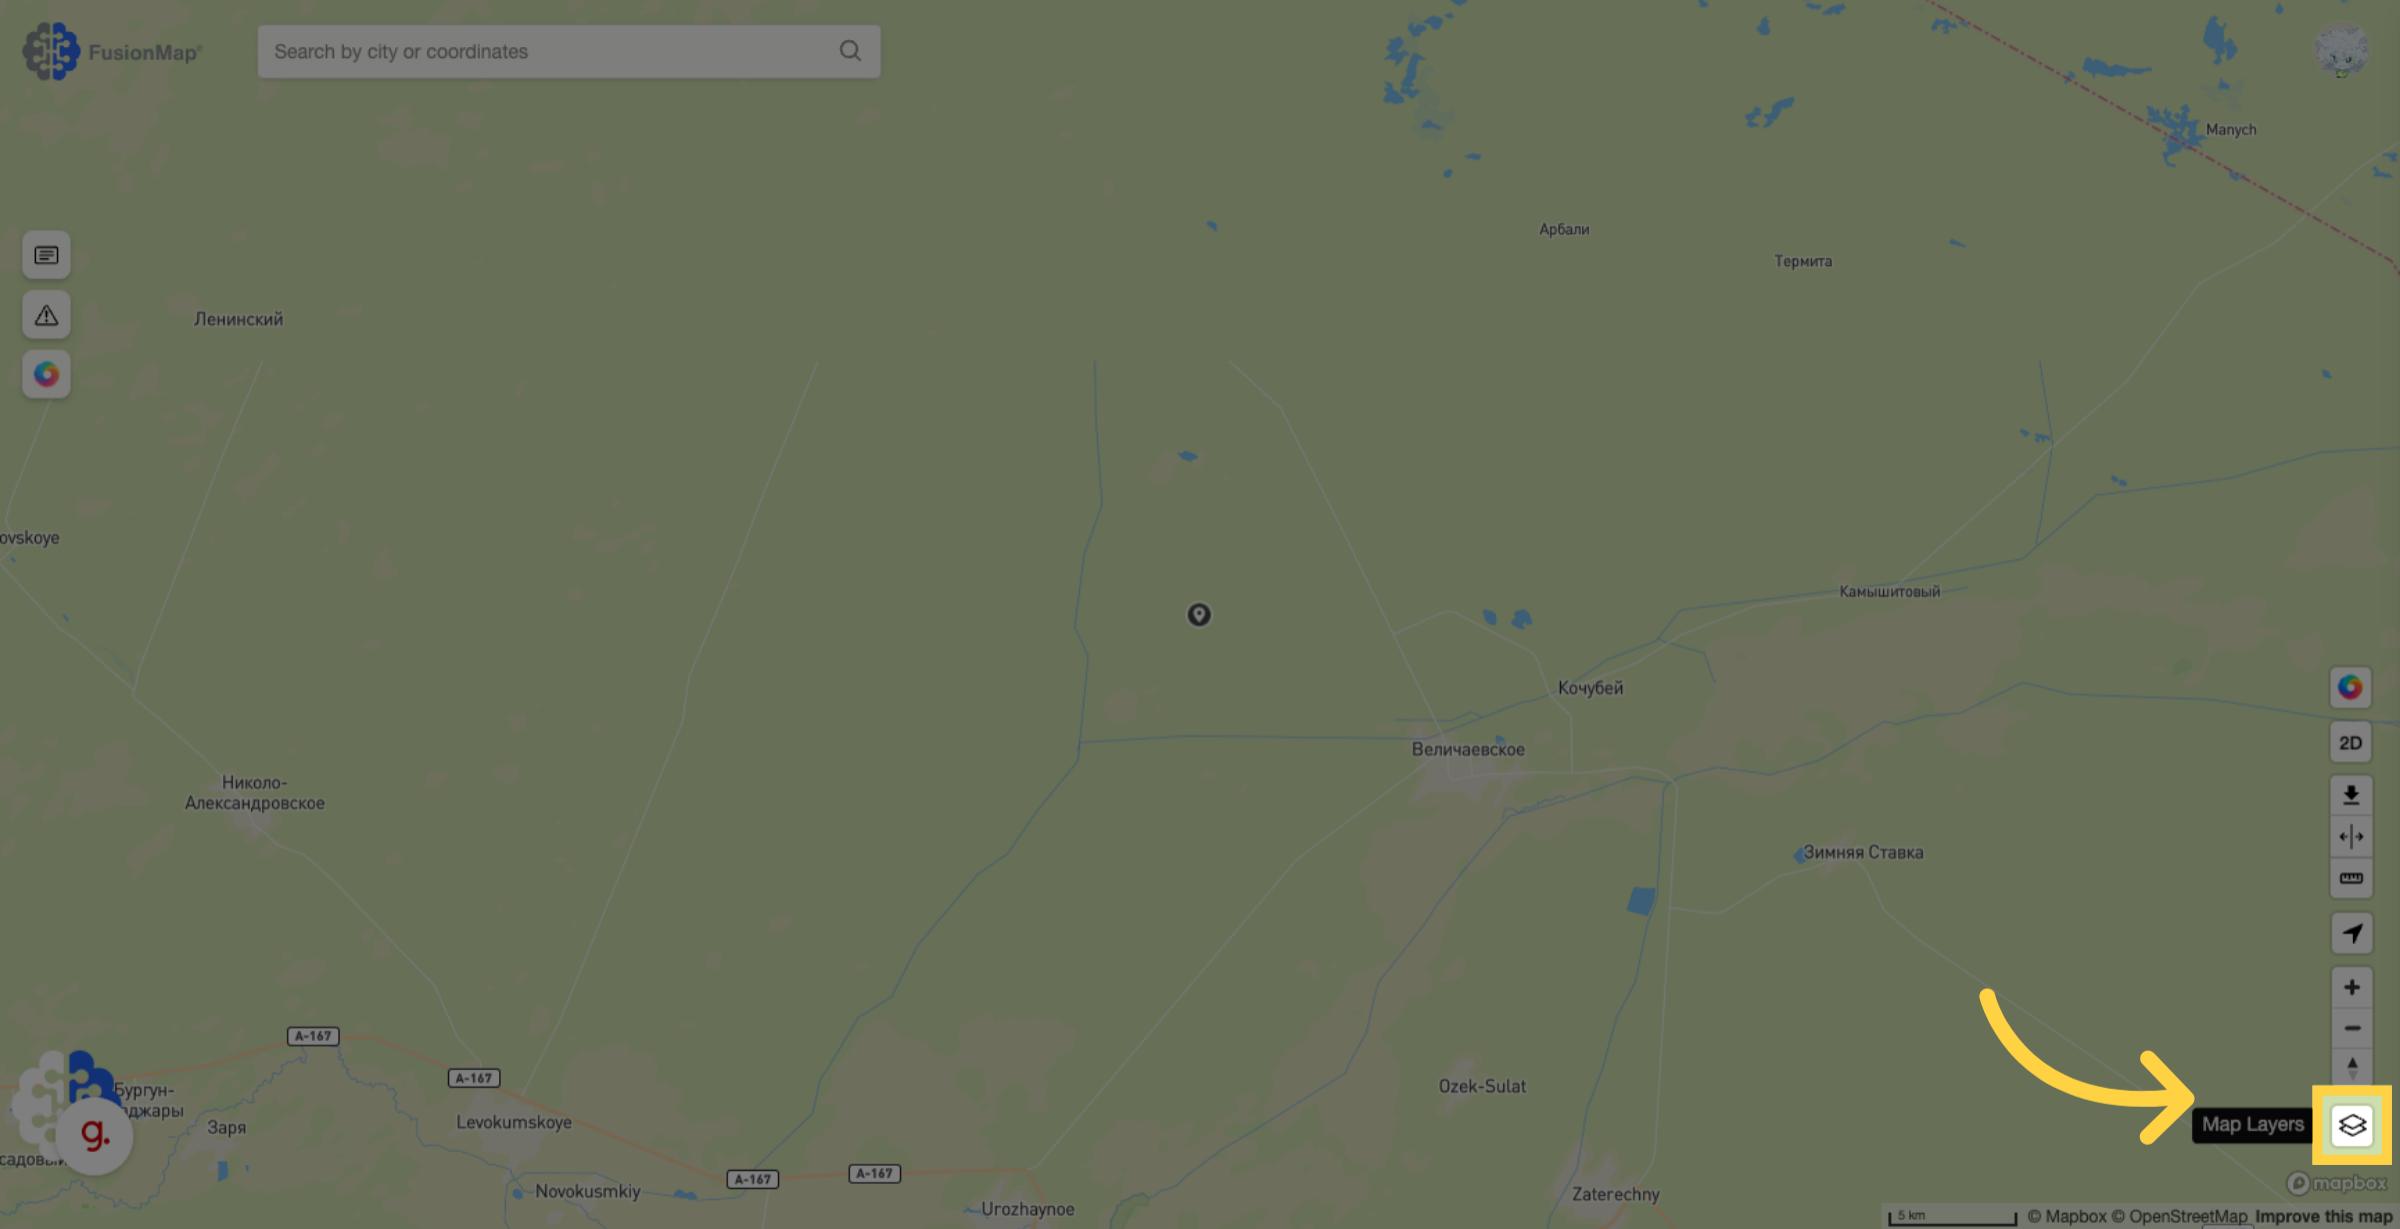
1. Click here #
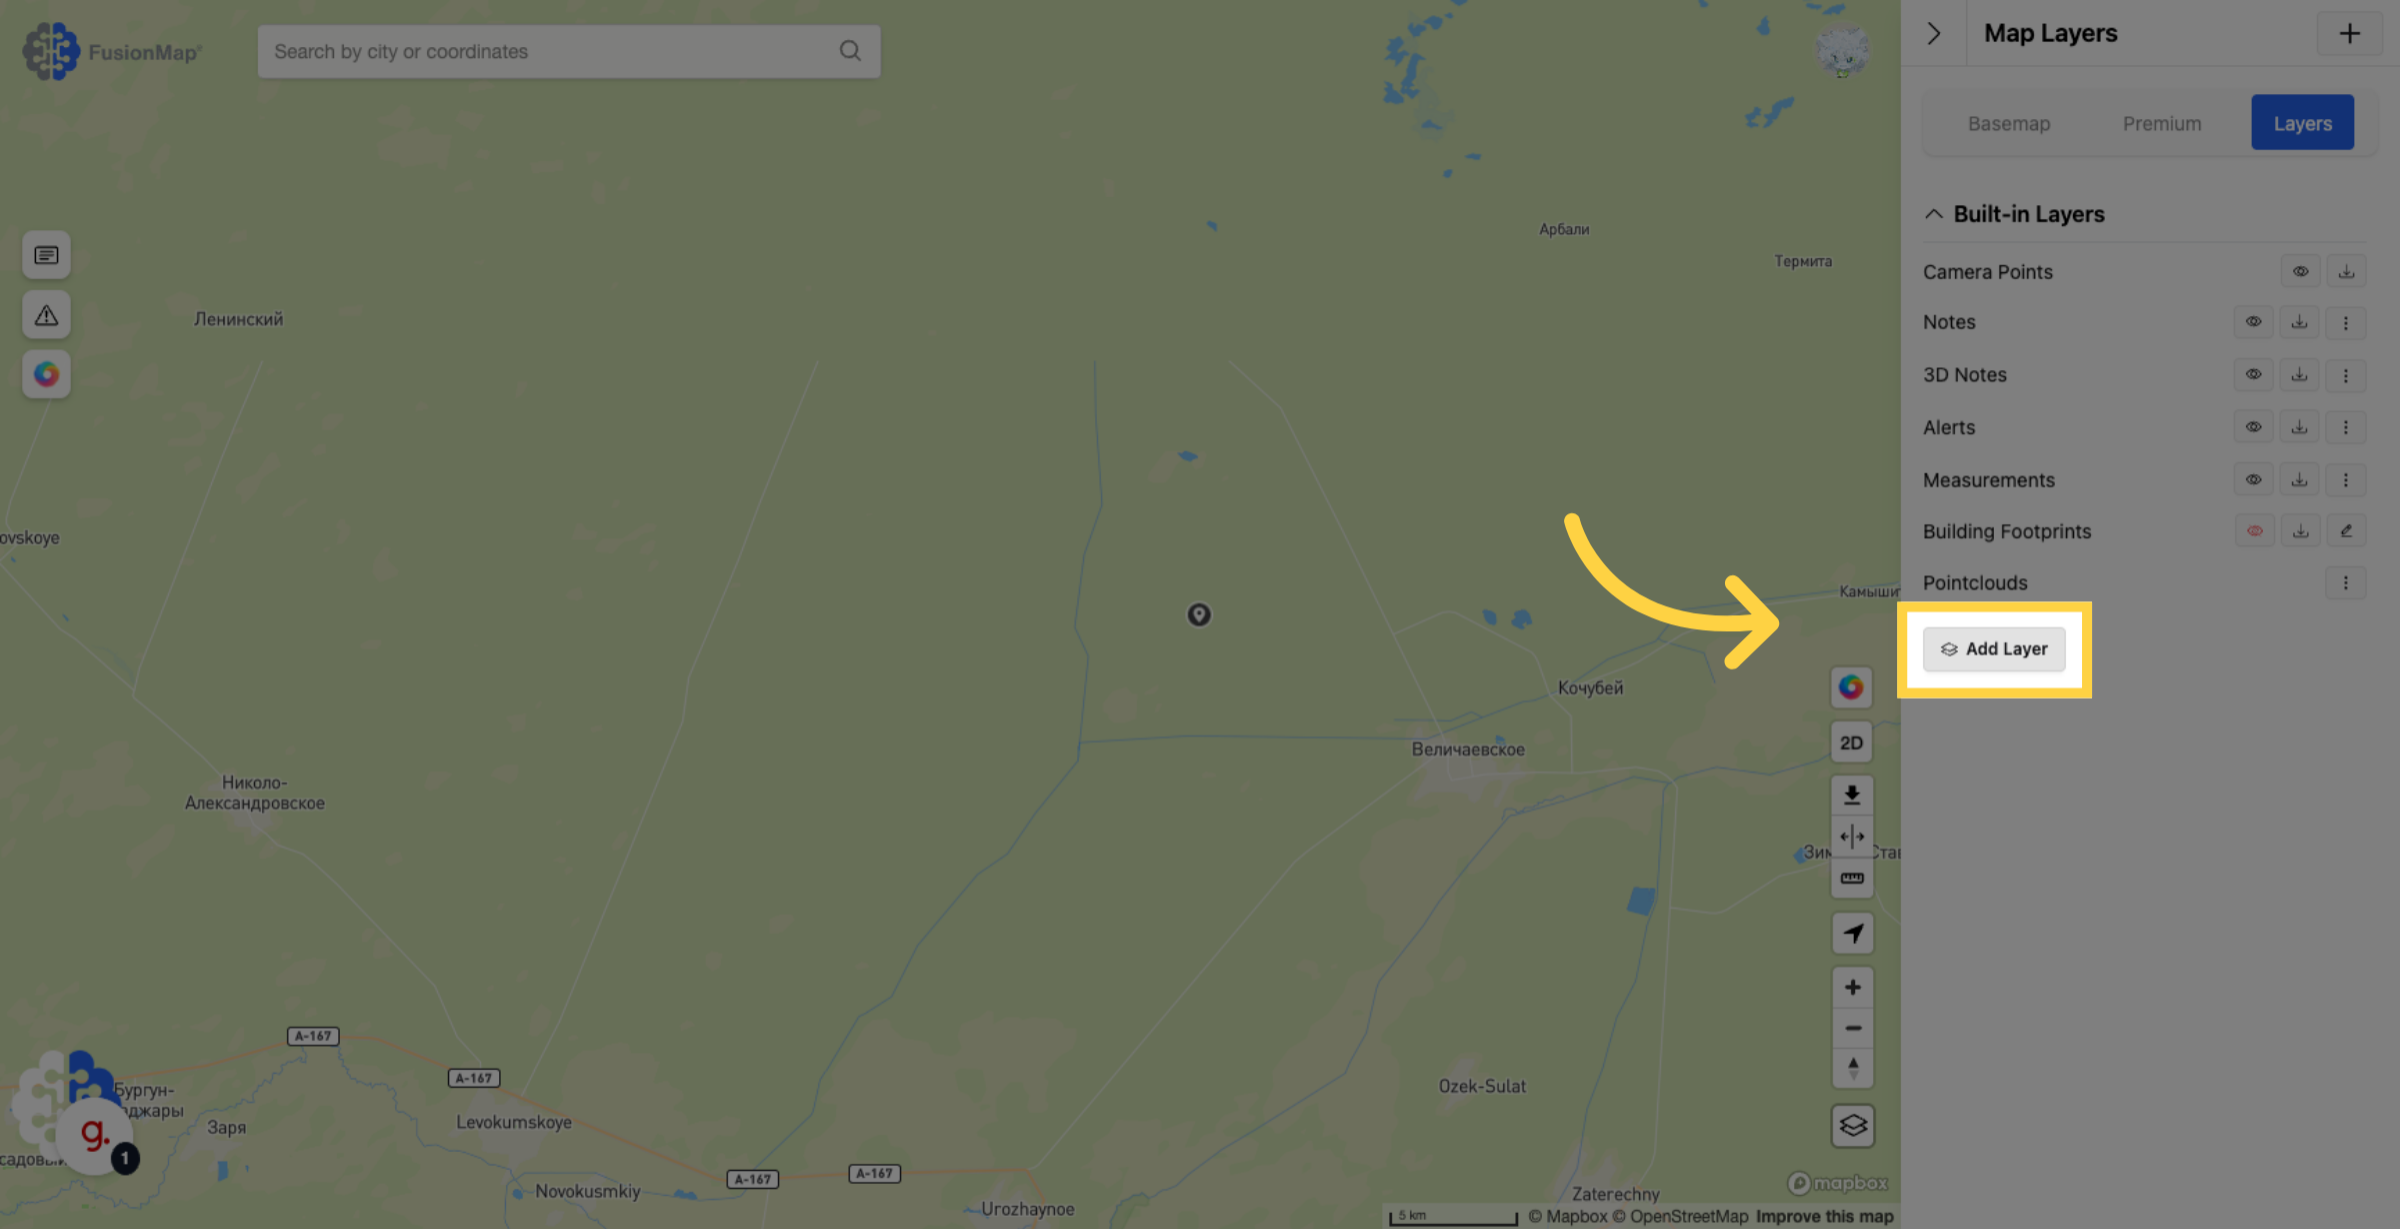
2. Click “Add Layer” #
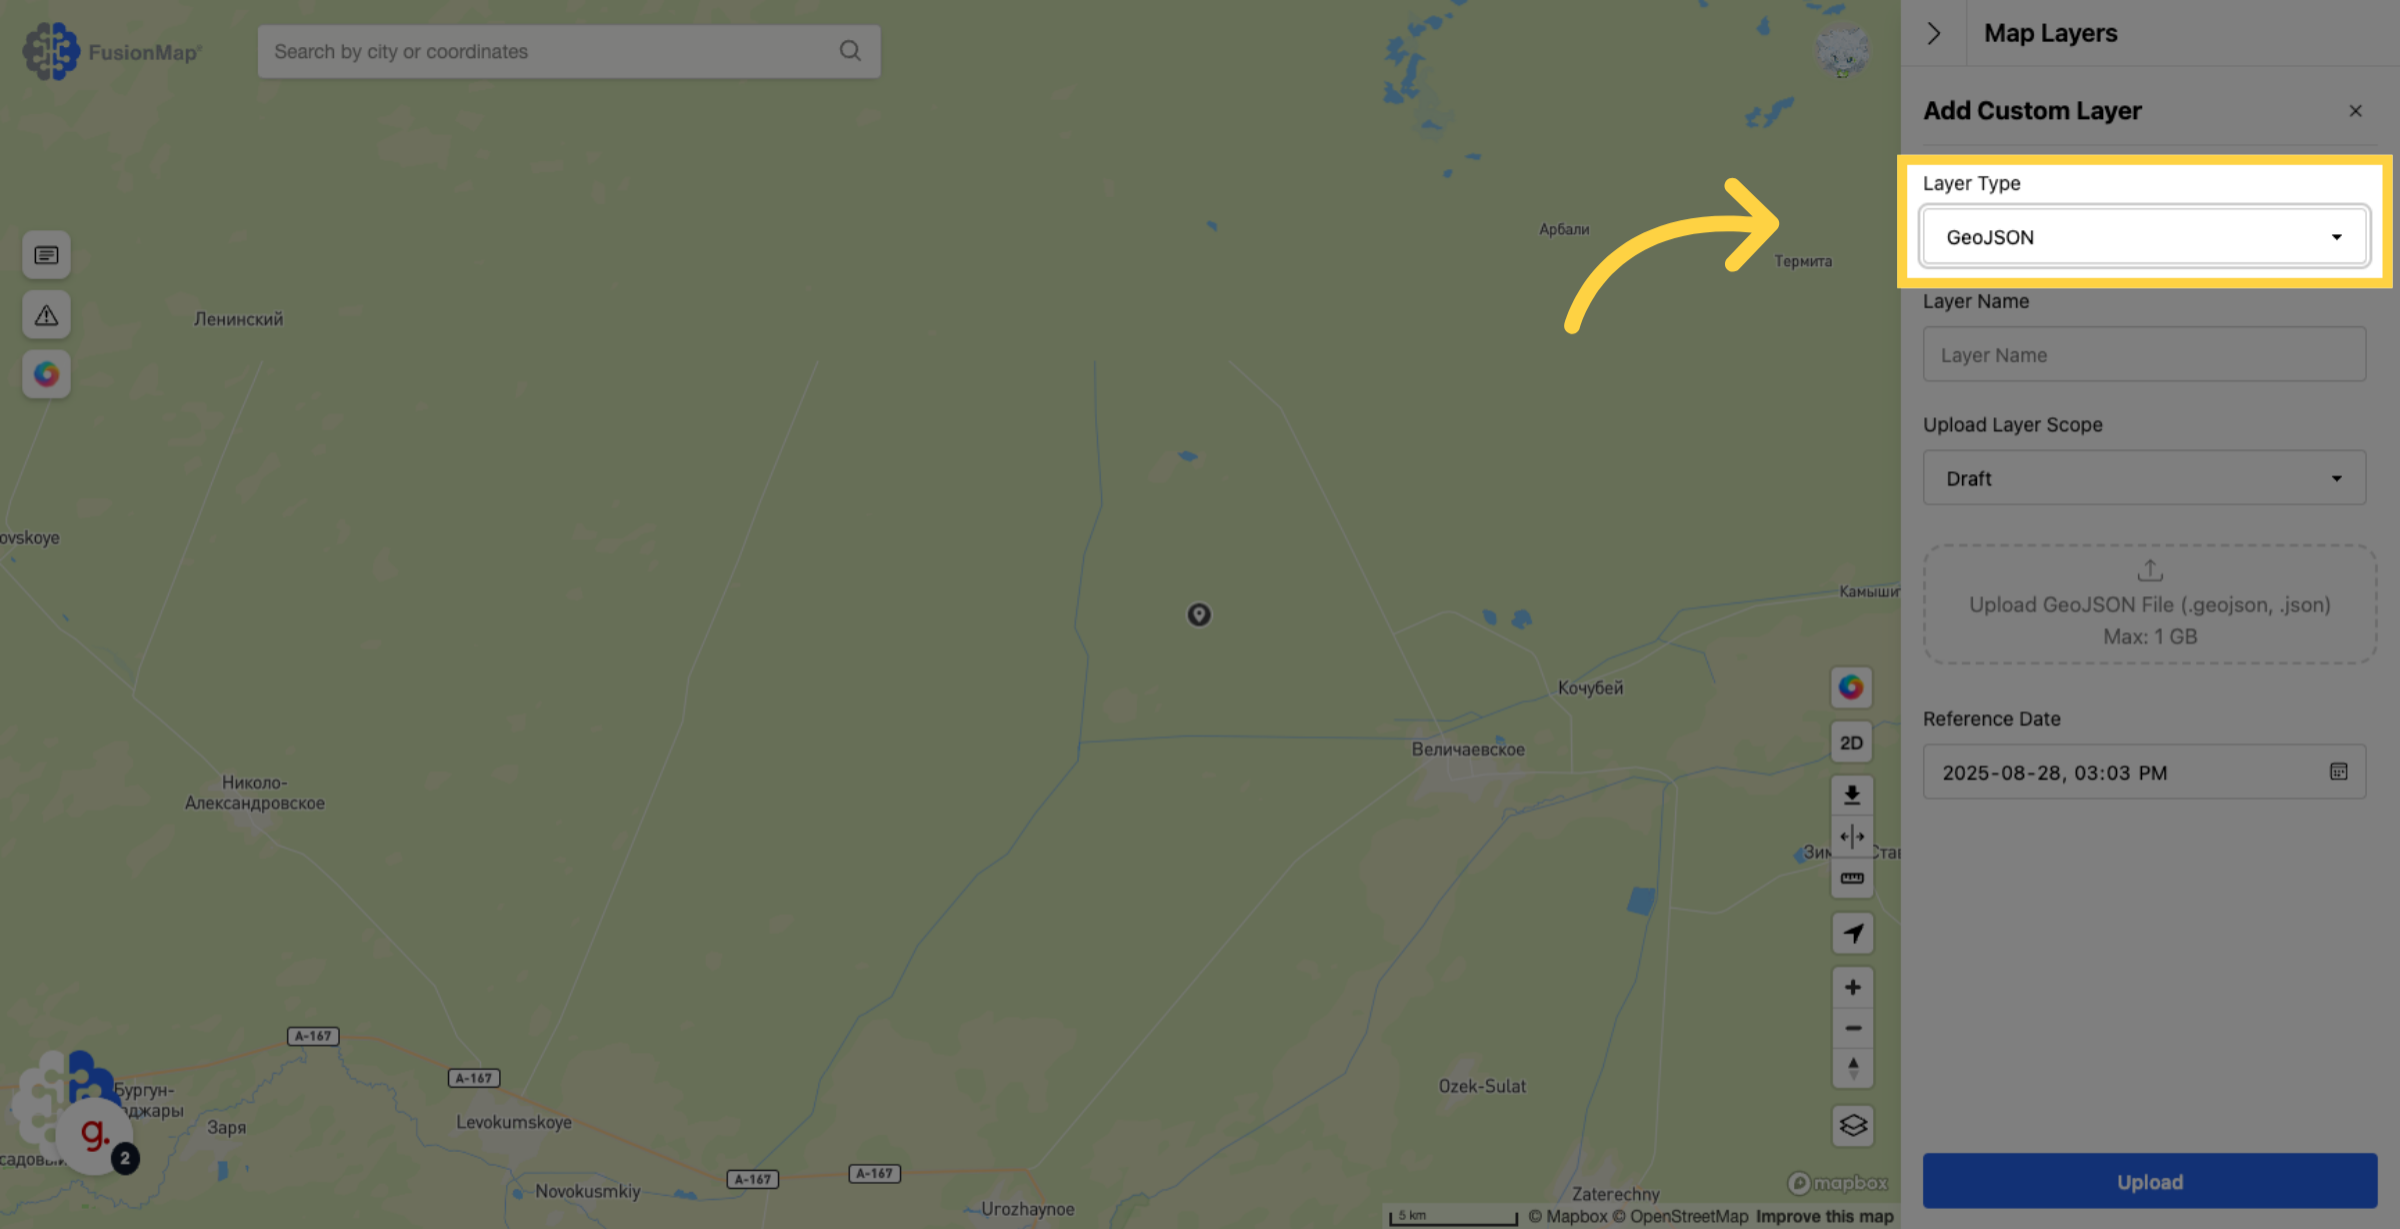
3. Change the layer type #
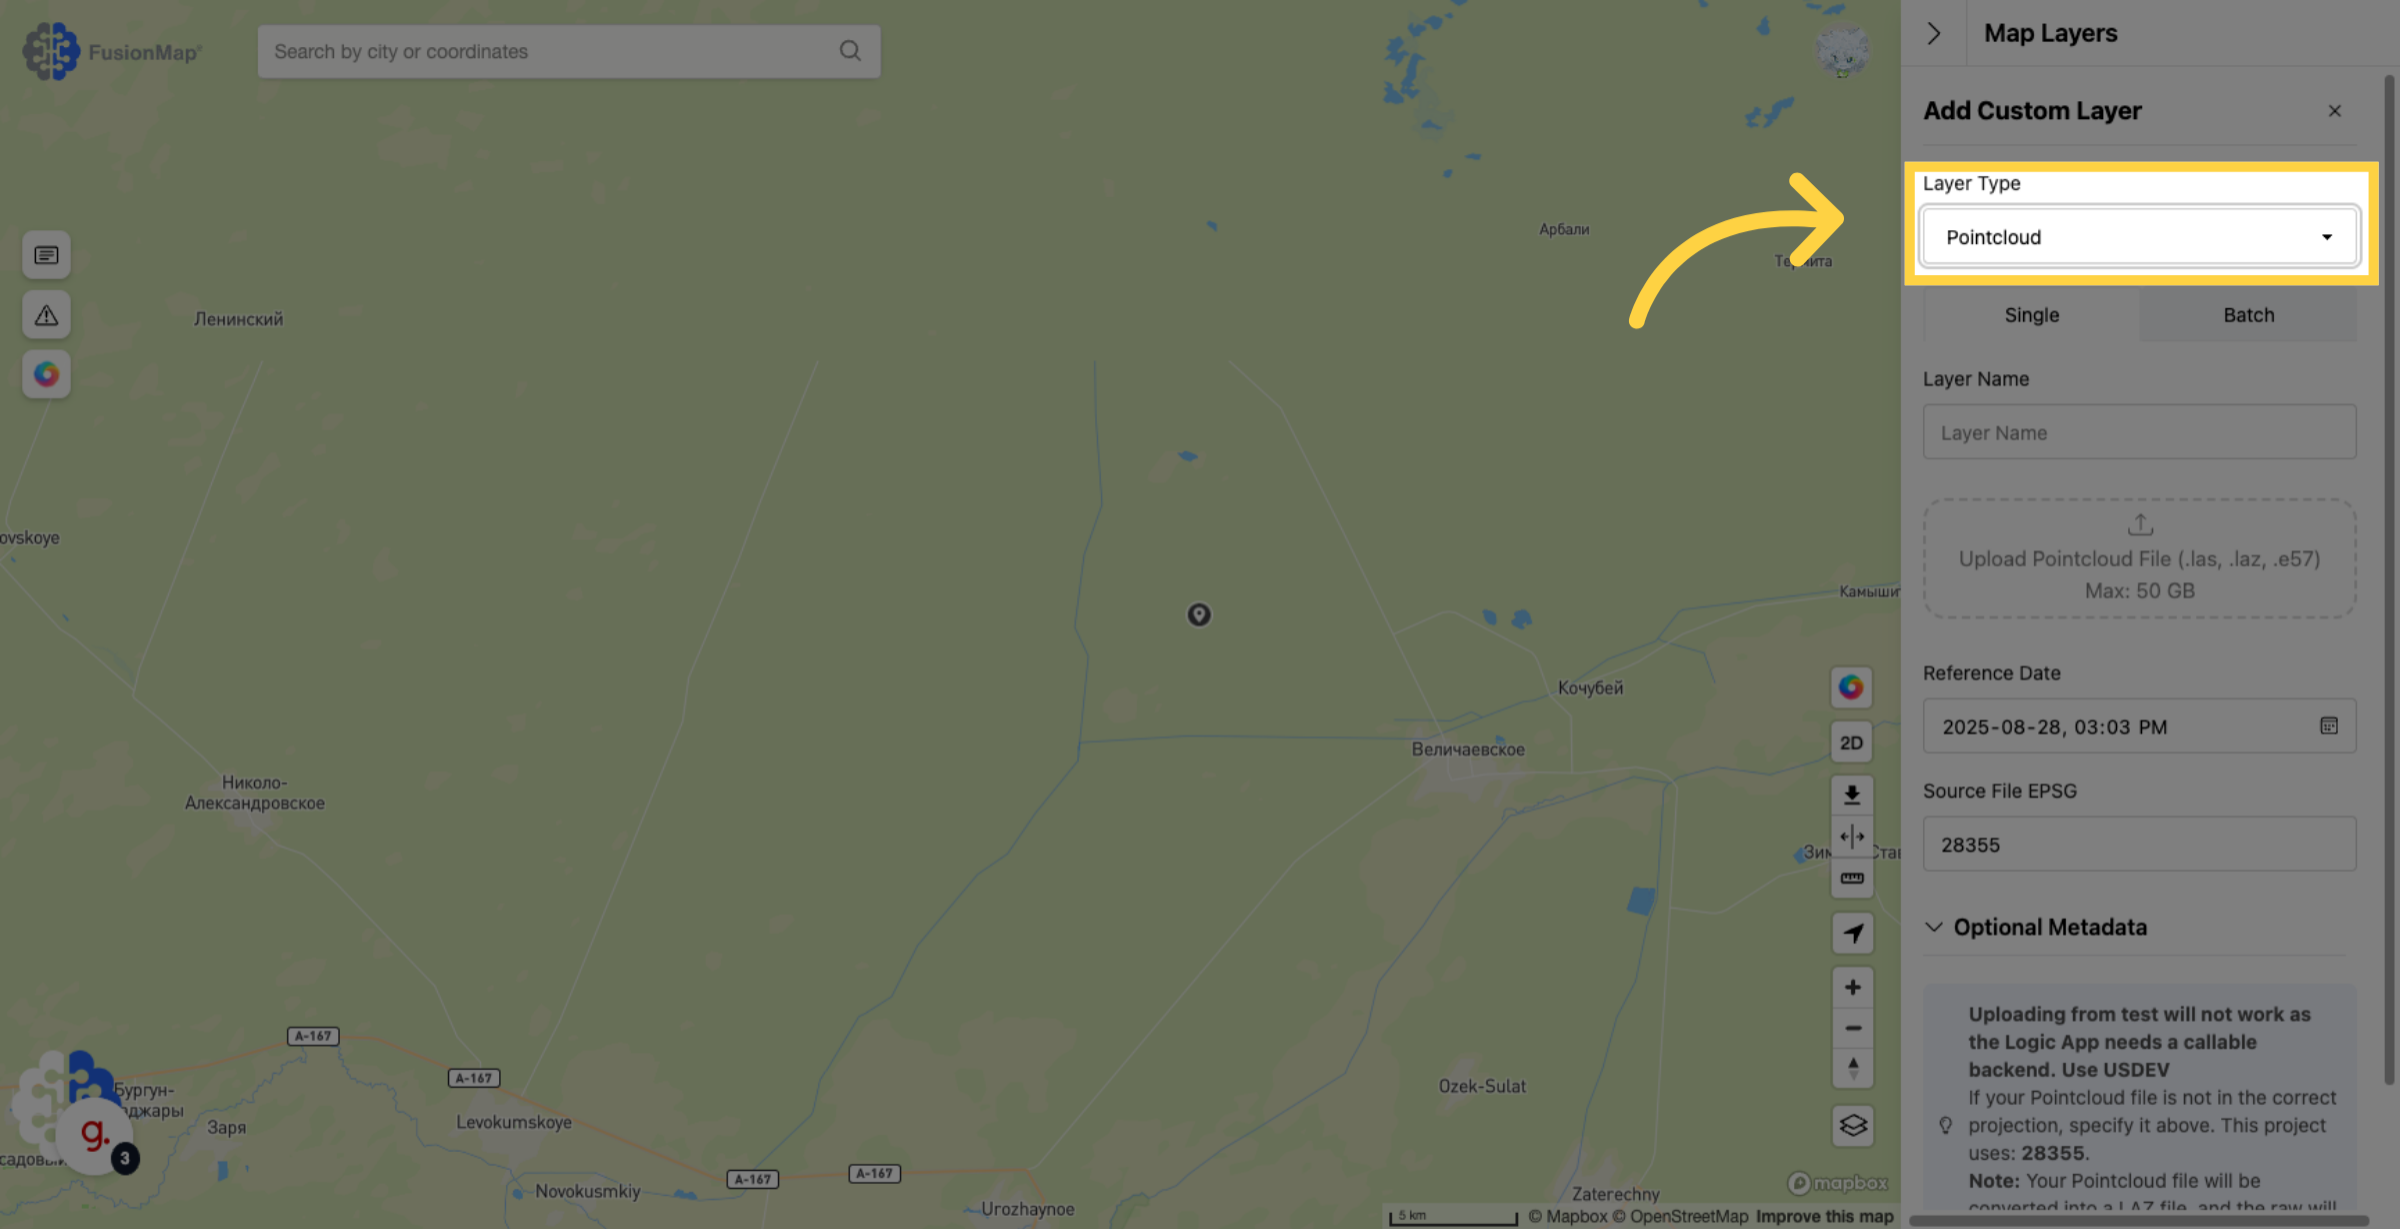
4. Change Layer Type to Pointcloud #
5. Switch to the batch tab #
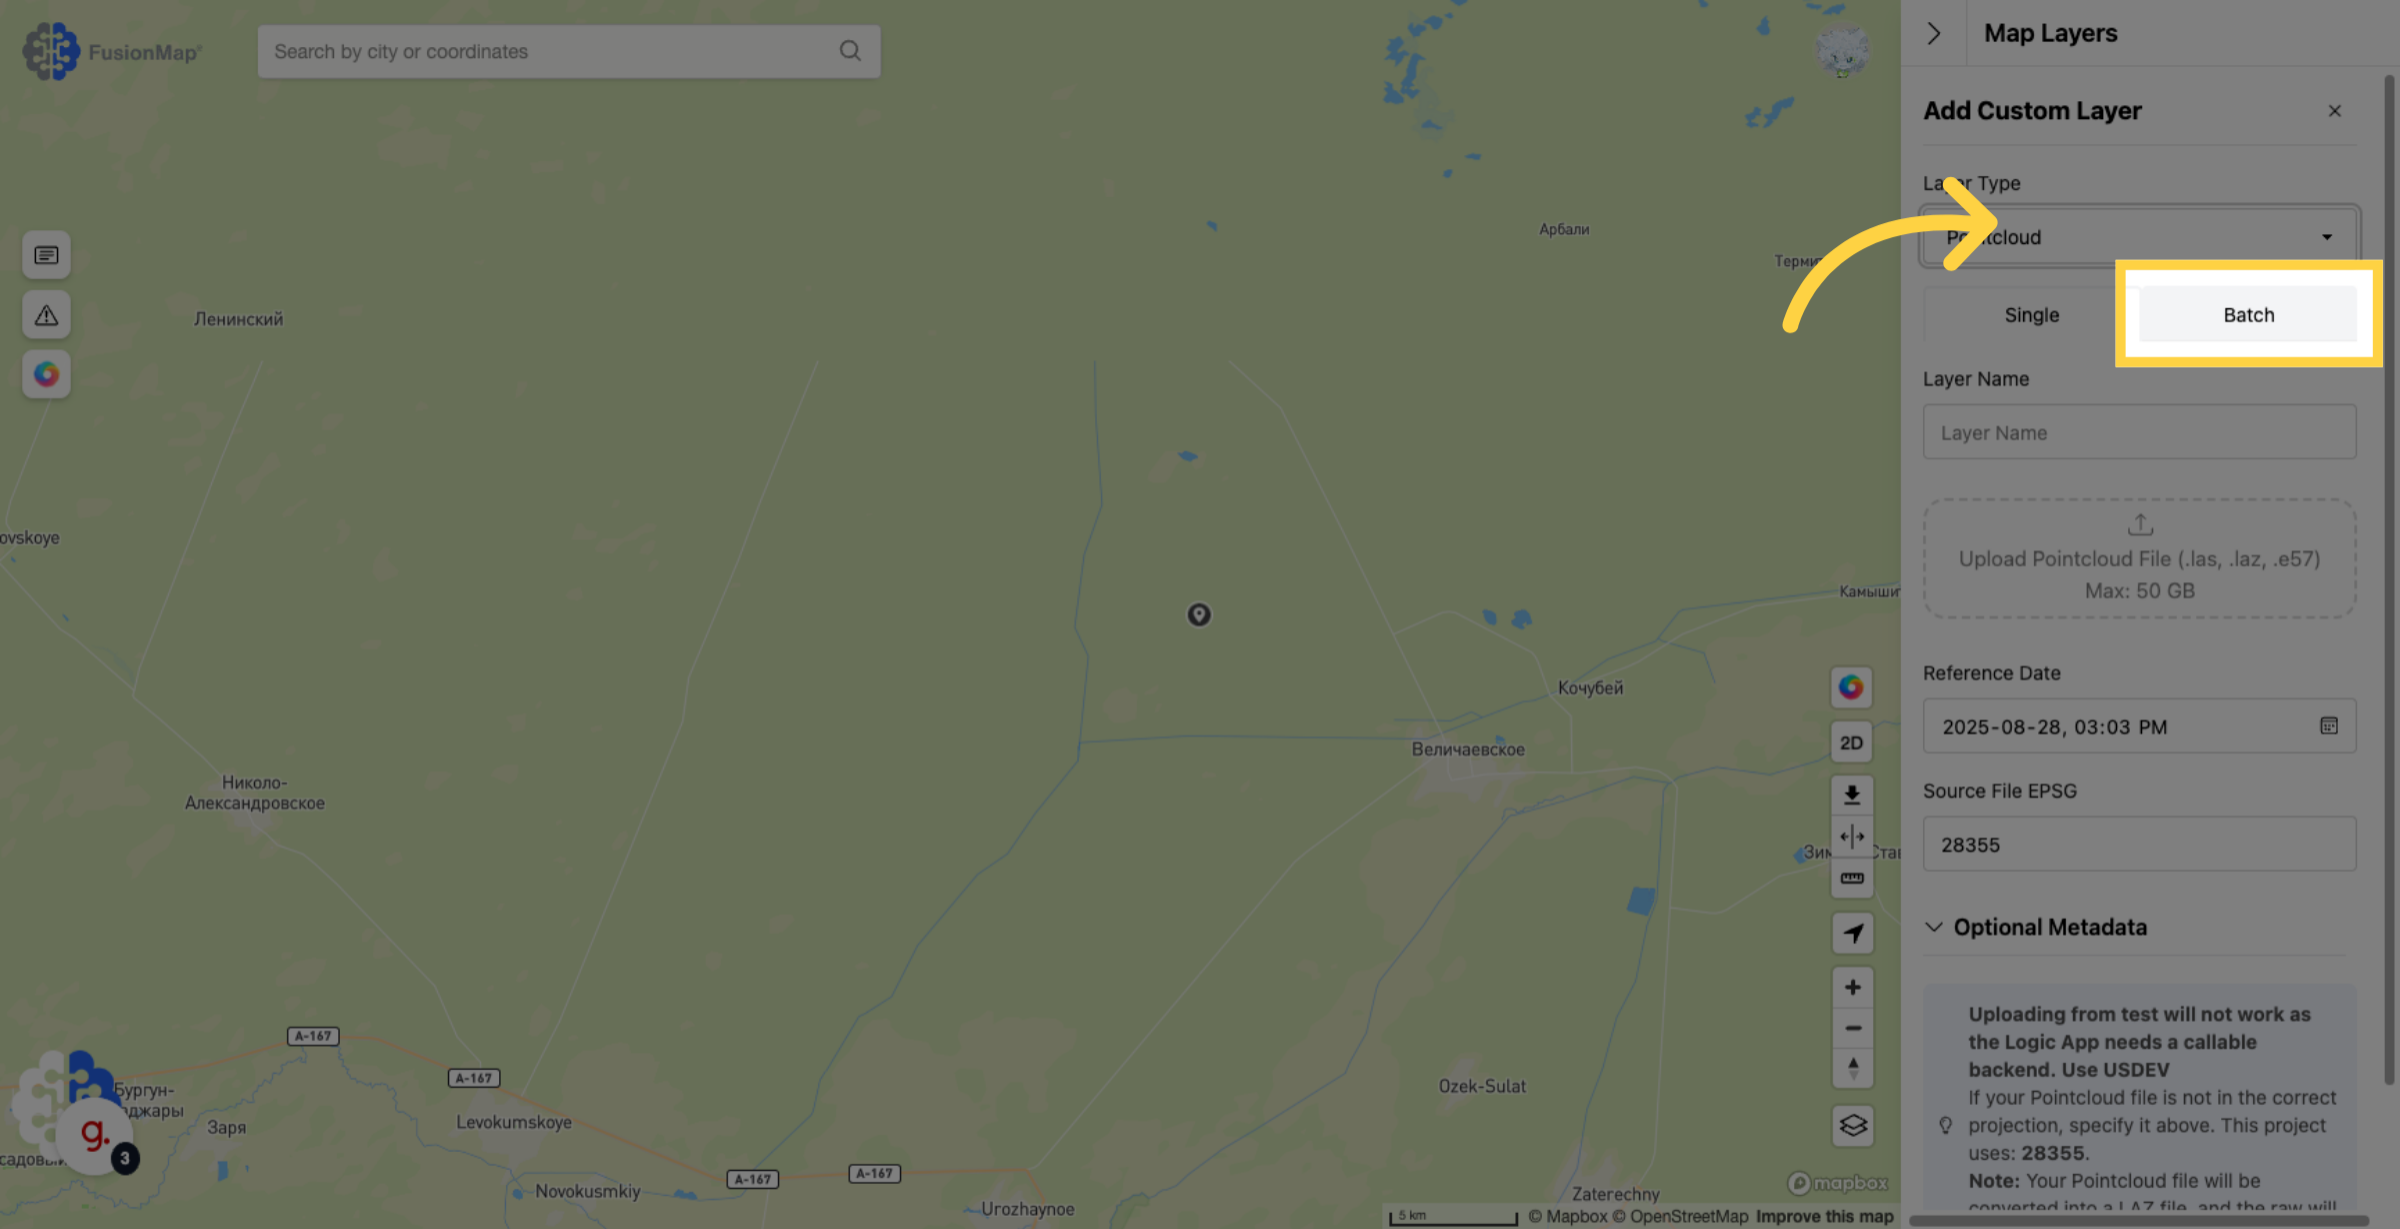
6. Input a batch name #
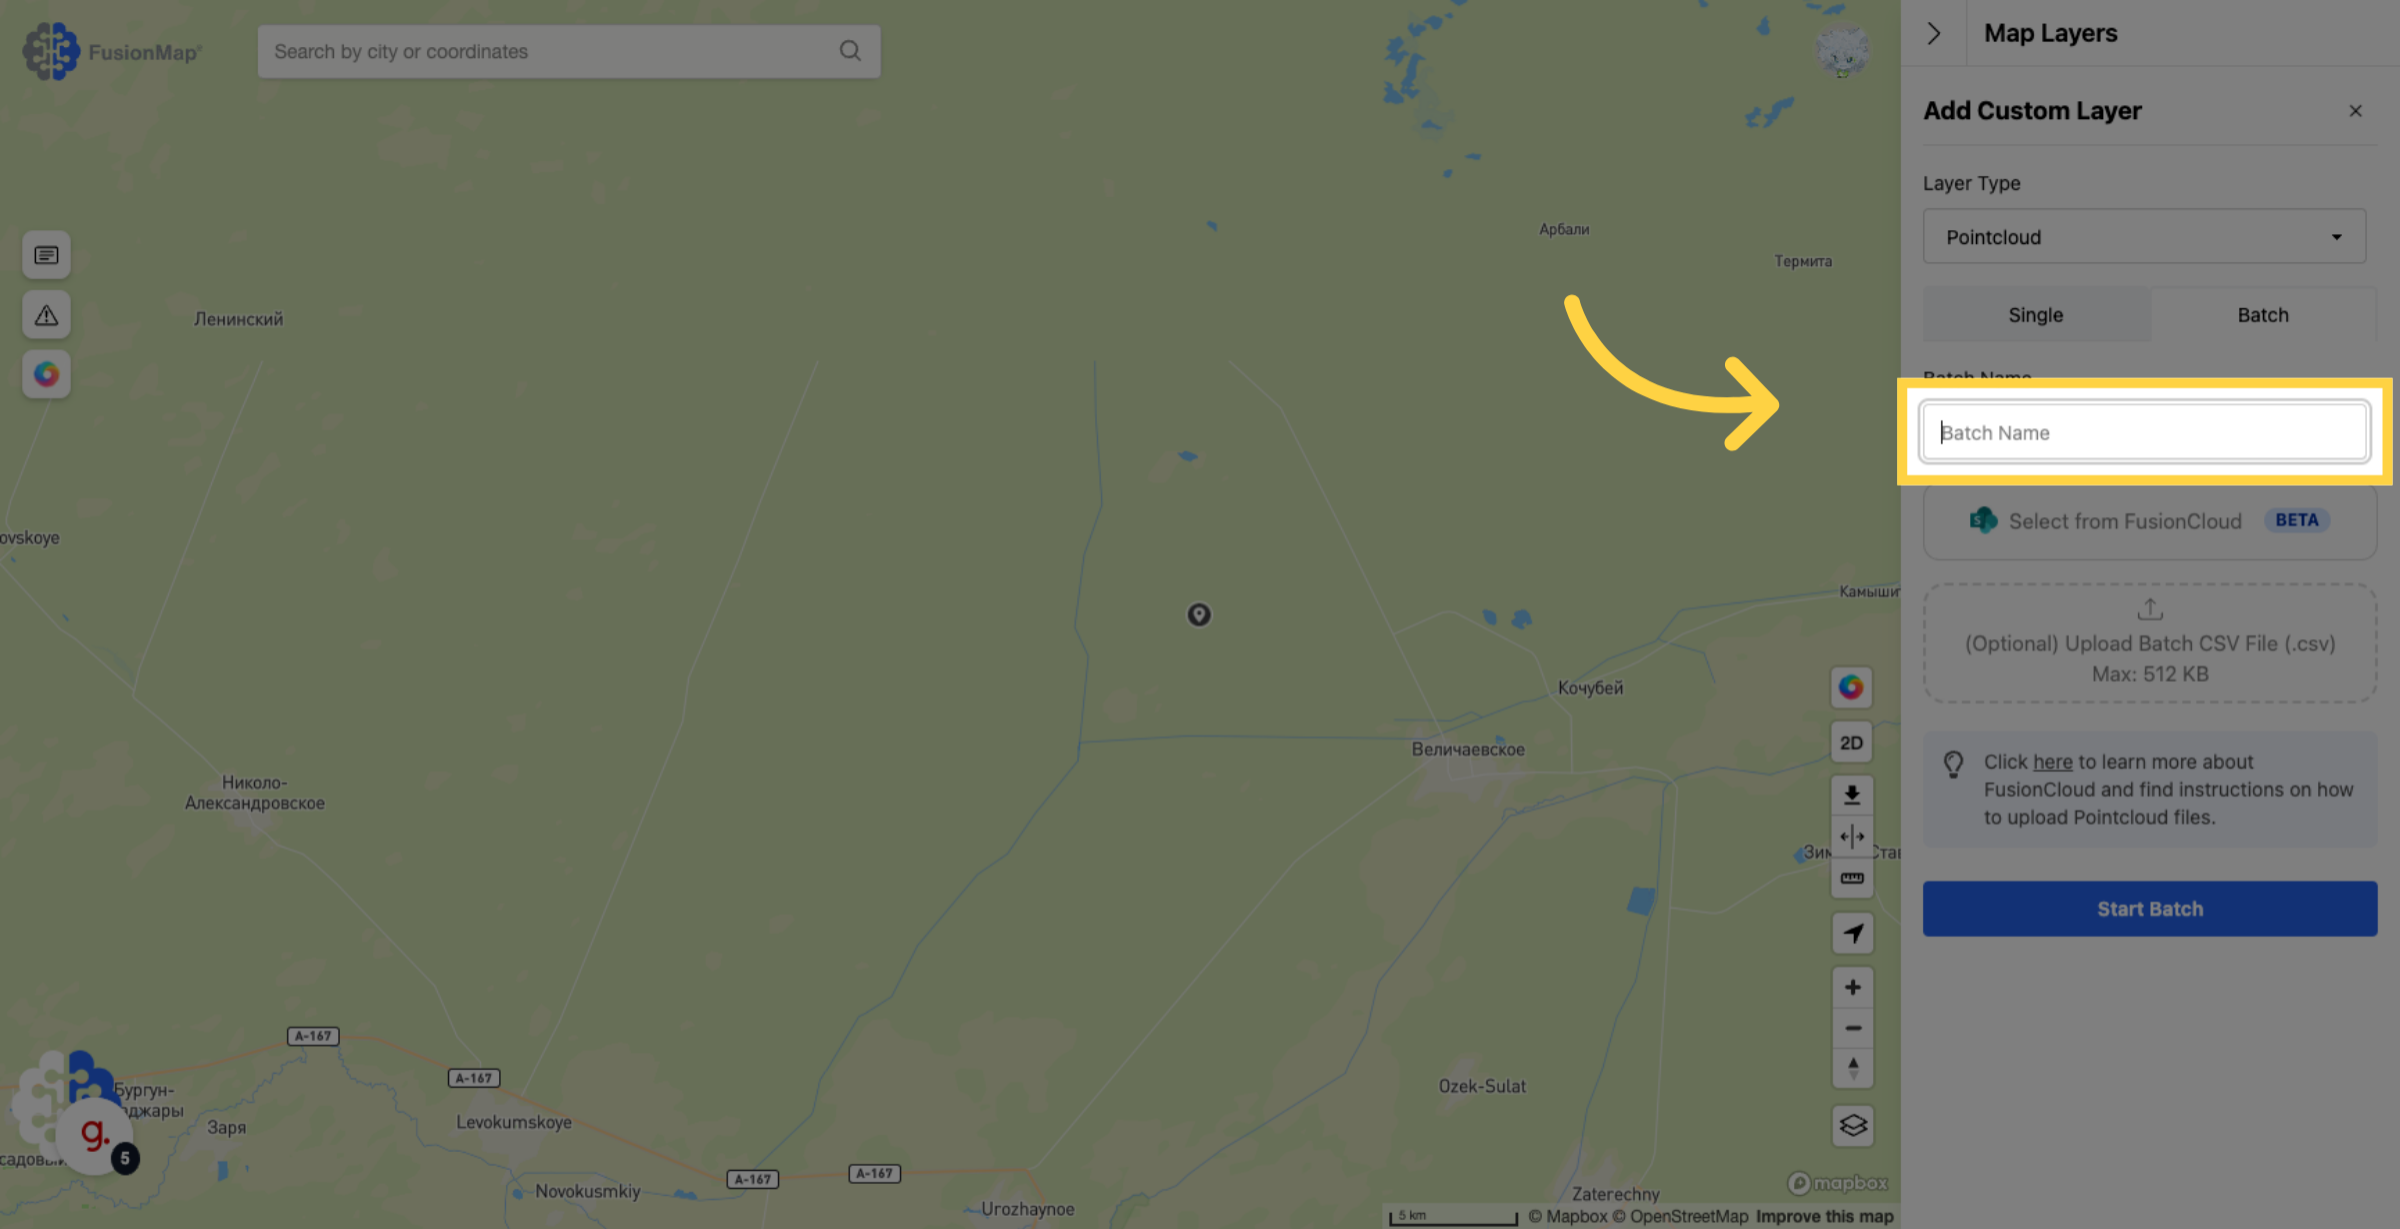
7. Click the “Select From FusionCloud” button #
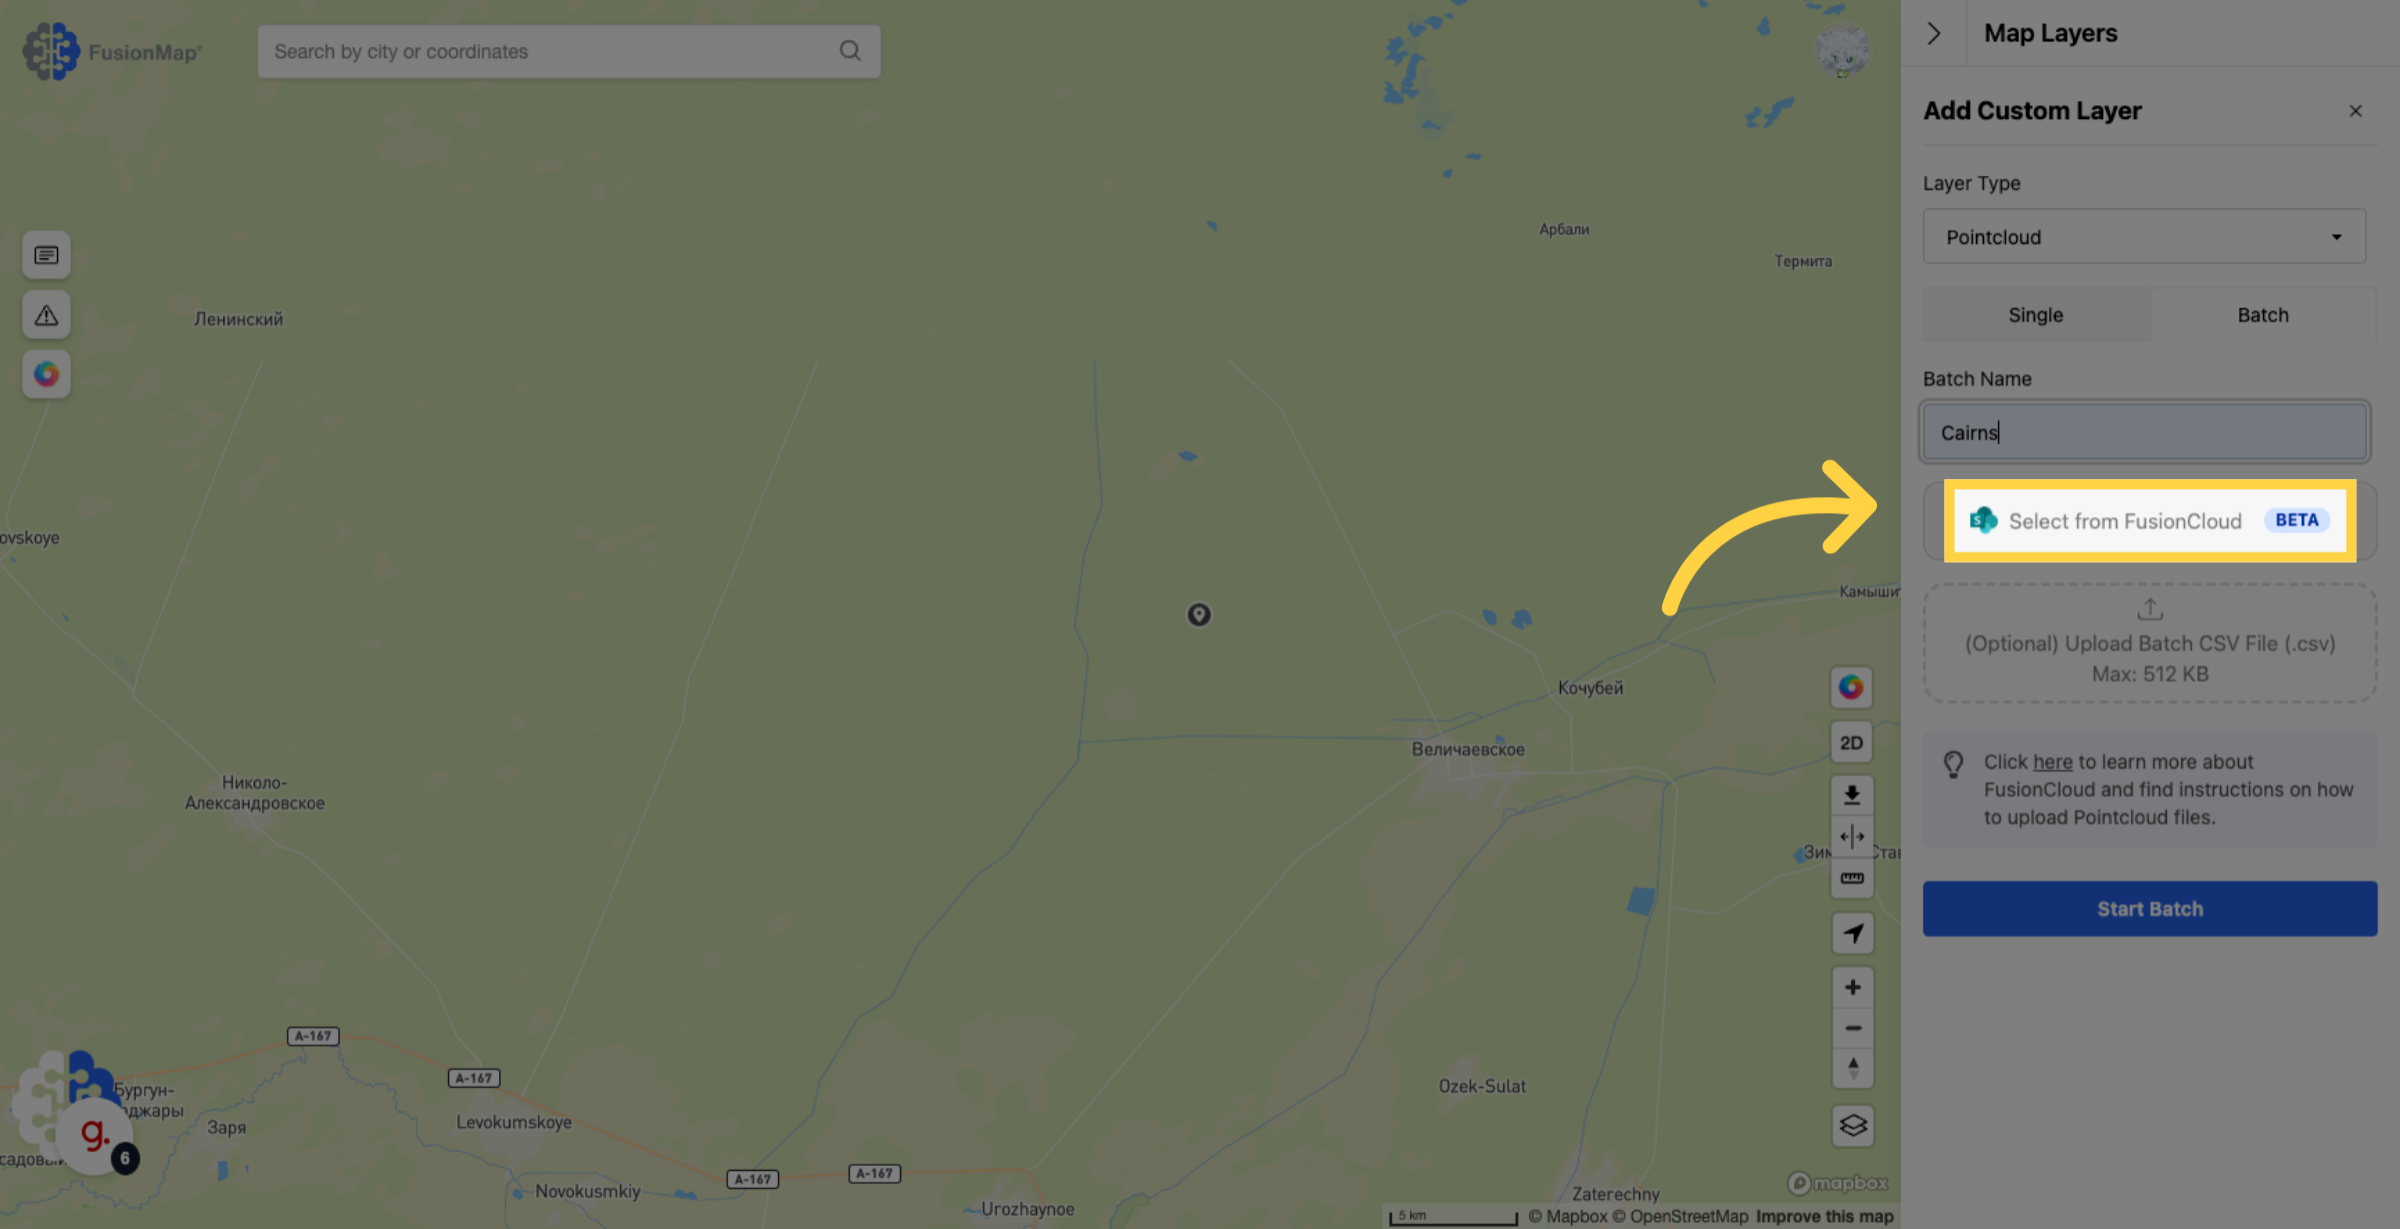
8. Click “Get SAS” #
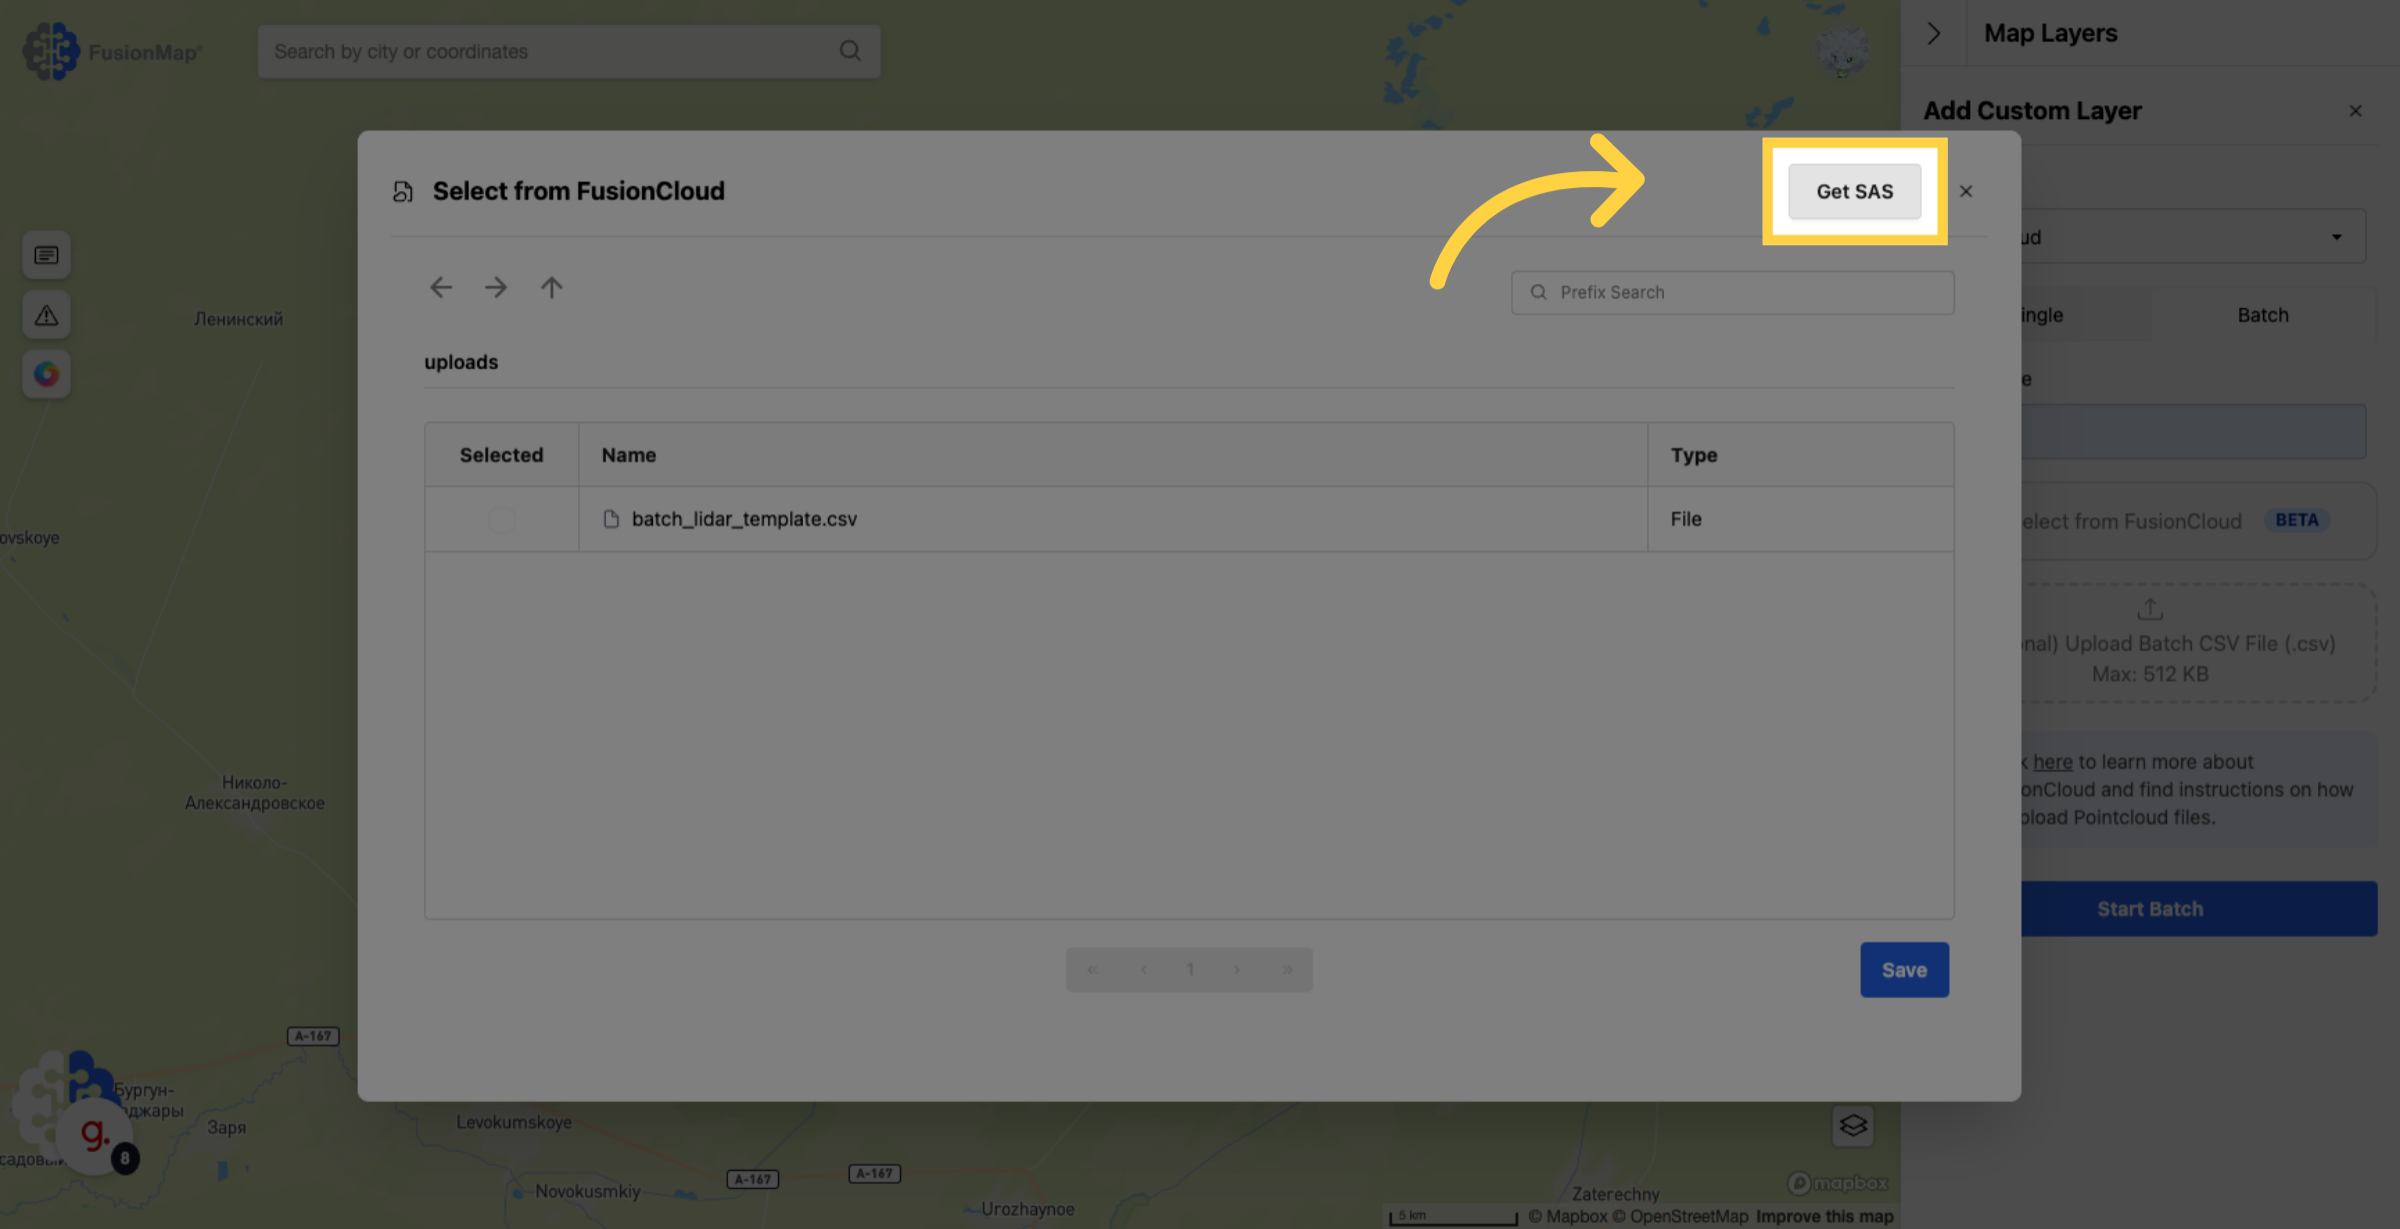
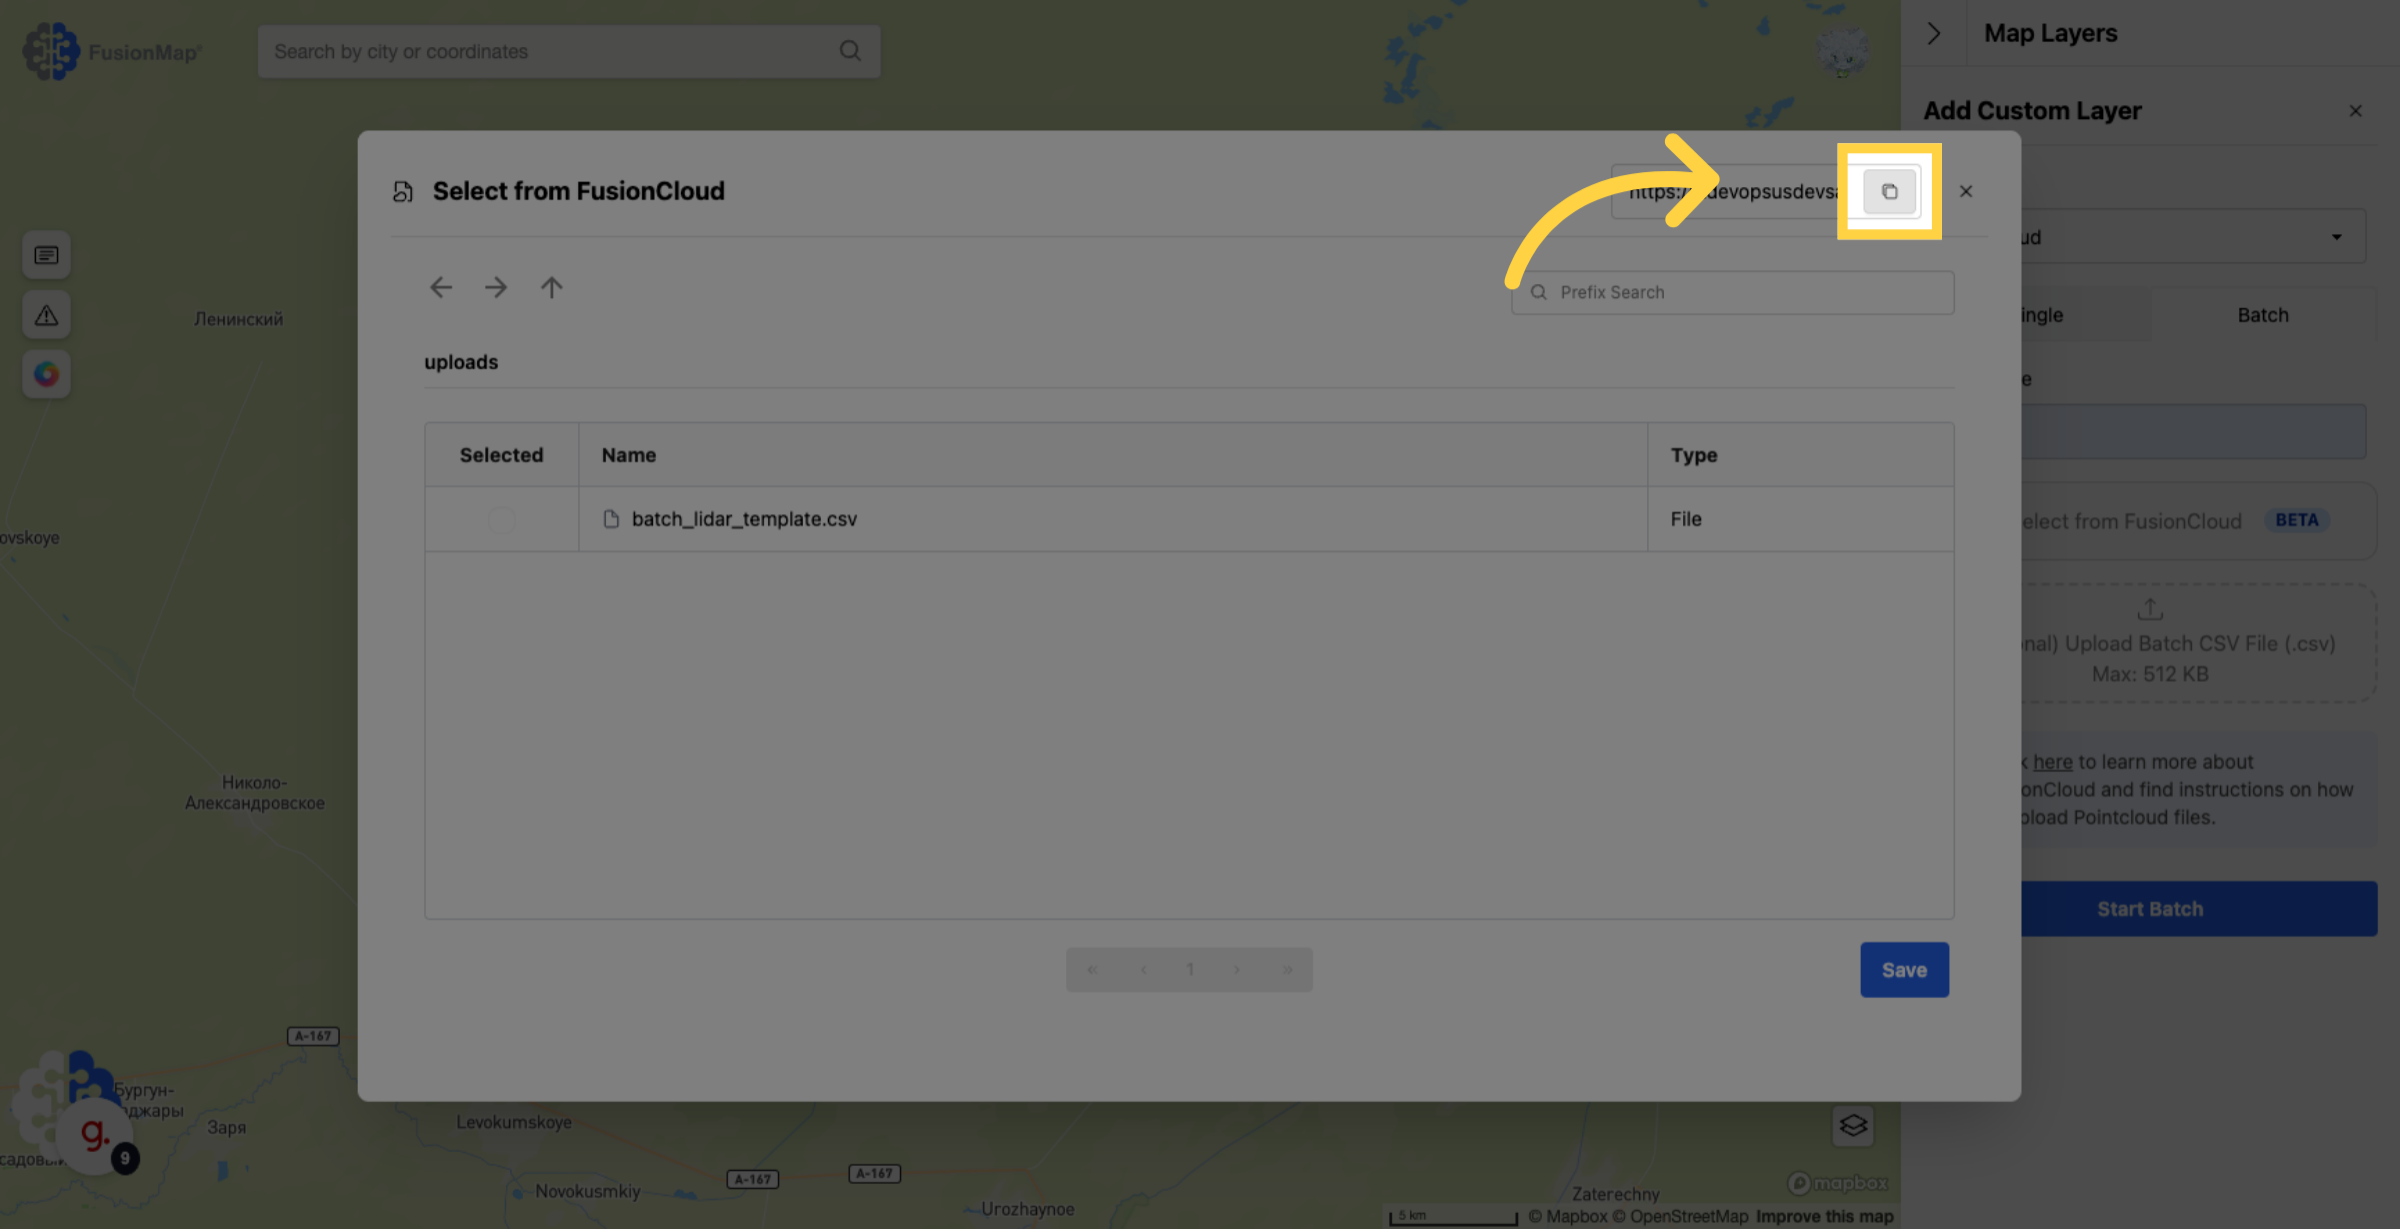
9. Copy your SAS token #
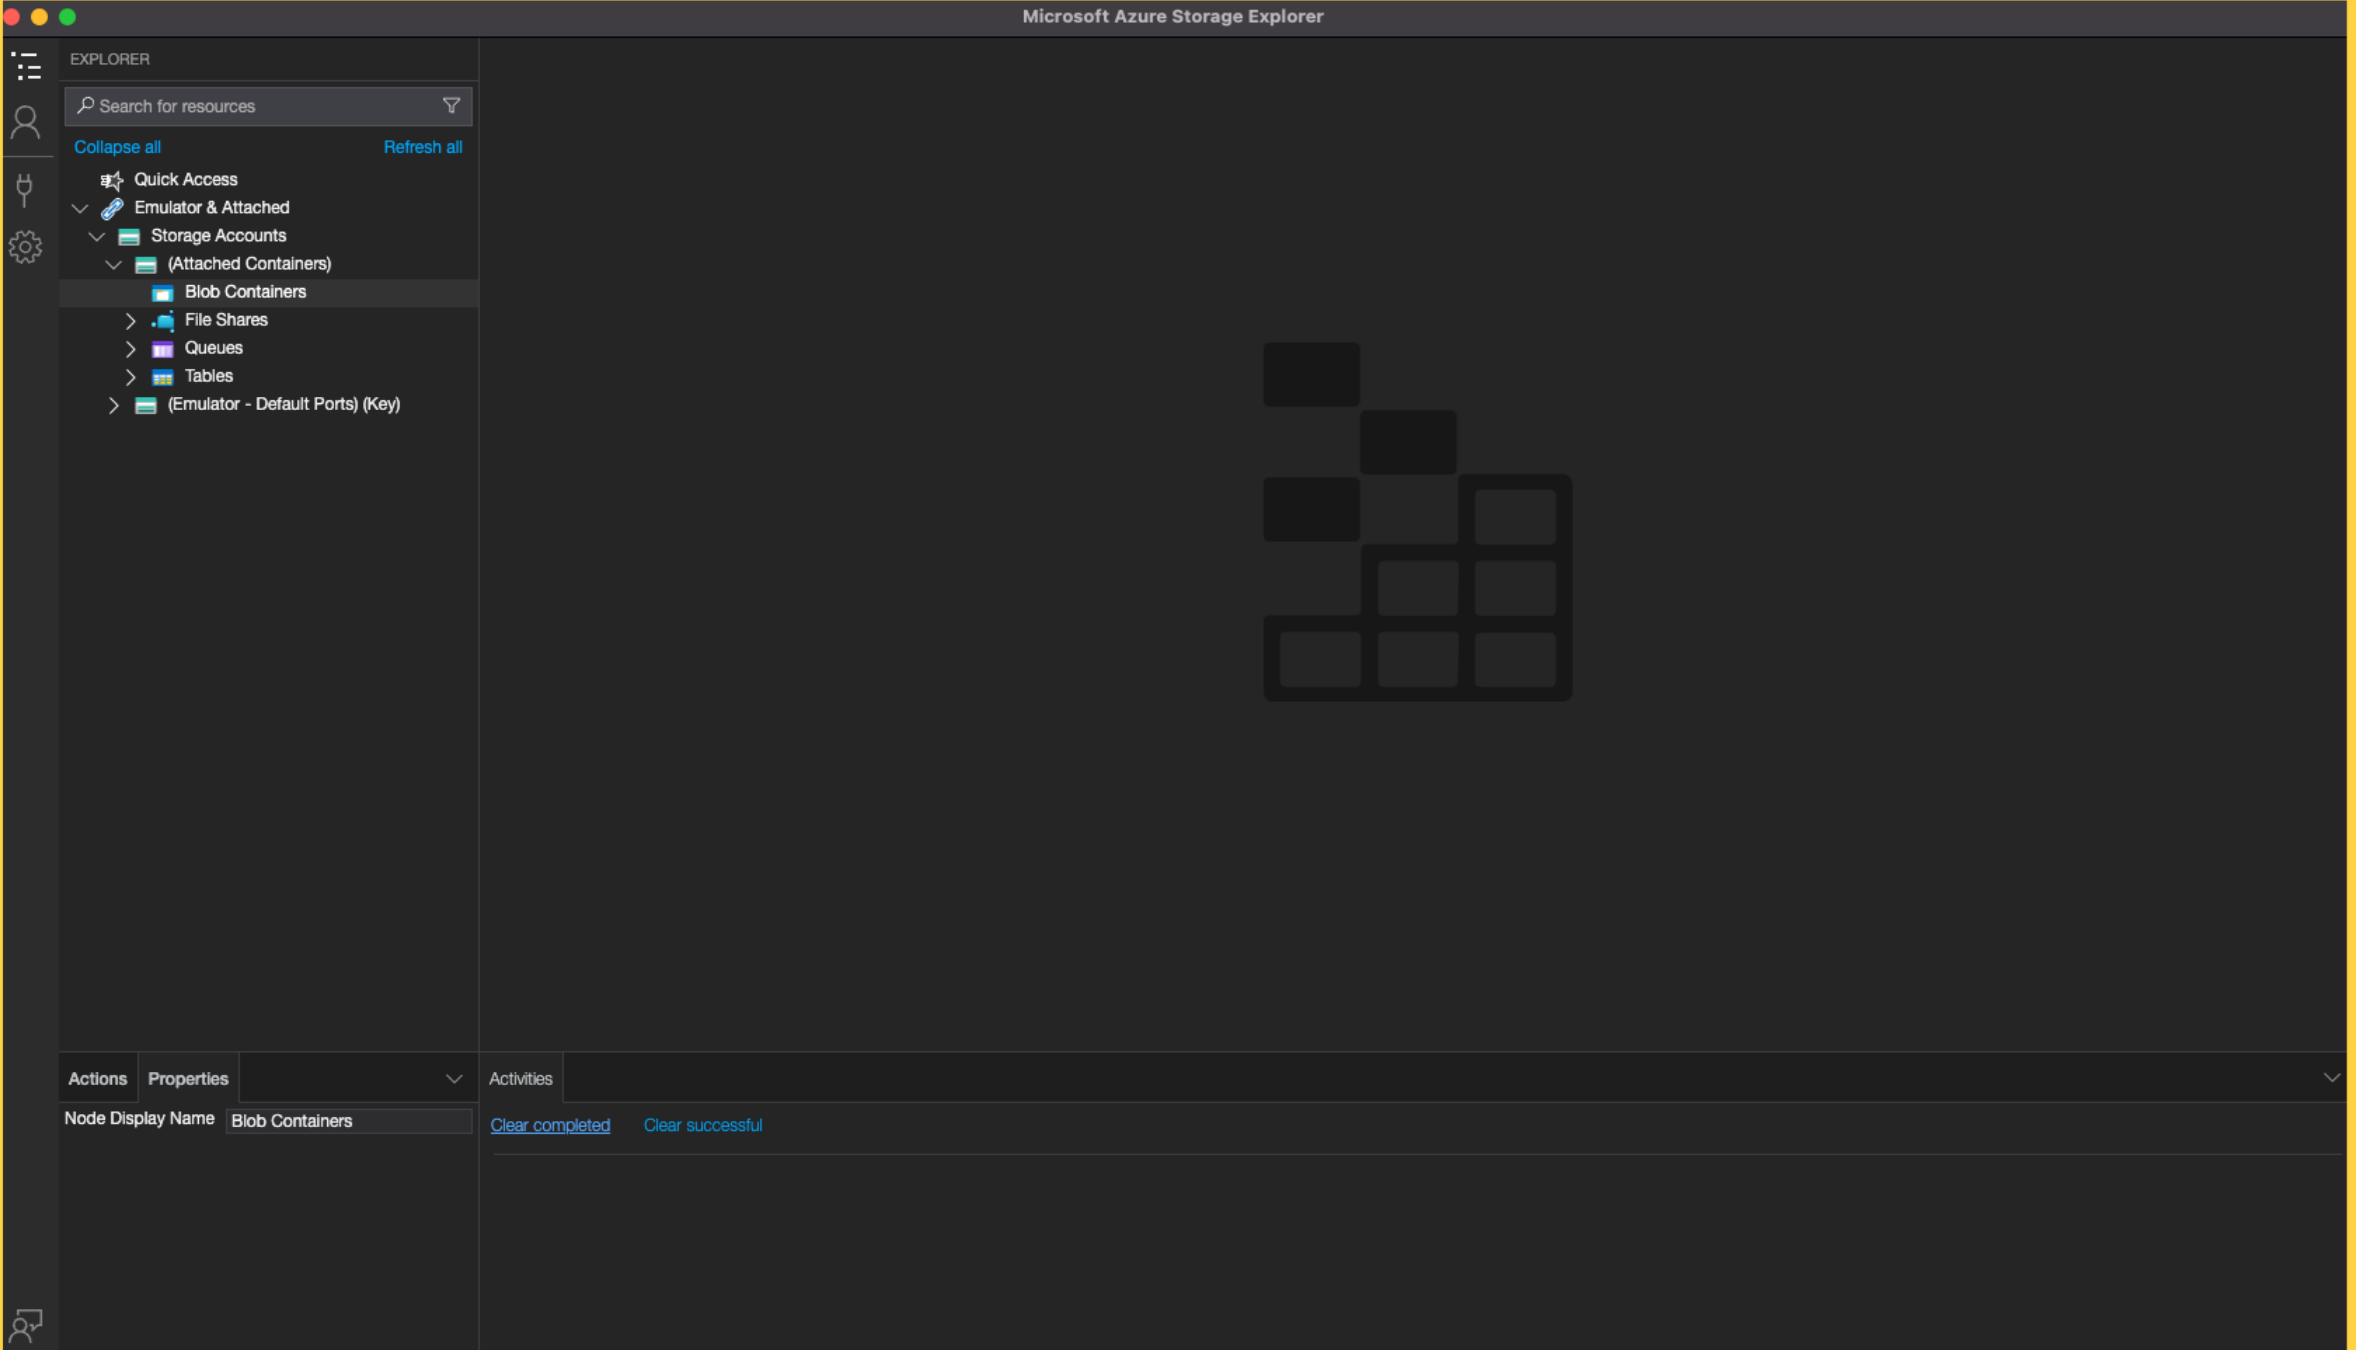
10. Open Microsoft Azure Storage Explorer #
11. Open the Connect Dialog box #
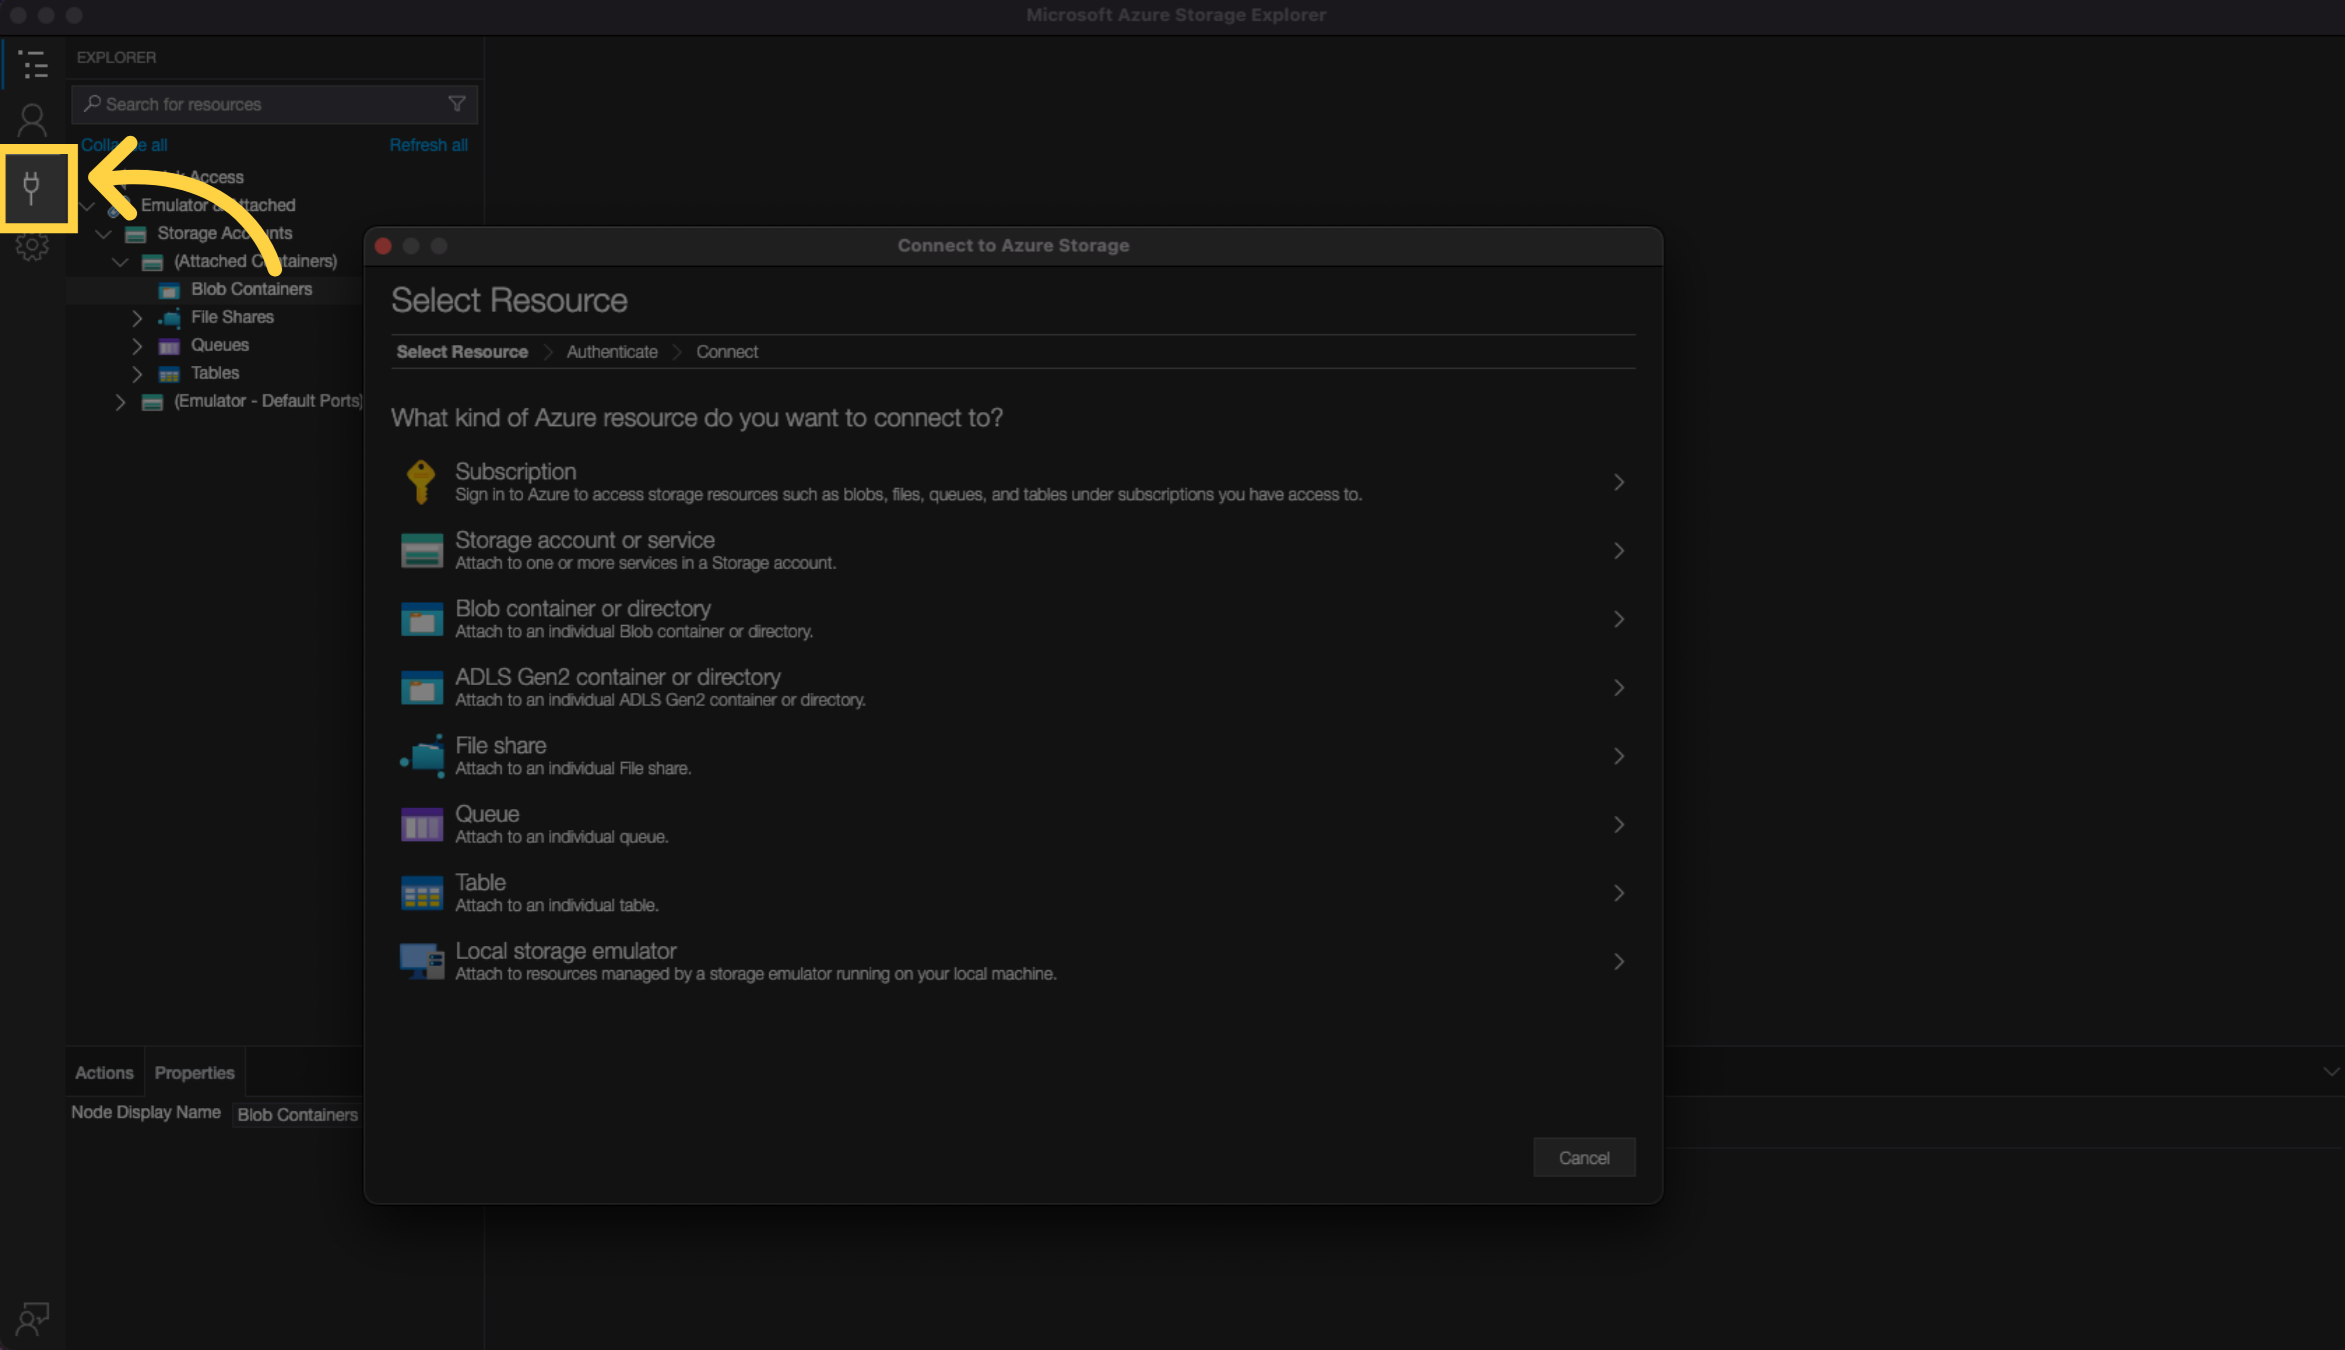
12. The dialog box opens up #
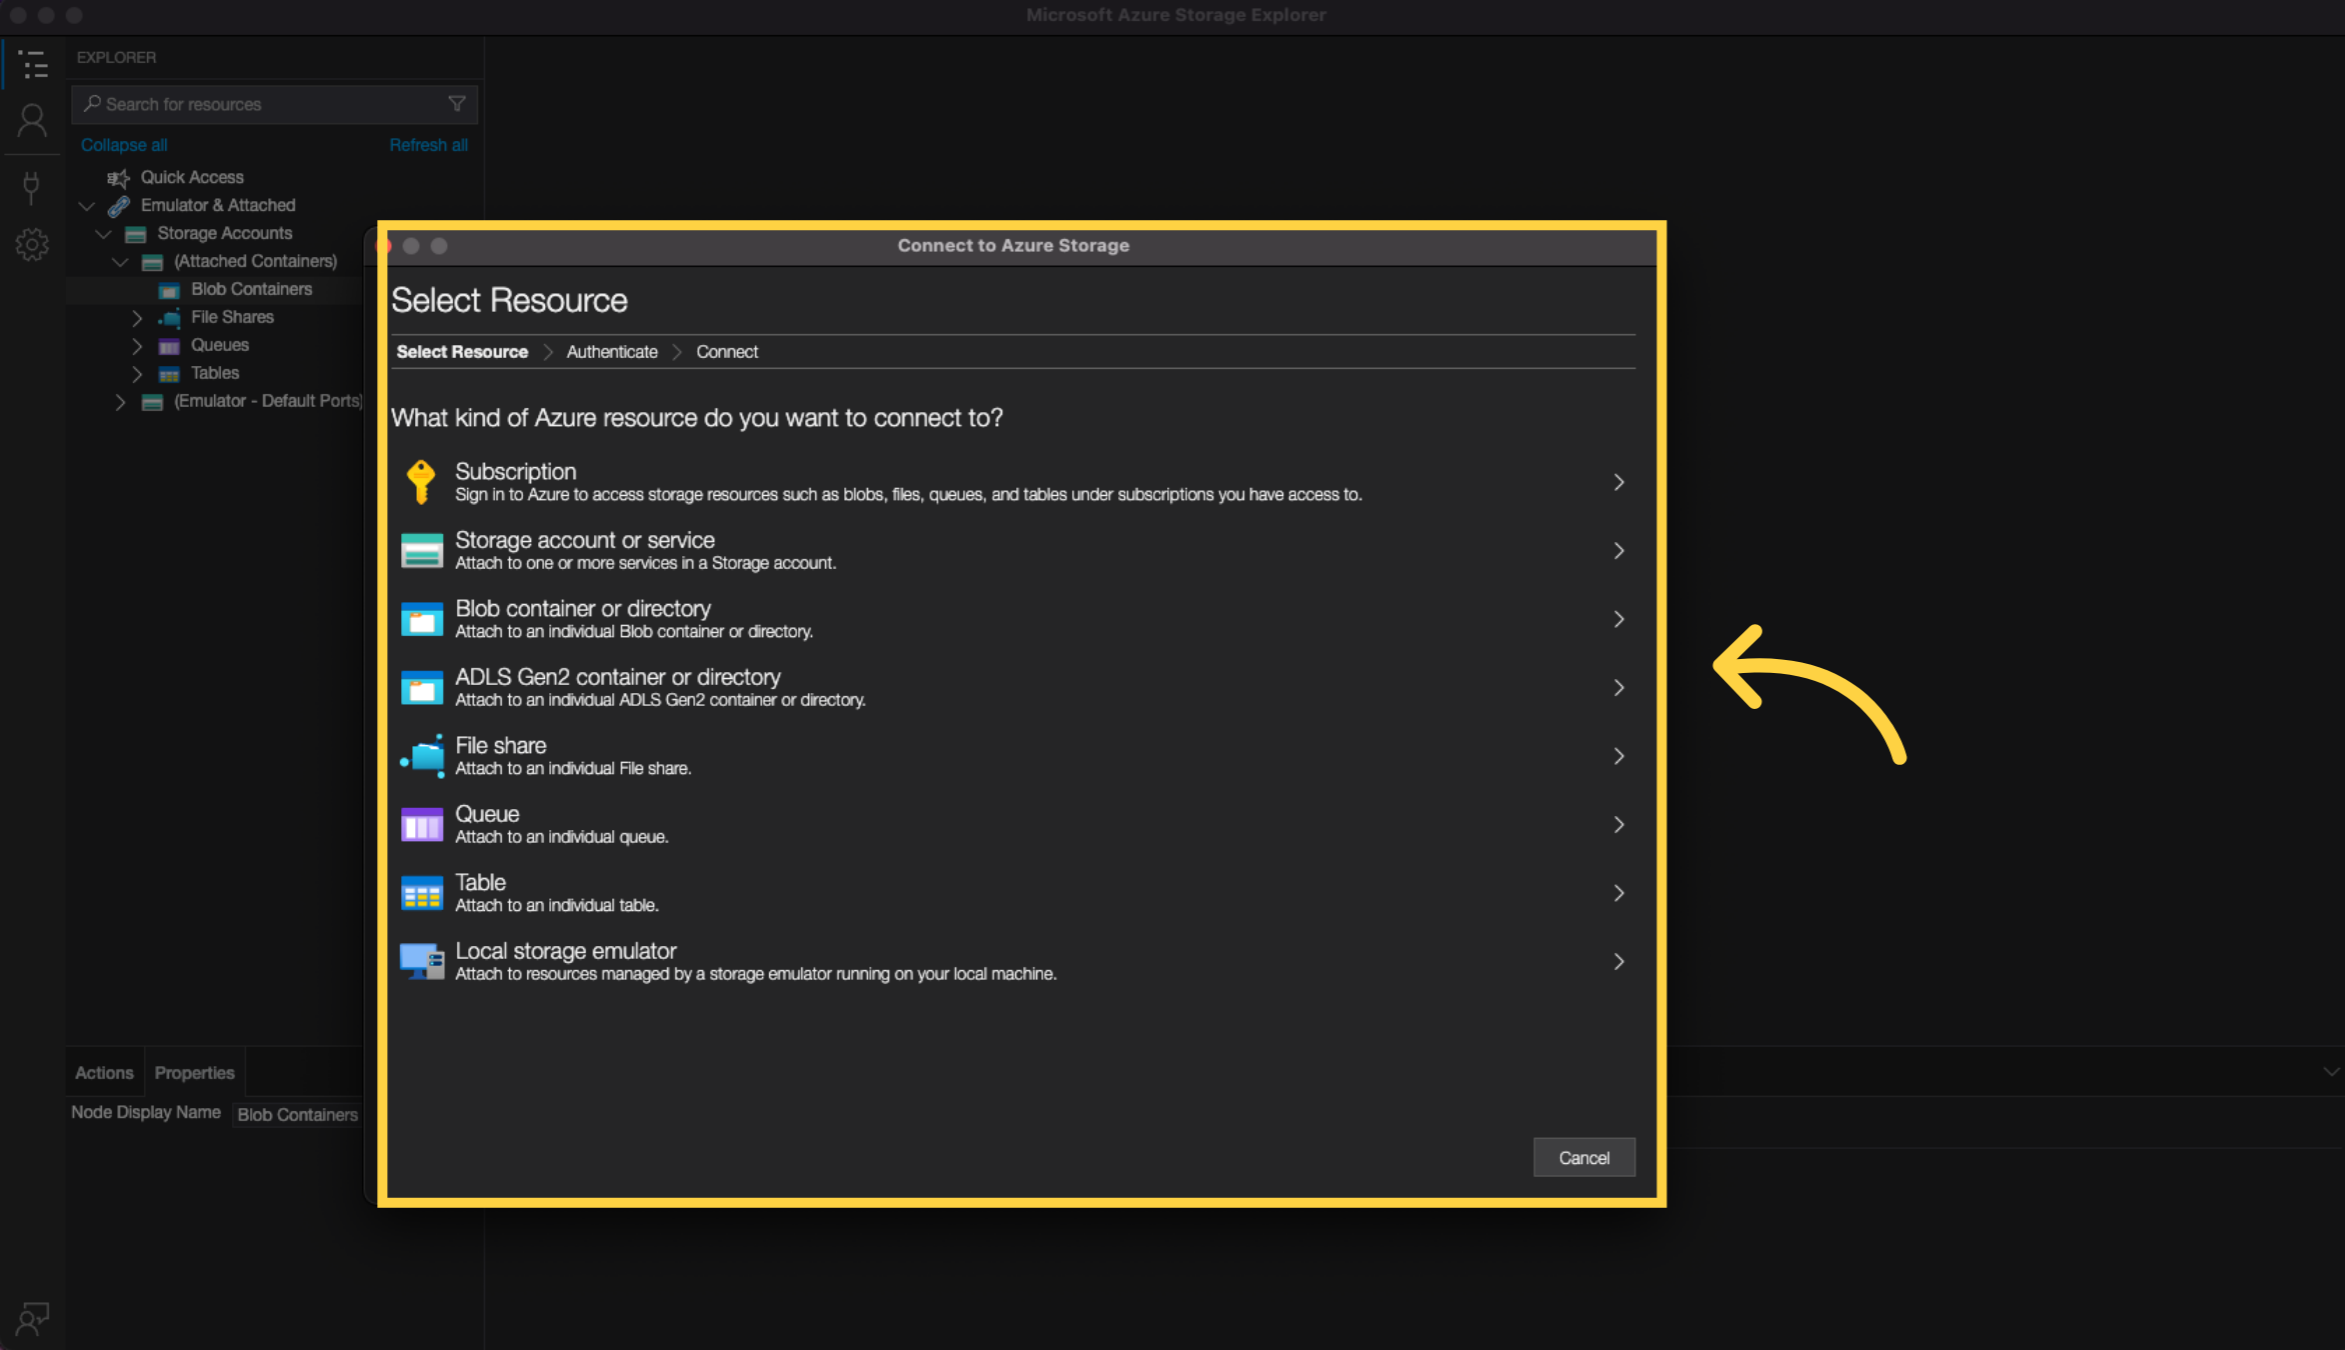
13. Click blob container or directory #
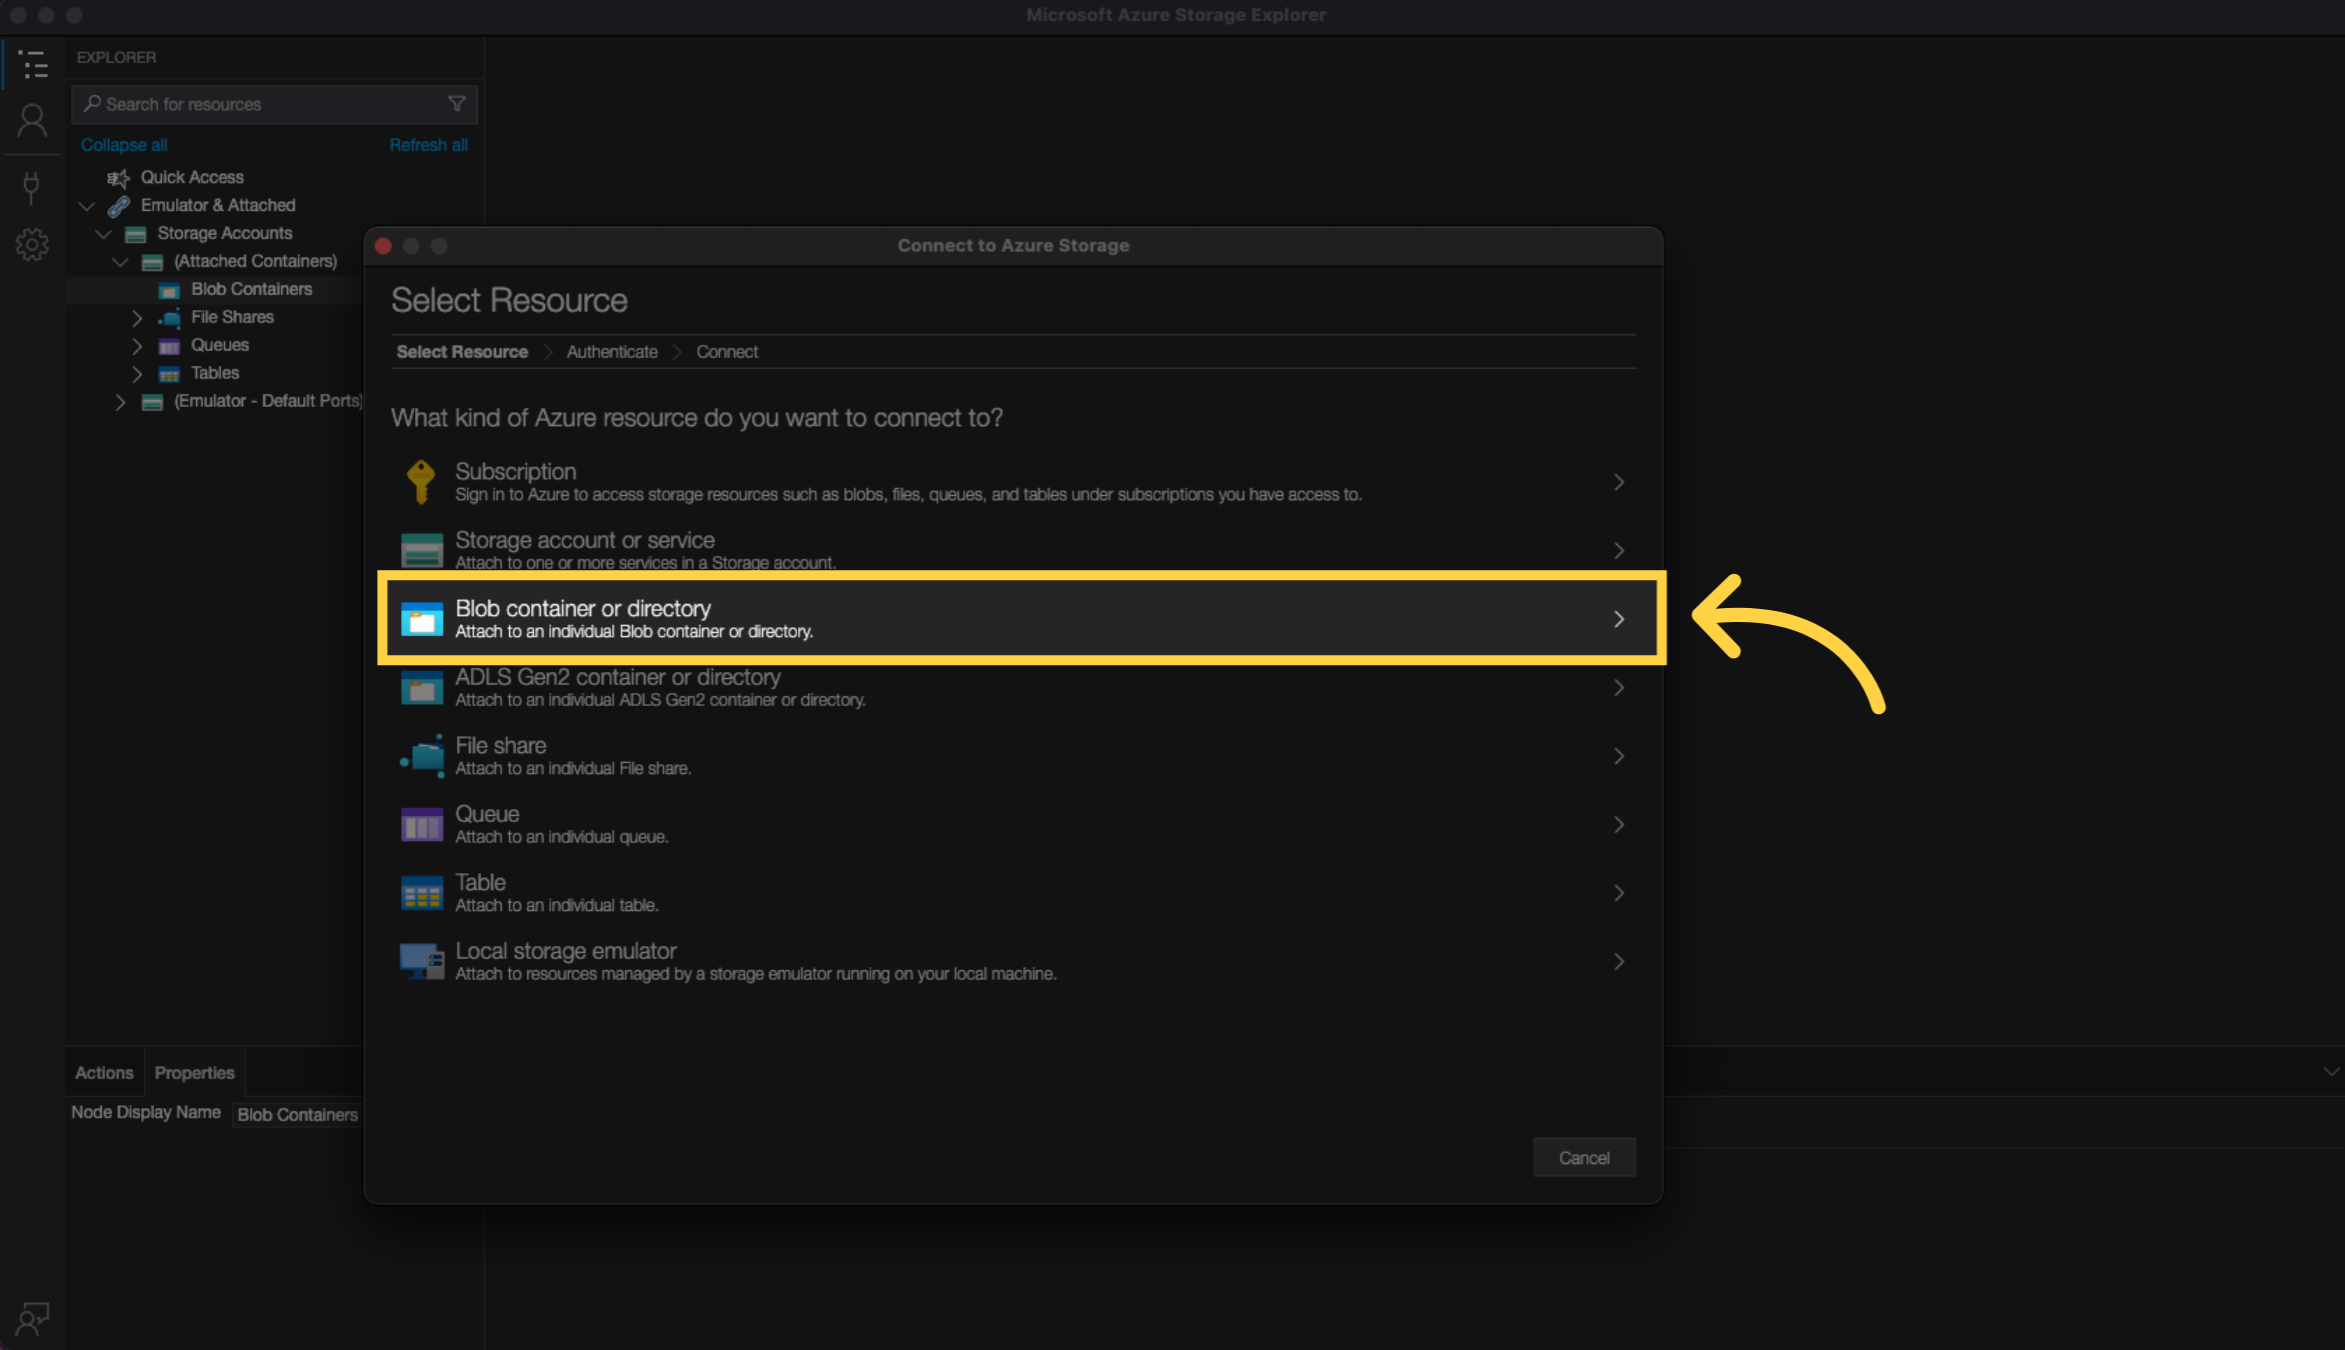
14. Choose Shared access signature URL (SAS) #
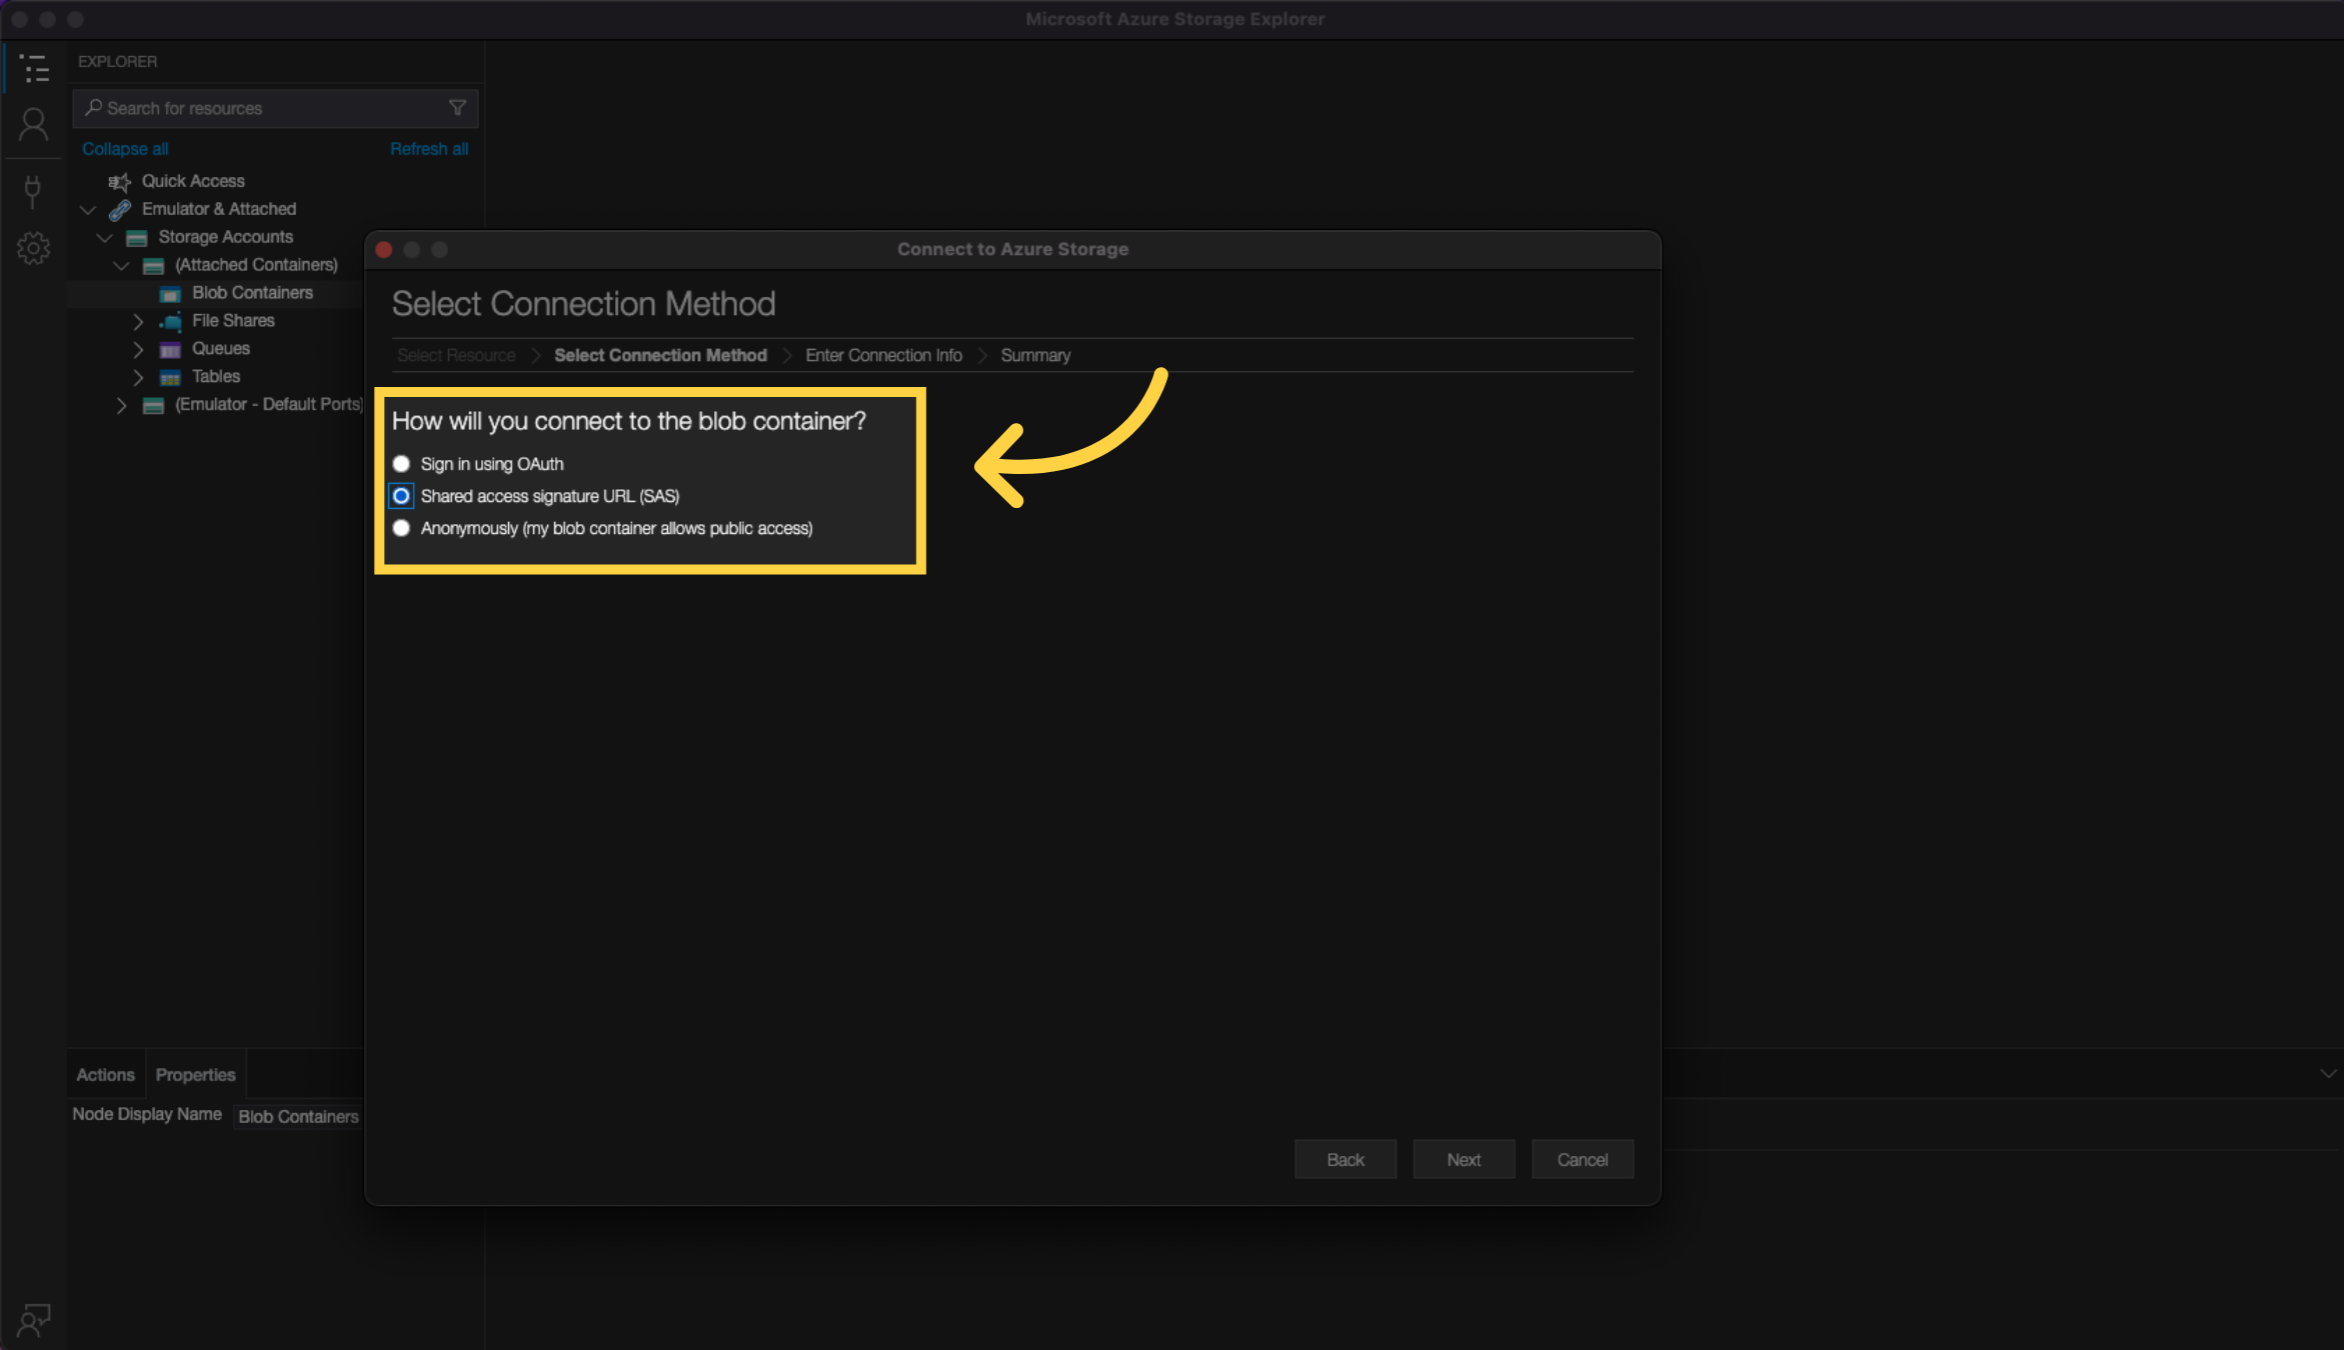
15. Paste your SAS Token #
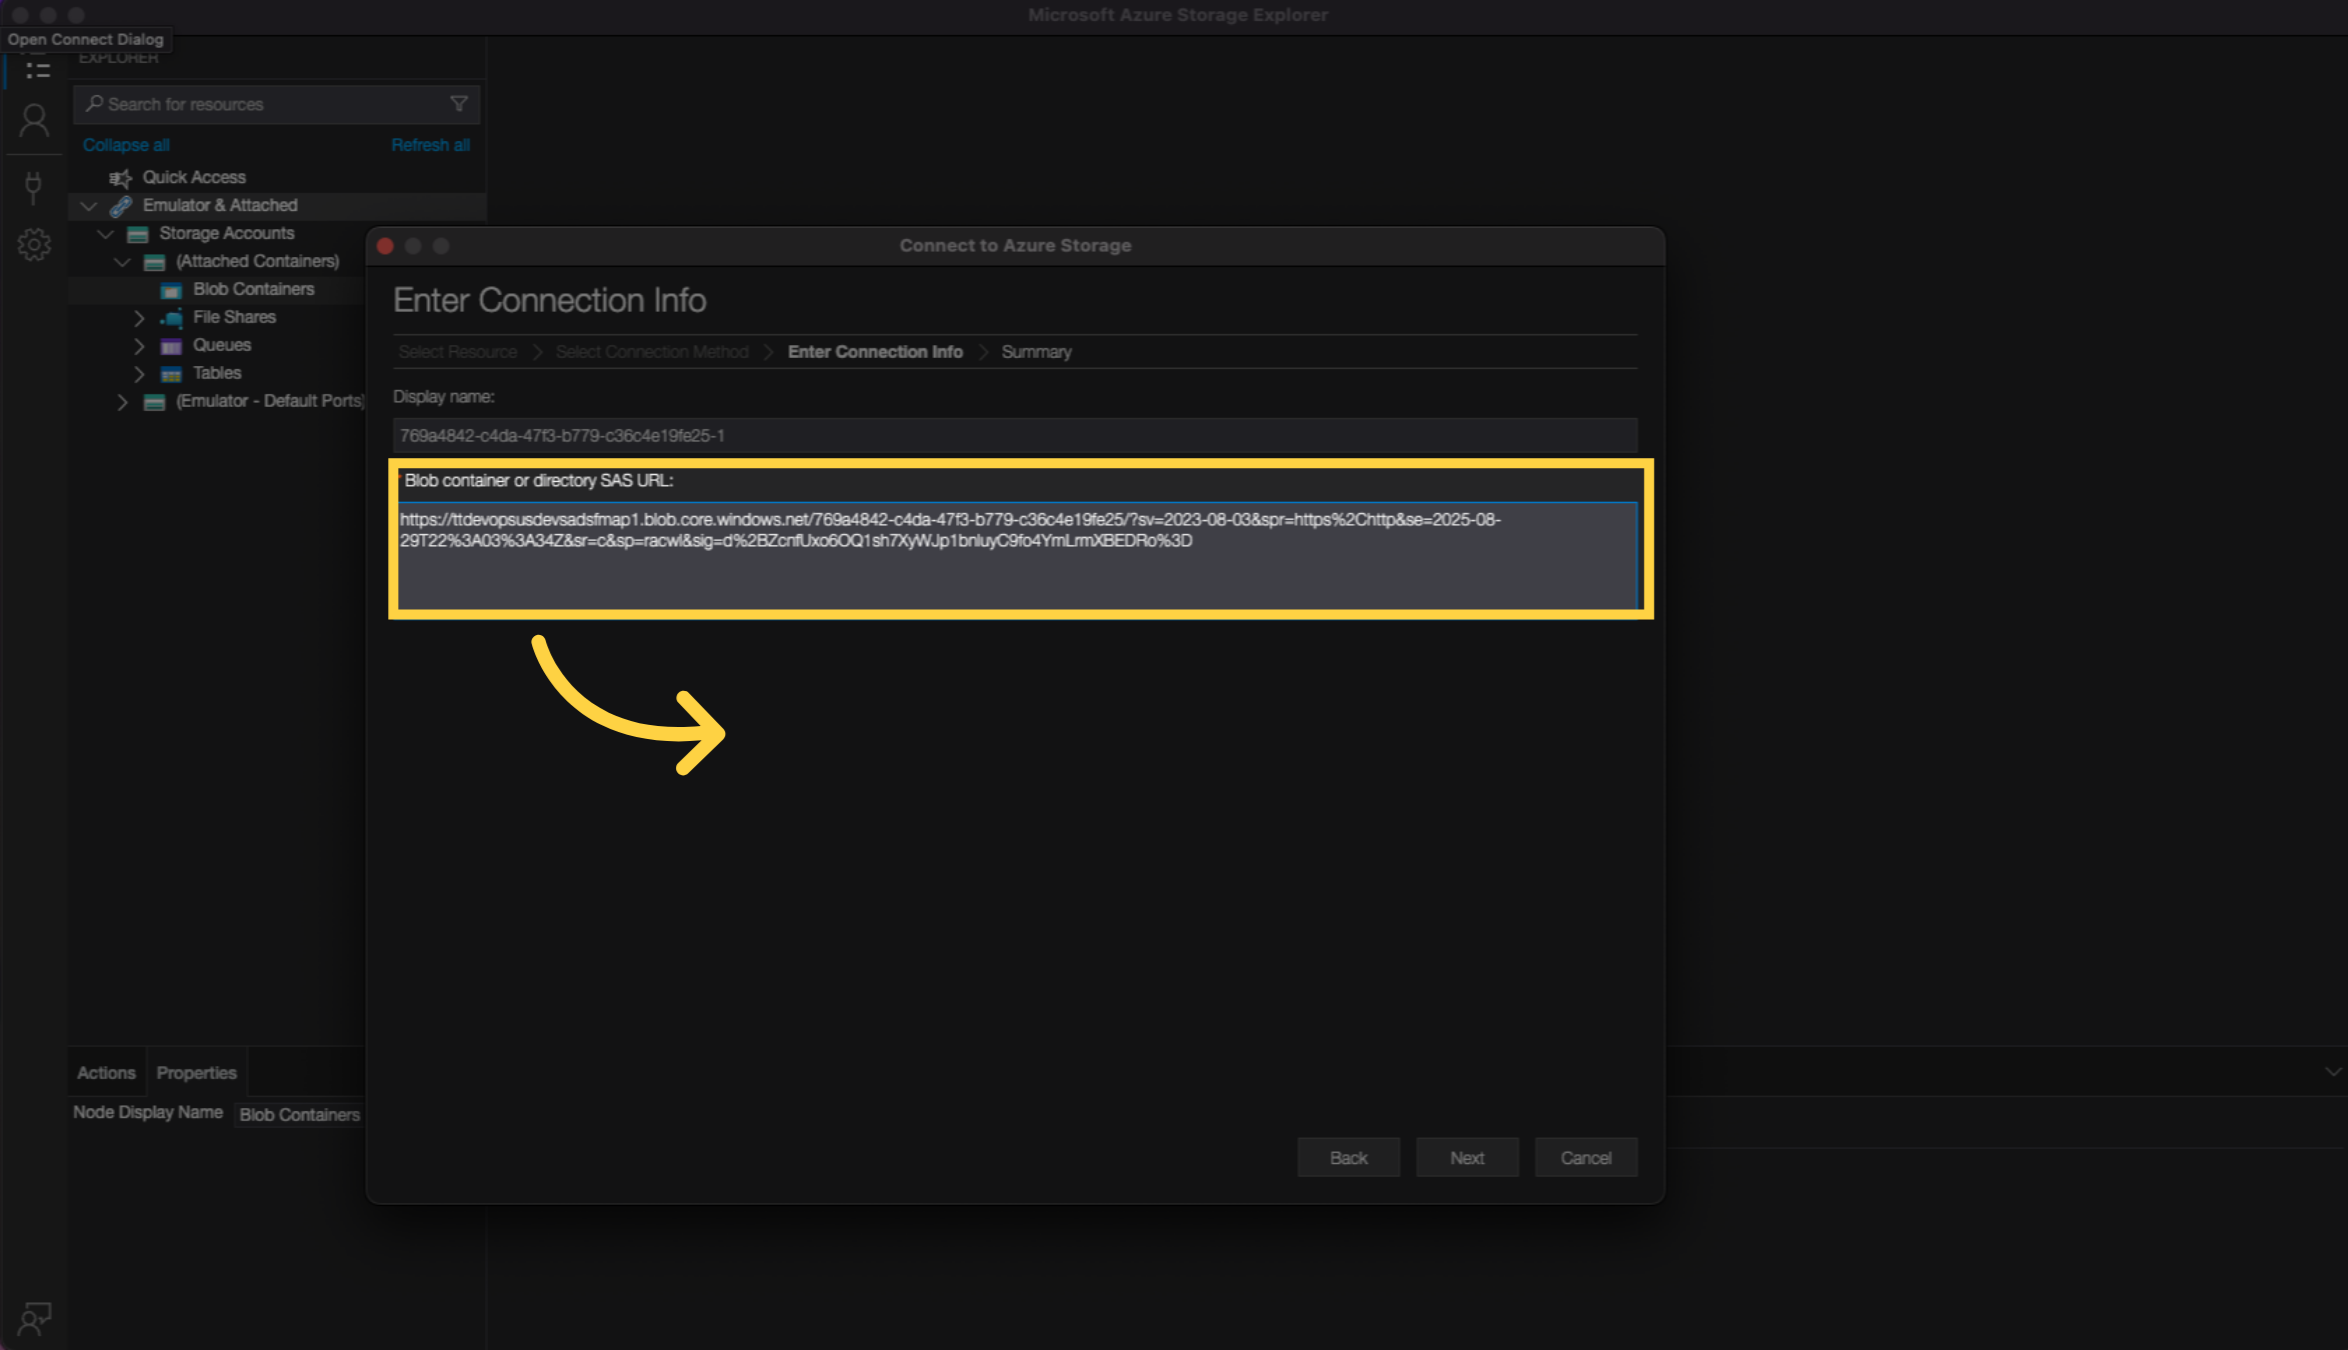
16. Click Next #
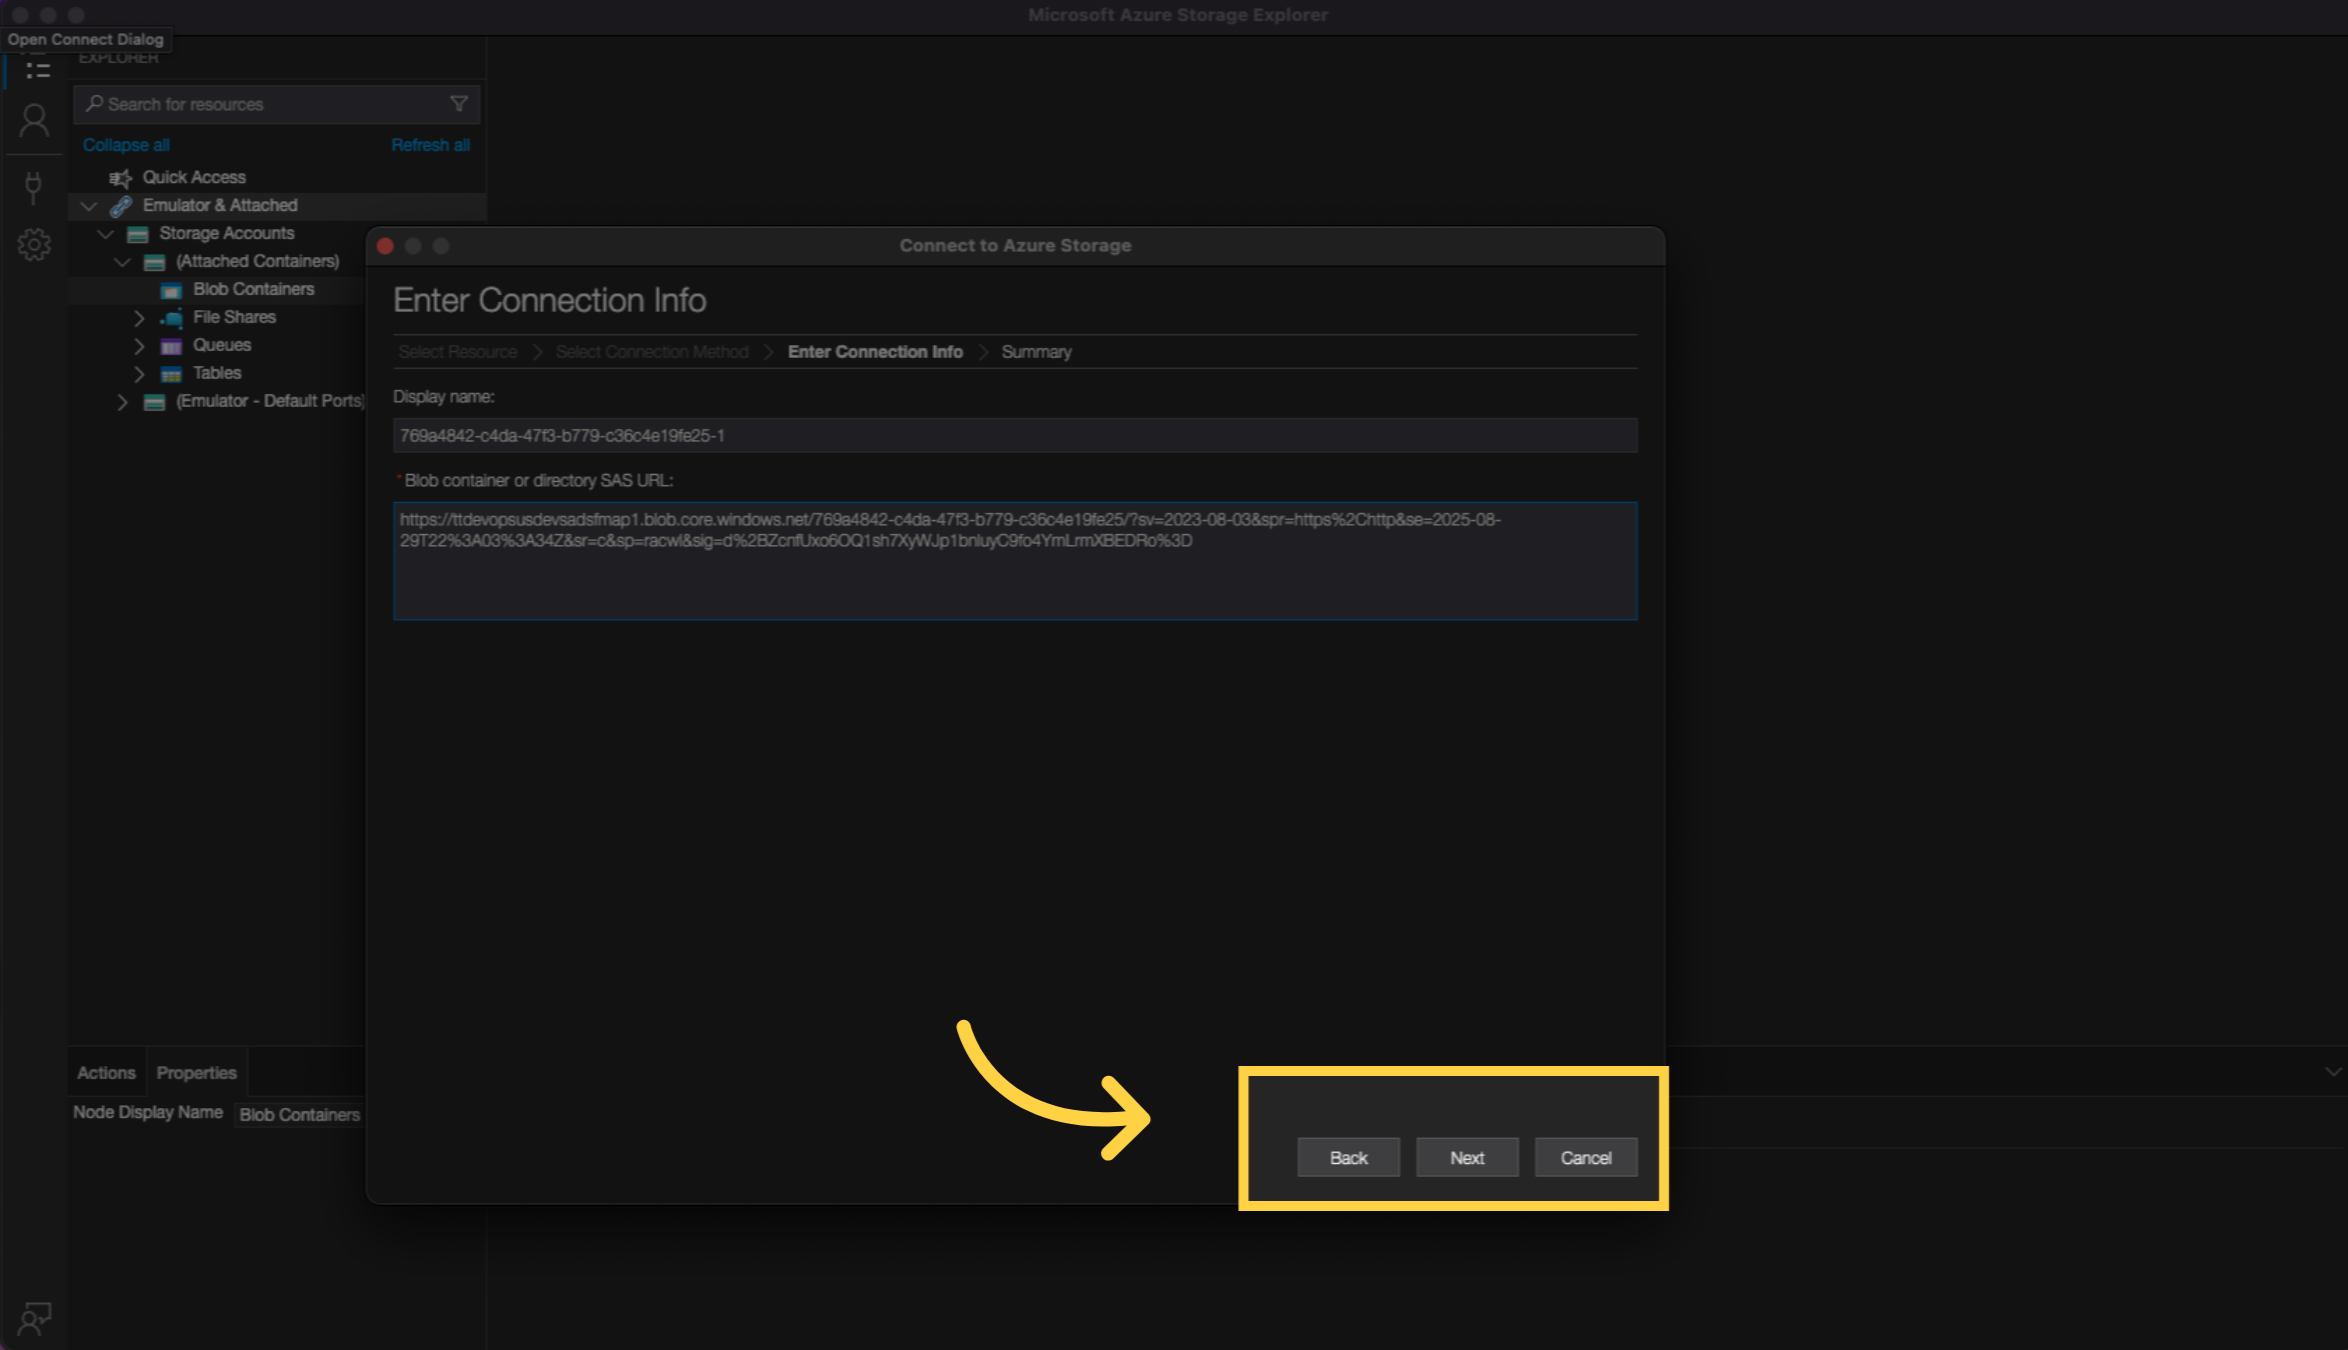
17. Click Connect #
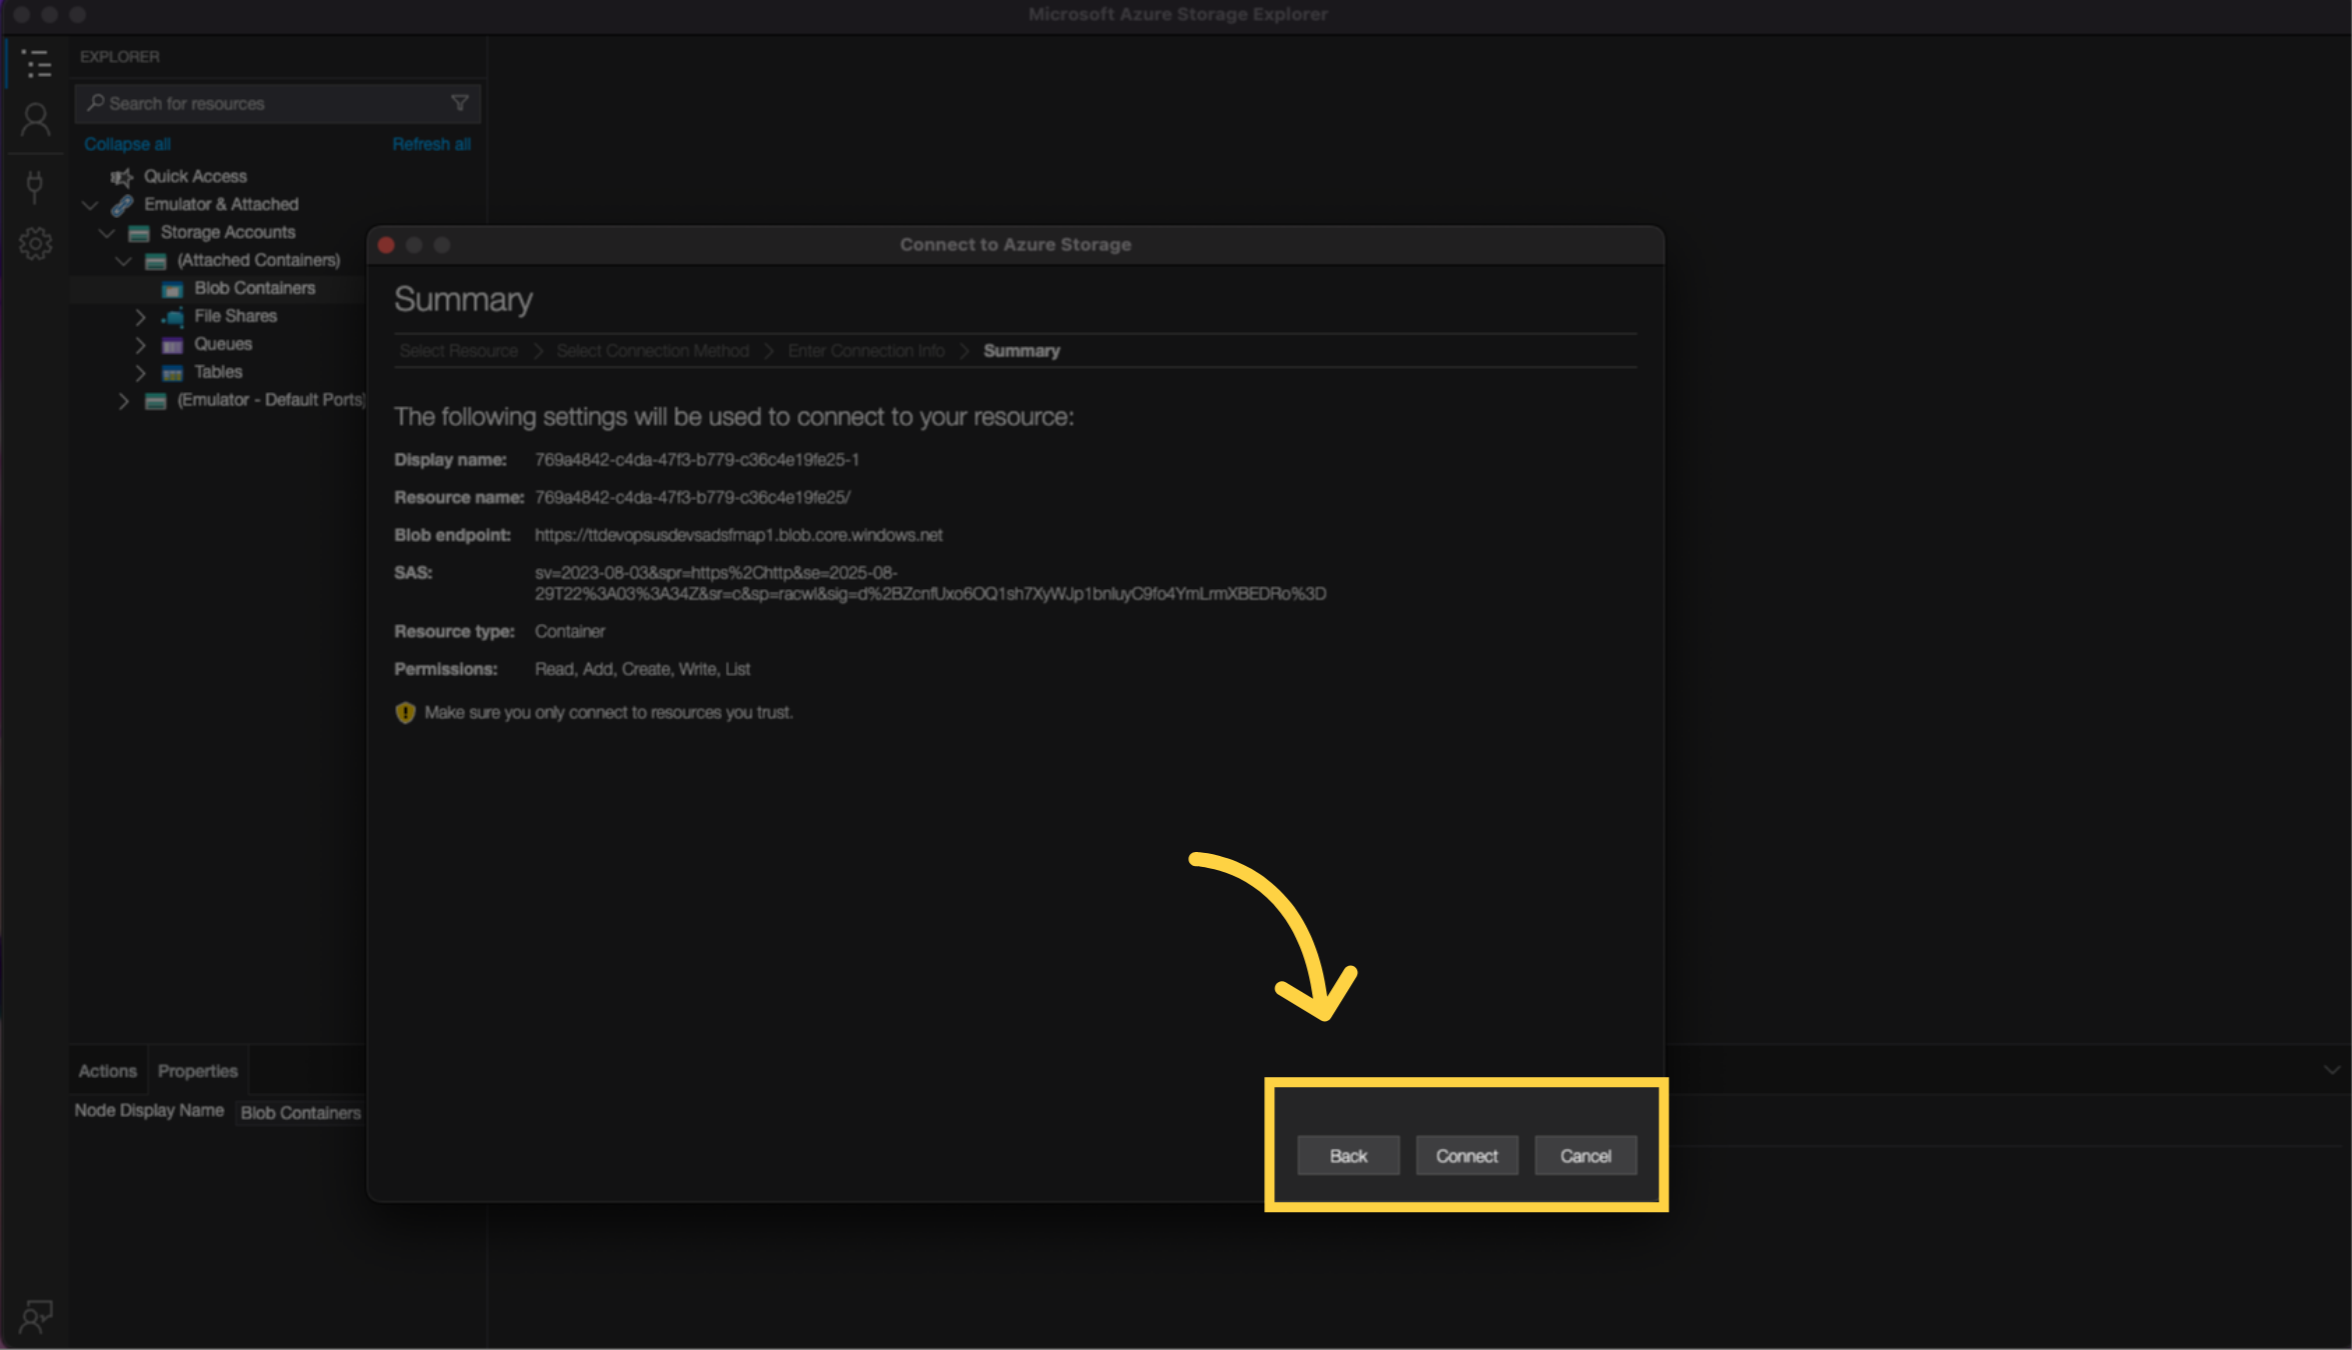
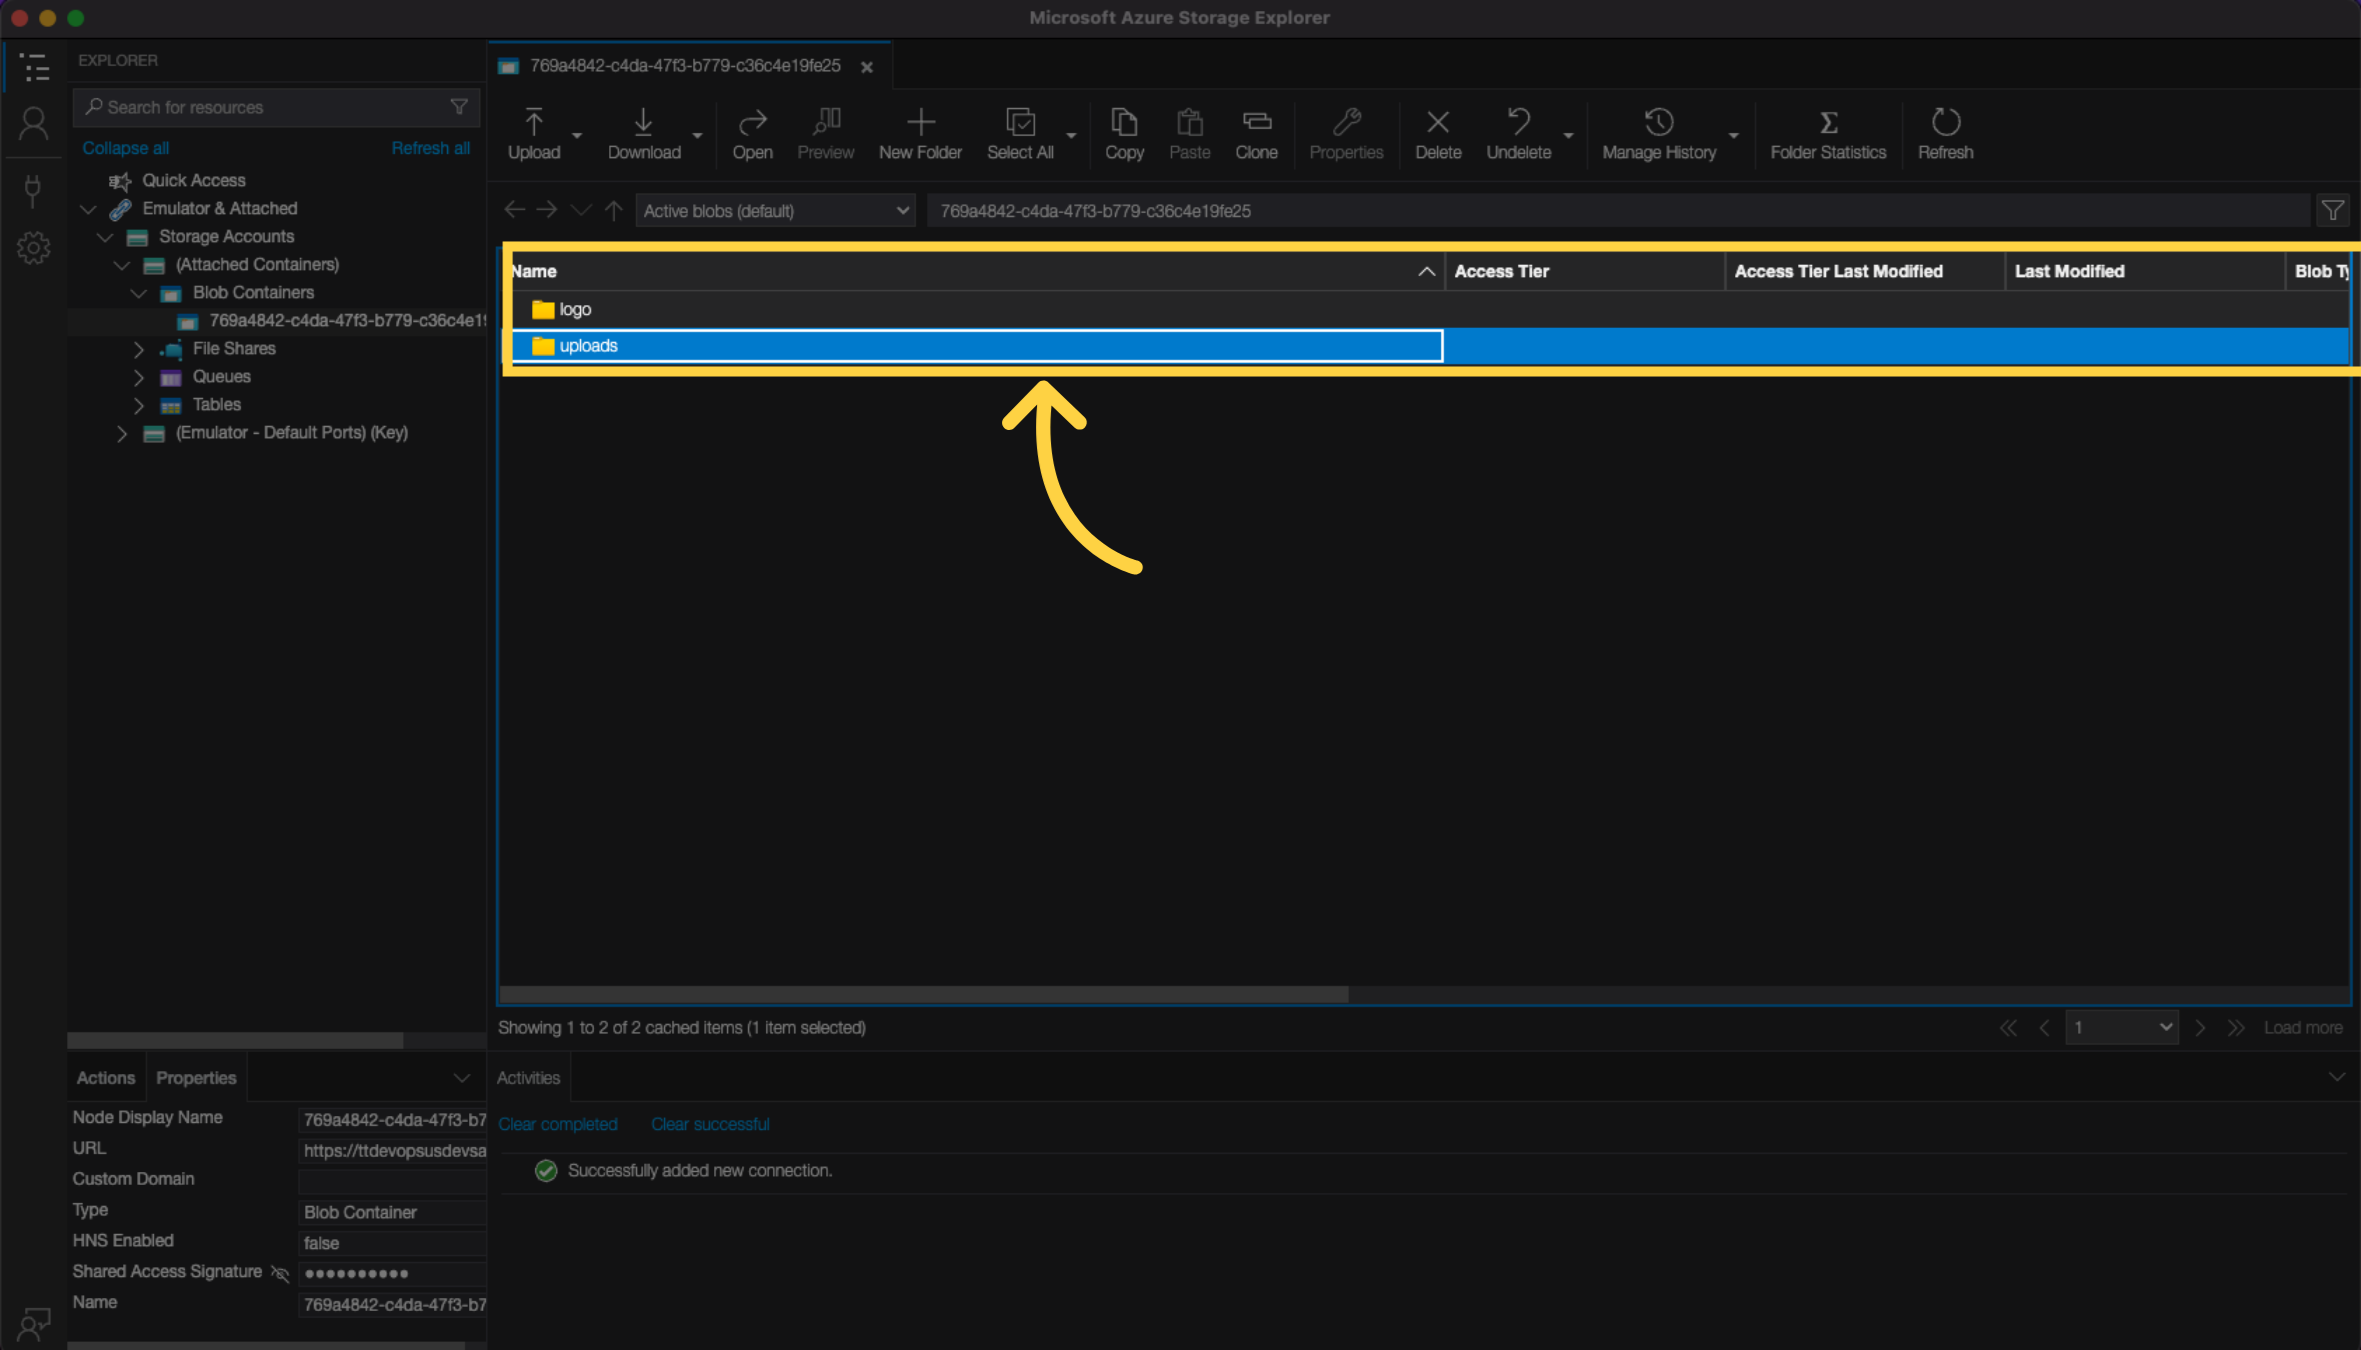
18. Double click to open the uploads folder in your blob container #
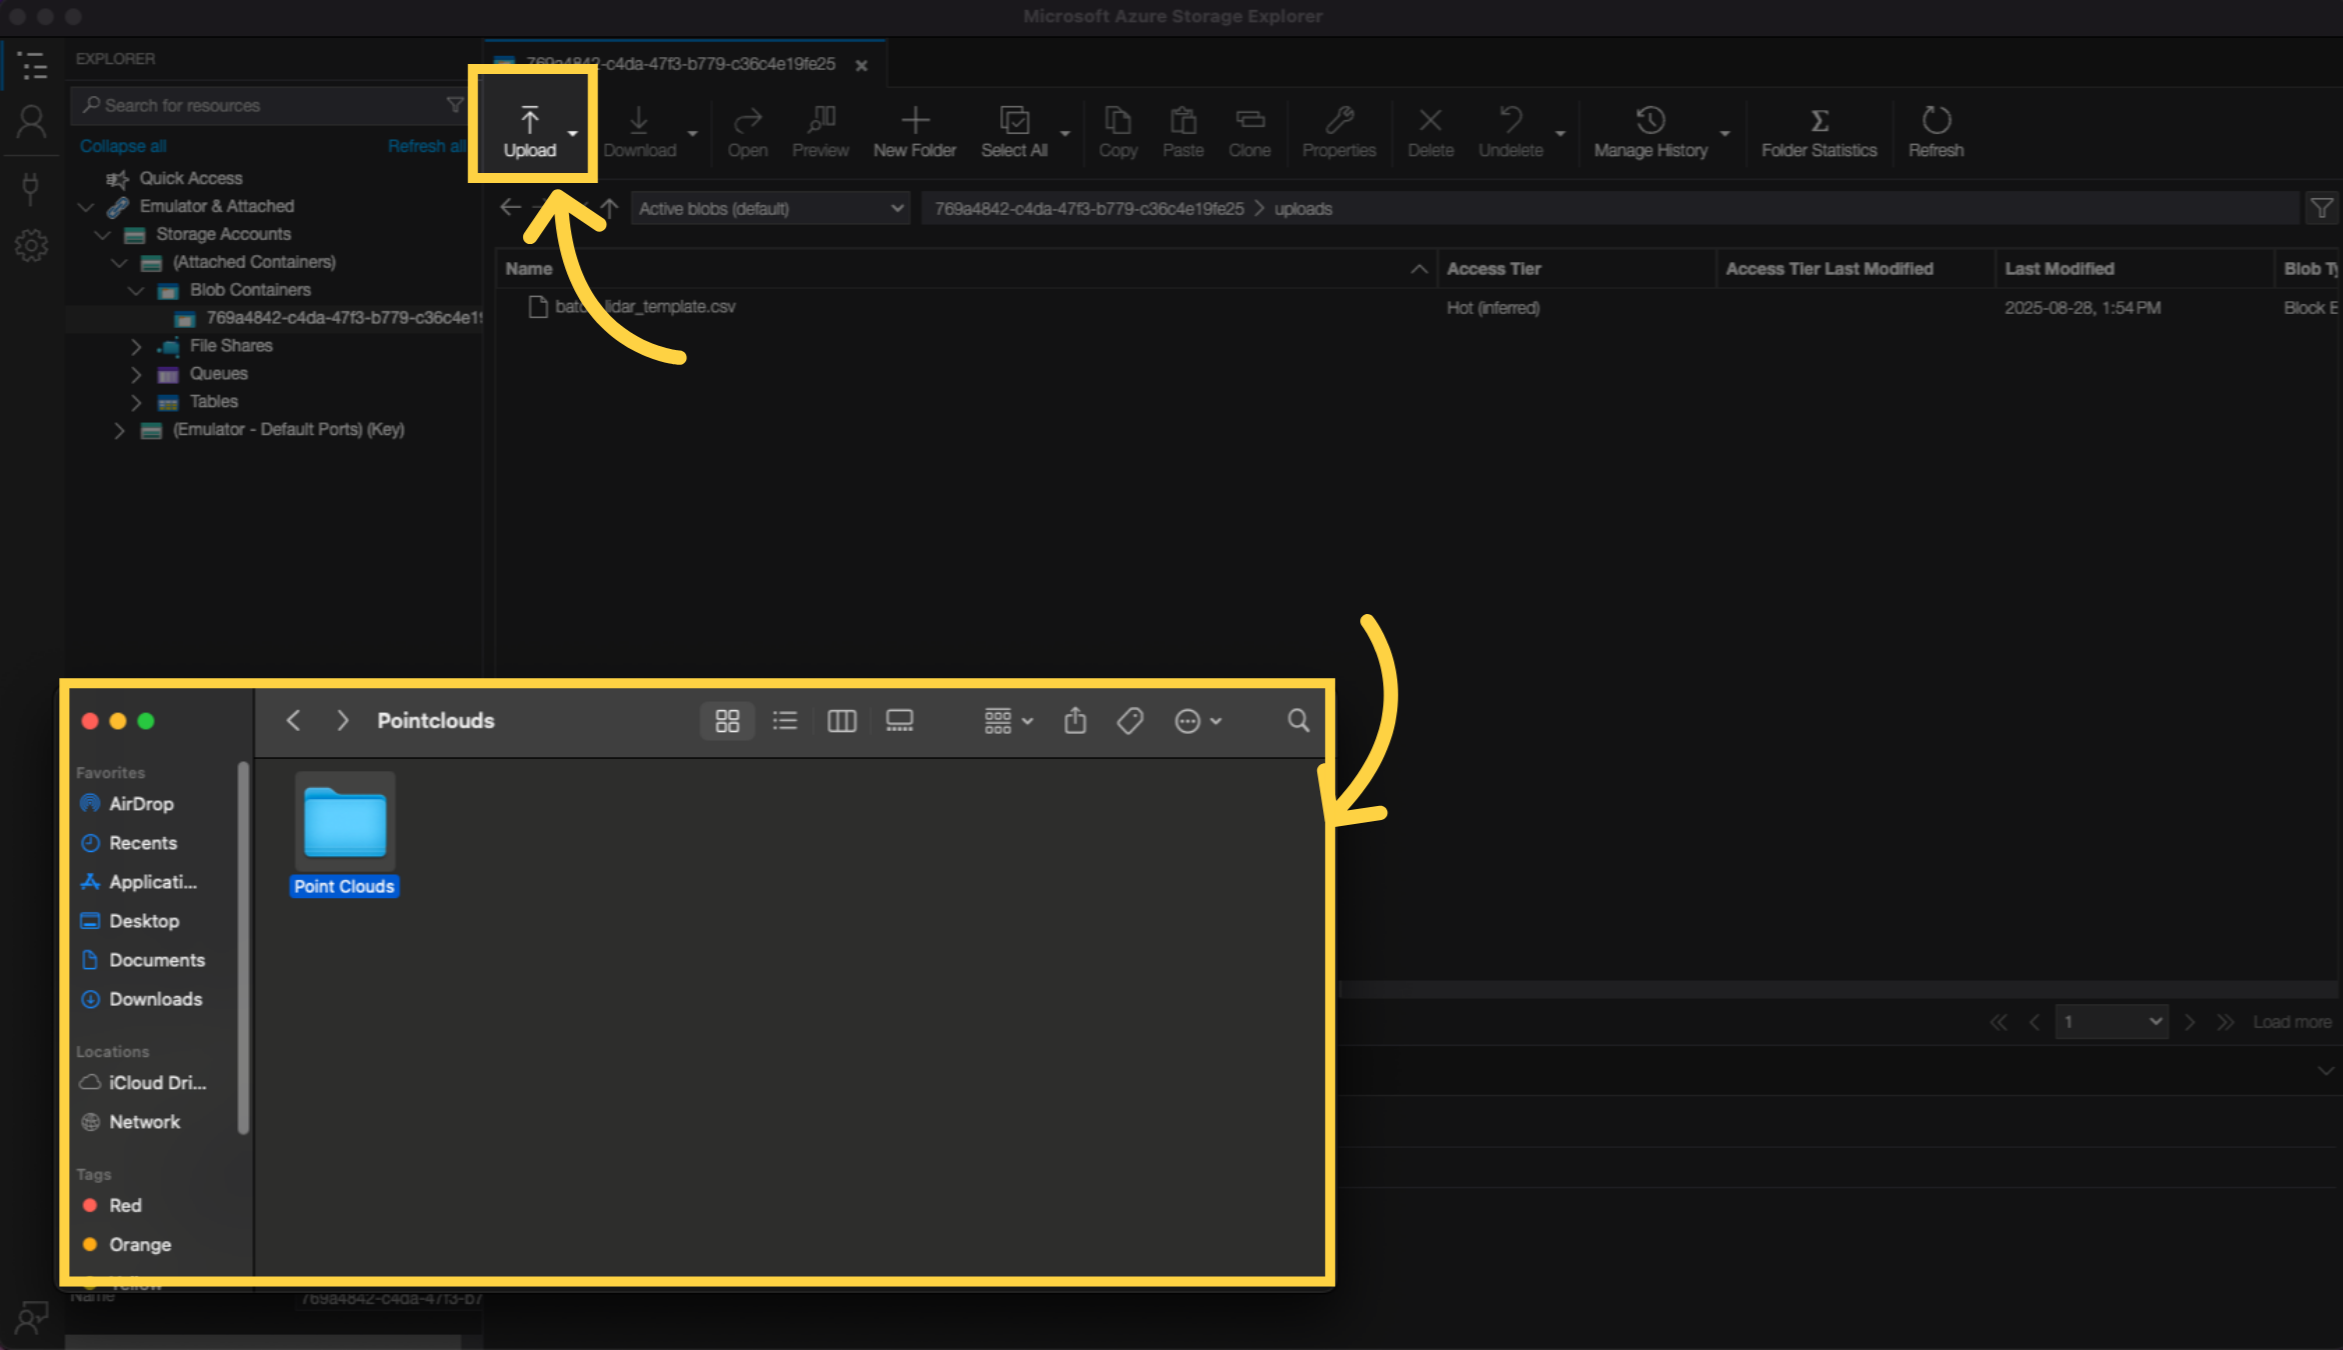
19. Drag and drop or use the upload button to upload your pointclouds #
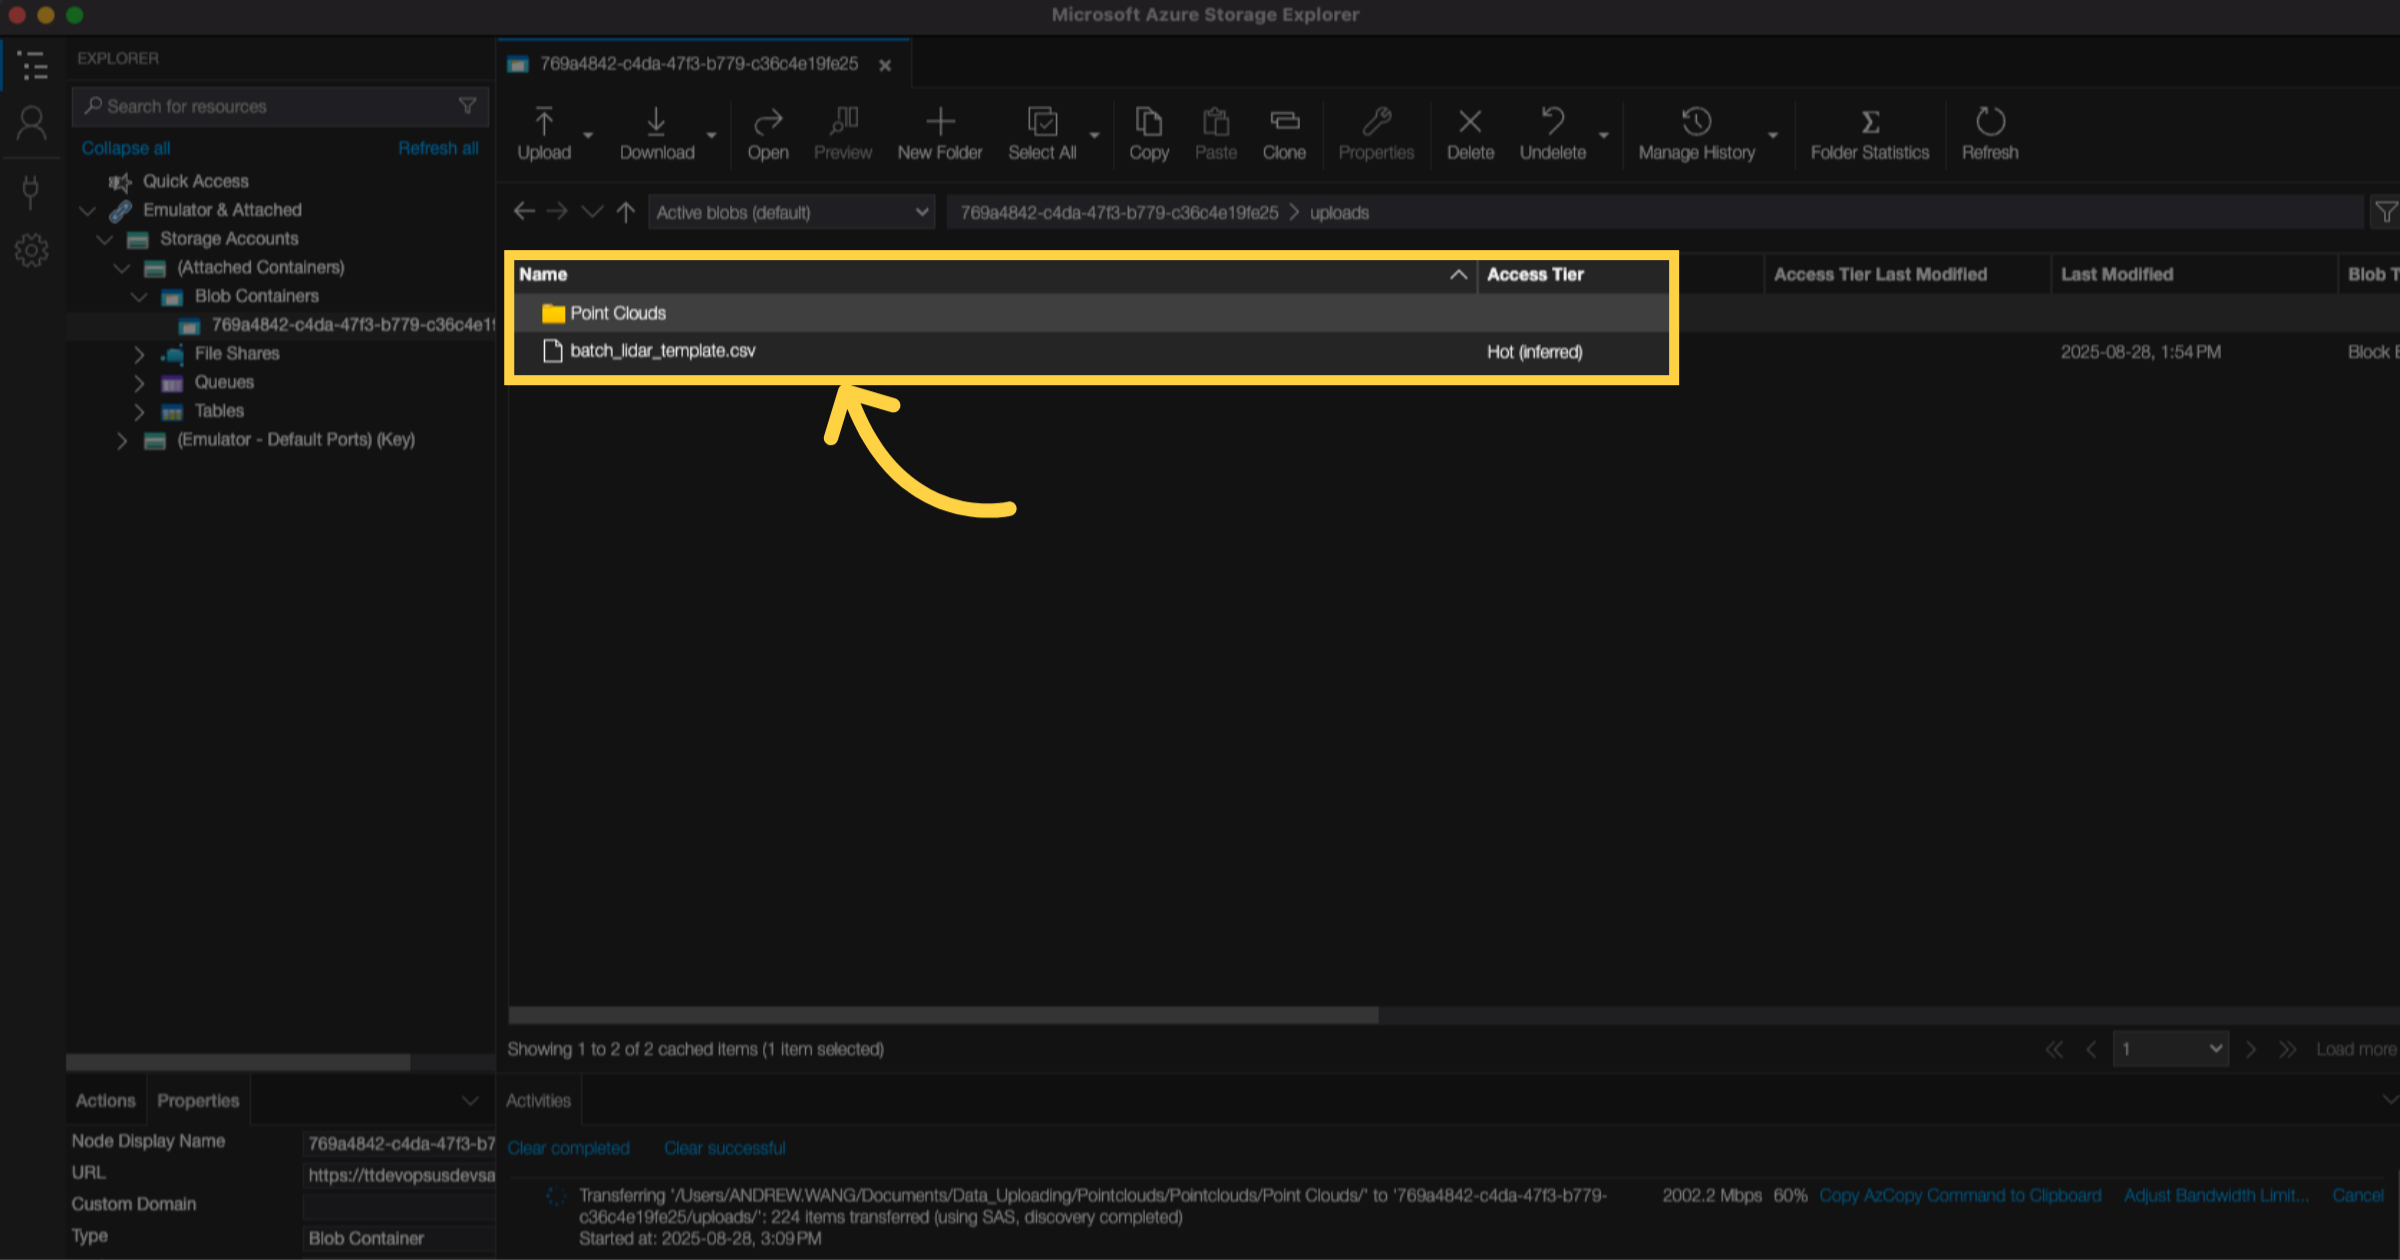
20. Your Point Clouds Folder appears here #
21. Go back to the FusionMap #
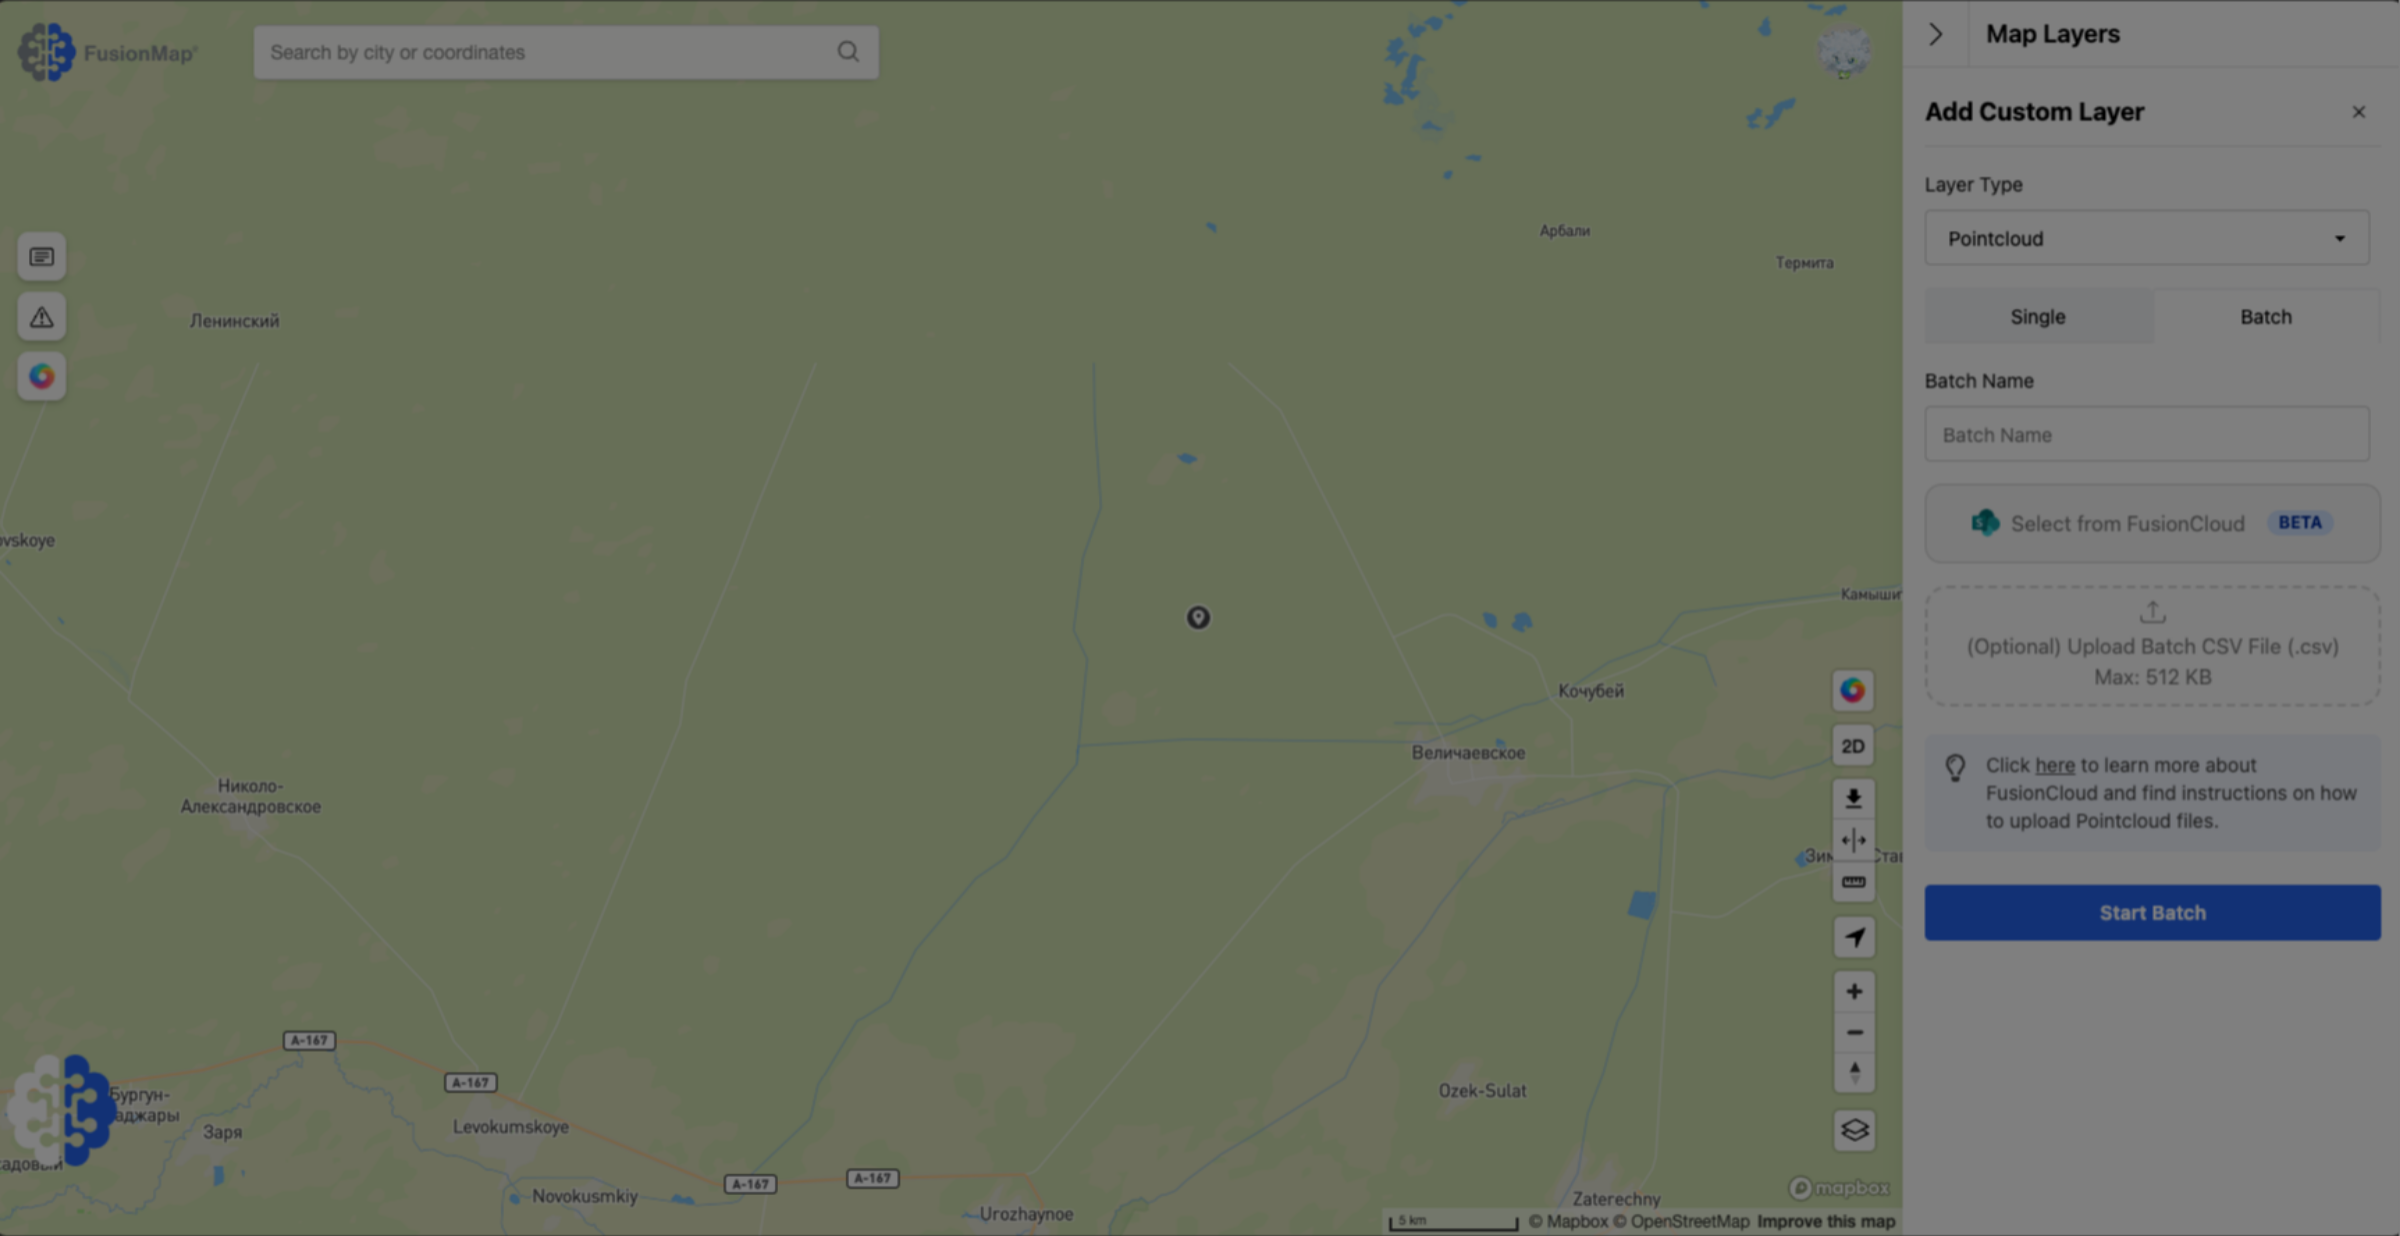
22. Click “Select From FusionCloud” button #
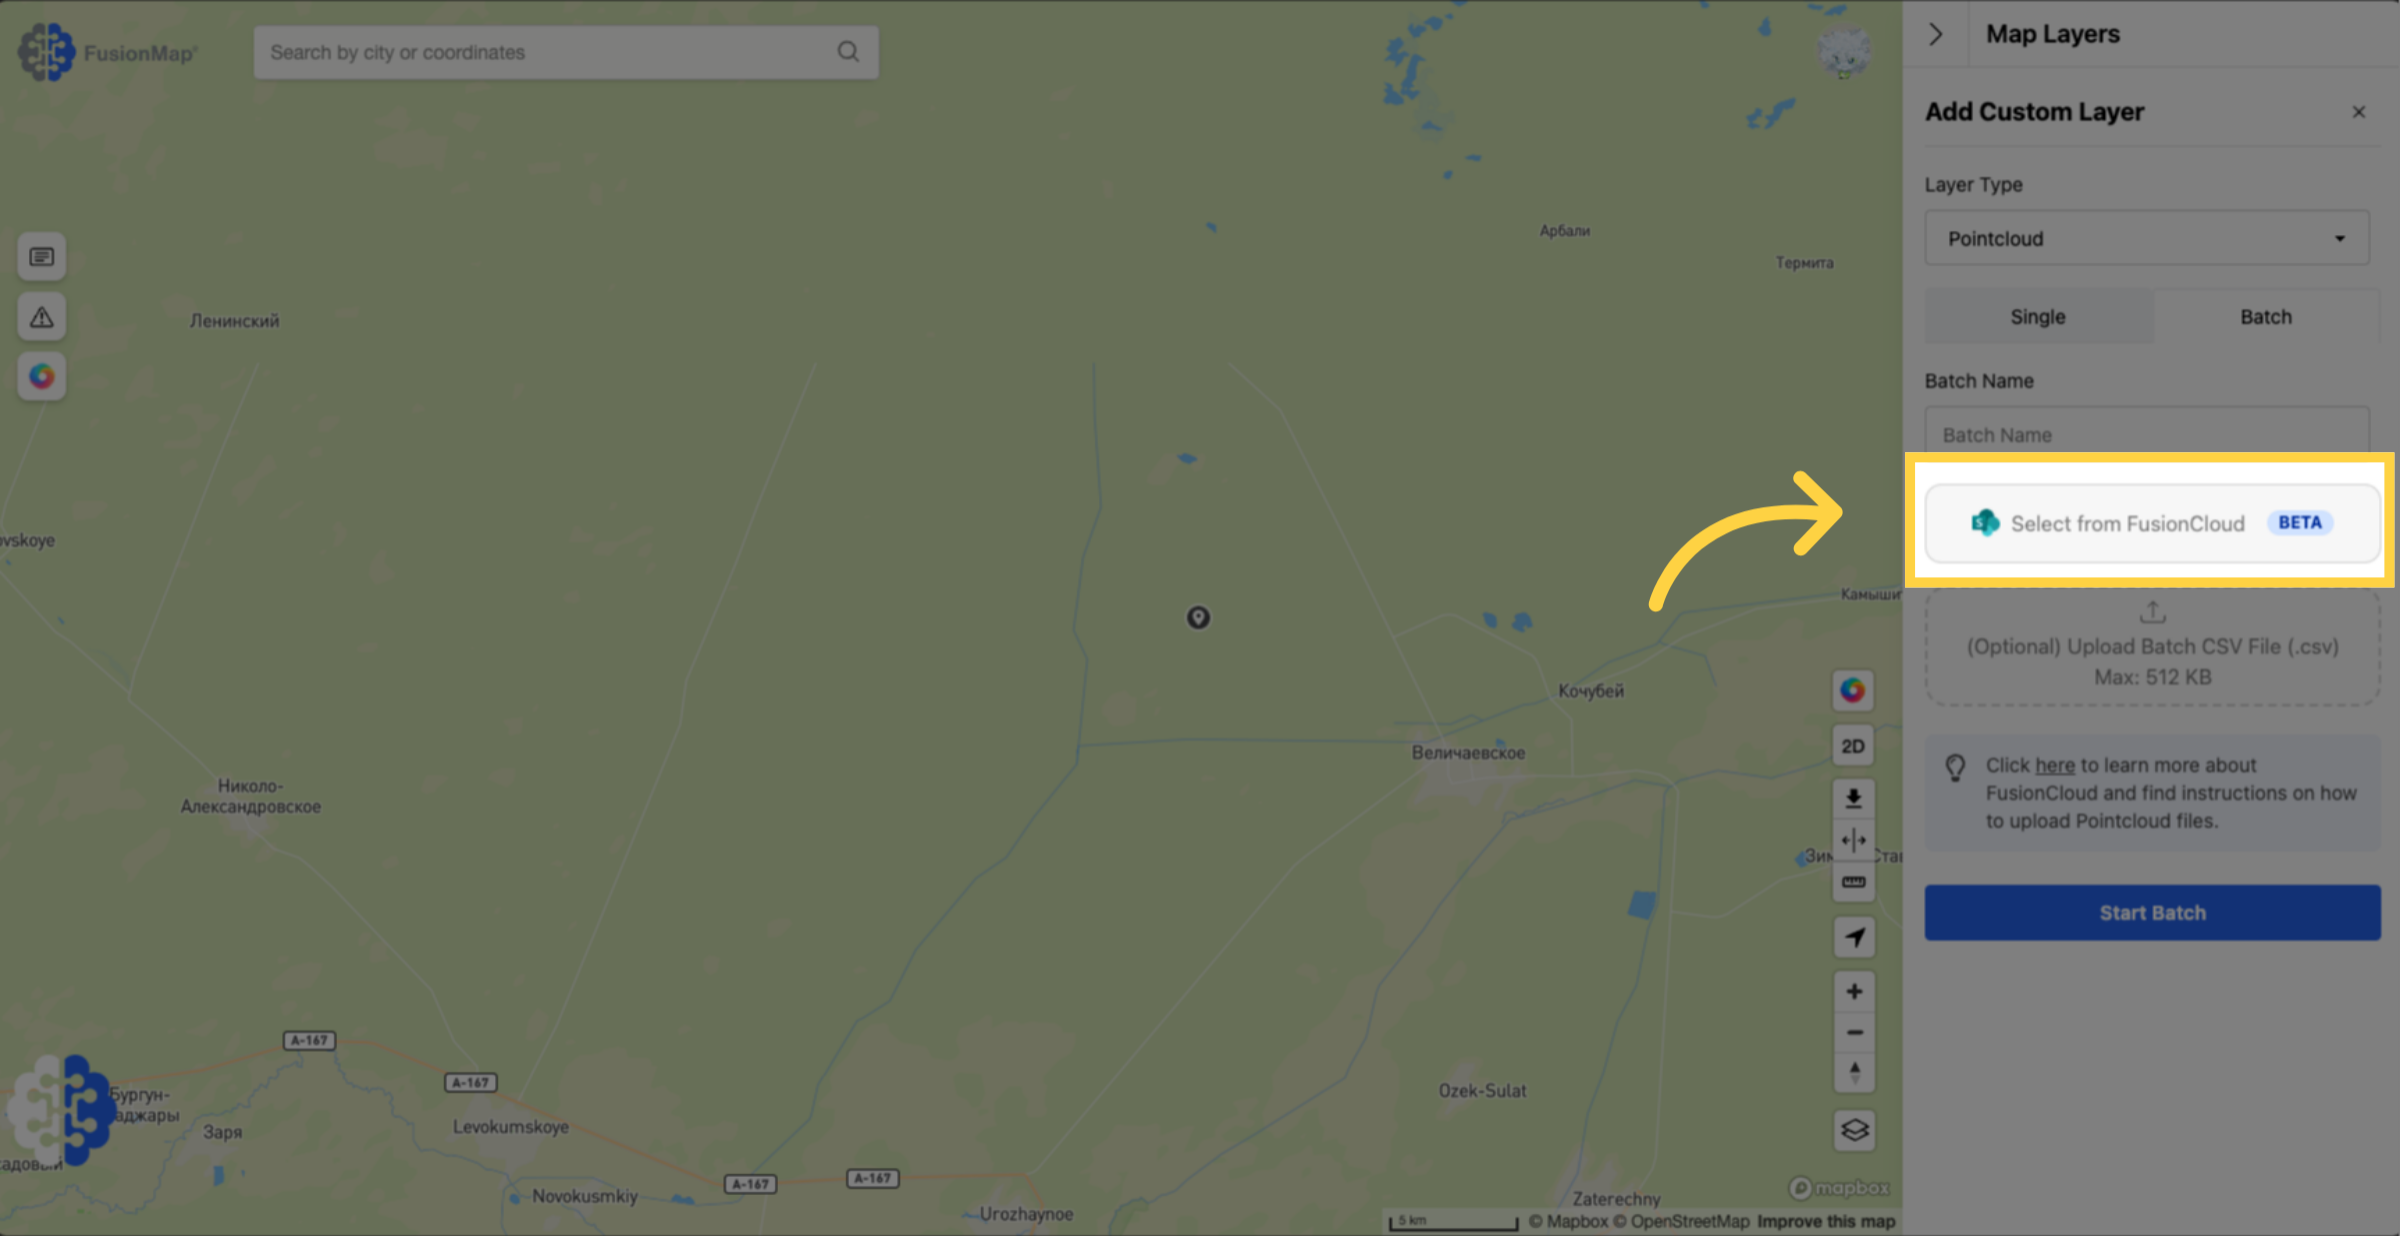
23. The dialog box opens up with your uploaded pointclouds #
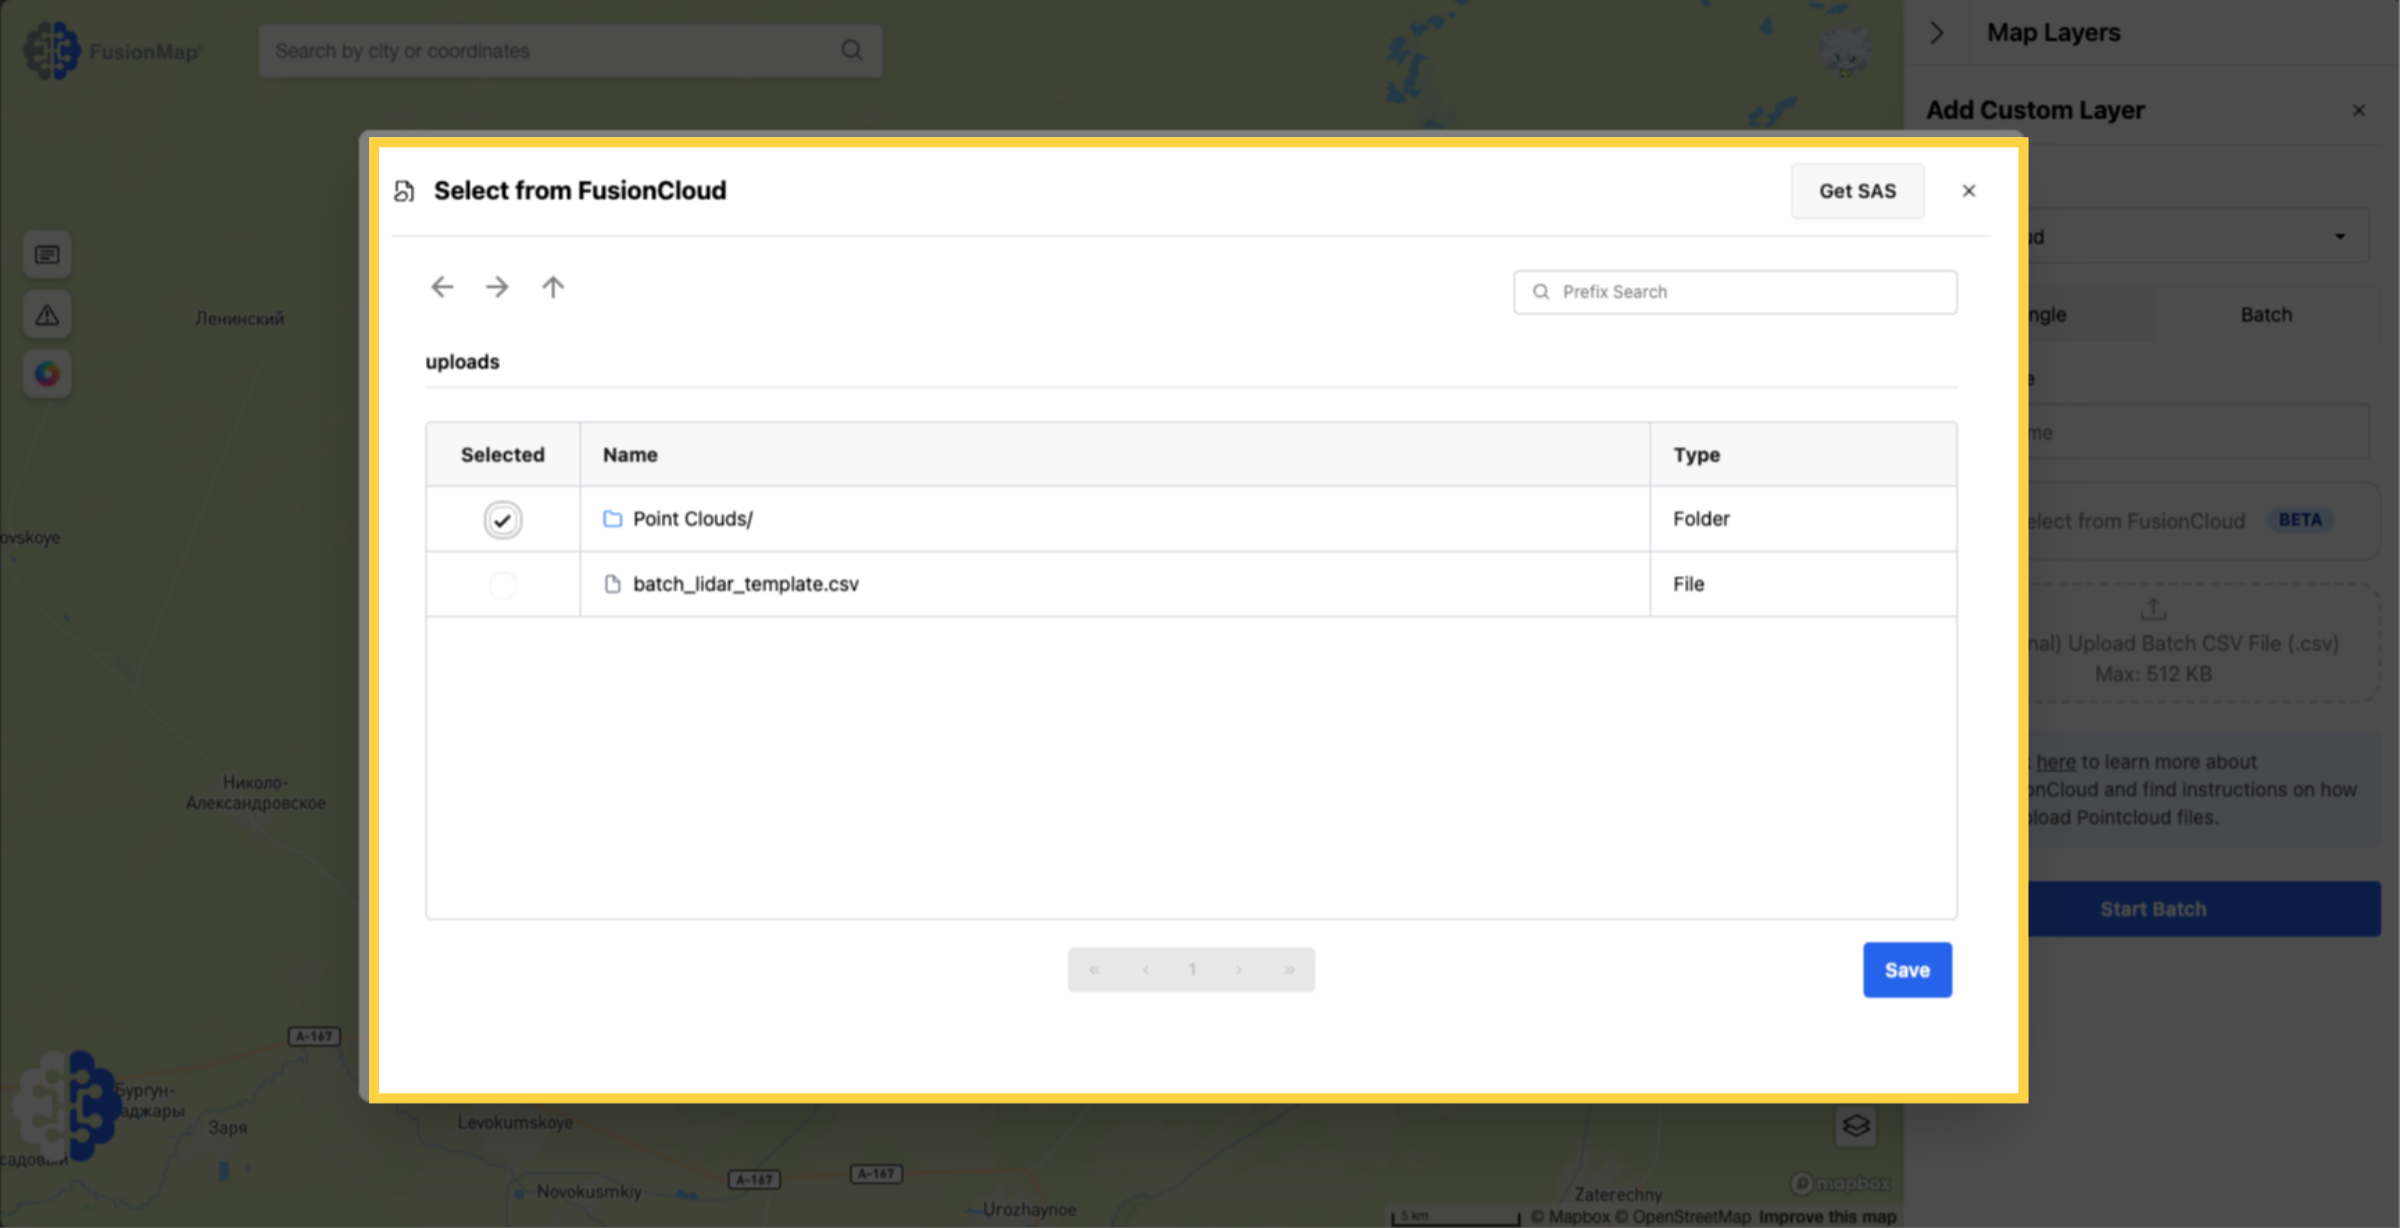
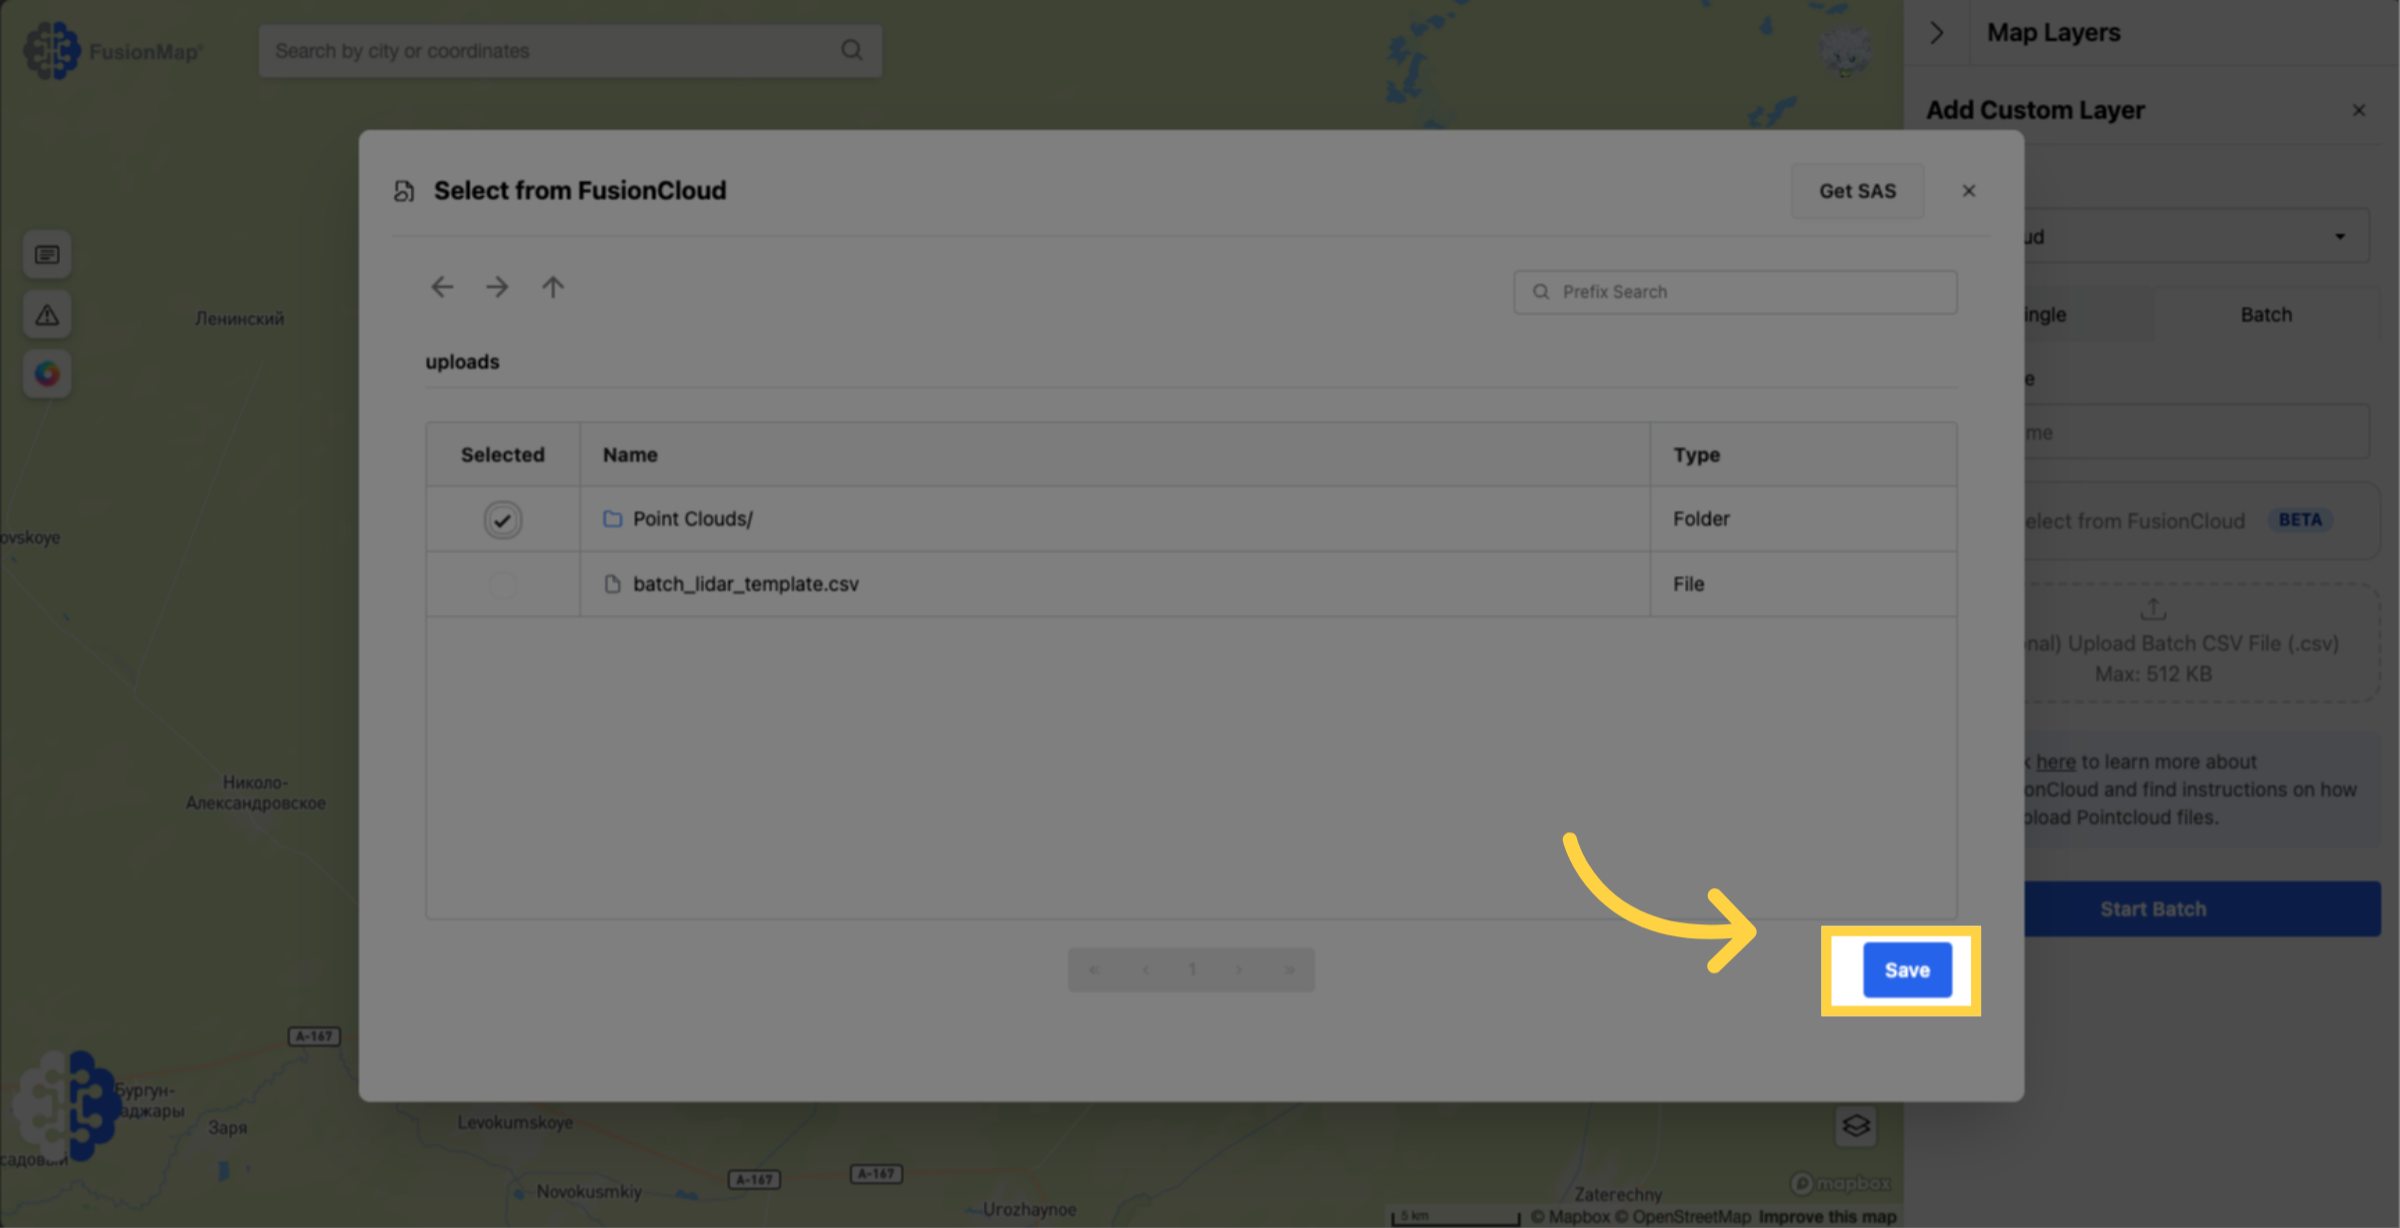
24. Select your pointclouds #
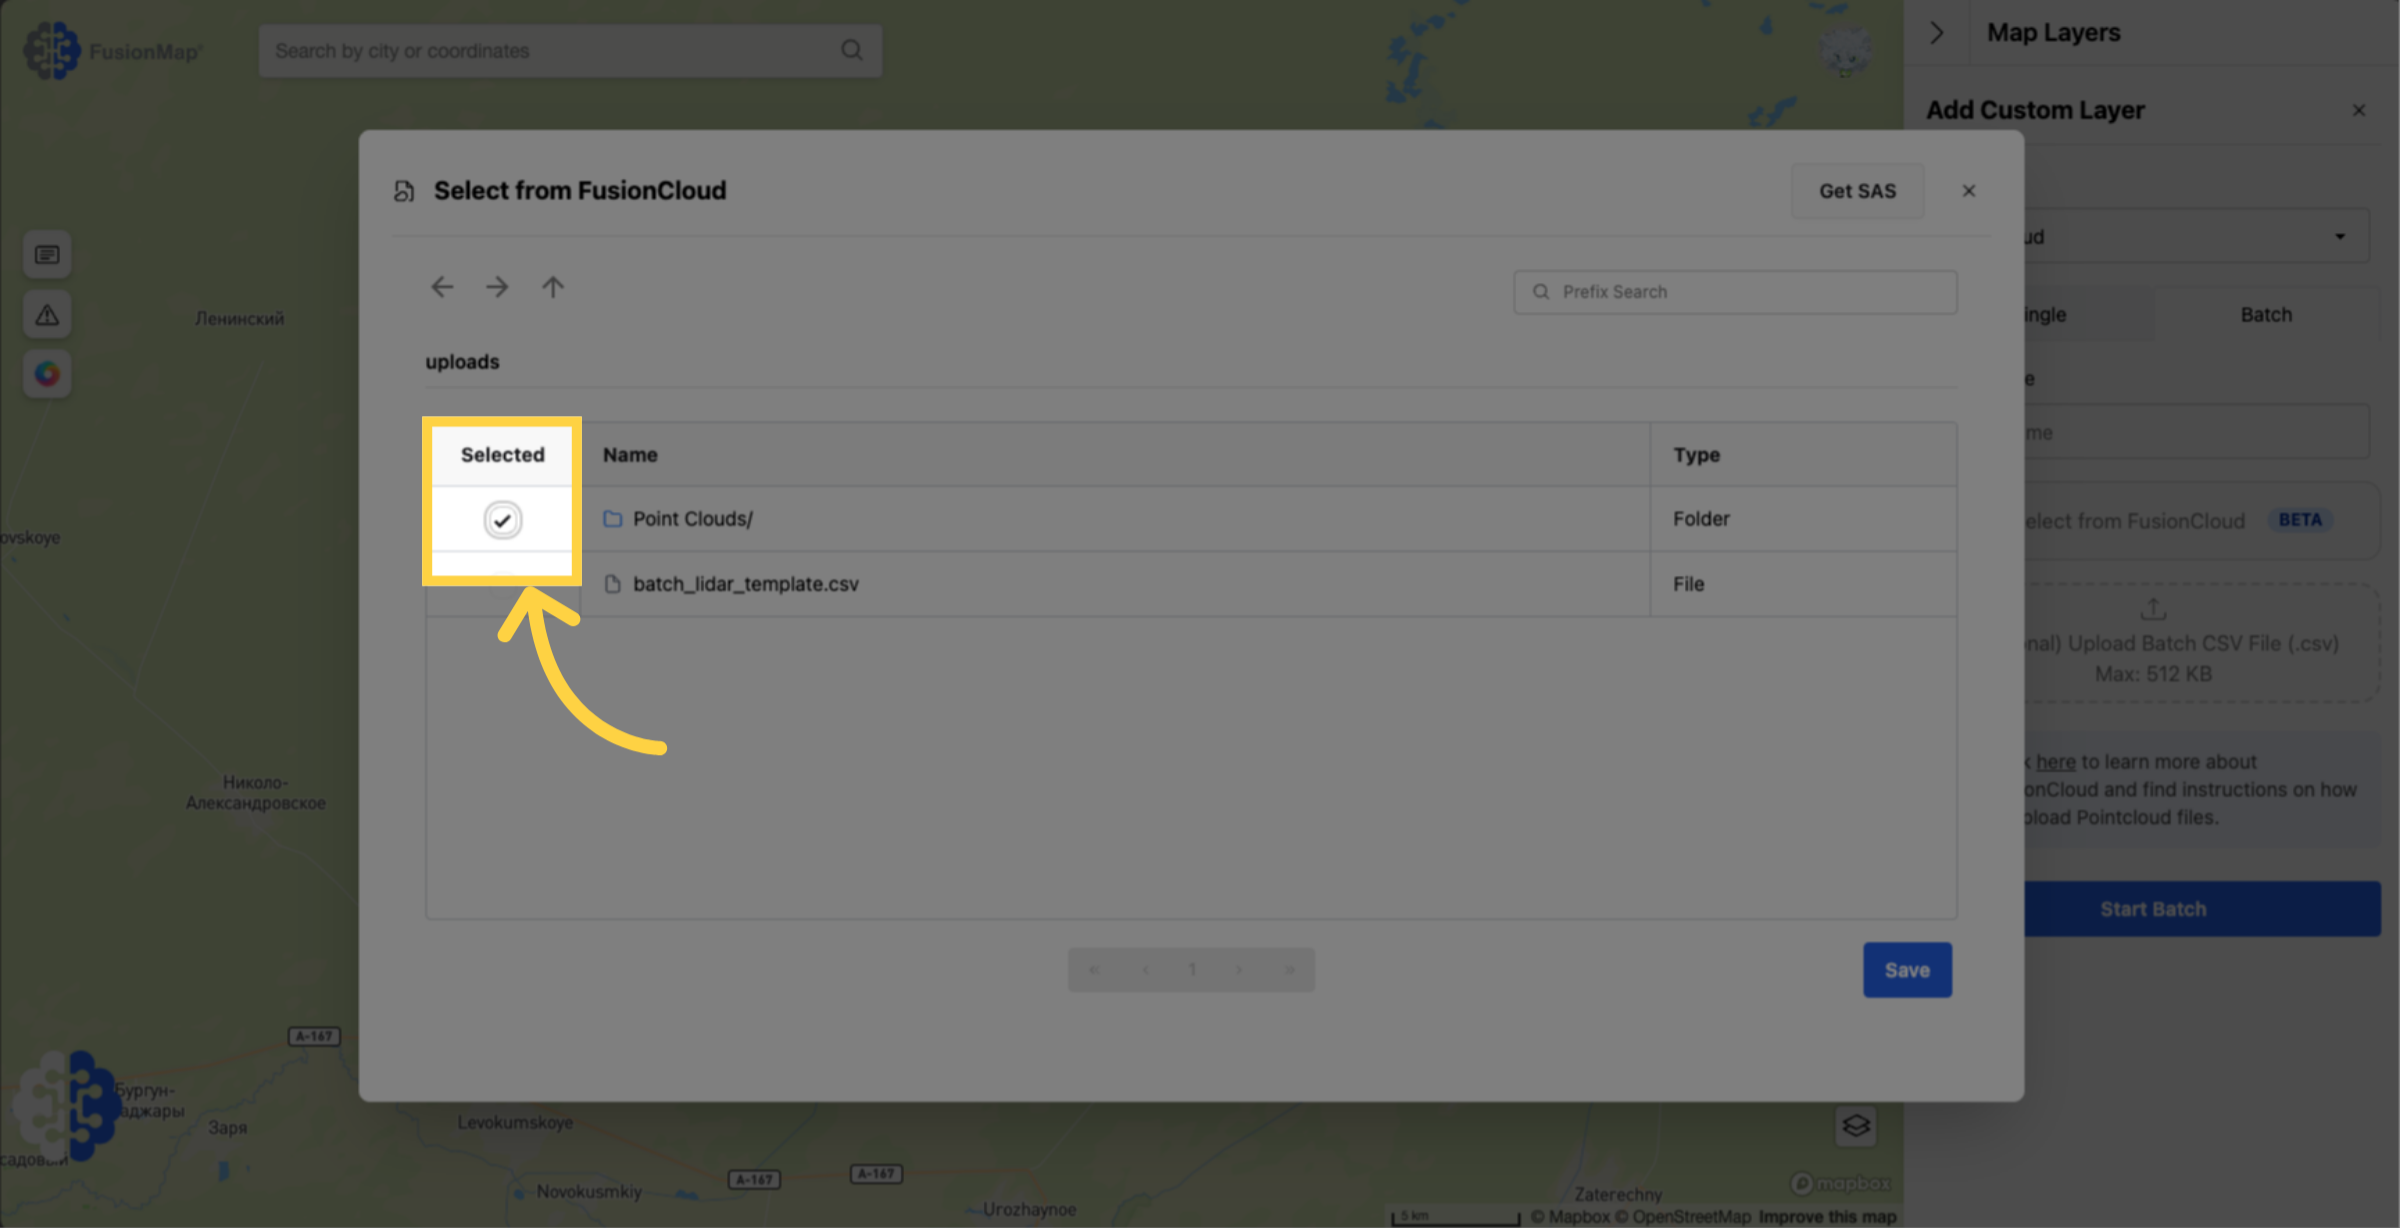
25. Hit Save #
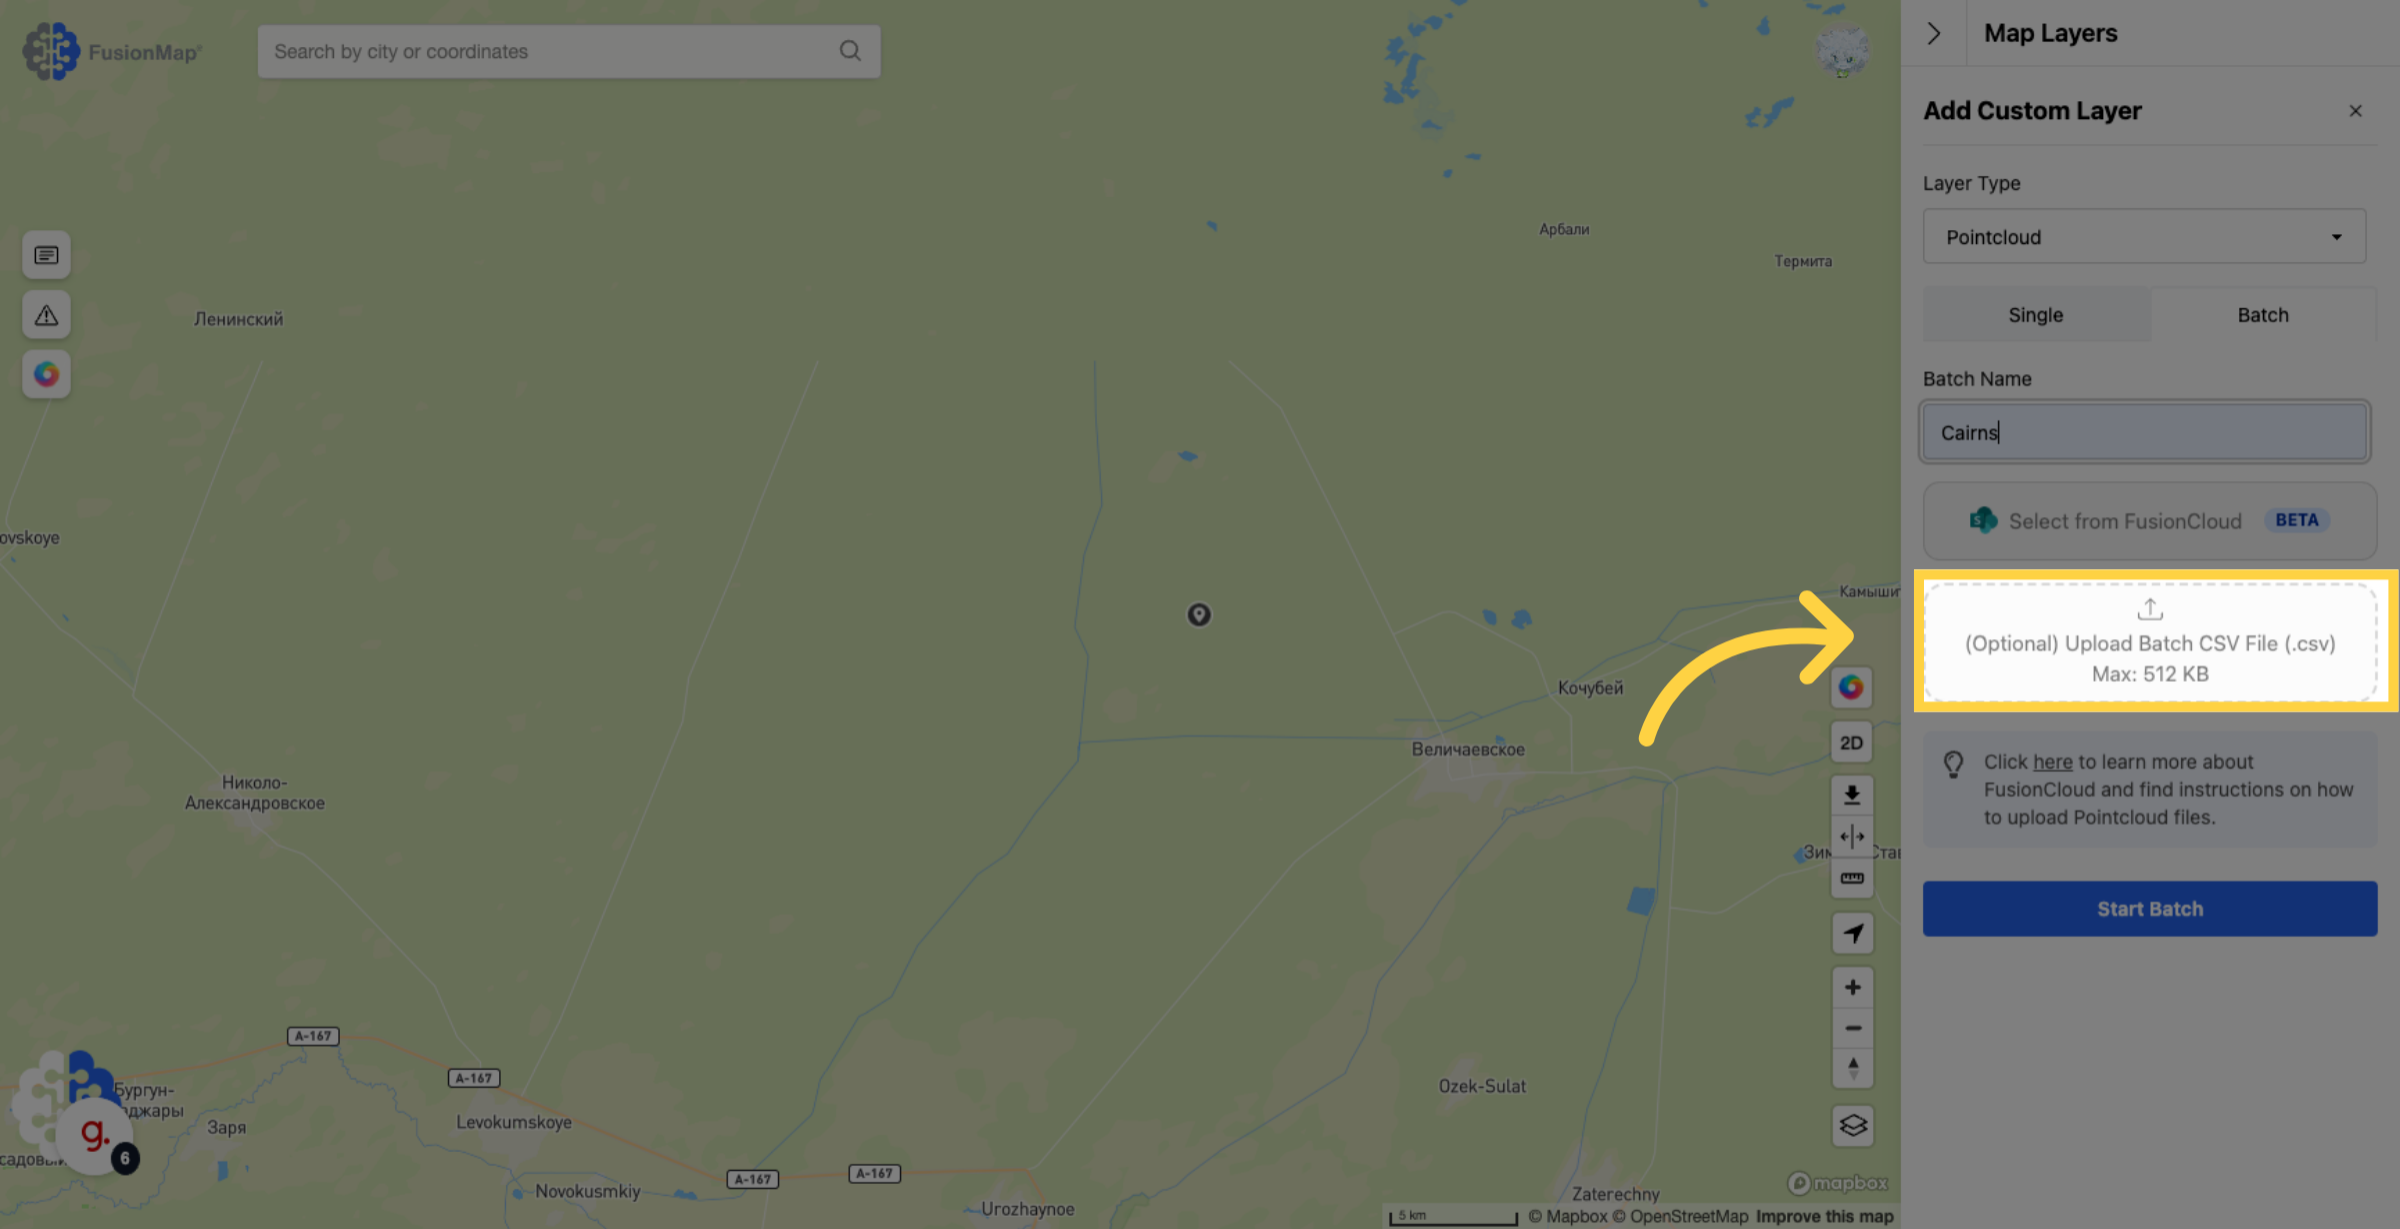
26. Optionally, you may upload a batch CSV file to add metadata to your pointclouds #
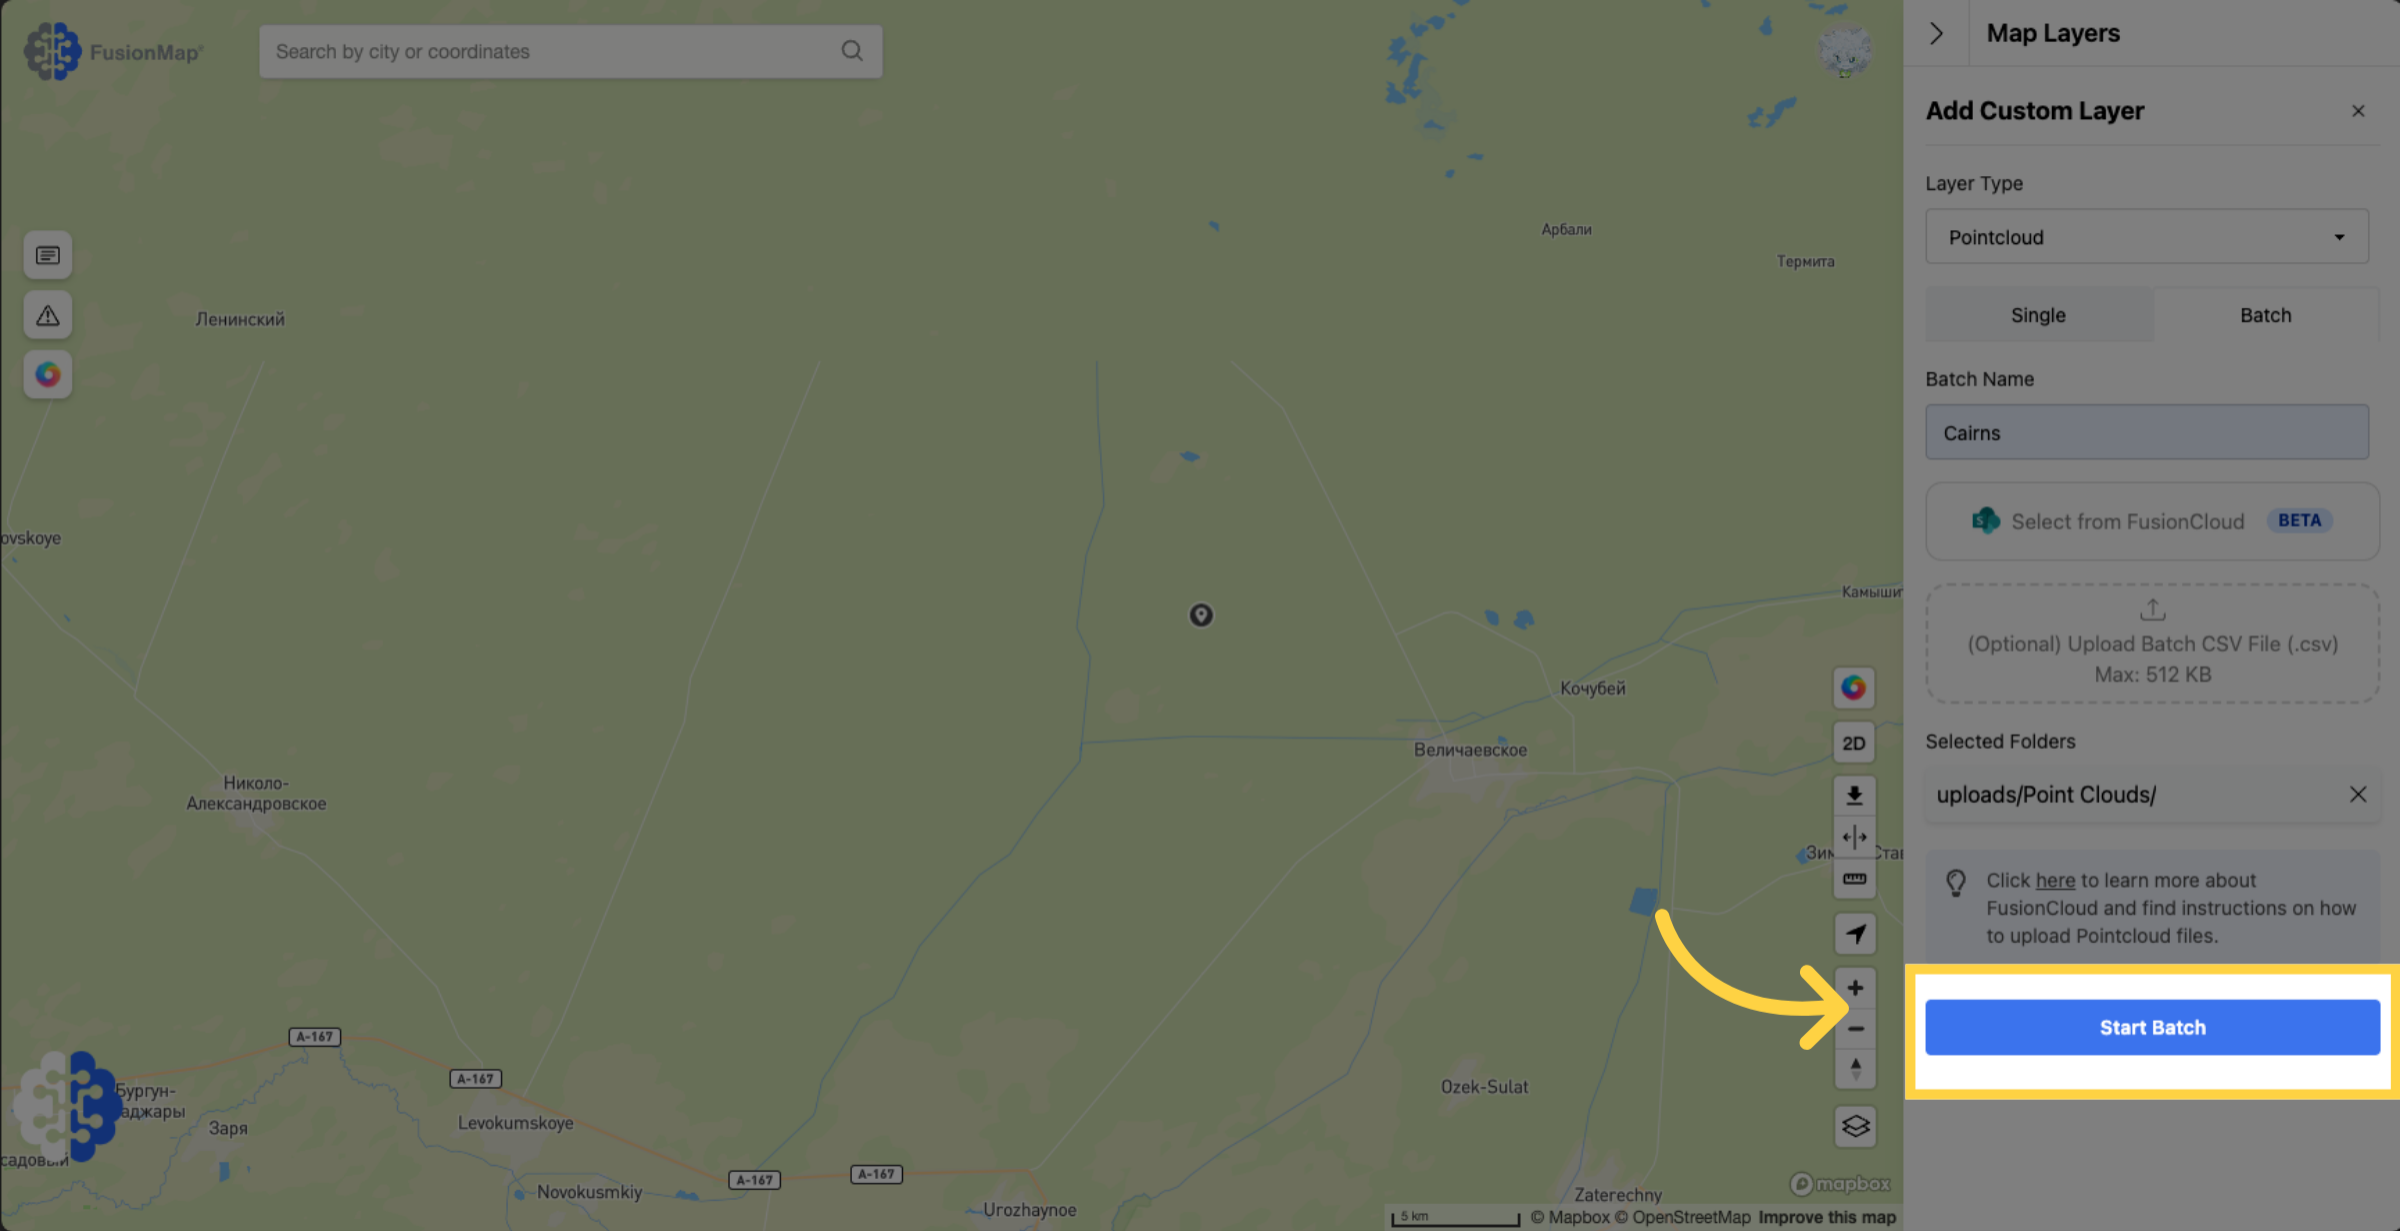
27. Click “Start Batch” #
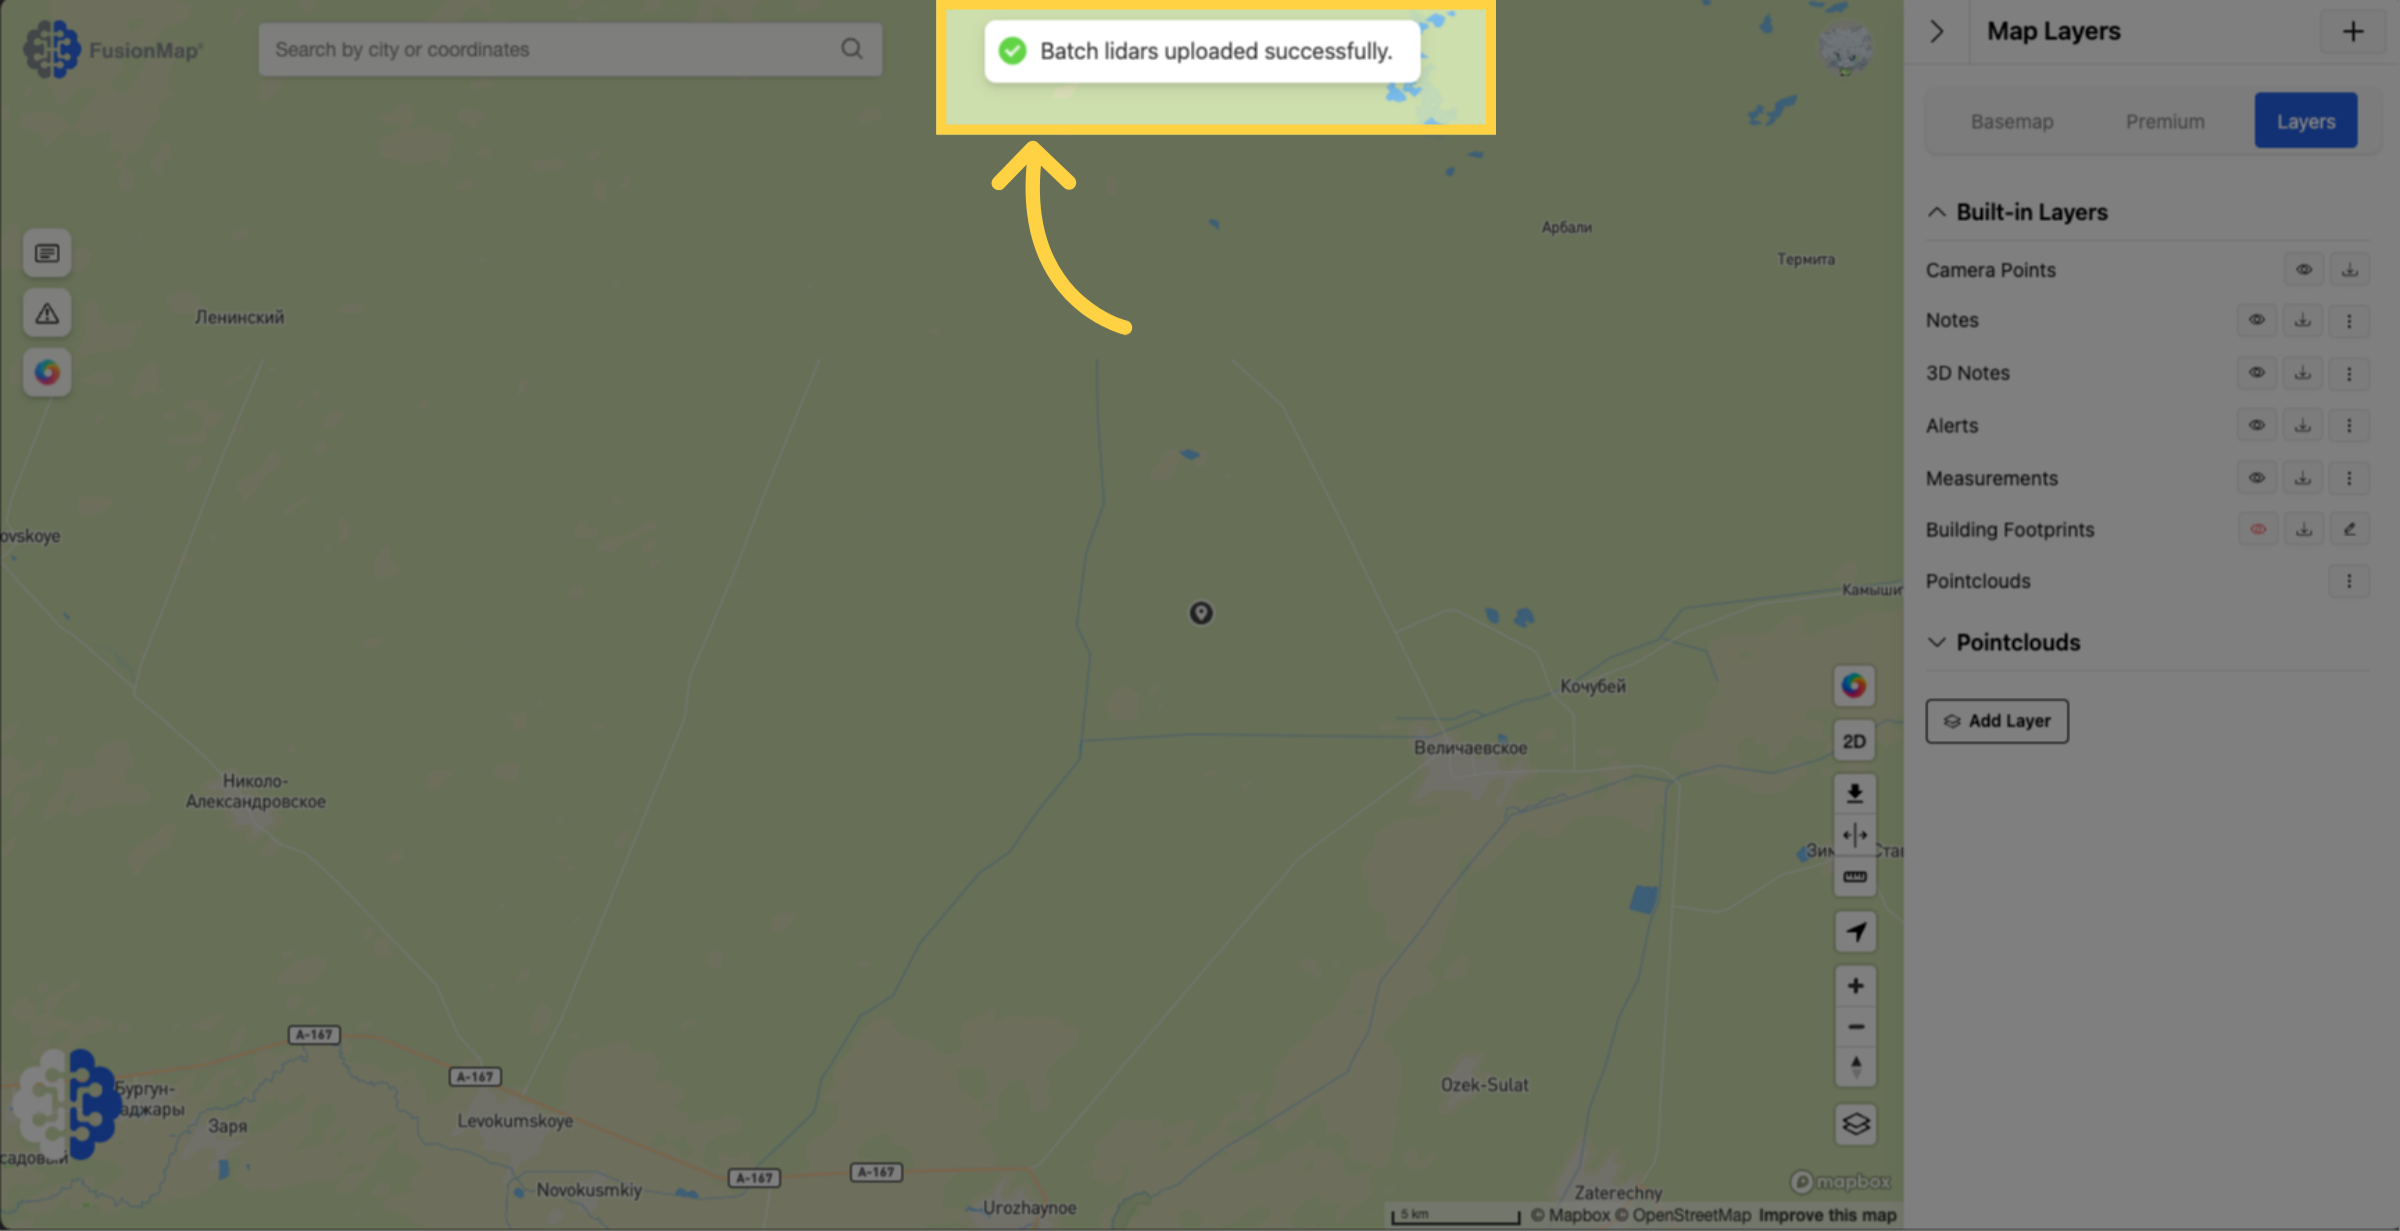
28. Once your upload is done, this message will pop up #
29. Your pointclouds should also show up under “Built-in Layers” #
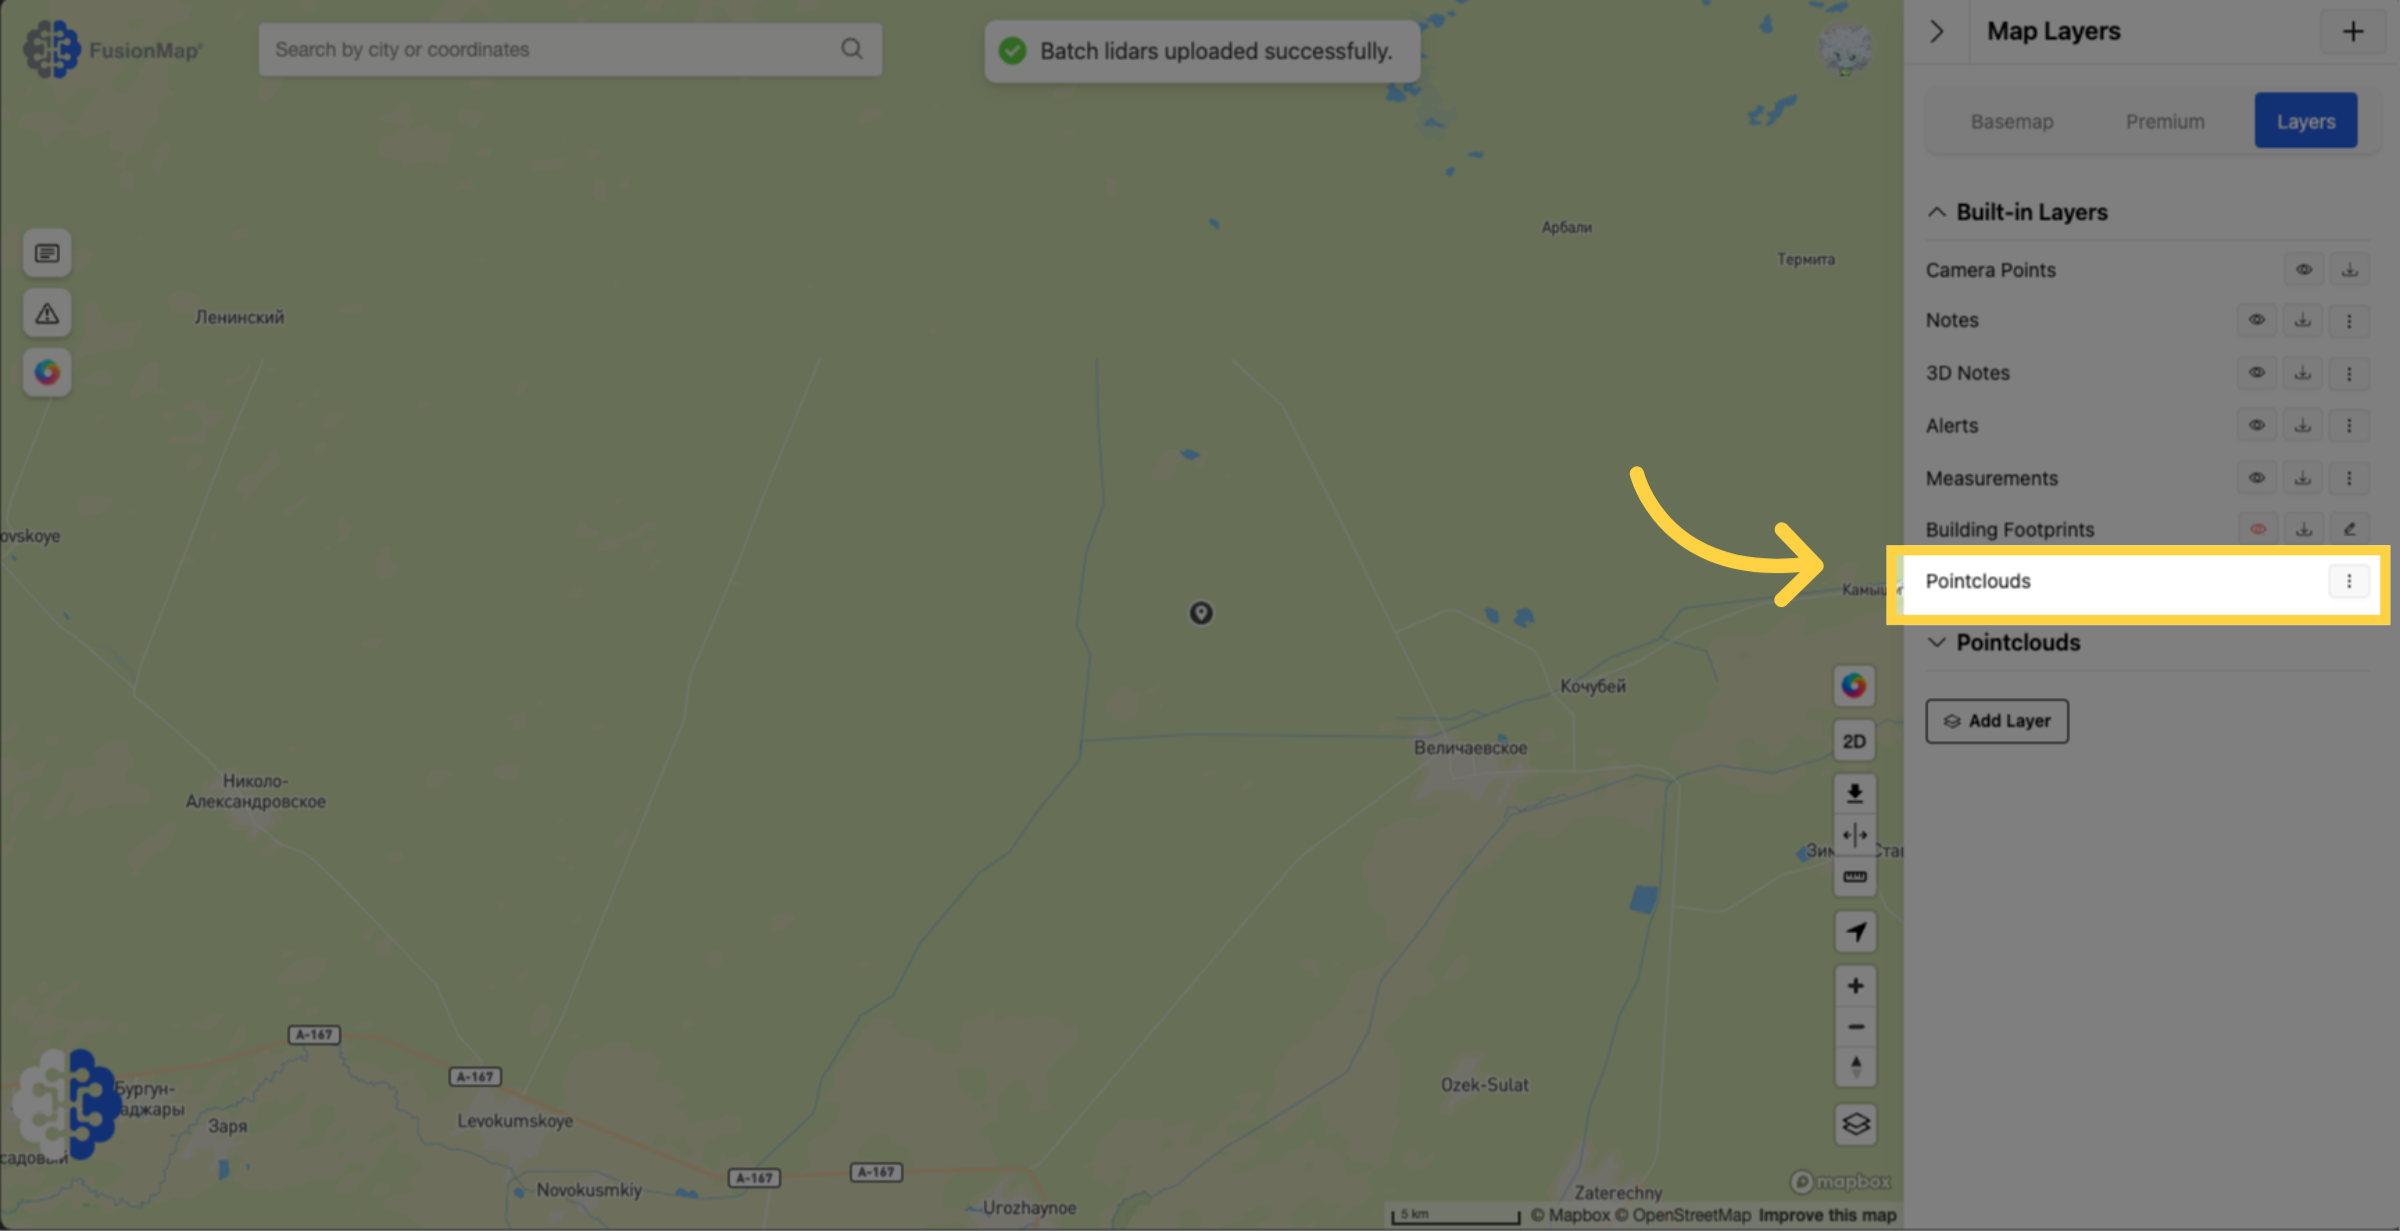
30. Click the three dots next to poinclouds and click “Tabular View” #
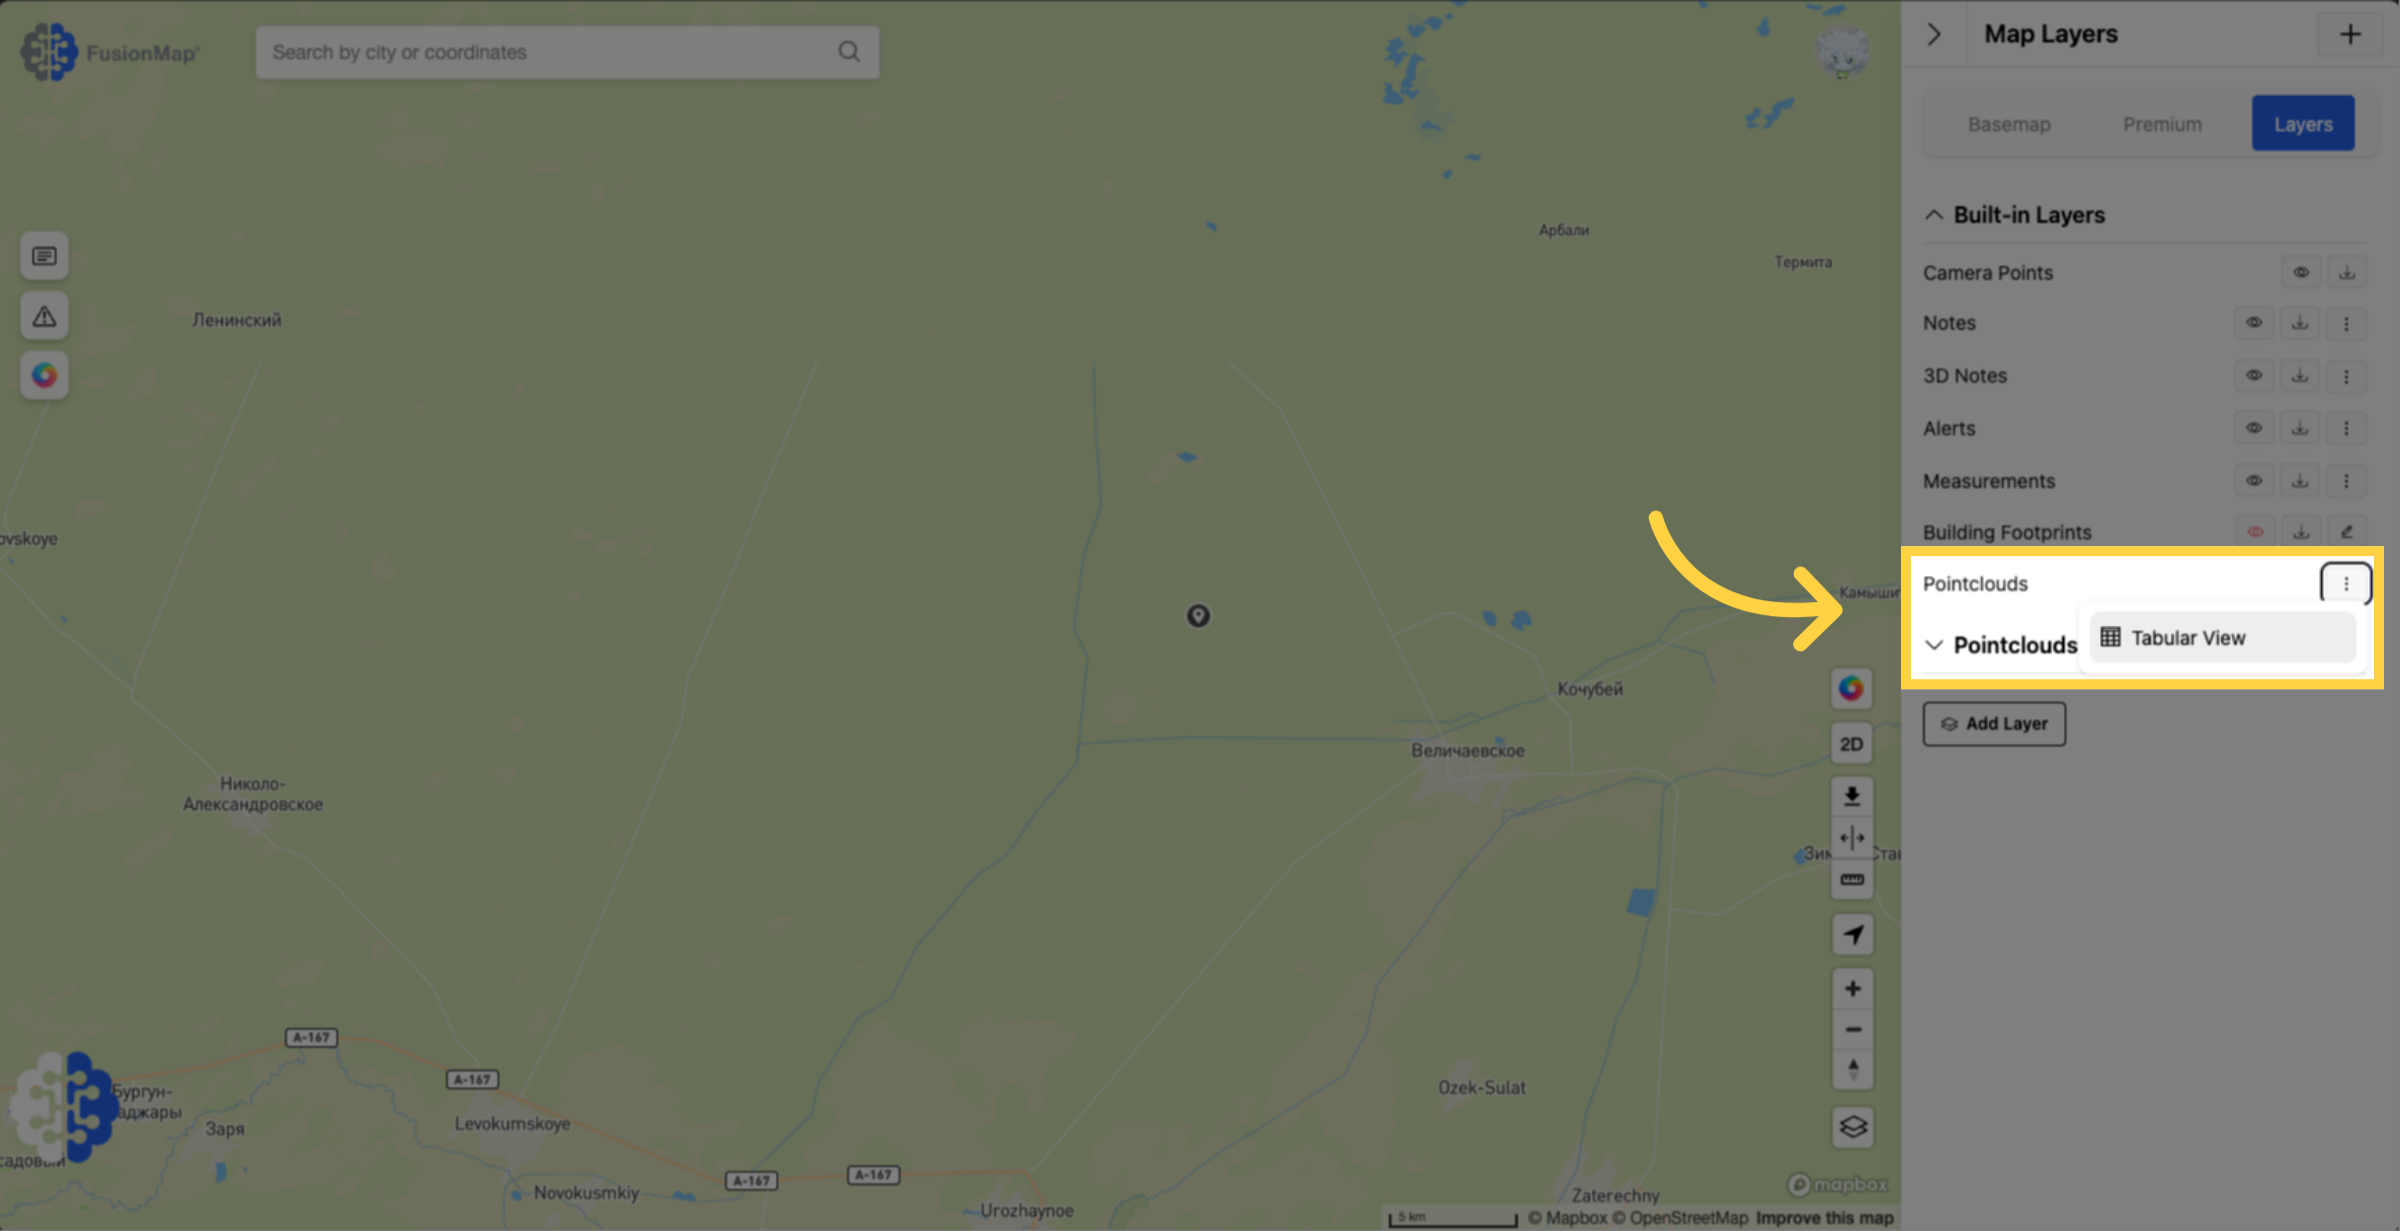
31. Your pointclouds are now processing #
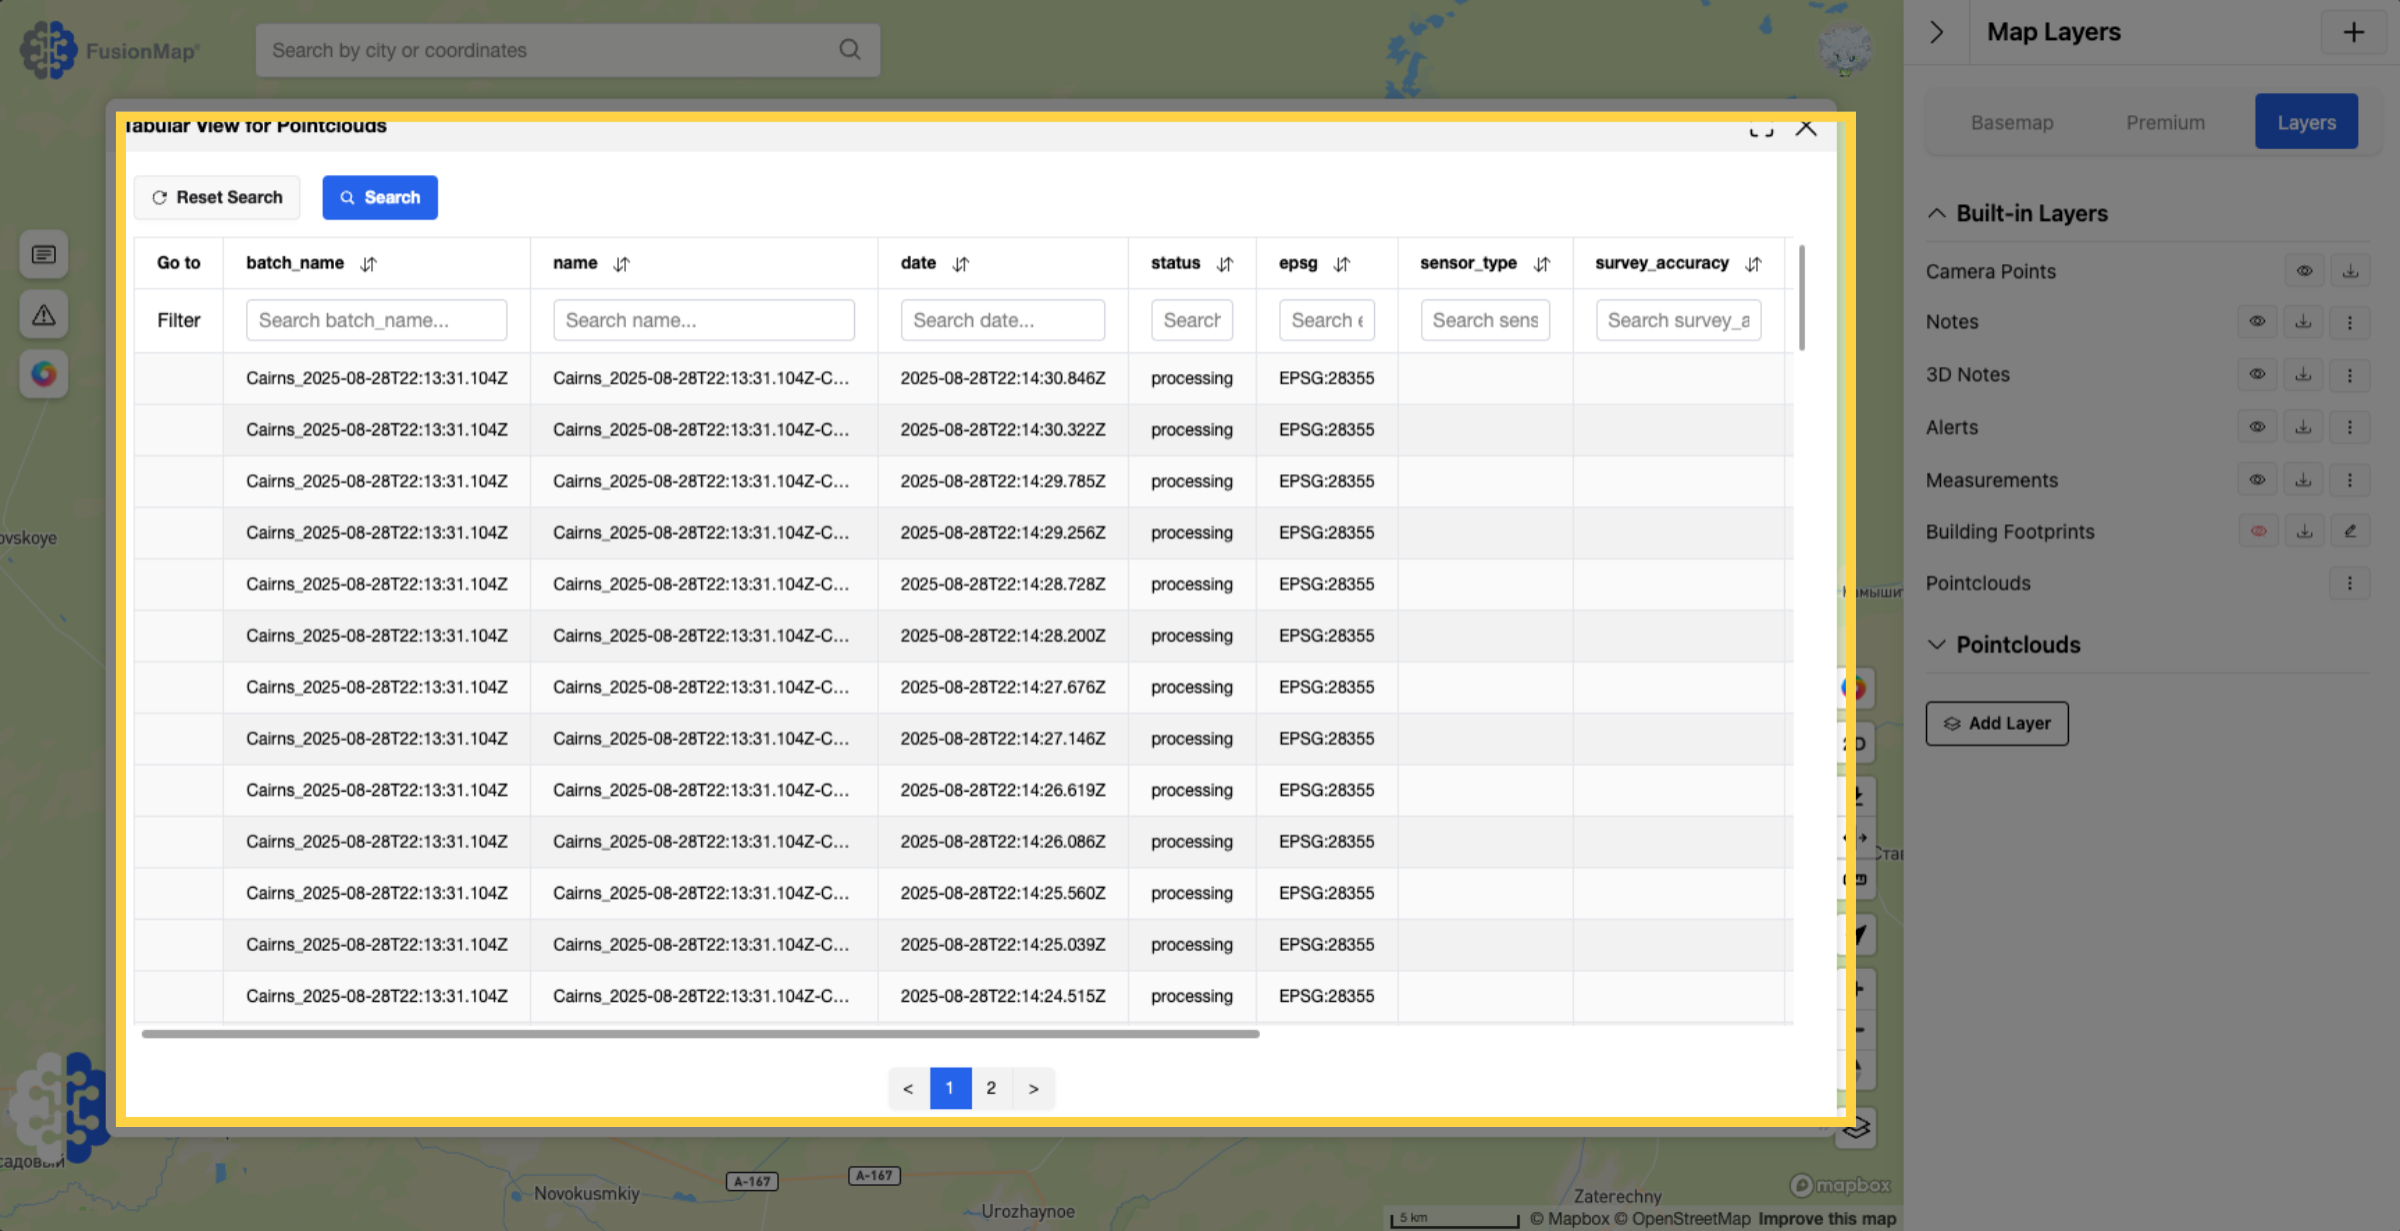
32. This is what it looks like once completed #
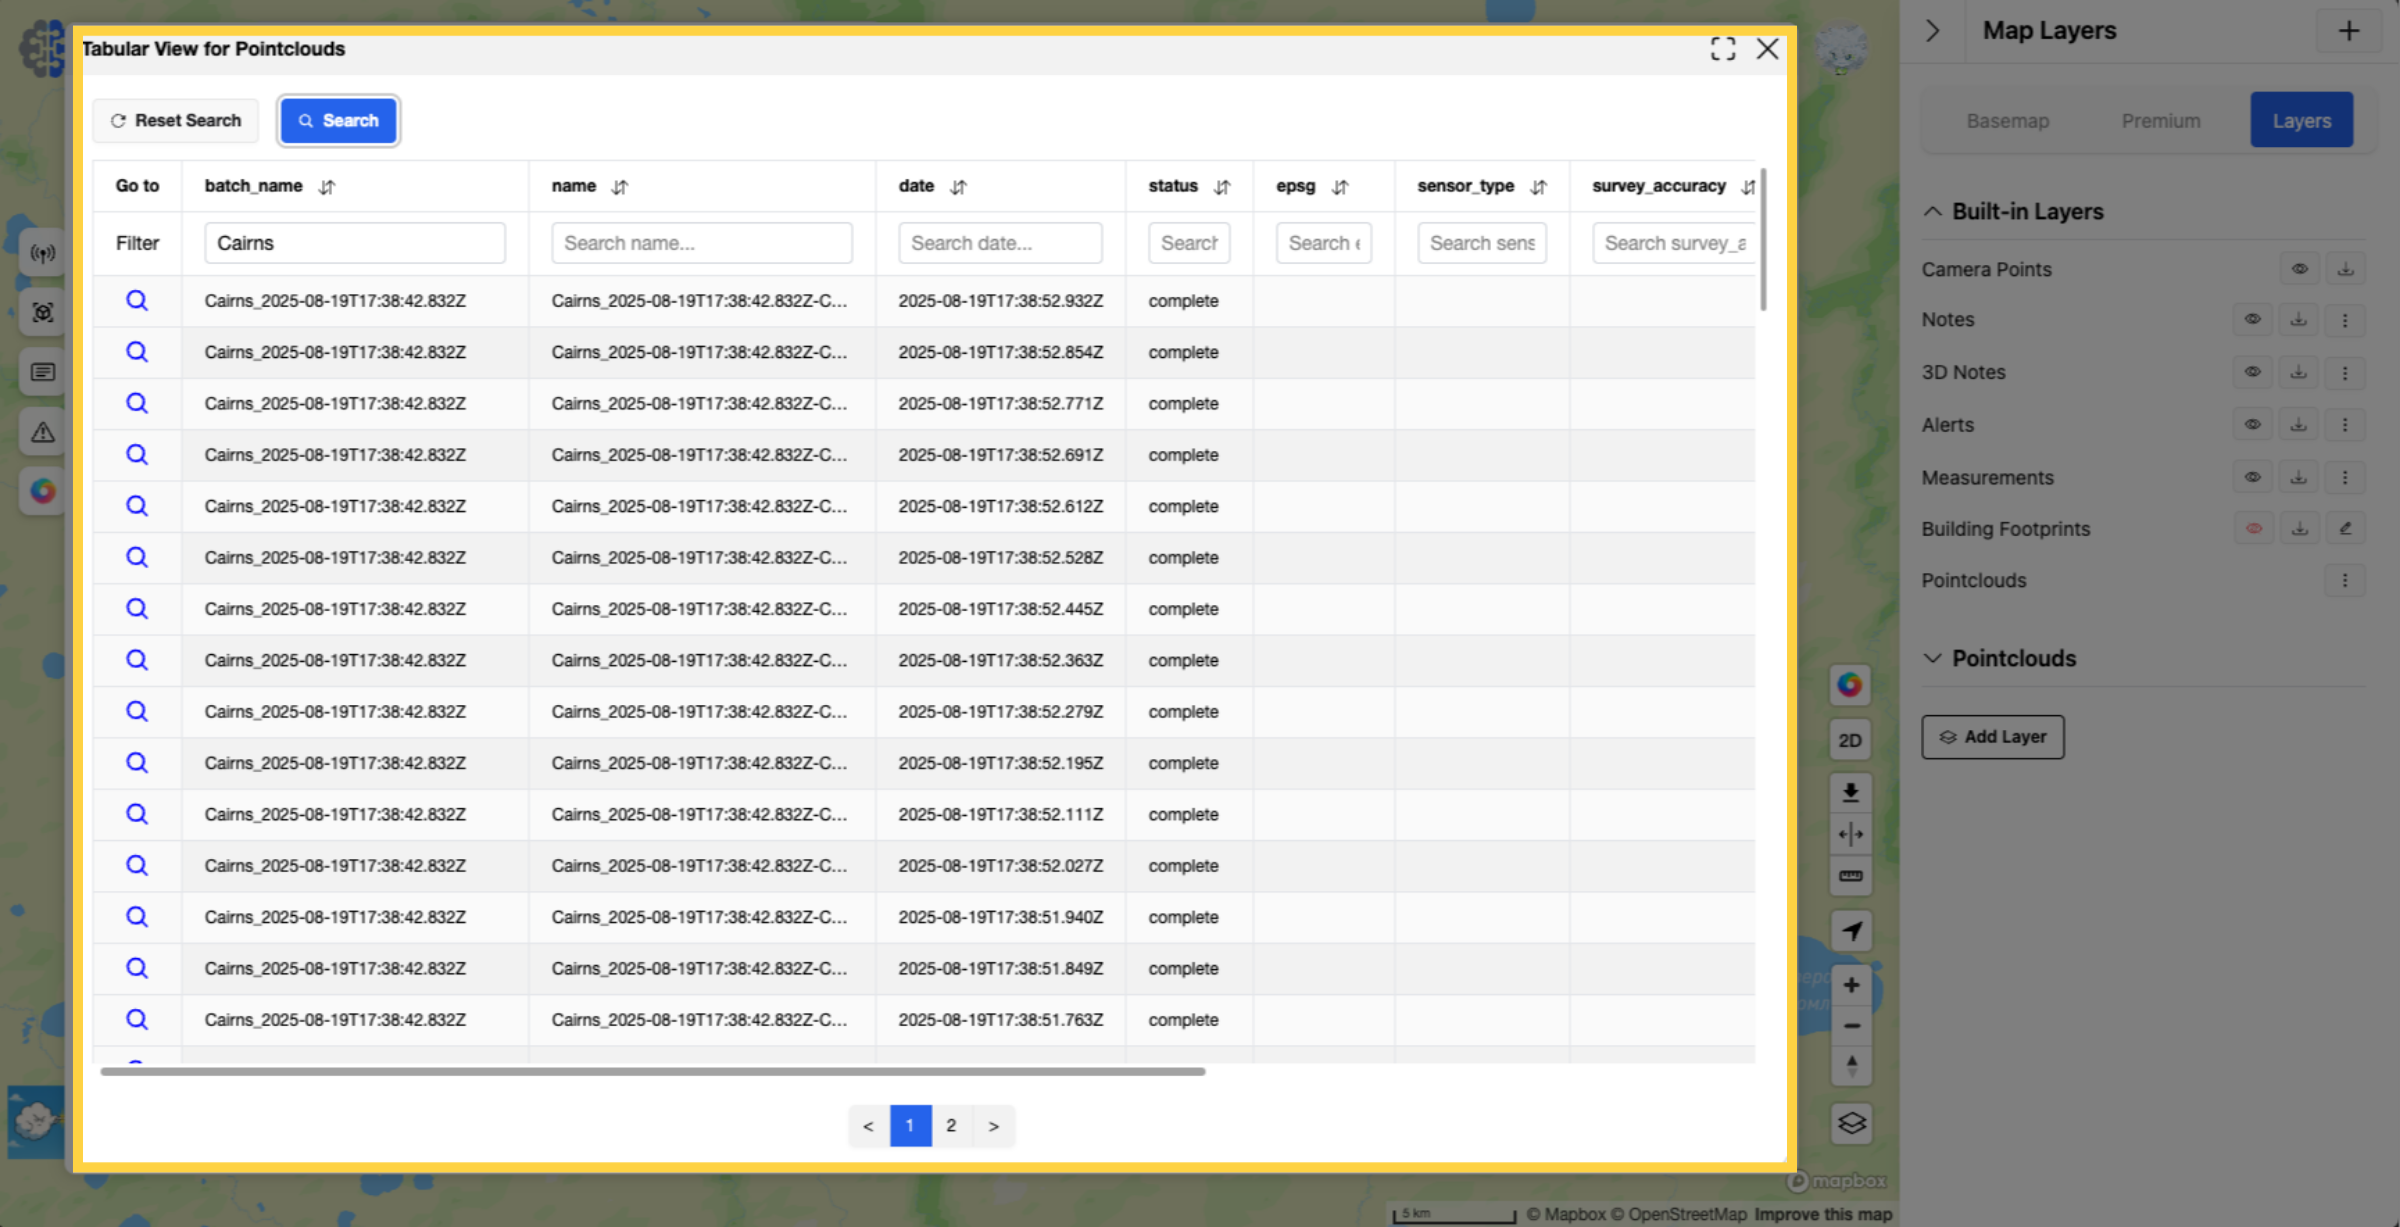
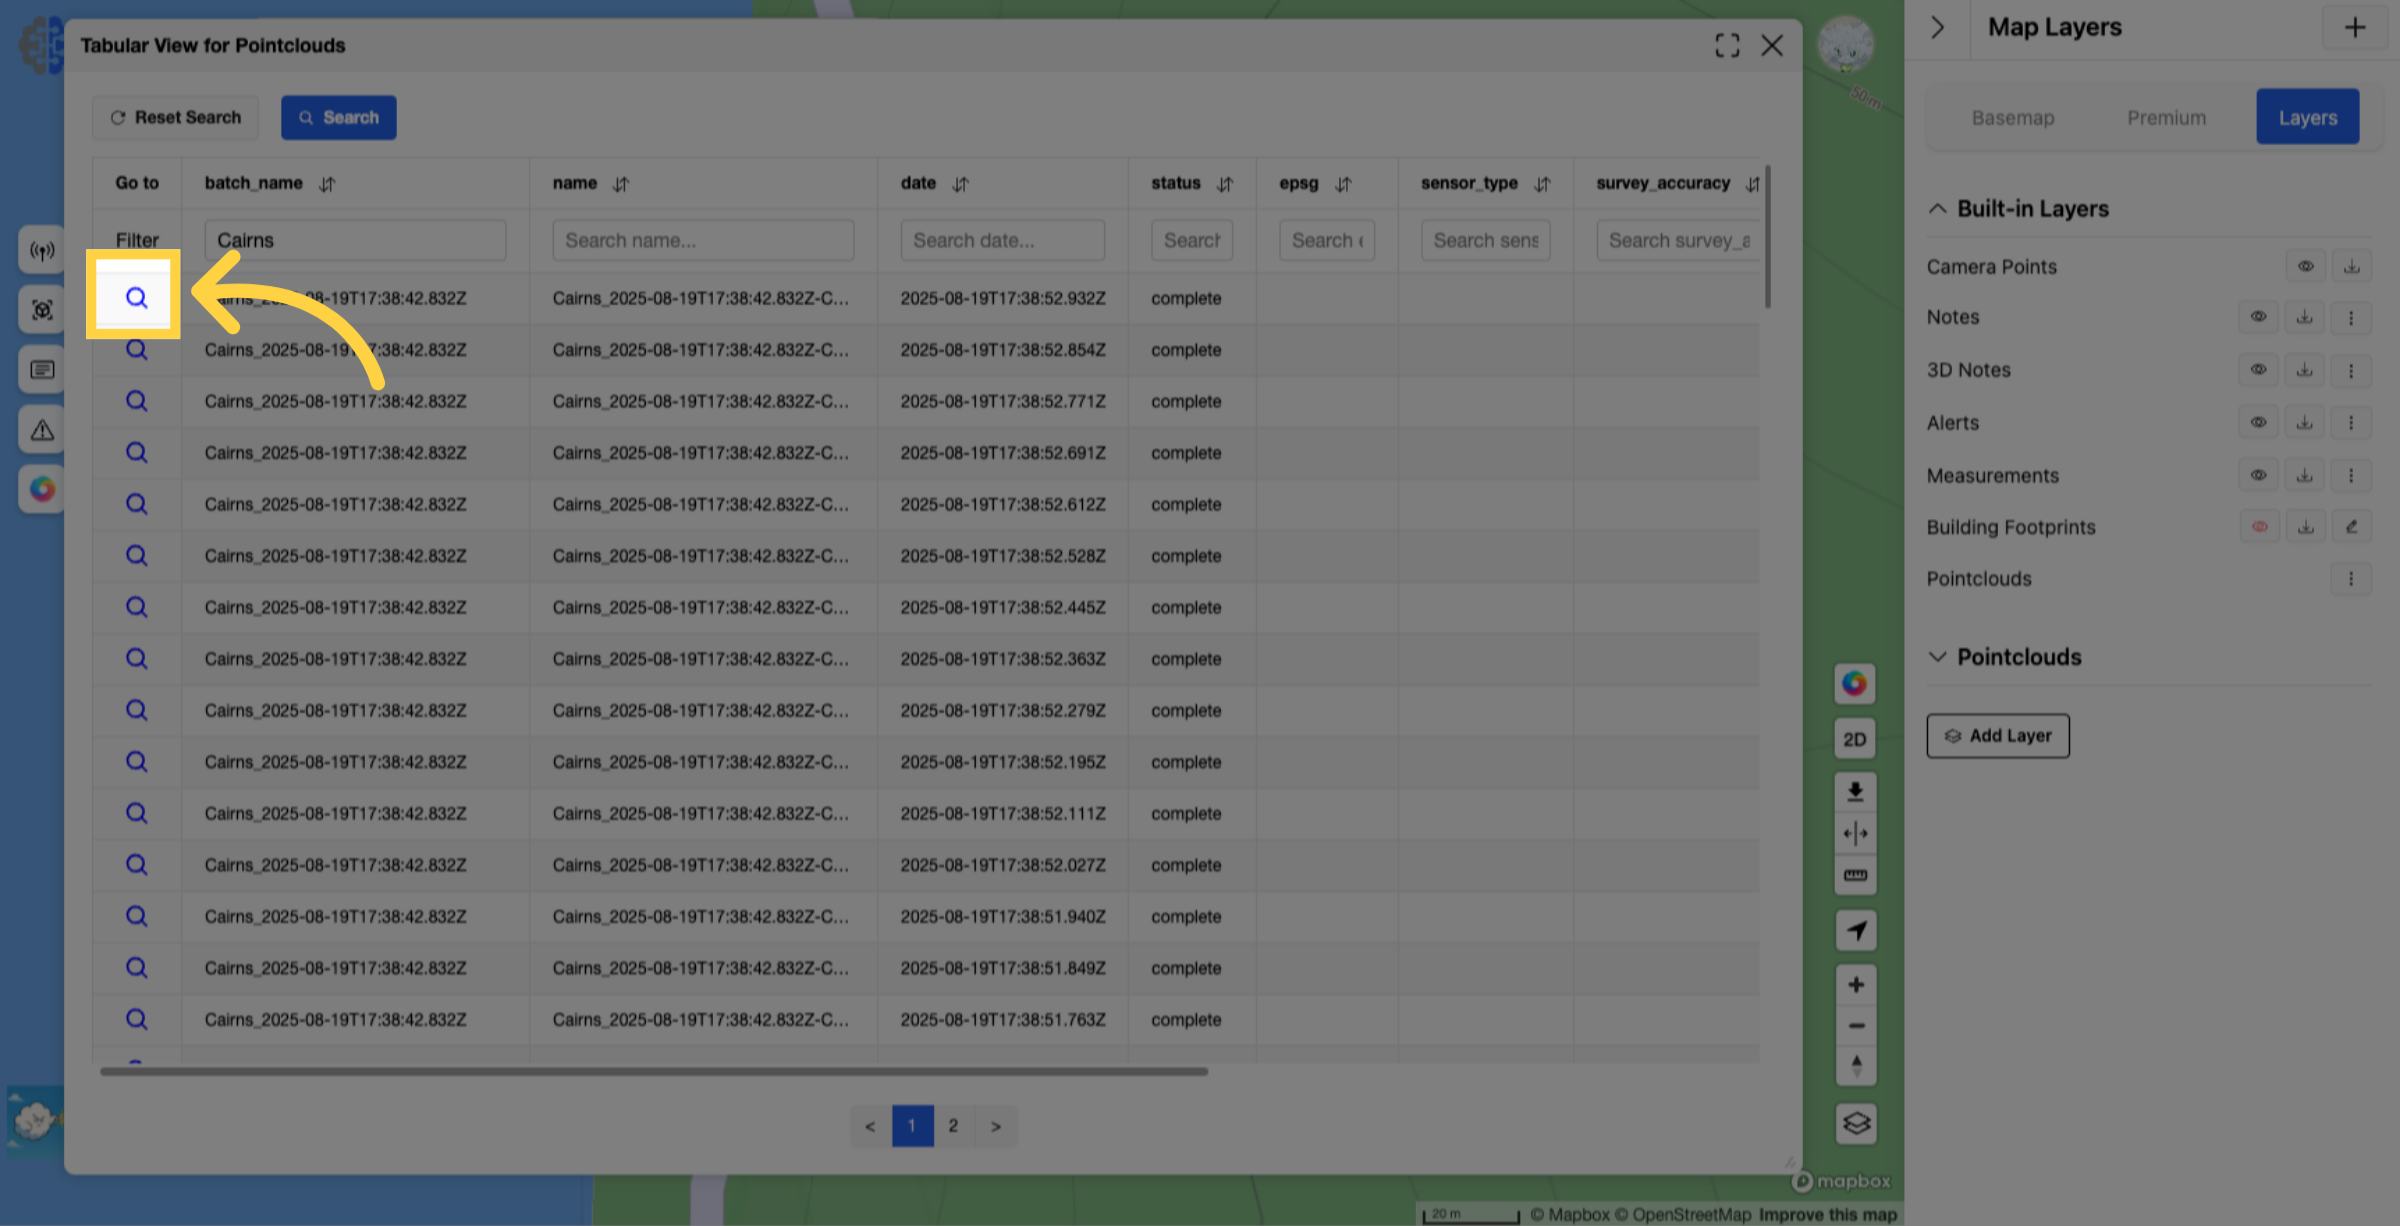
33. Click the “Go to” button to zoom to any pointcloud on the map #
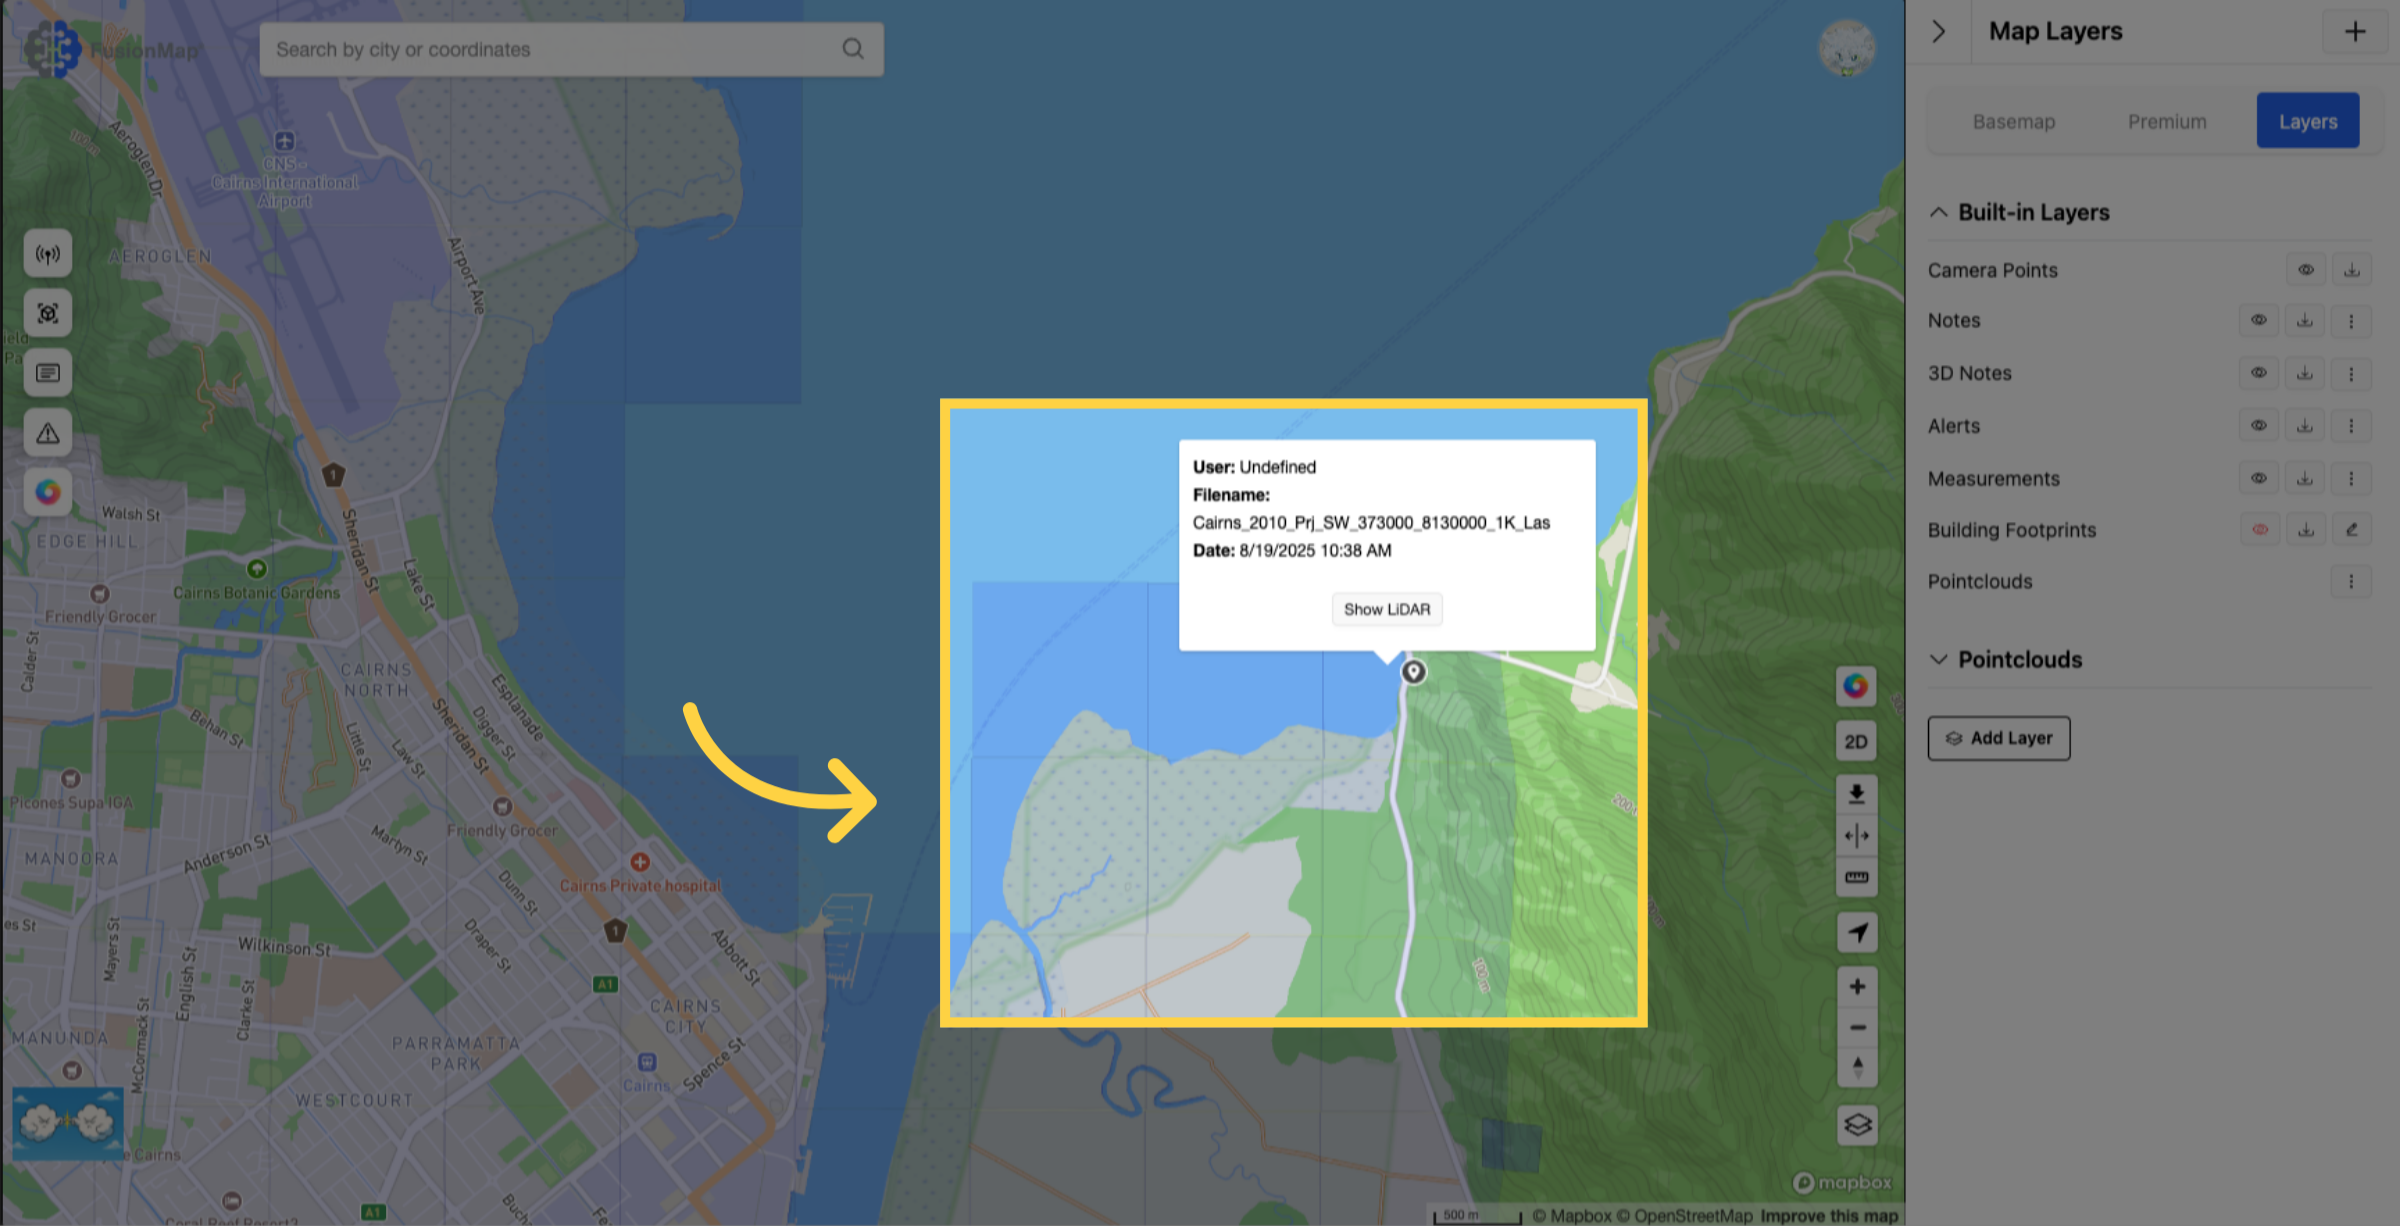
34. Click anywhere in the loaded LiDAR and click “Show LiDAR” #
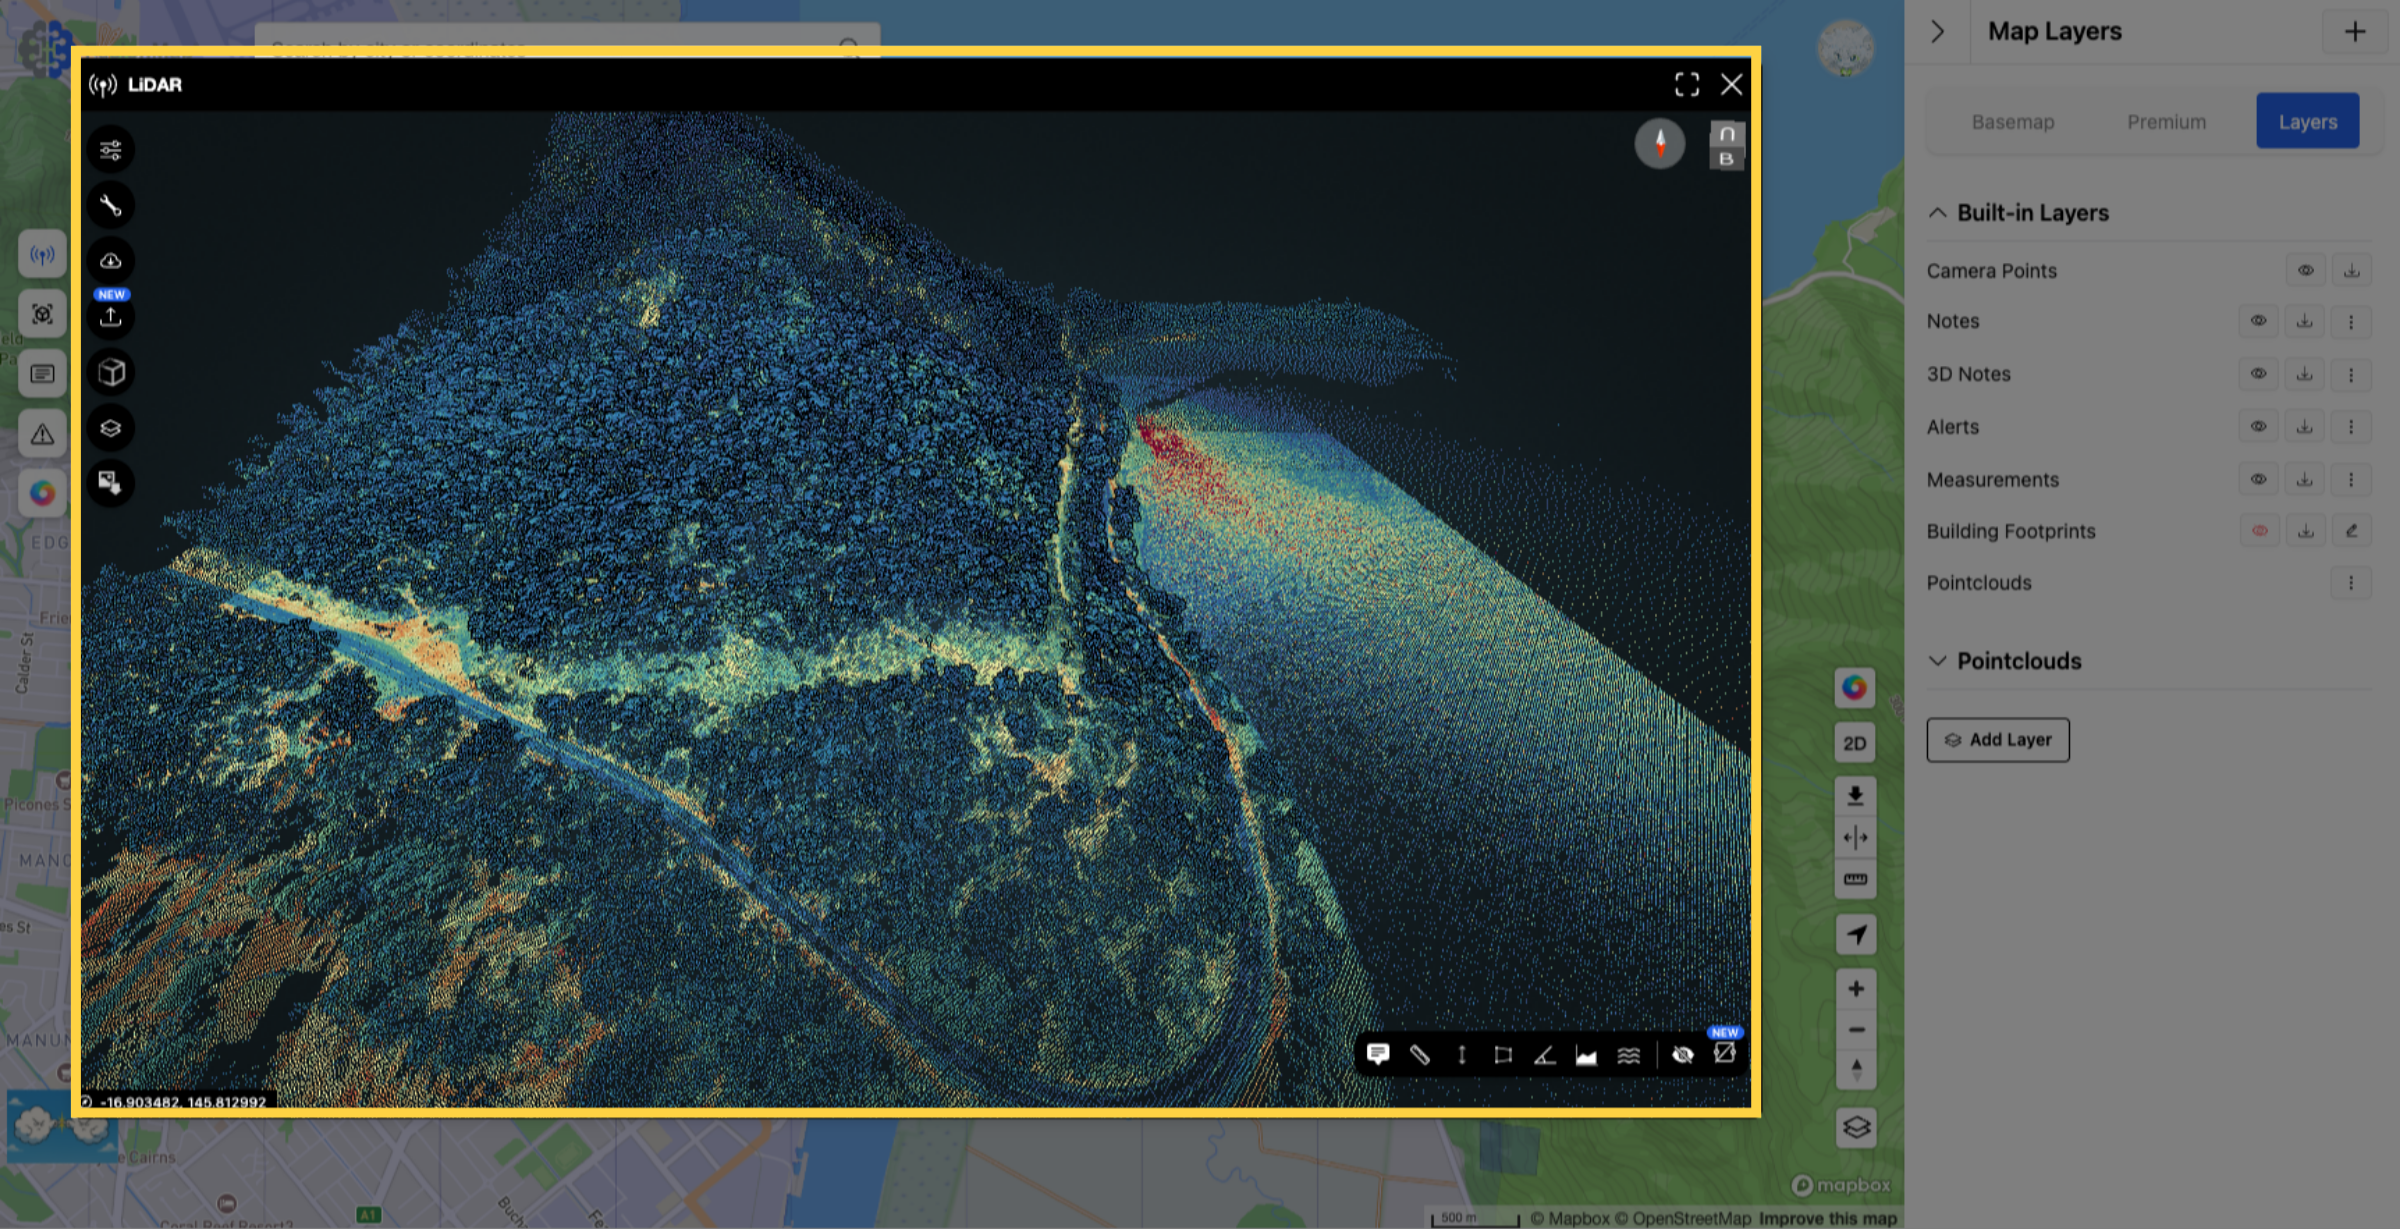
35. Your pointcloud will now open in the FusionMap LiDAR view #
This guide walked you through uploading a batch of Pointcloud data, from adding a new layer and selecting the data format to naming your batch and securely connecting via FusionCloud BETA for a smooth upload process.