

FusionMap Custom Forms let you collect structured information directly on the map. Build a reusable form with fields such as text, numbers, dates, dropdowns, and checkboxes, then add points, lines, or polygons and fill in their details.
Each feature’s information is saved and can be viewed or updated later, making Custom Forms useful for site surveys, inspections, and recording observations.
1. Create a Custom Forms Layer #
Open the layer creation menu and select Custom Forms.
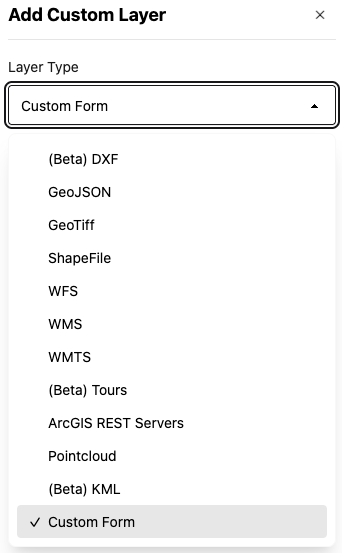
To complete the layer settings:
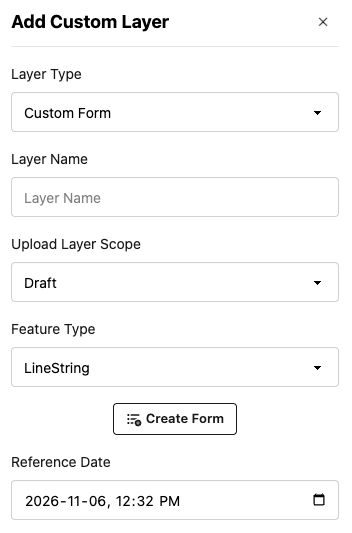
Enter a Layer Name, select Draft or Published under Scope, and choose a Feature Type from the dropdown.
Choose LineString to draw lines for features such as routes or paths. Choose Polygon to outline areas such as parcels or inspection zones. Choose Point to mark individual locations, such as assets or observations, with a single click.
2. Build Your Form #
Click Create Form to open the Form Builder. This is where you define the information users will collect for each map feature.
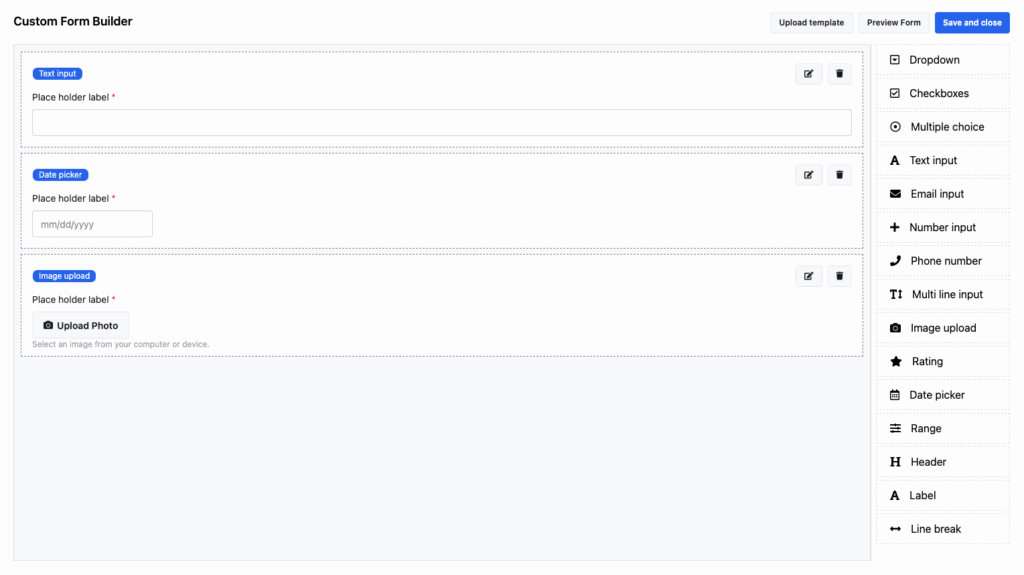
Drag the fields you need onto the form. Available options include text and number inputs, dropdowns, checkboxes, image uploads, date pickers, and more.
You can also add labels, headers, and line breaks to organize the form into clear sections.
Configure Fields #
Click the pencil icon next to a field to edit its settings. Depending on the field type, you can:
– Make the field required or optional.
– Change its label and field name.
– Set default values.
– Configure additional field settings.
For example, an inspection form could include an inspection date, a condition dropdown, a comments field, and an image upload.
Import a Template or Preview Your Form #
Use the options in the top-right corner of the Form Builder to:
– Upload Template – Upload a Custom Forms template from another FusionMap project
– Preview – Review how the form will appear to users.
When your form is ready, click Save and Close, review the layer settings, and click Submit Layer.
Please note: The form structure cannot currently be edited after the layer is created. You can update the information saved for individual features, but you cannot add, remove, or modify the form fields. Review your form carefully before submitting the layer.
3. Add Features and Fill Out the Form #
To start collecting information
– Open Layers and expand the GIS section.
– Find your Custom Forms layer.
– Click the three-dot menu next to the layer.
– Select Edit Geometries.
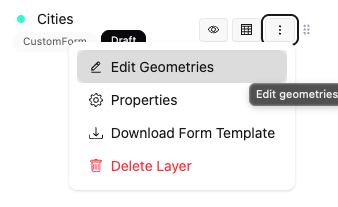
This enables editing mode, allowing you to add features to the map.
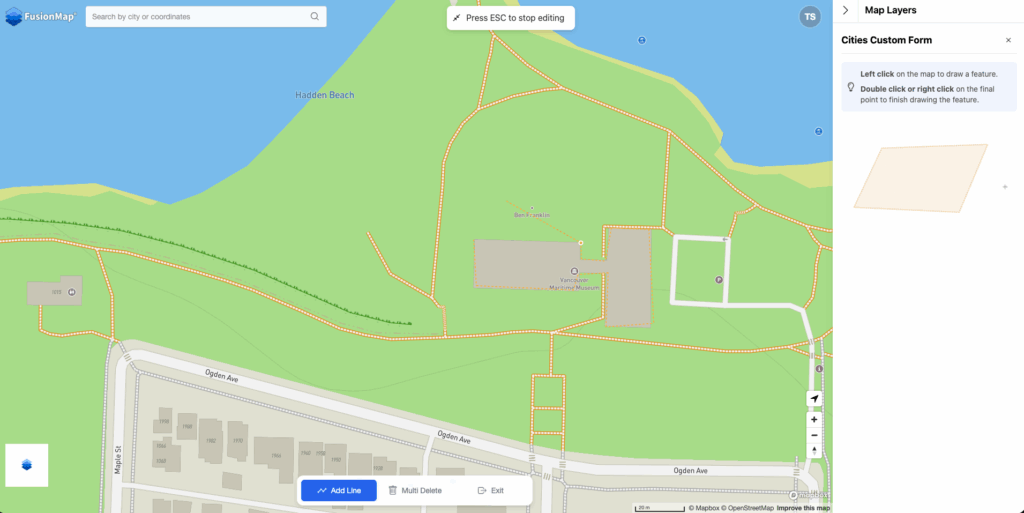
Create a feature using the geometry type selected for the layer:
– LineString – Draw a line on the map, then right-click to finish.
– Polygon – Draw a polygon on the map, then right-click to finish.
– Point – Click the map to place a point.
After you create the geometry, the form opens in the right-hand panel.
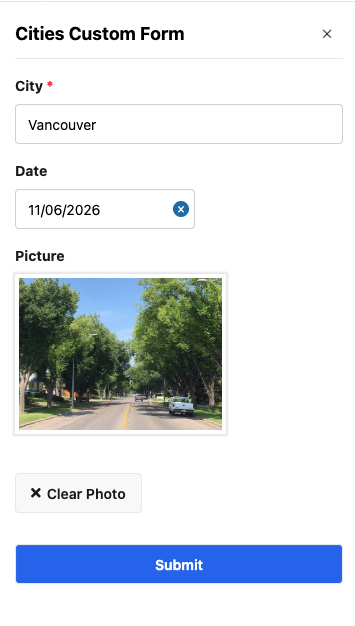
Fill in the feature’s details, complete any required fields, and click Submit. Your answers are saved with that feature.
You can continue adding features without leaving editing mode. Each new feature uses the same form, with its own set of answers.
To exit editing mode, click the X in the right-hand panel or Quit in the small panel at the bottom of the map.
4. View and Update Saved Features #
Saved features appear on the map and in the layer’s Tabular View, where you can review the collected information.
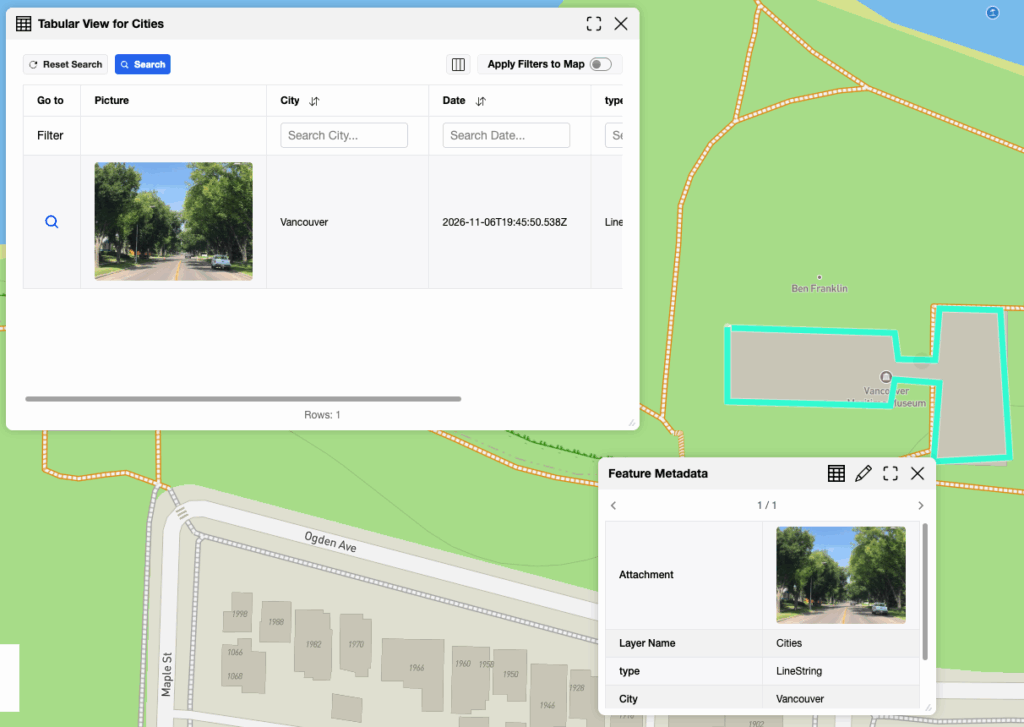
You can update the form values for existing features and edit their geometries, including moving them on the map. These changes apply to the individual feature. The form fields remain the same for the layer.