

In this tutorial, you’ll learn how to customize icons within custom layers in FusionMap—helping you tailor your maps to better reflect your data and project needs.
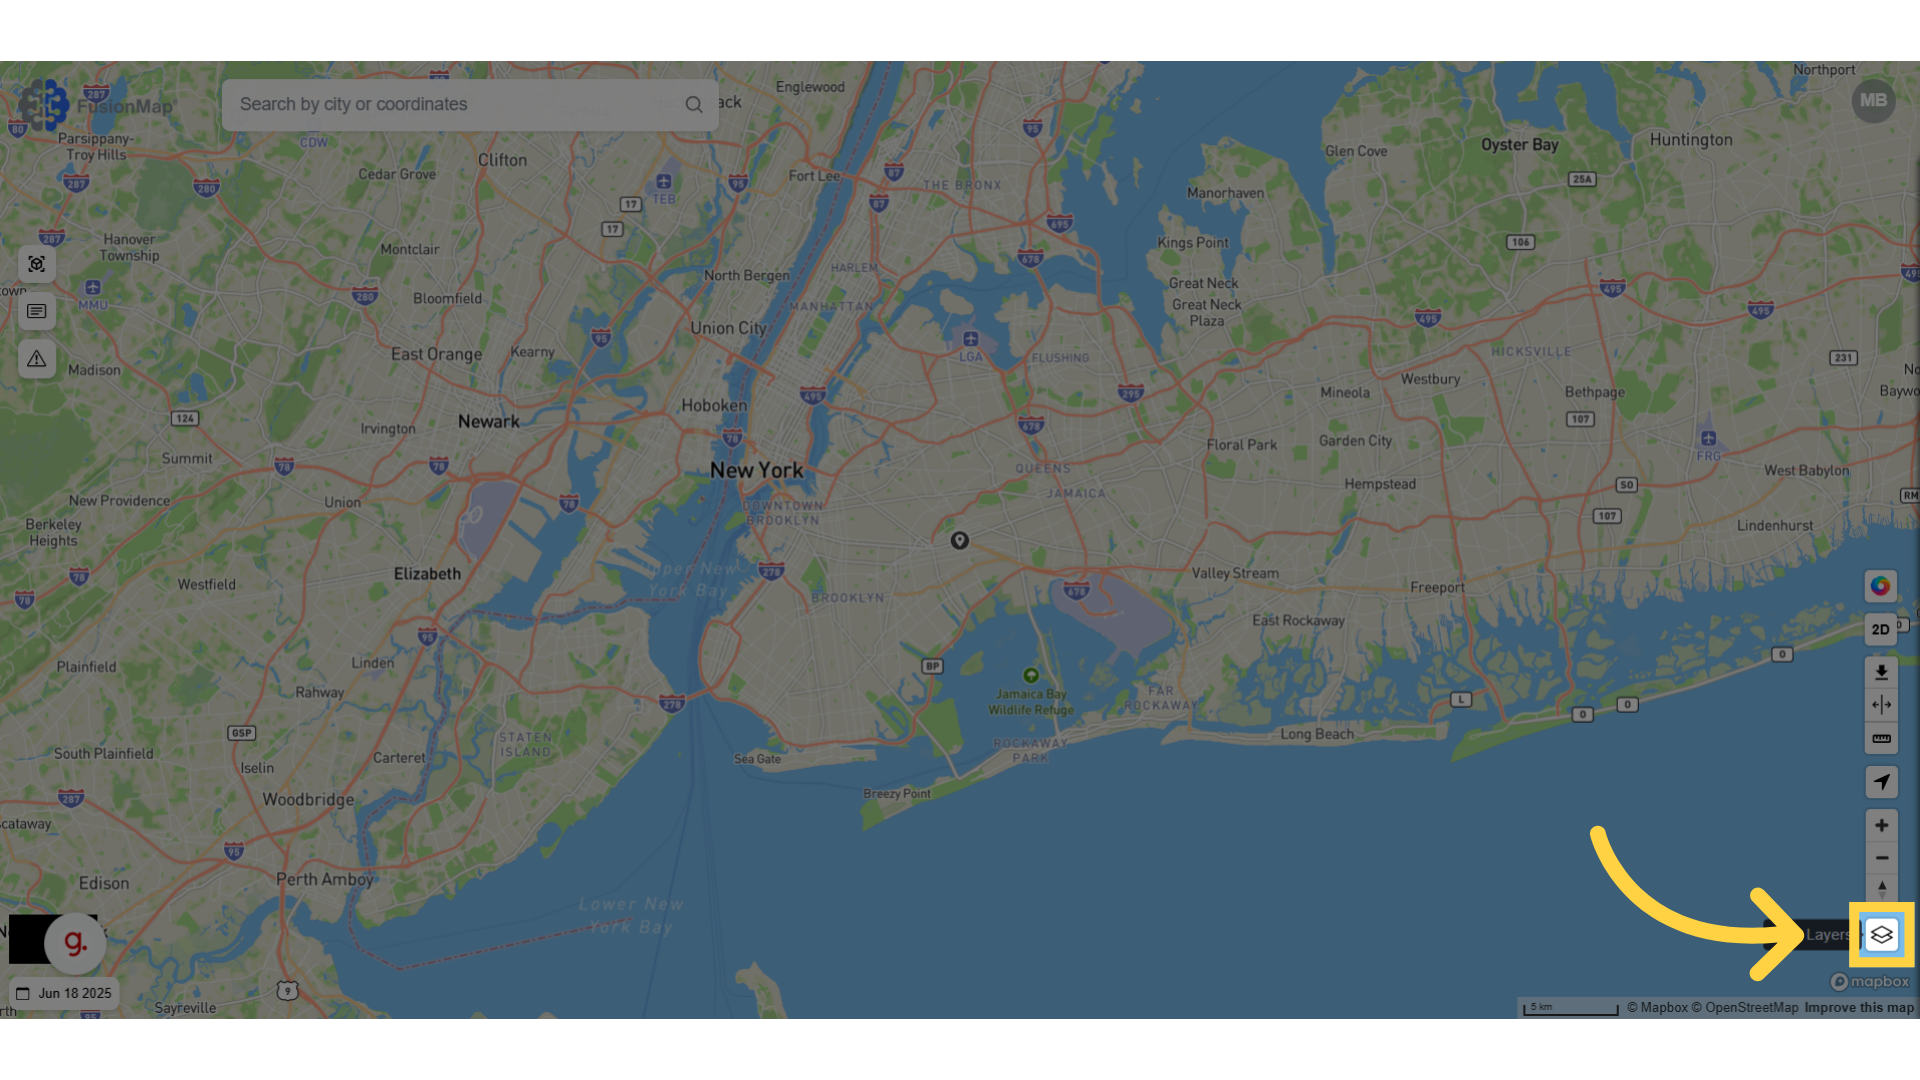
1. Click here #
Open the layers tab to start uploading your custom layer!
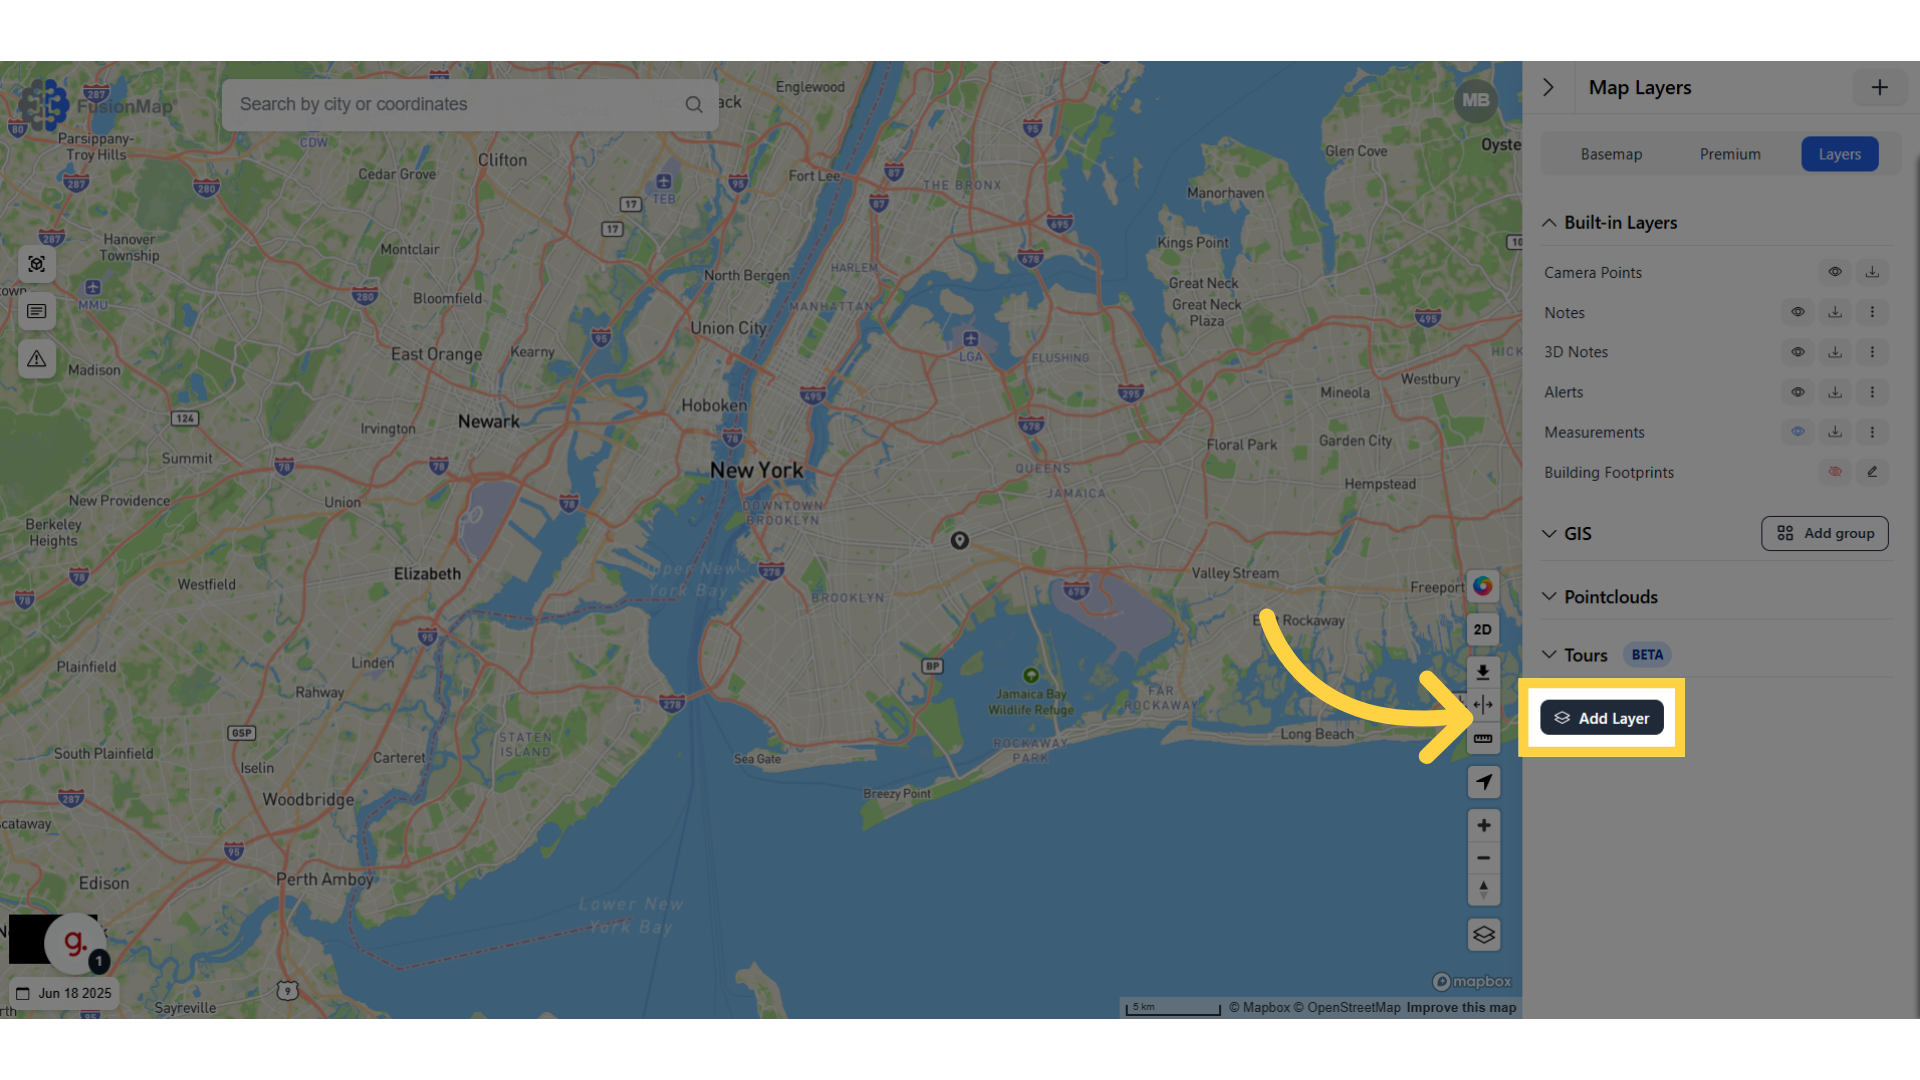
2. Click “Add Layer” #
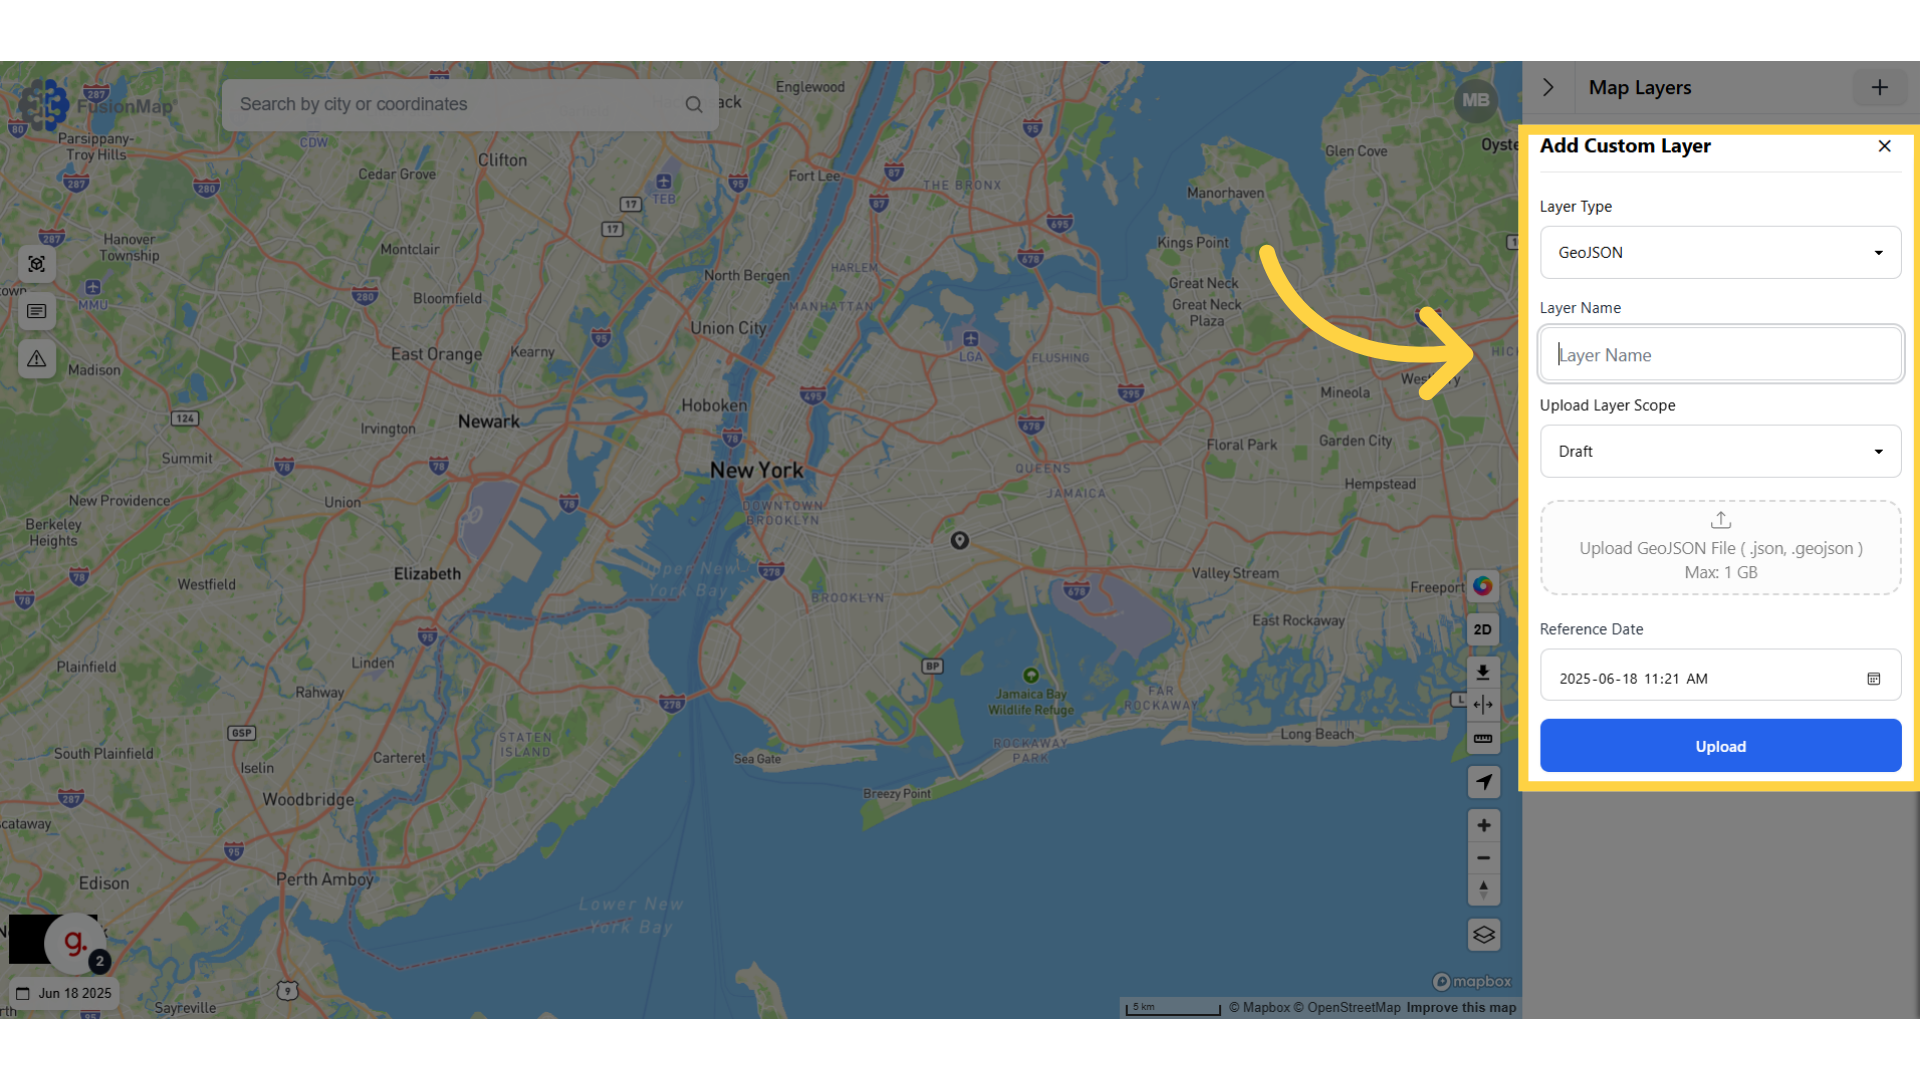
3. Fill in the details for the layer #
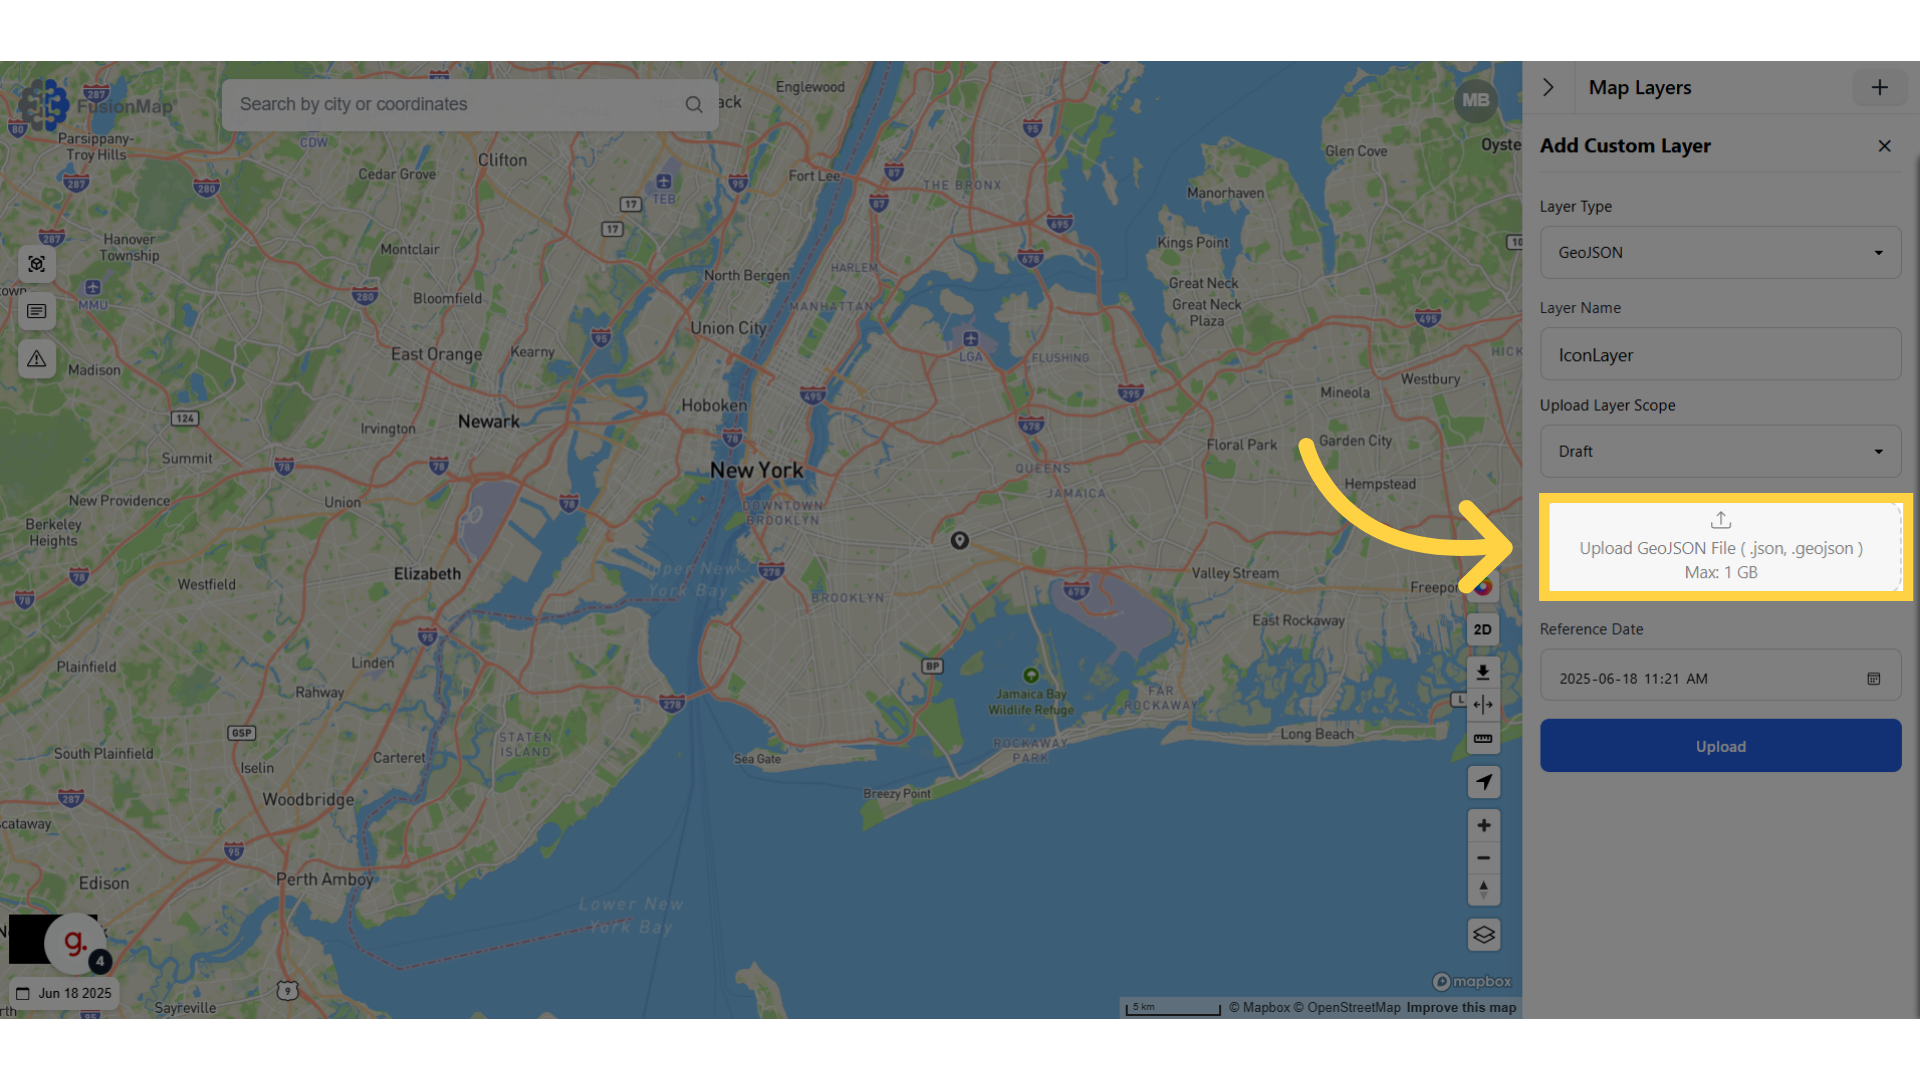
4. Upload your file #
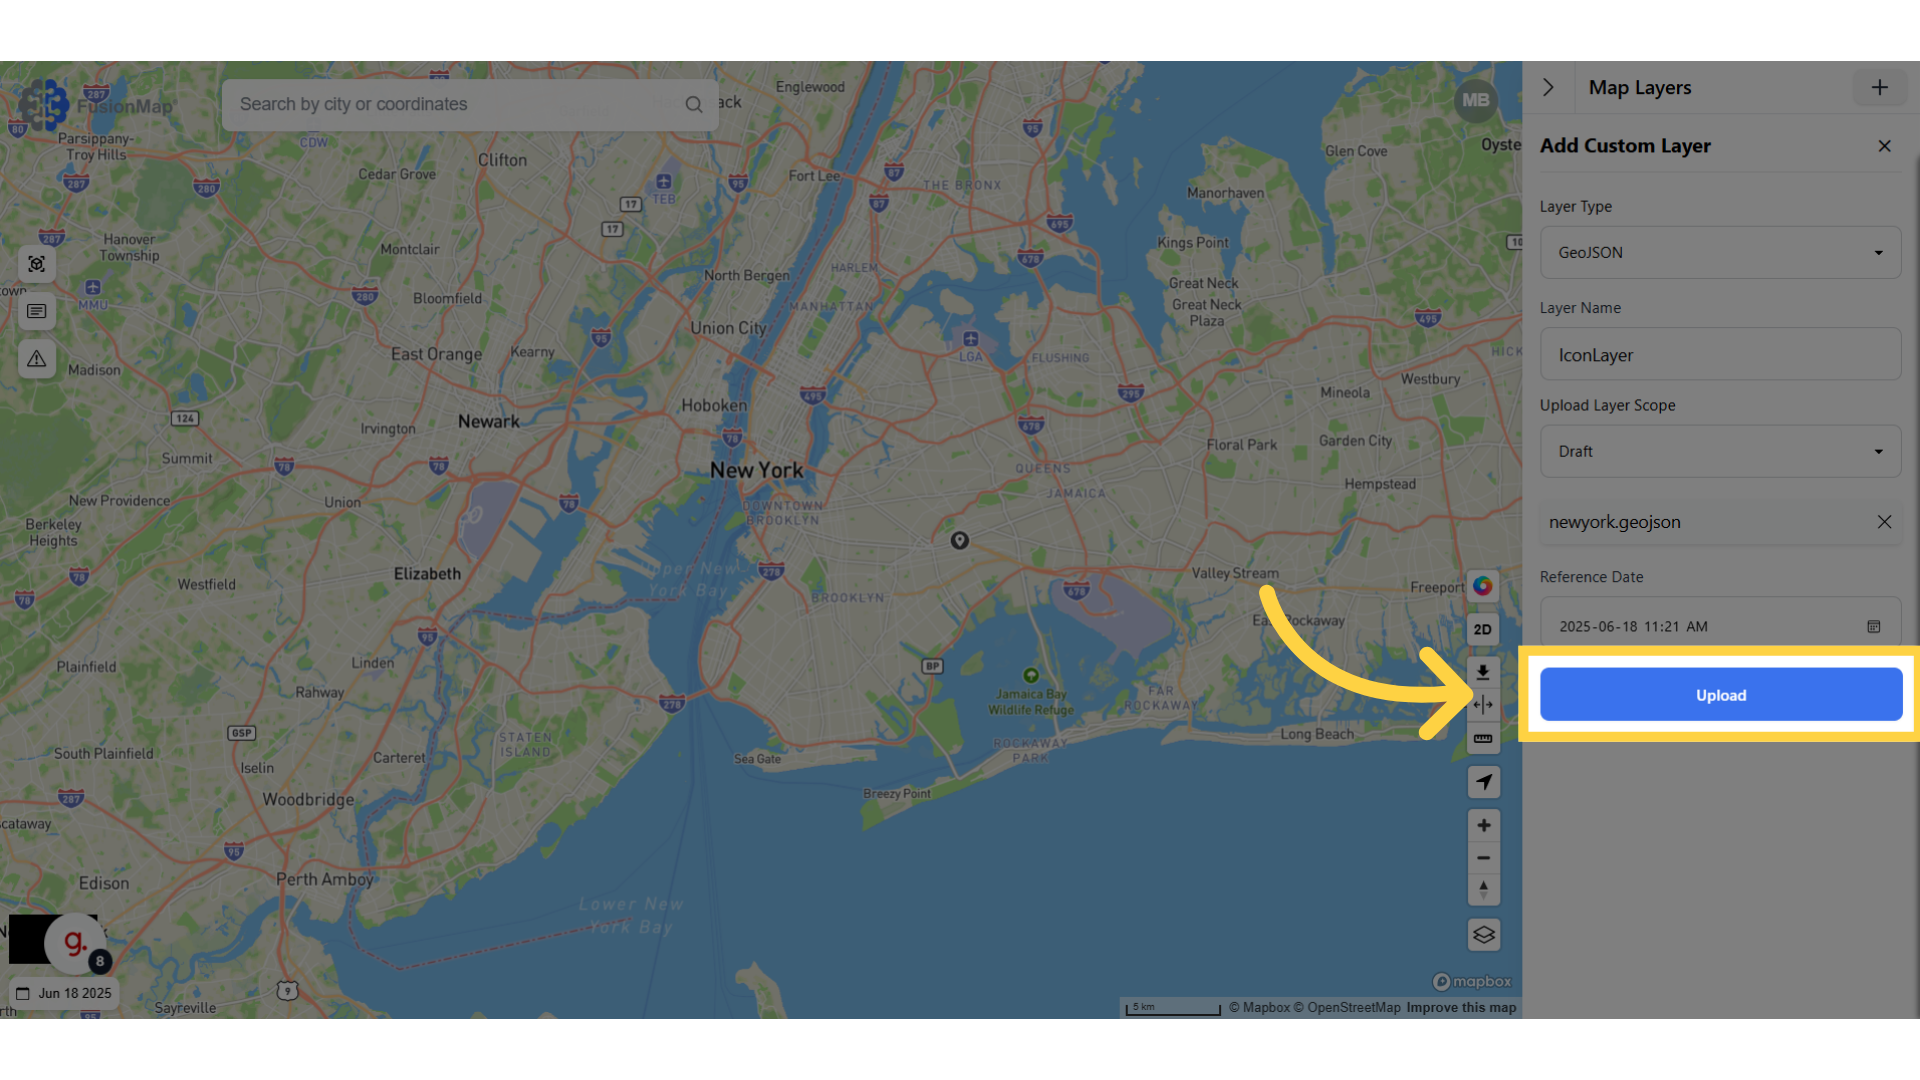
5. Click “Upload” #
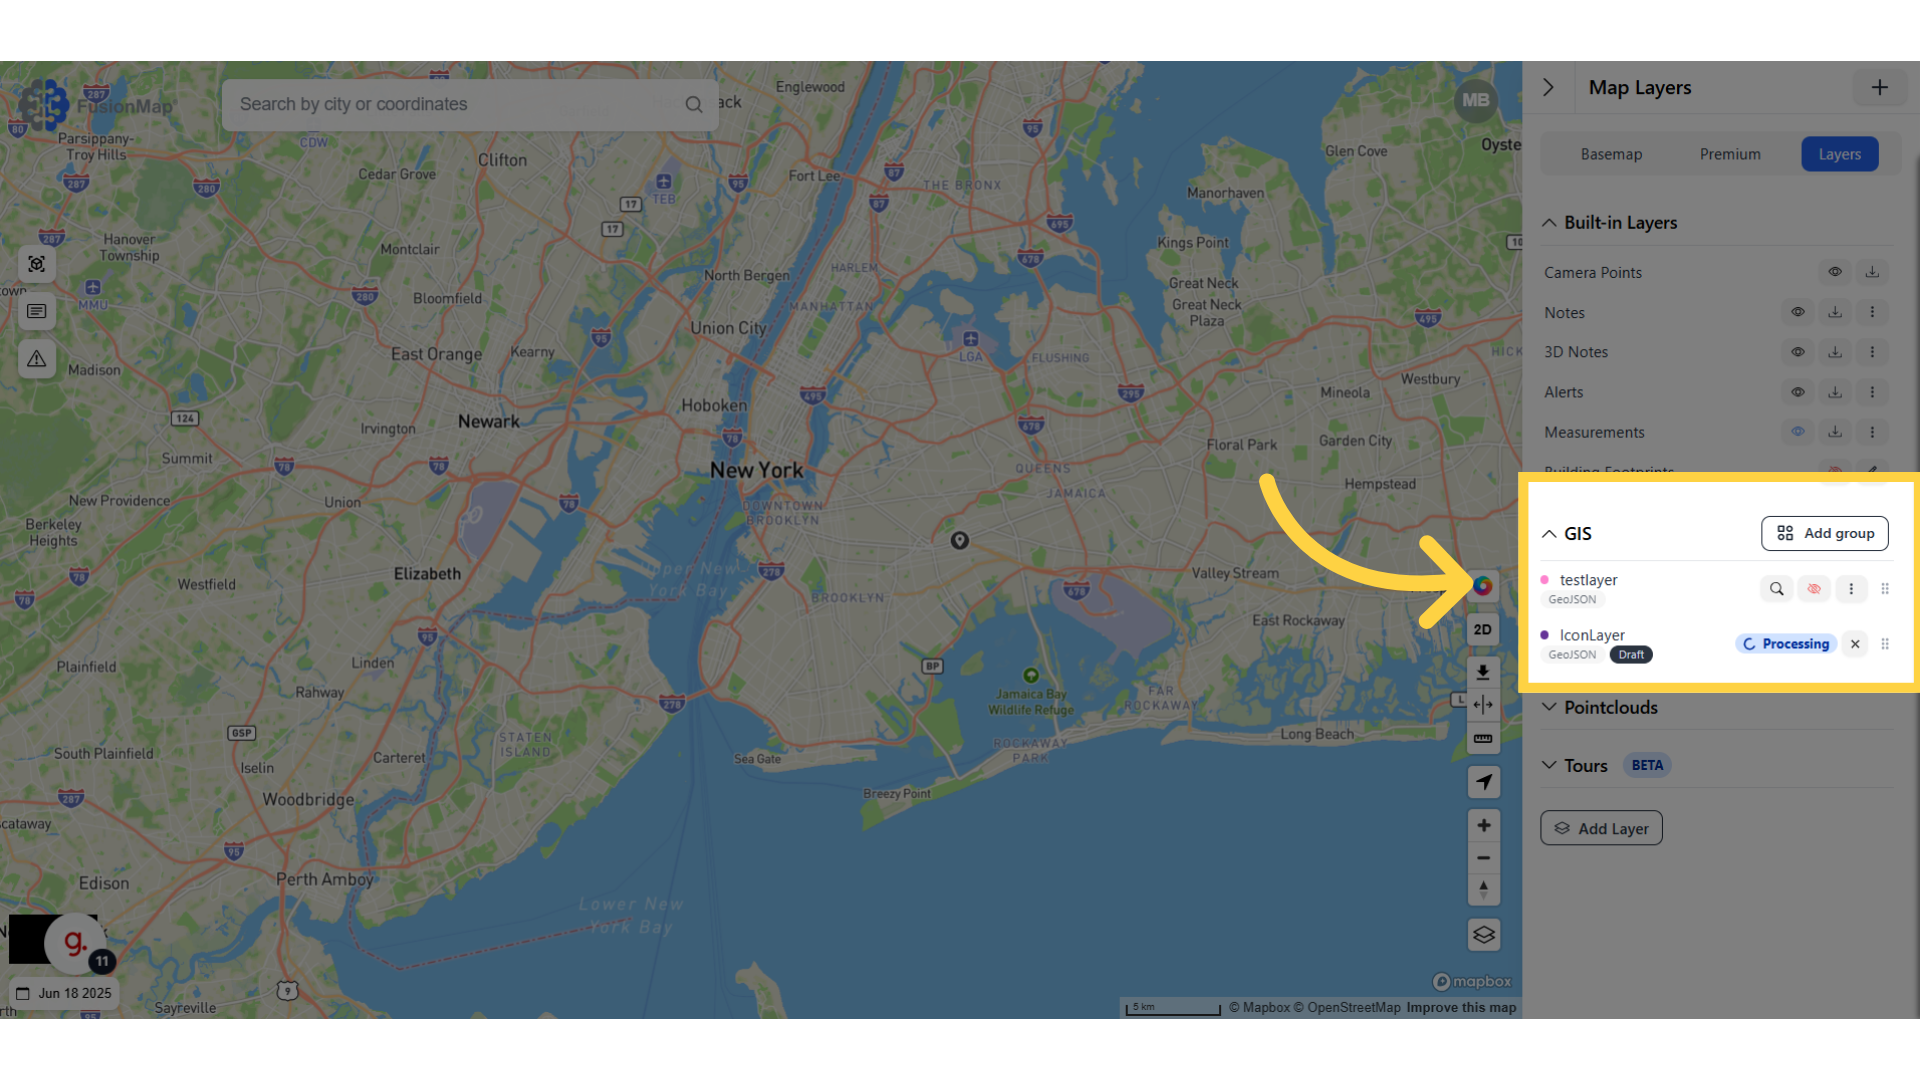
6. Wait for your custom layer to finish processing #
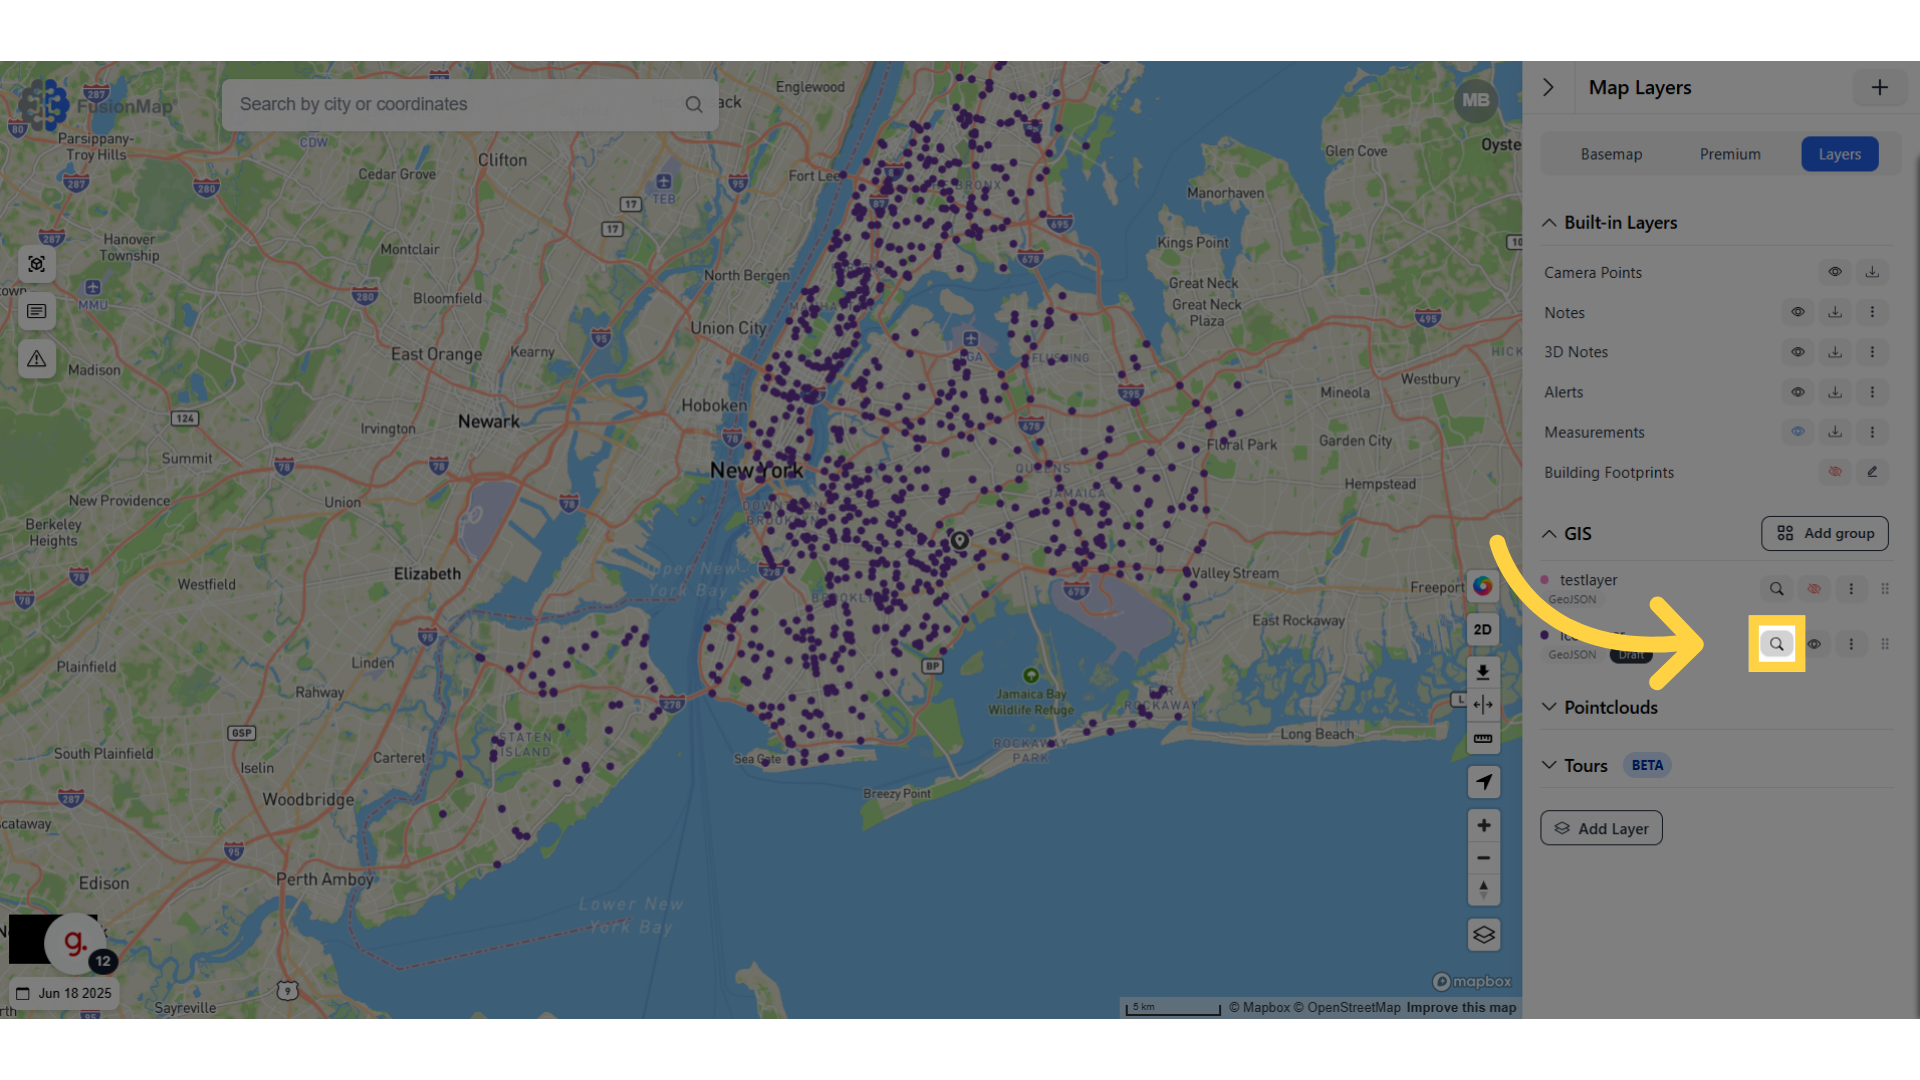
7. Click the search icon to navigate to your layer’s location #
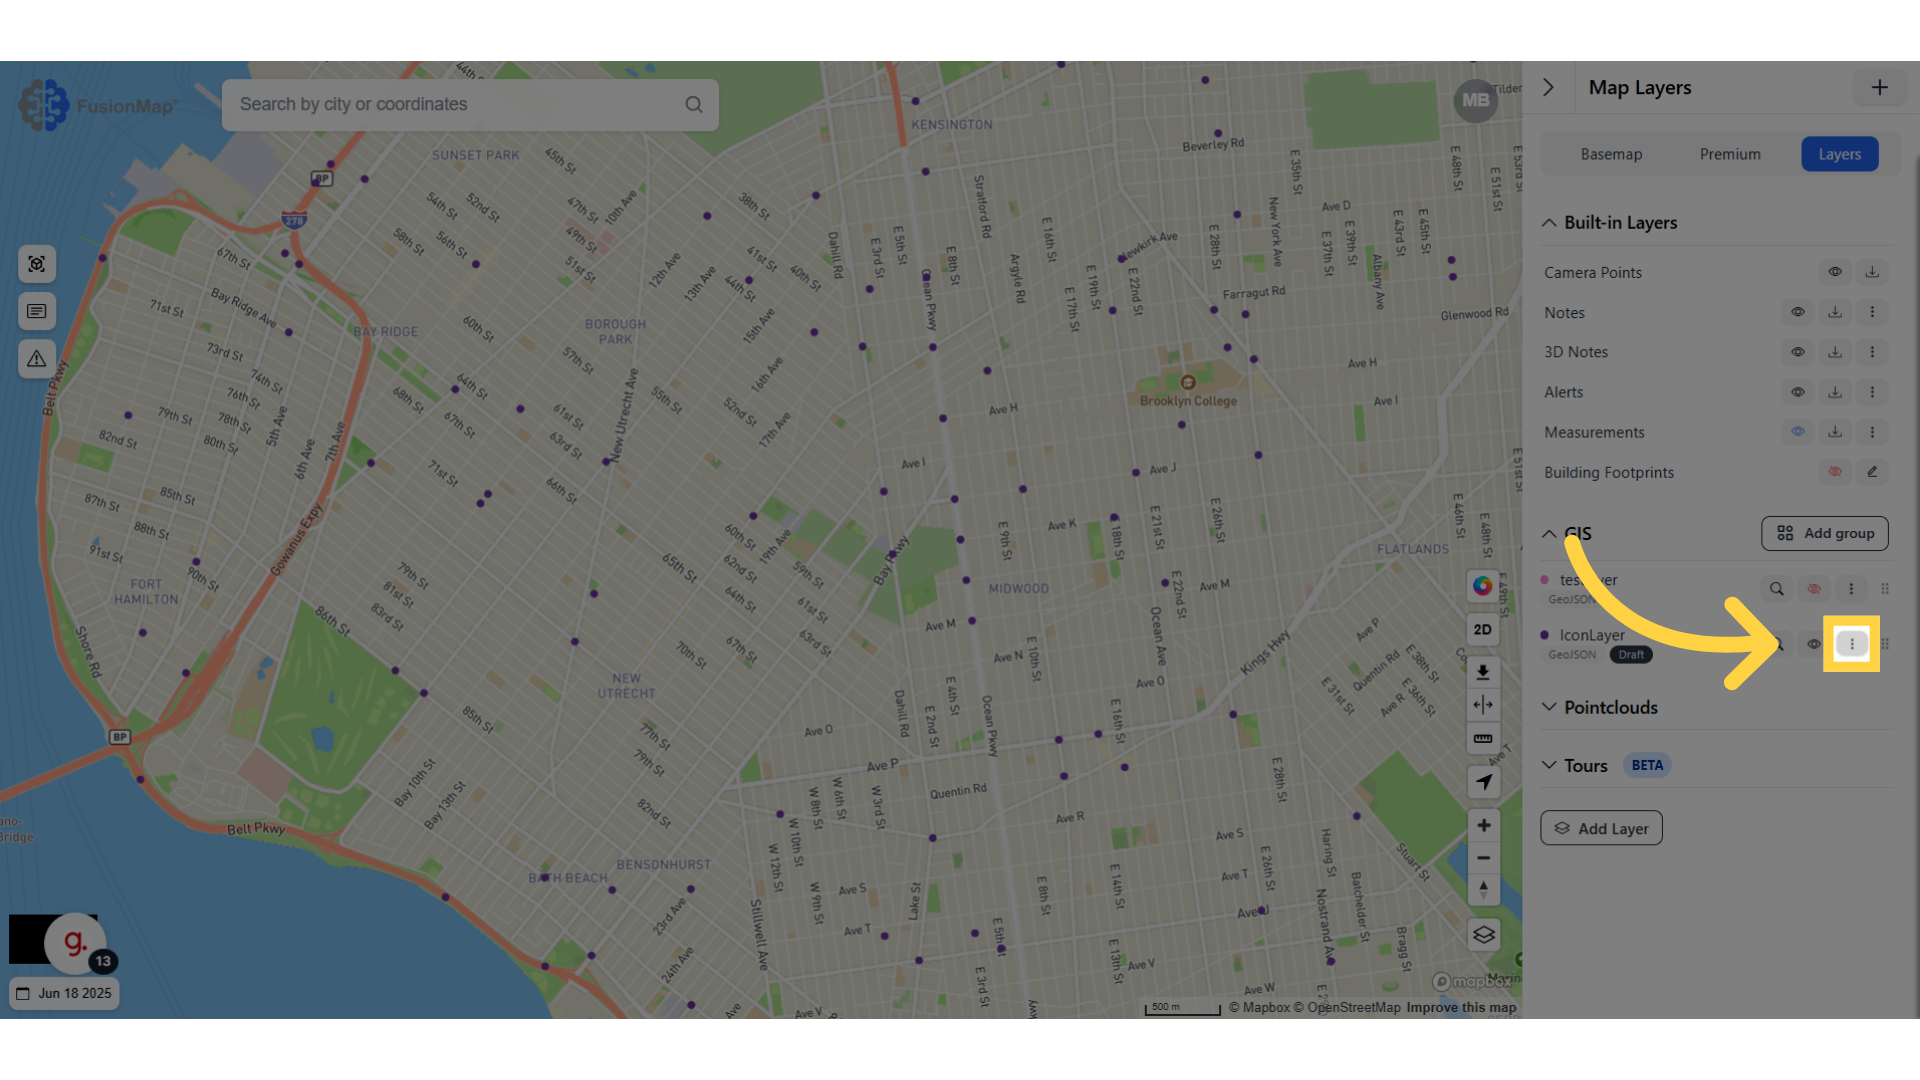
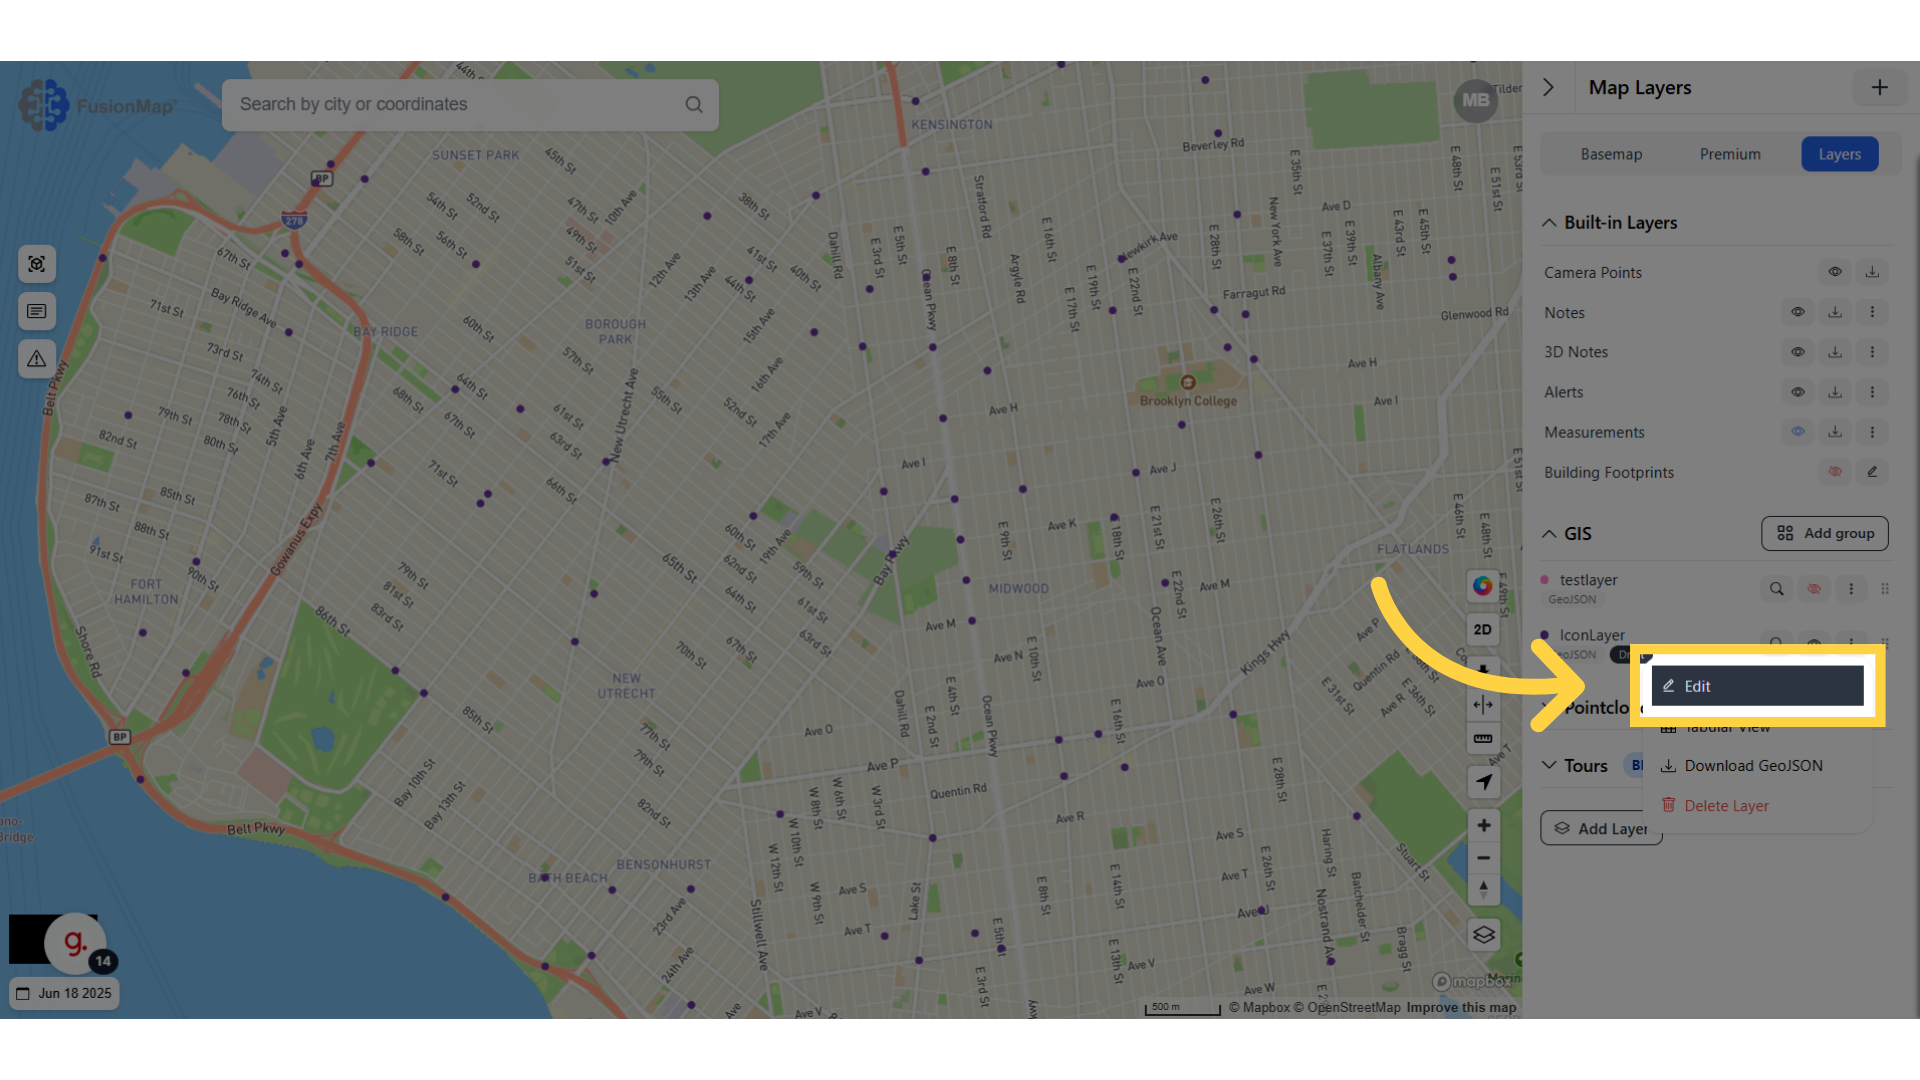
8. Click the three dots to access settings #
9. Click “Edit” #
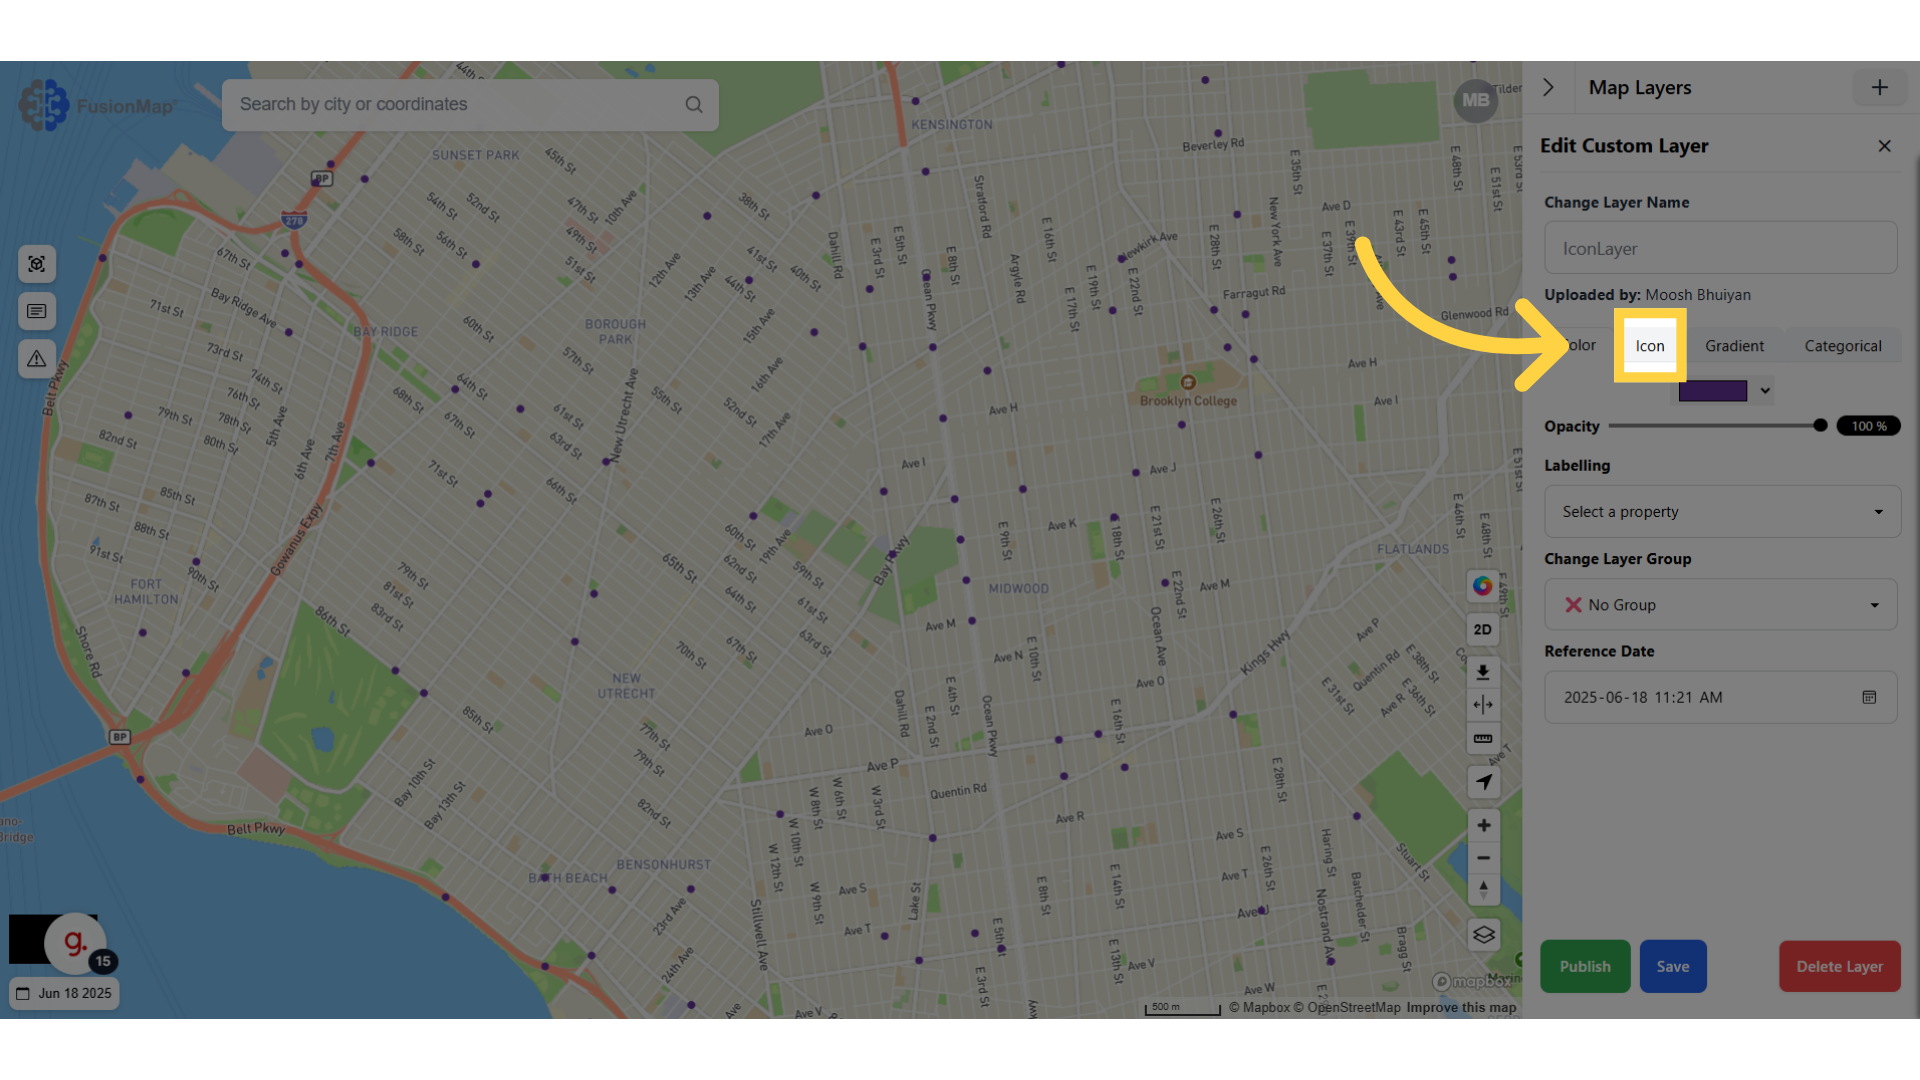
10. Click “Icon” #
Switch to the icon tab
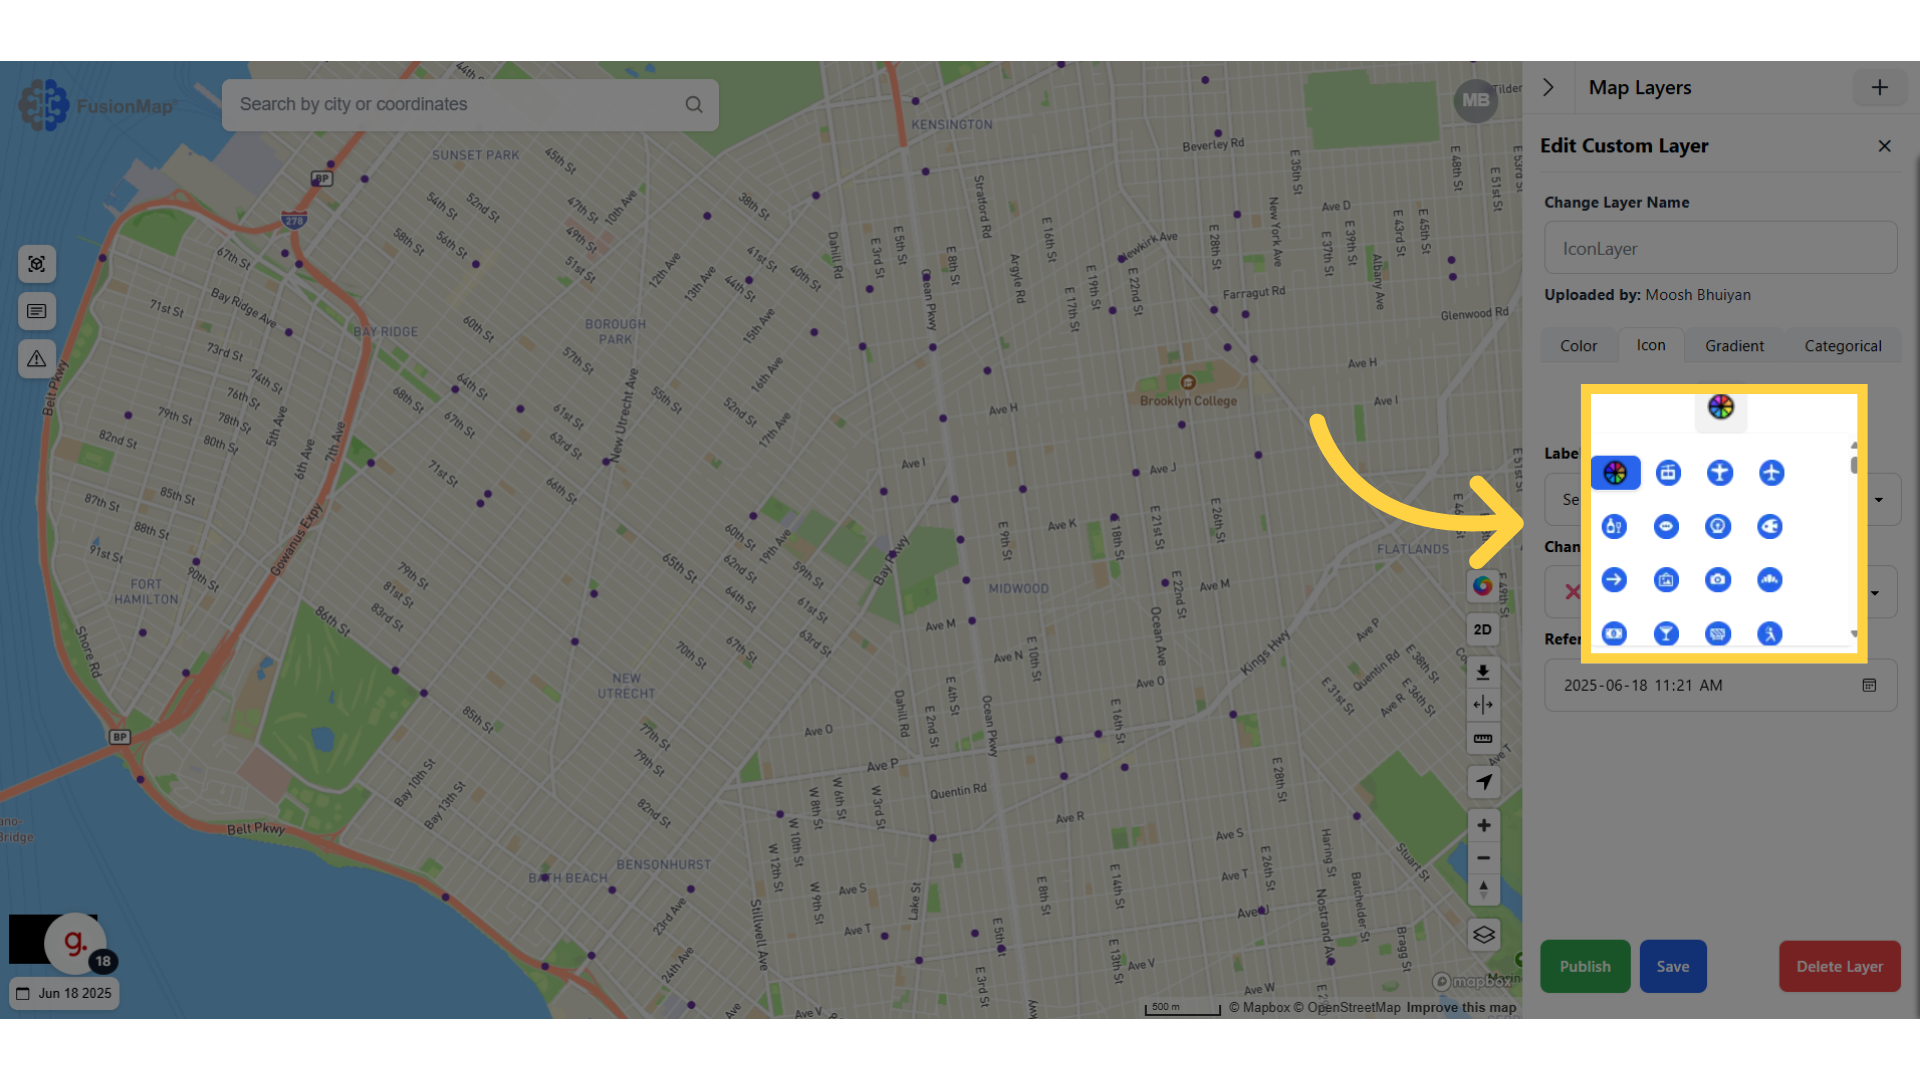
11. Click on the current icon #
Click on the current icon to open the drop down menu and make a selection
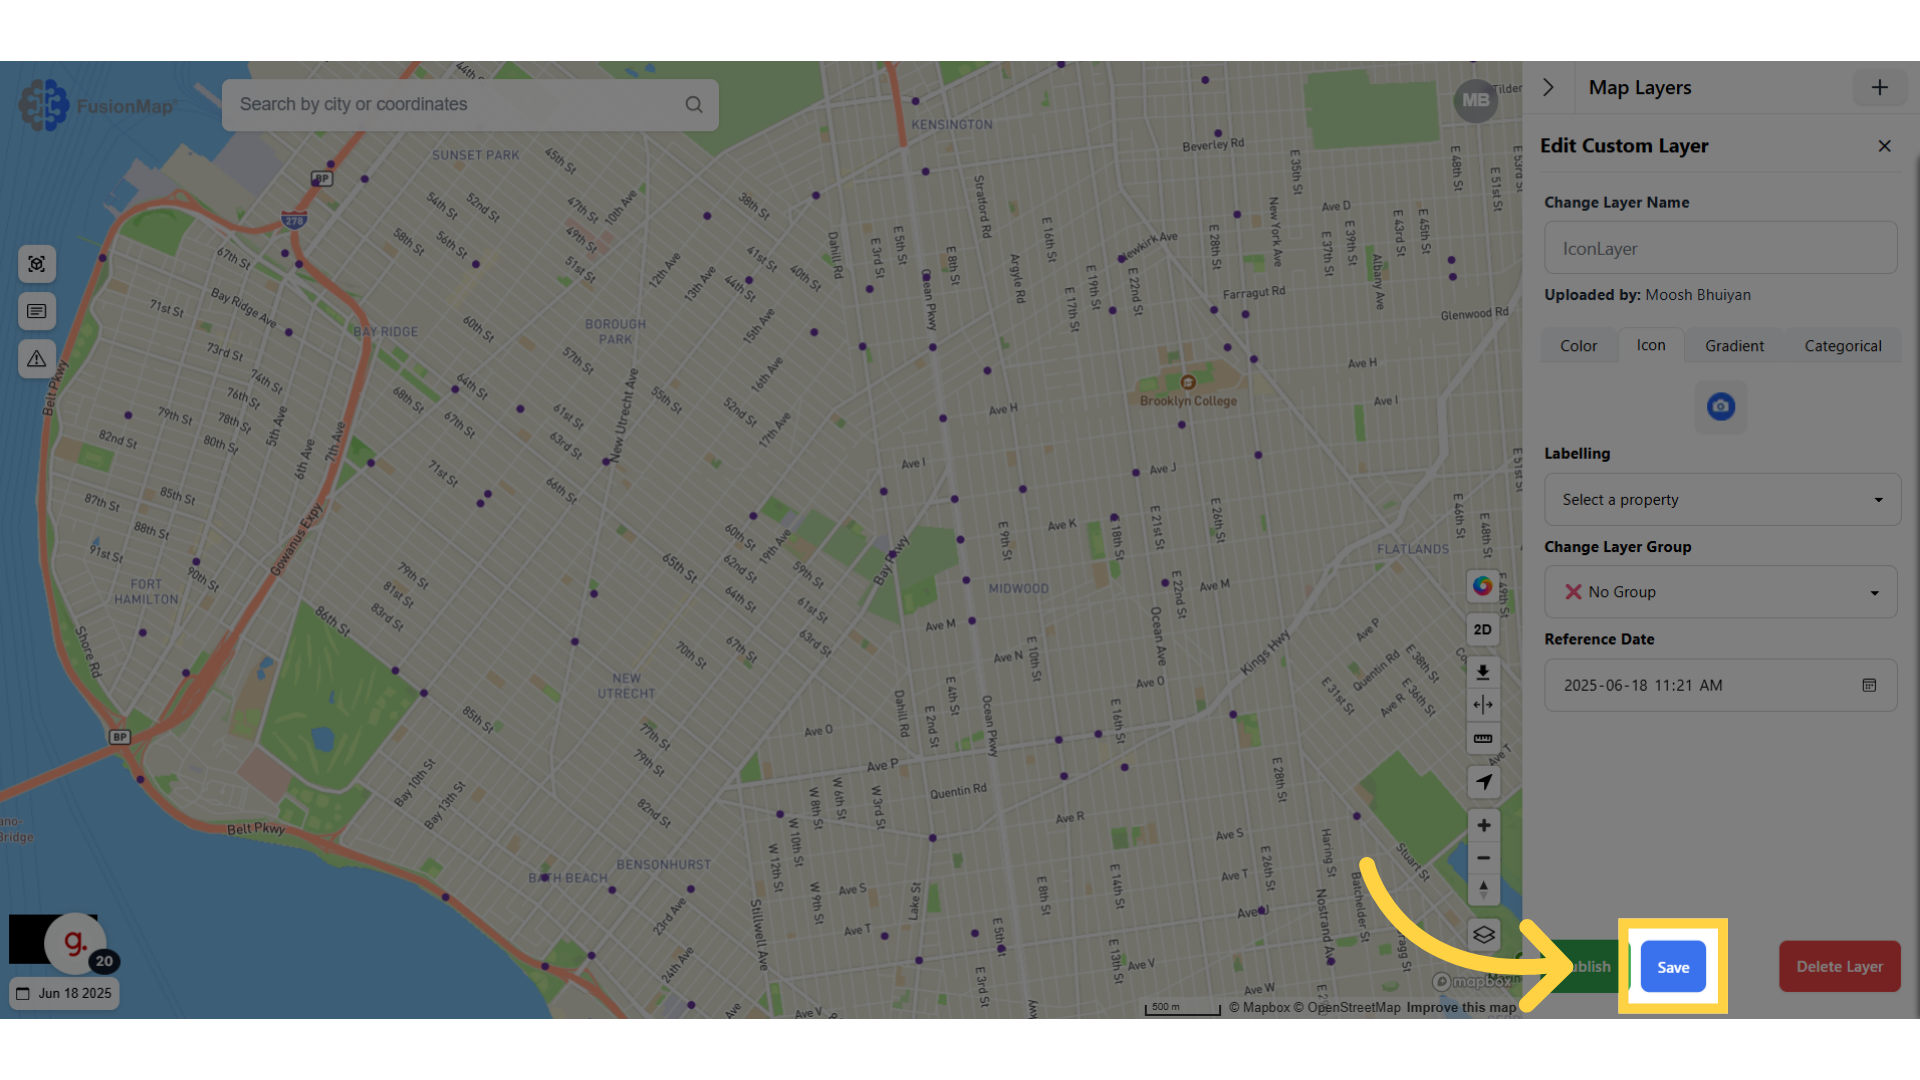
12. Click “Save” #
Save the changes made to the custom layer.
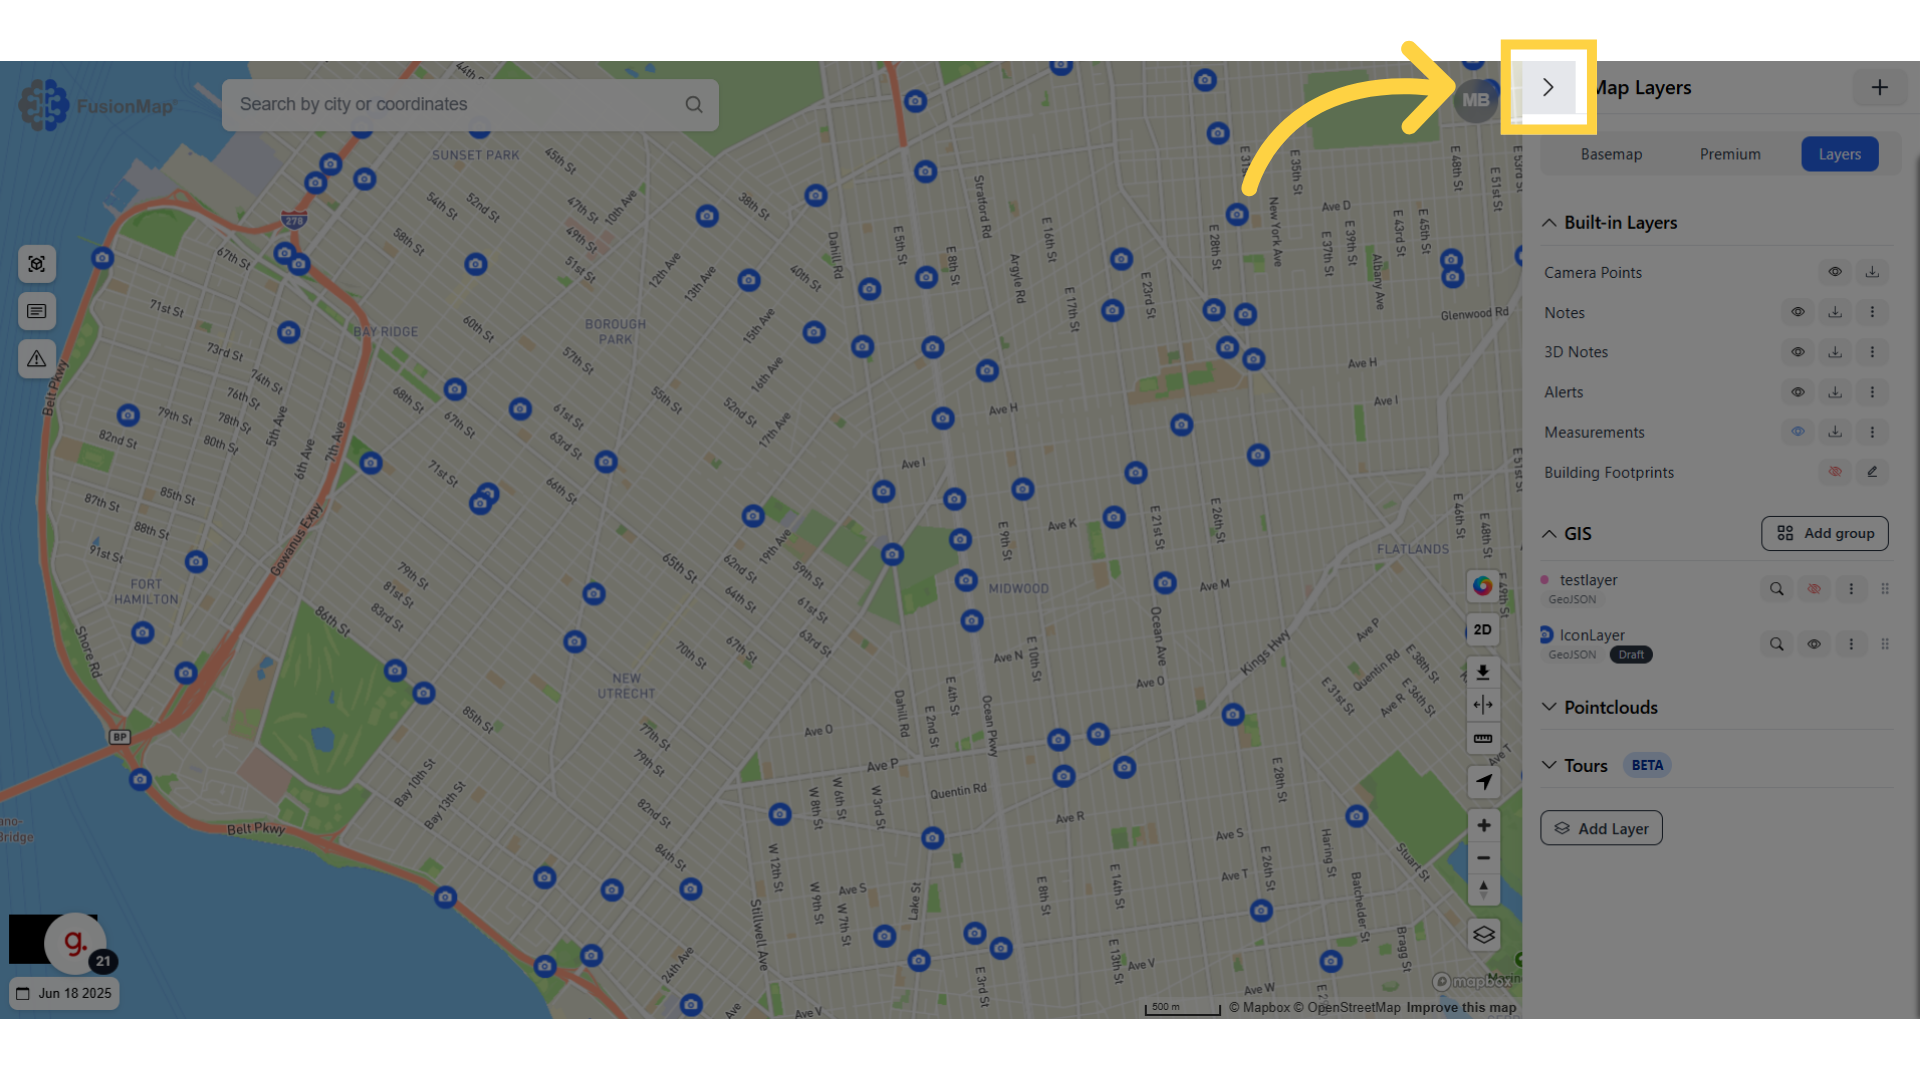
13. Close the layers sidebar #
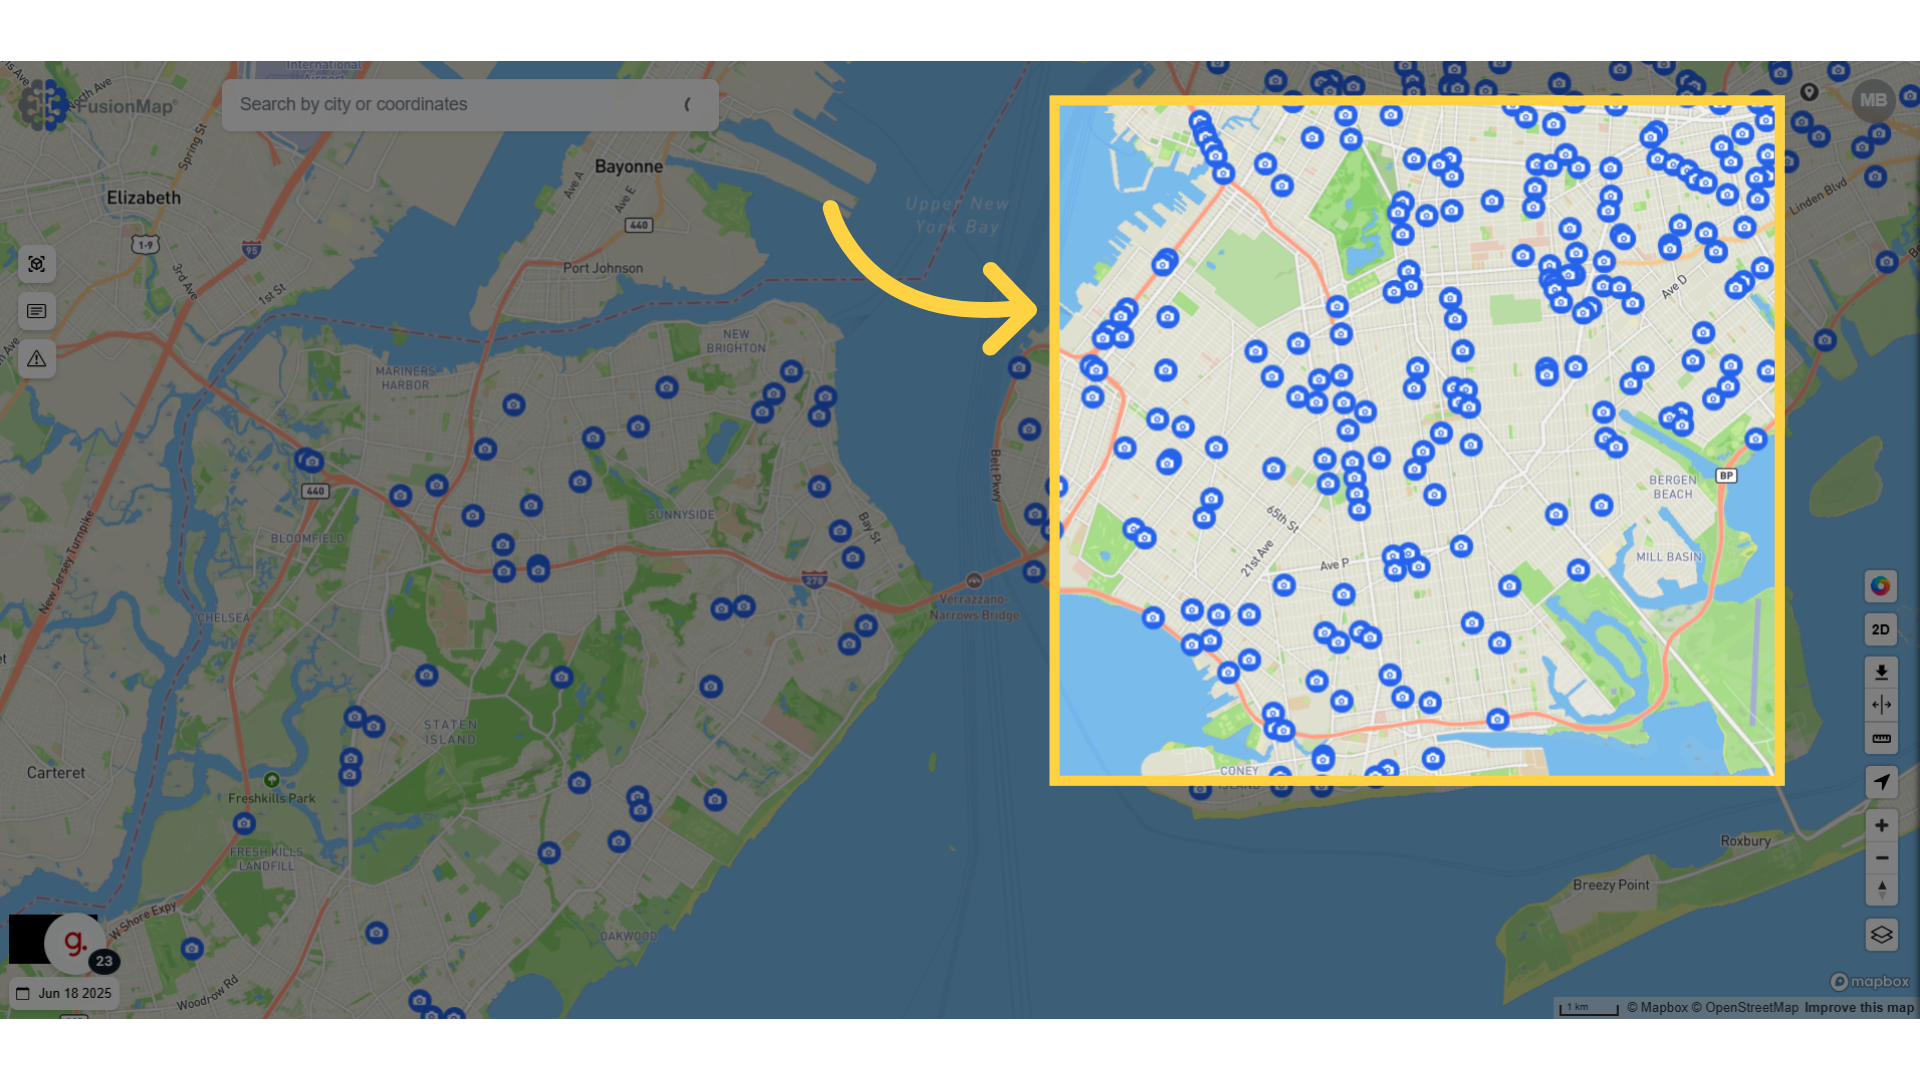
14. Your changes will be visualized on the map #
You’ve now seen how to customize icons in custom layers using FusionMap, allowing for clearer, more personalized visual communication in your maps.