

This guide will walk you through the LiDAR and Hybrid view on Fusionmap
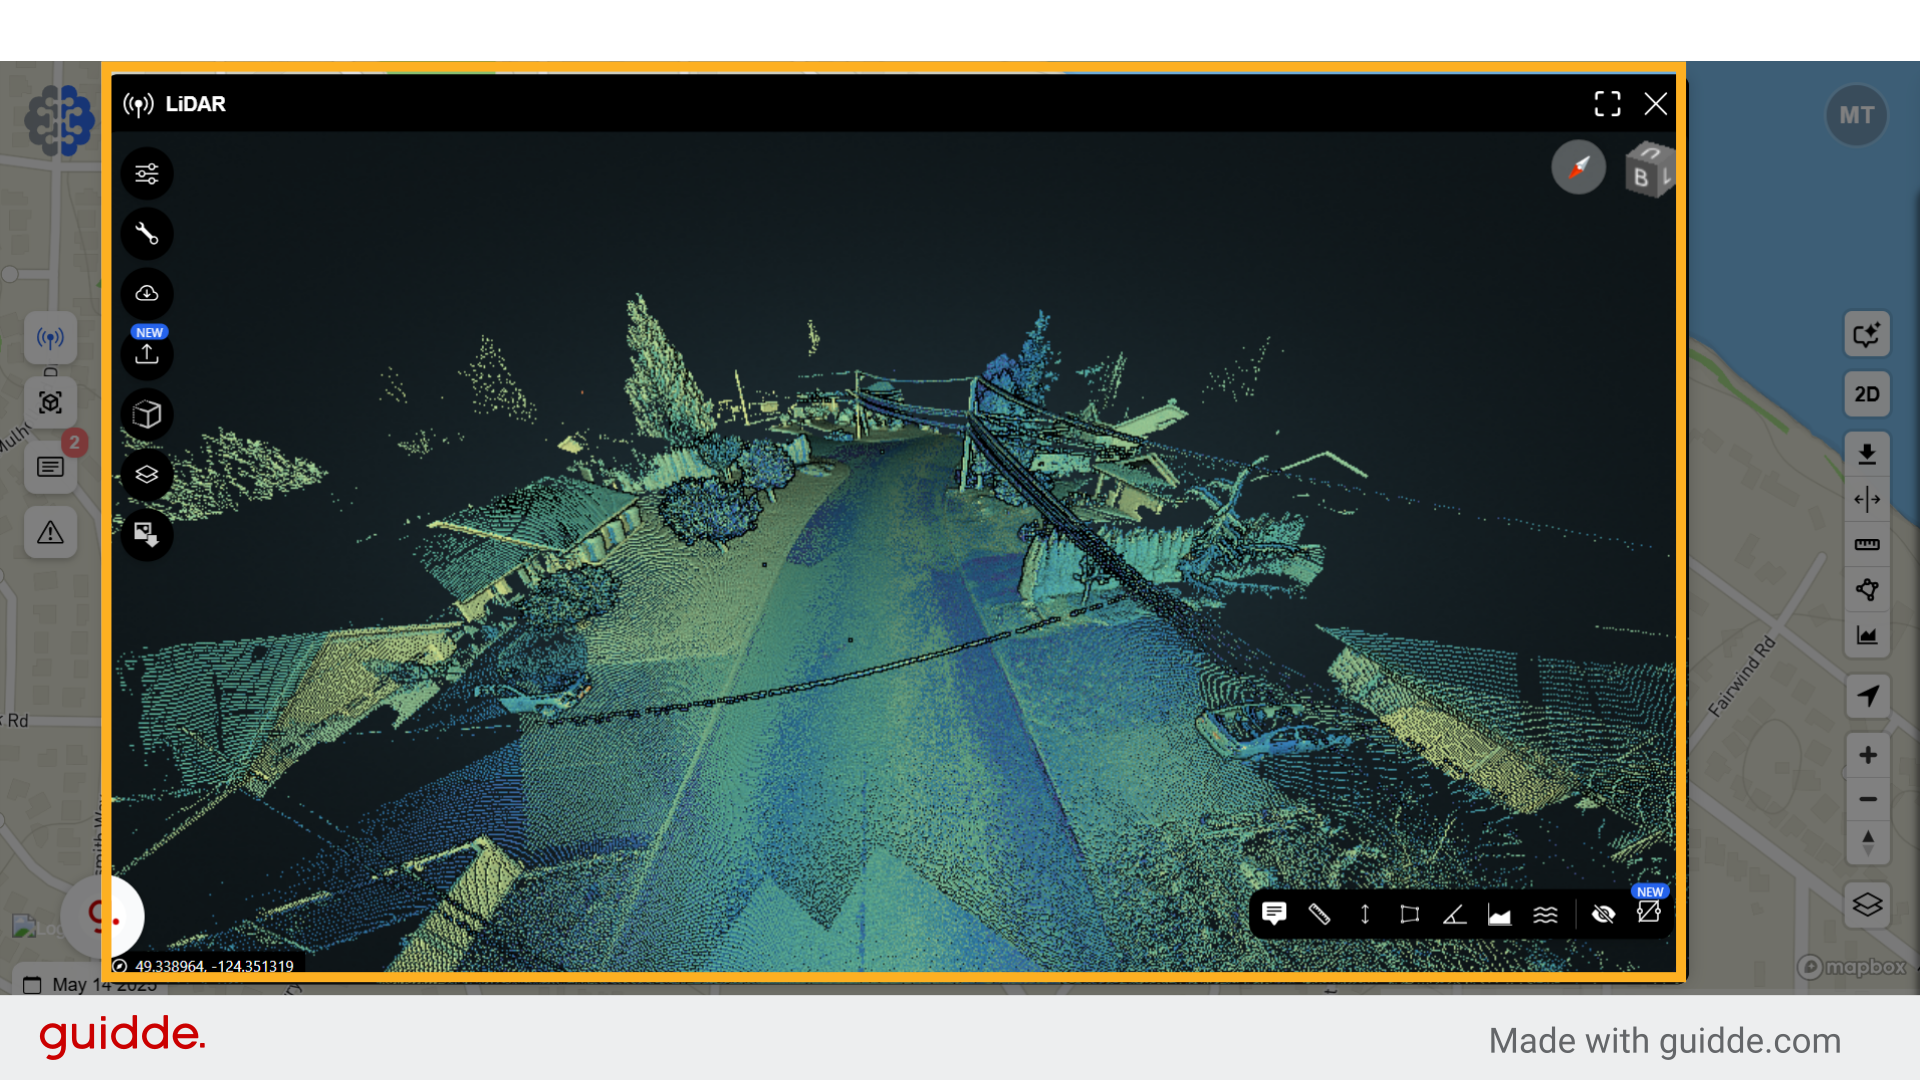
1. The LiDAR View #
We will be using the LiDAR view for this tutorial, however, the Hybrid view has the same UI as the LiDAR view. The difference is that Hybrid view can view panoramic images instead of point clouds.
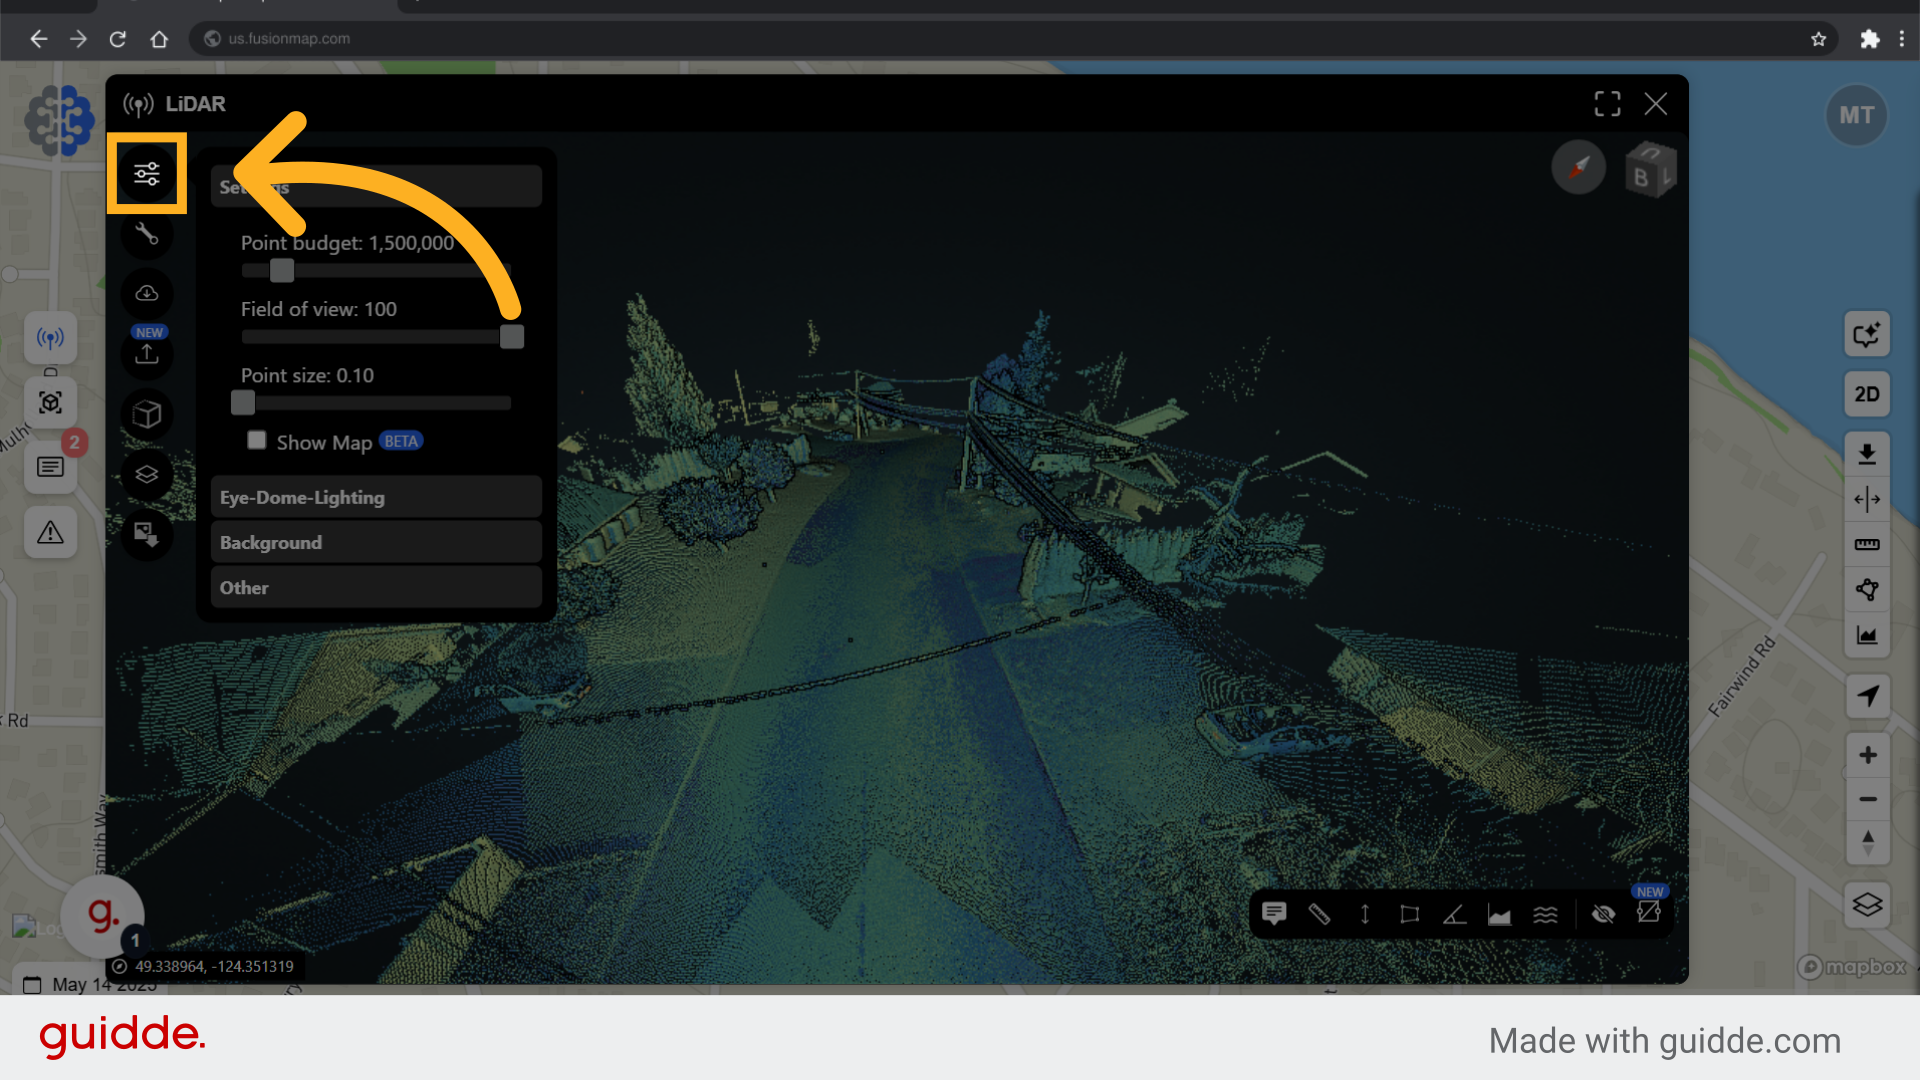
2. Click here #
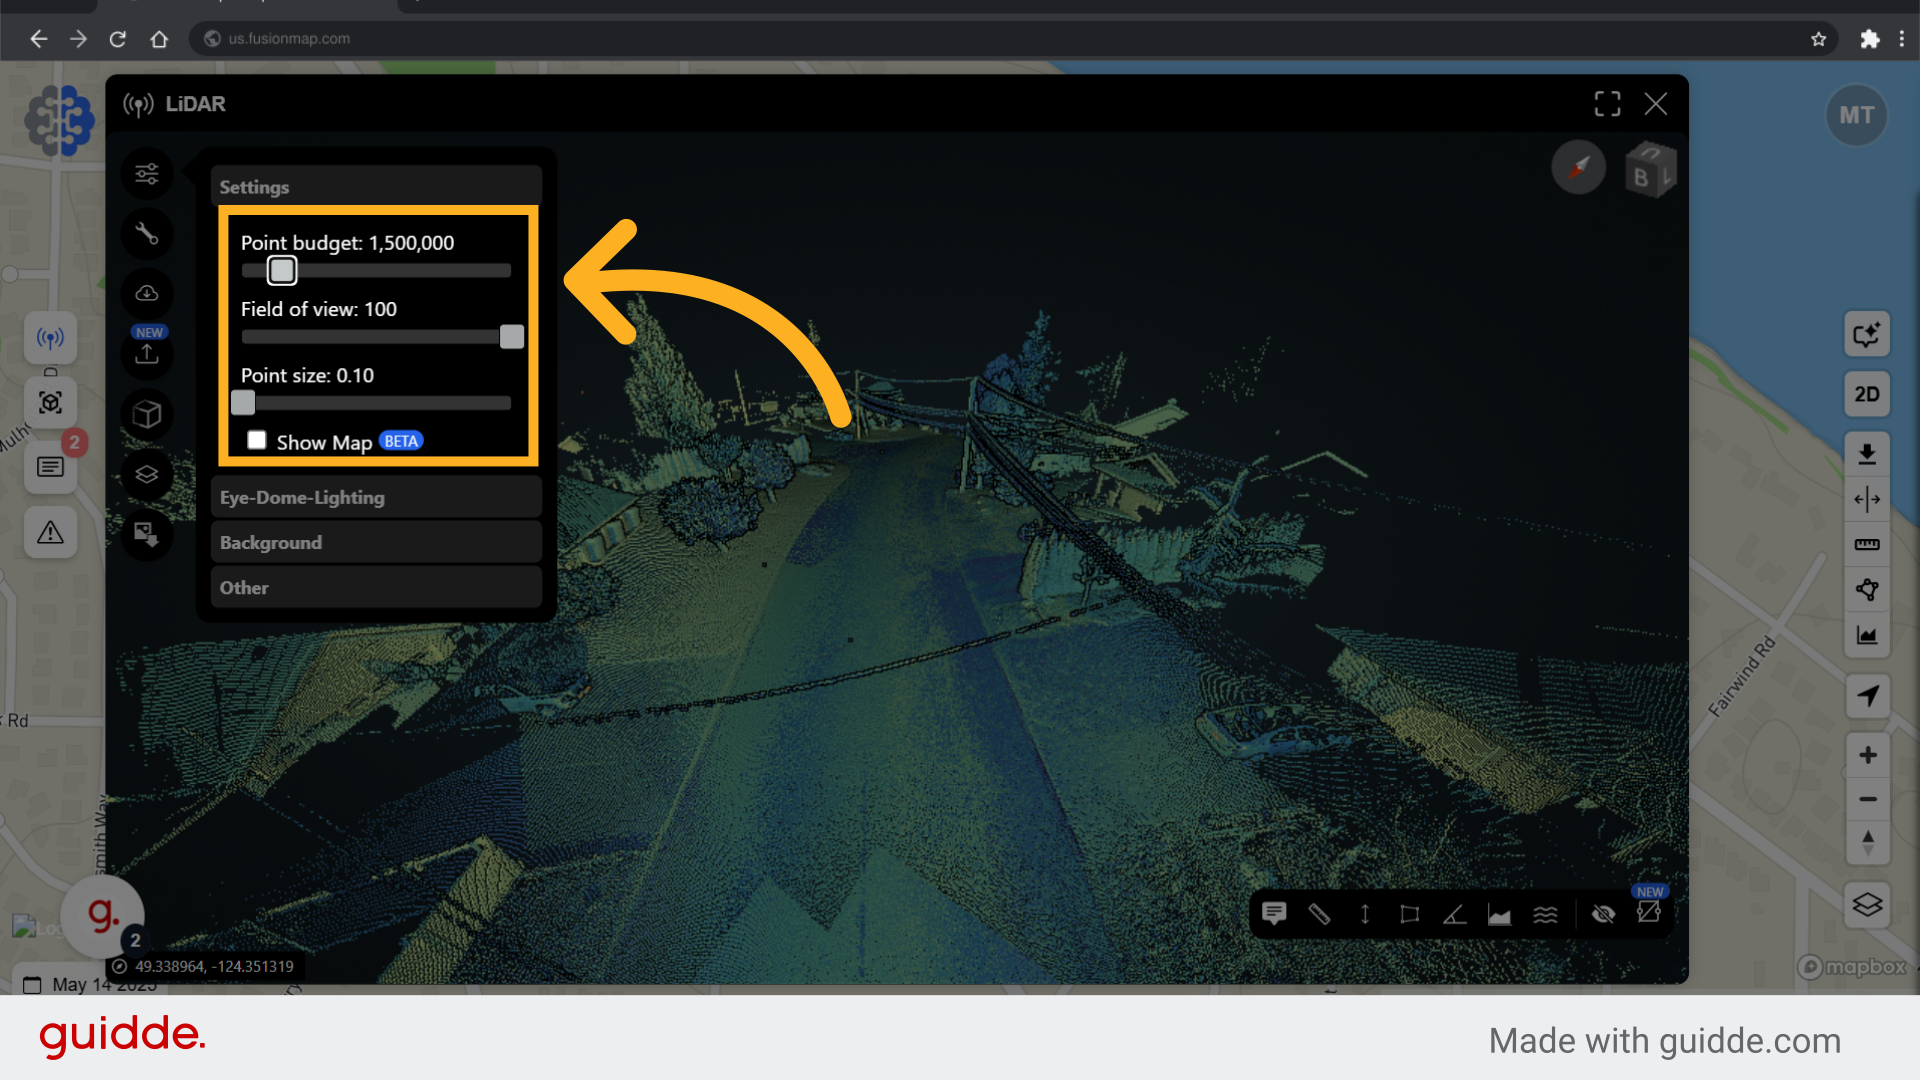
3. Adjust how points are displayed here #
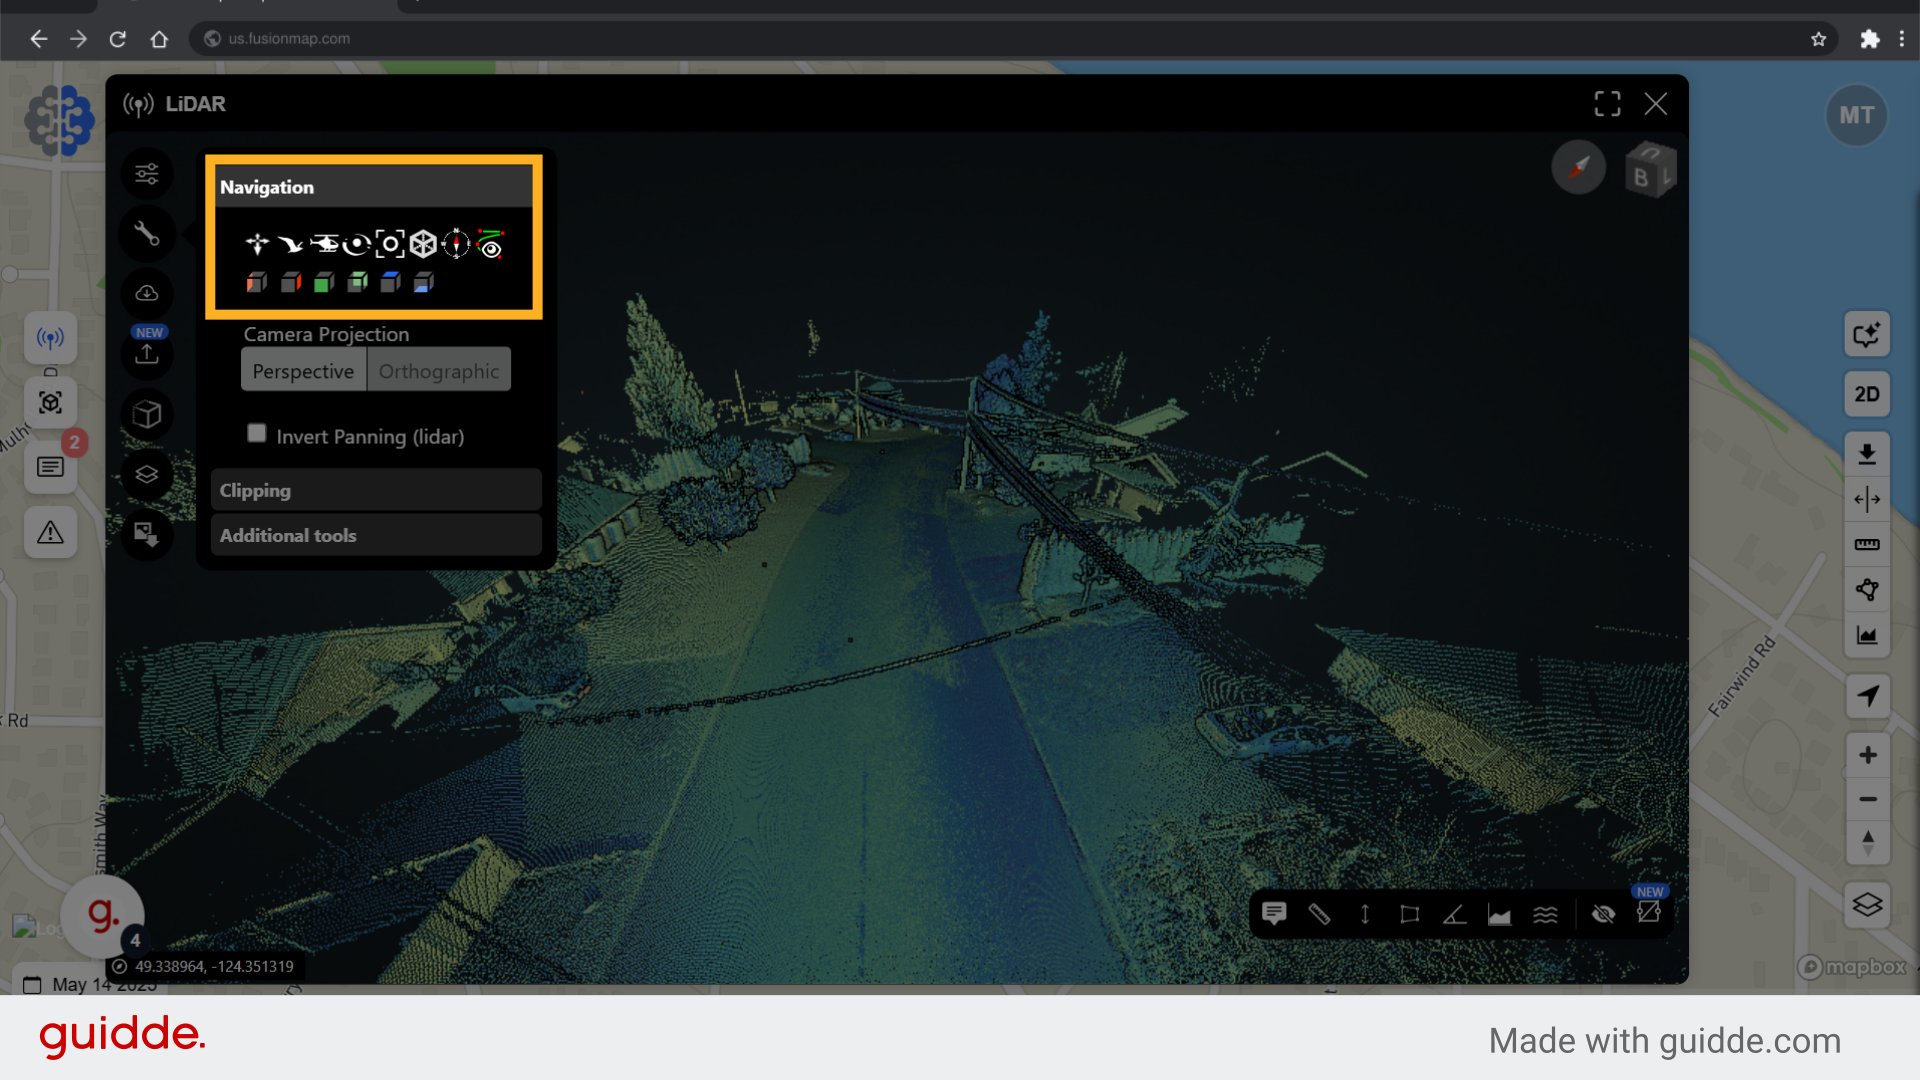
4. Switch to the navigation bar for different navigation options #
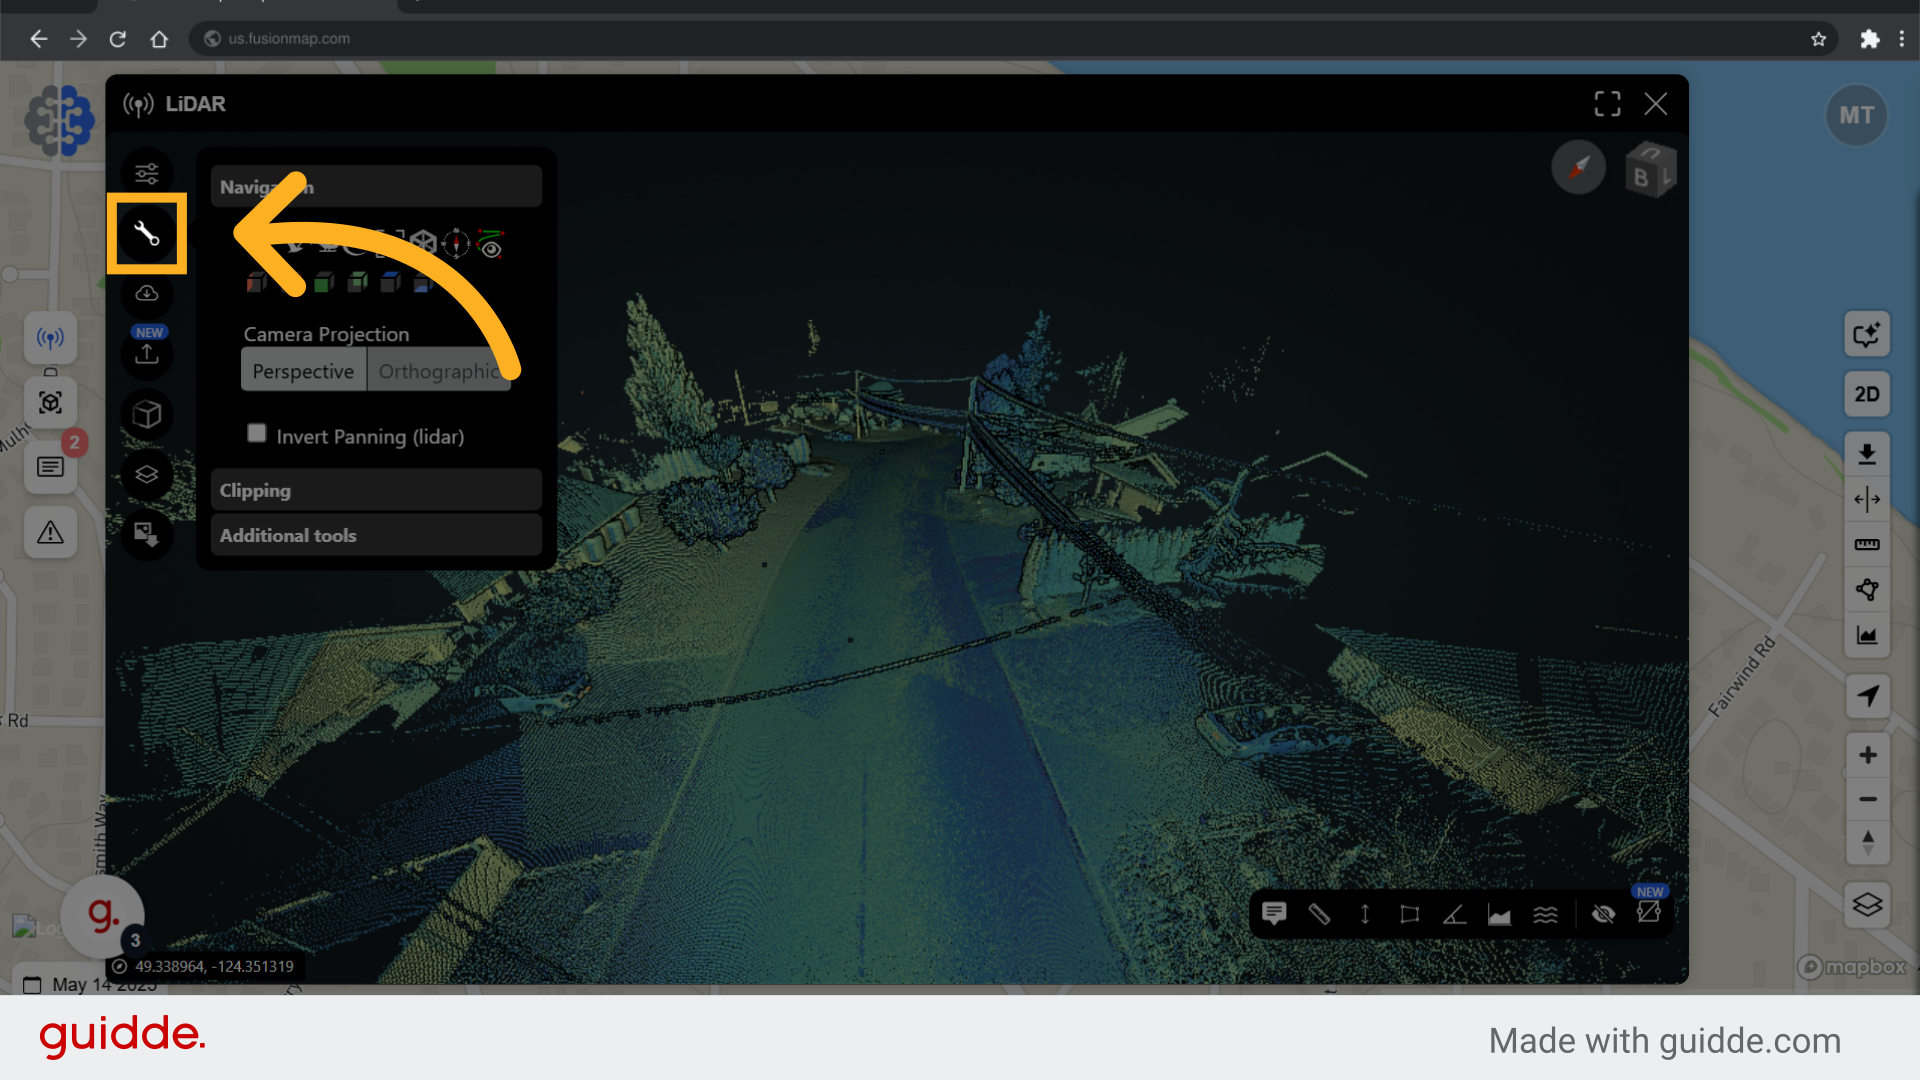
5. FusionMap offers multiple ways for you to navigate your pointcloud #
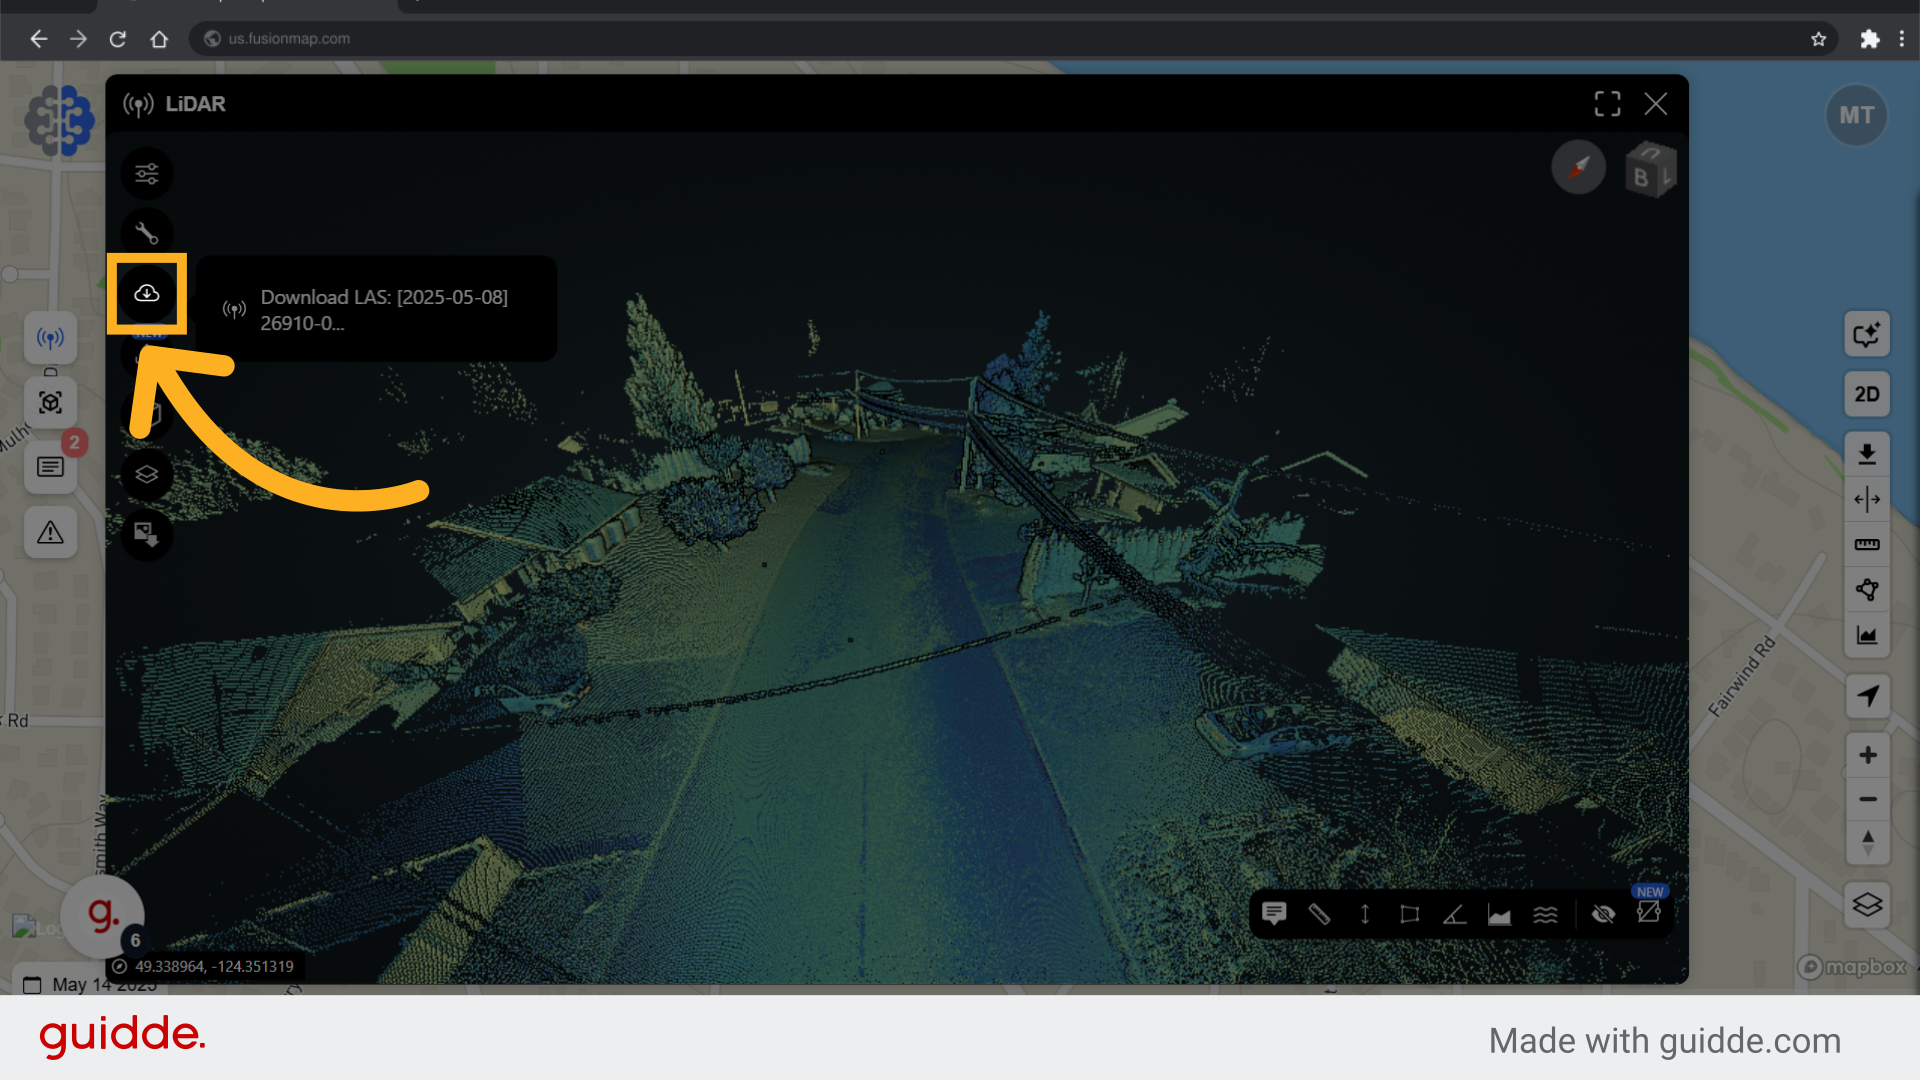
6. Download your pointcloud #
You can download your pointcloud here.
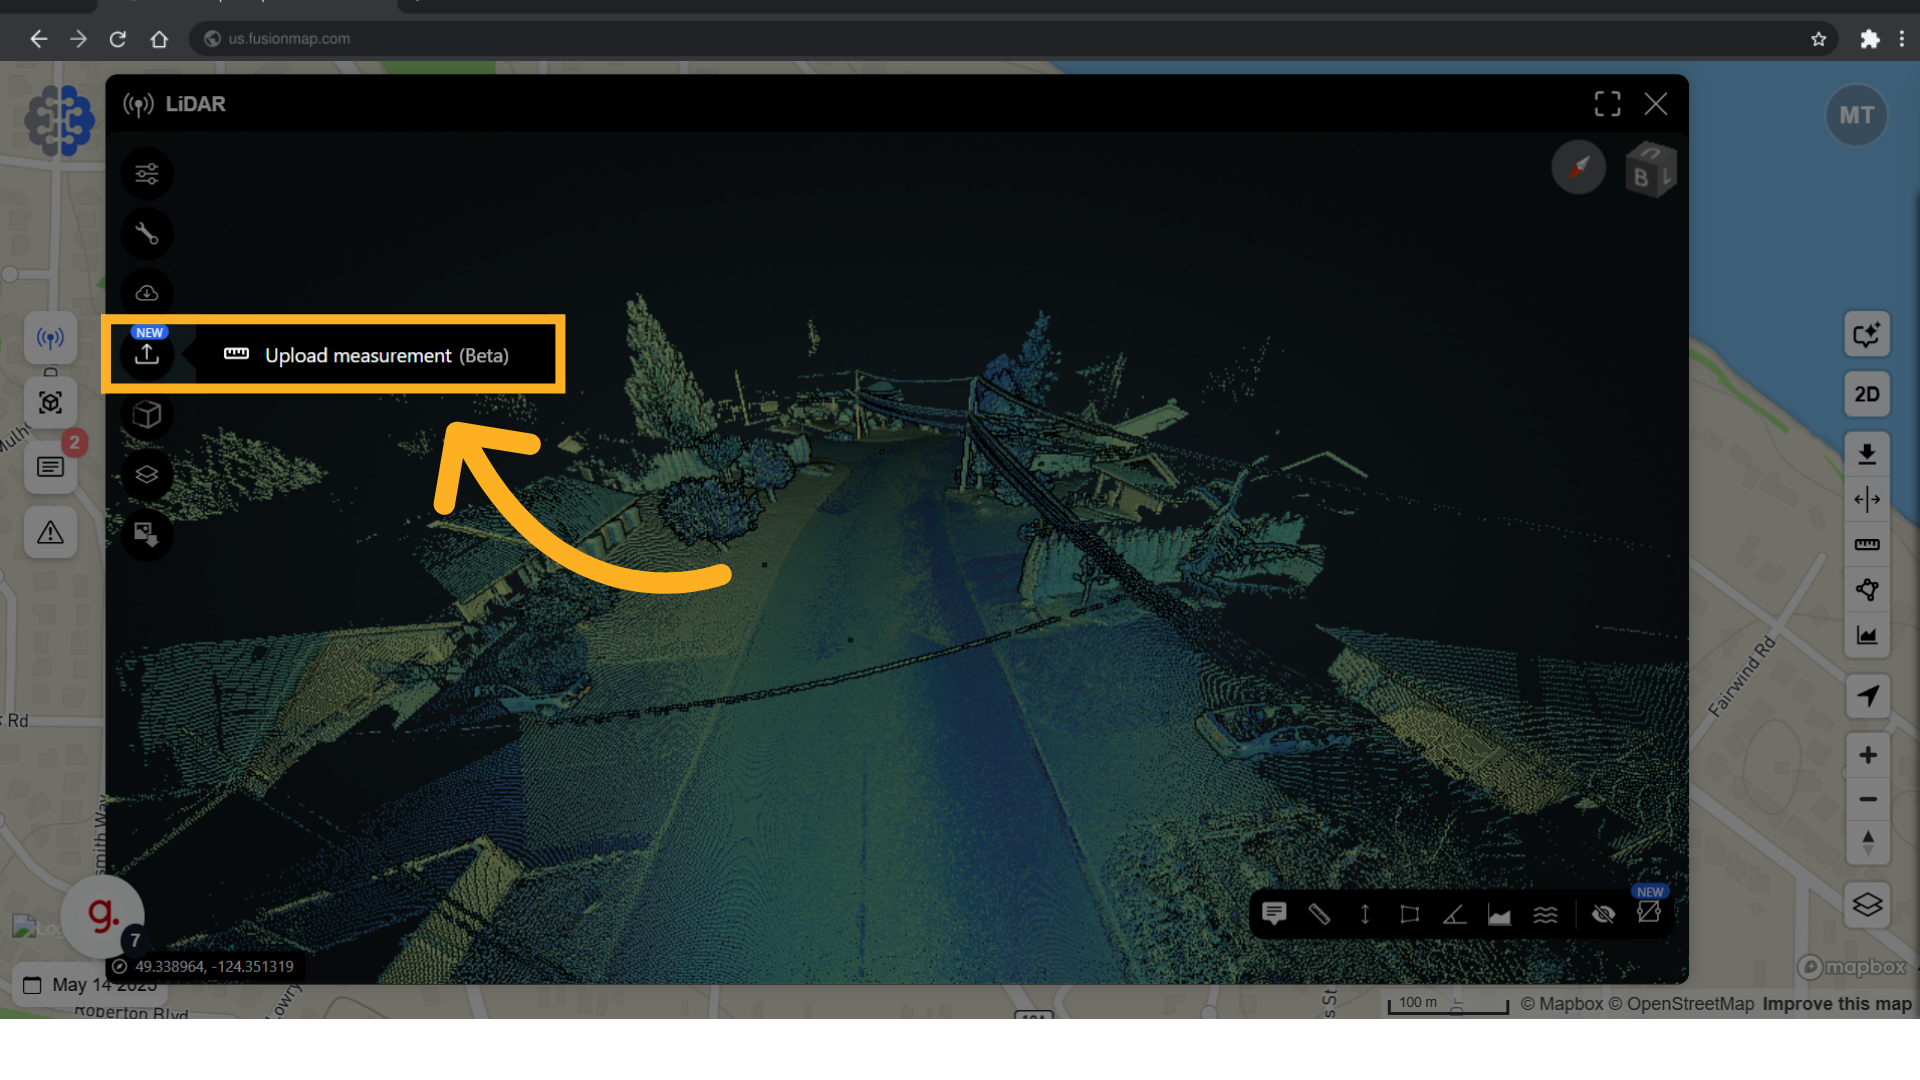
7. Upload your measurements #
Upload your GeoJSON measurements.
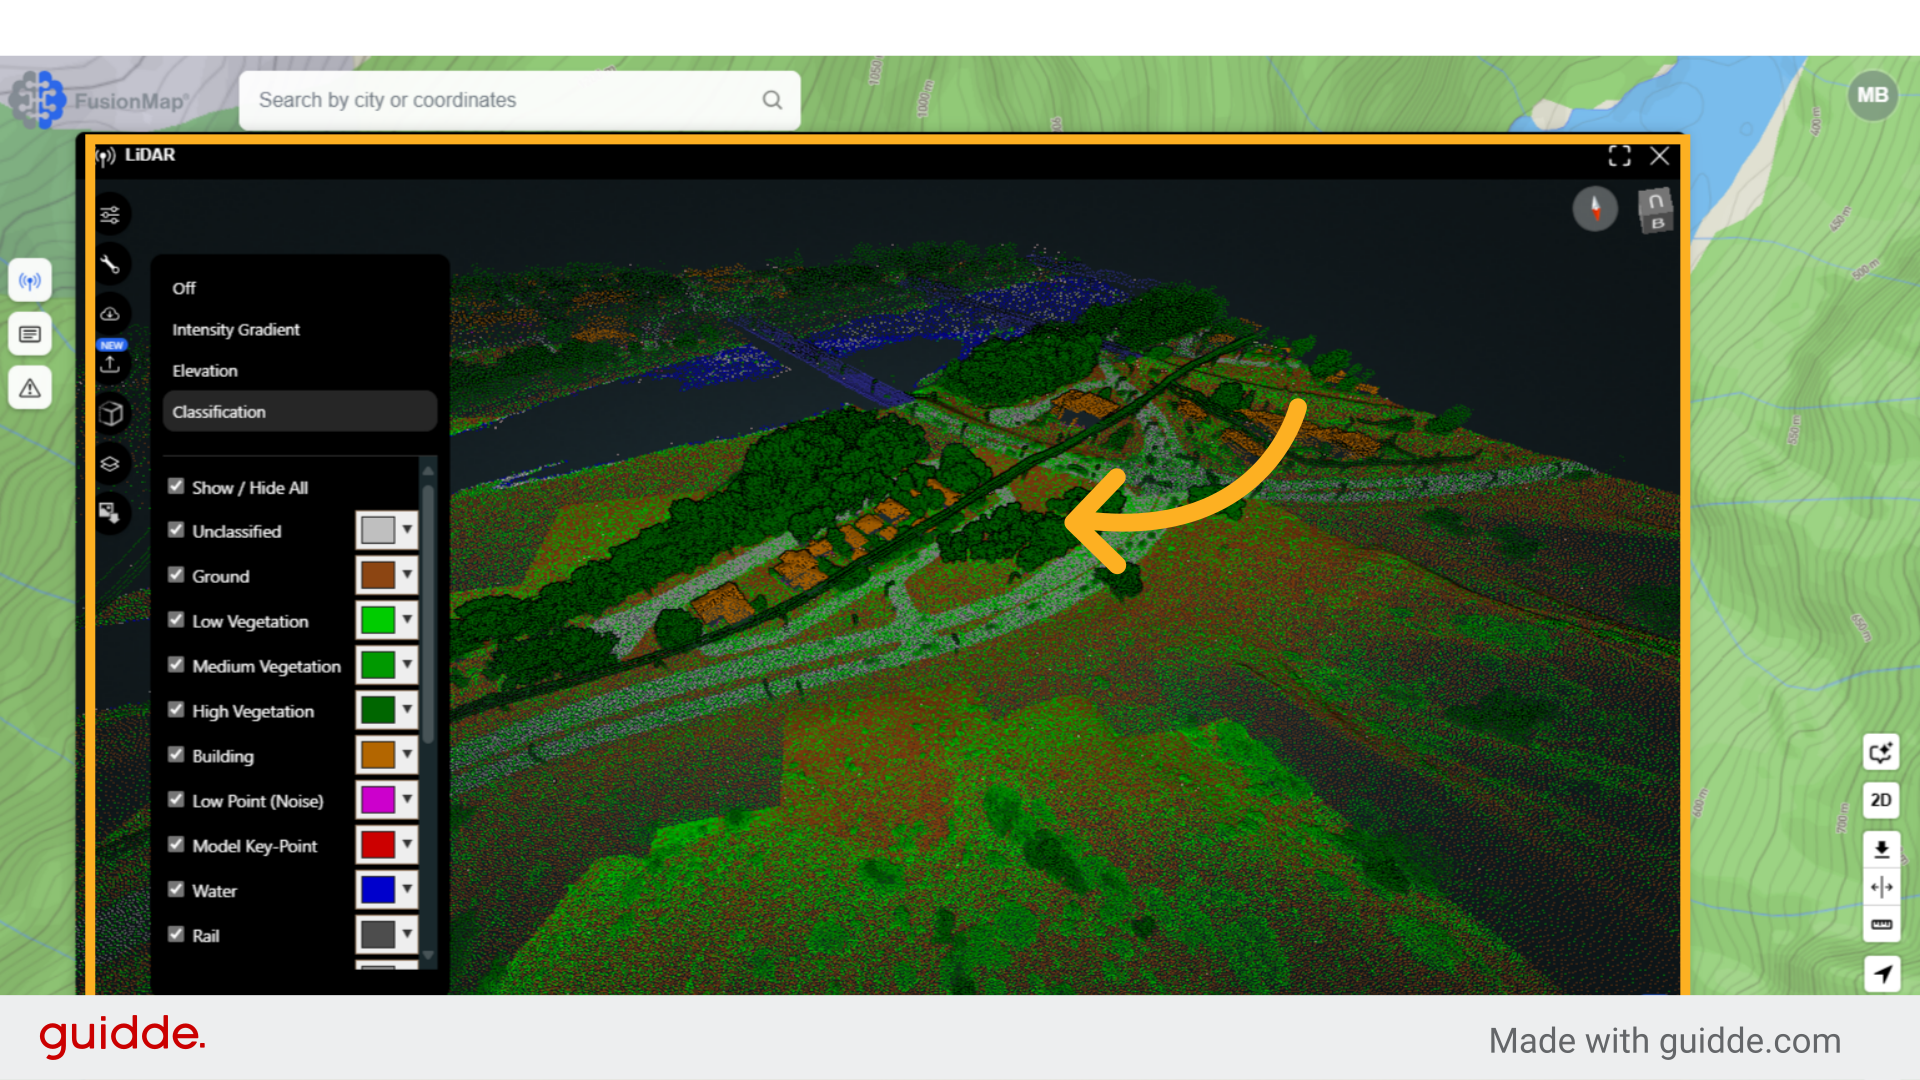
8. Adjust pointcloud based on intensity gradient, elevation or classification #
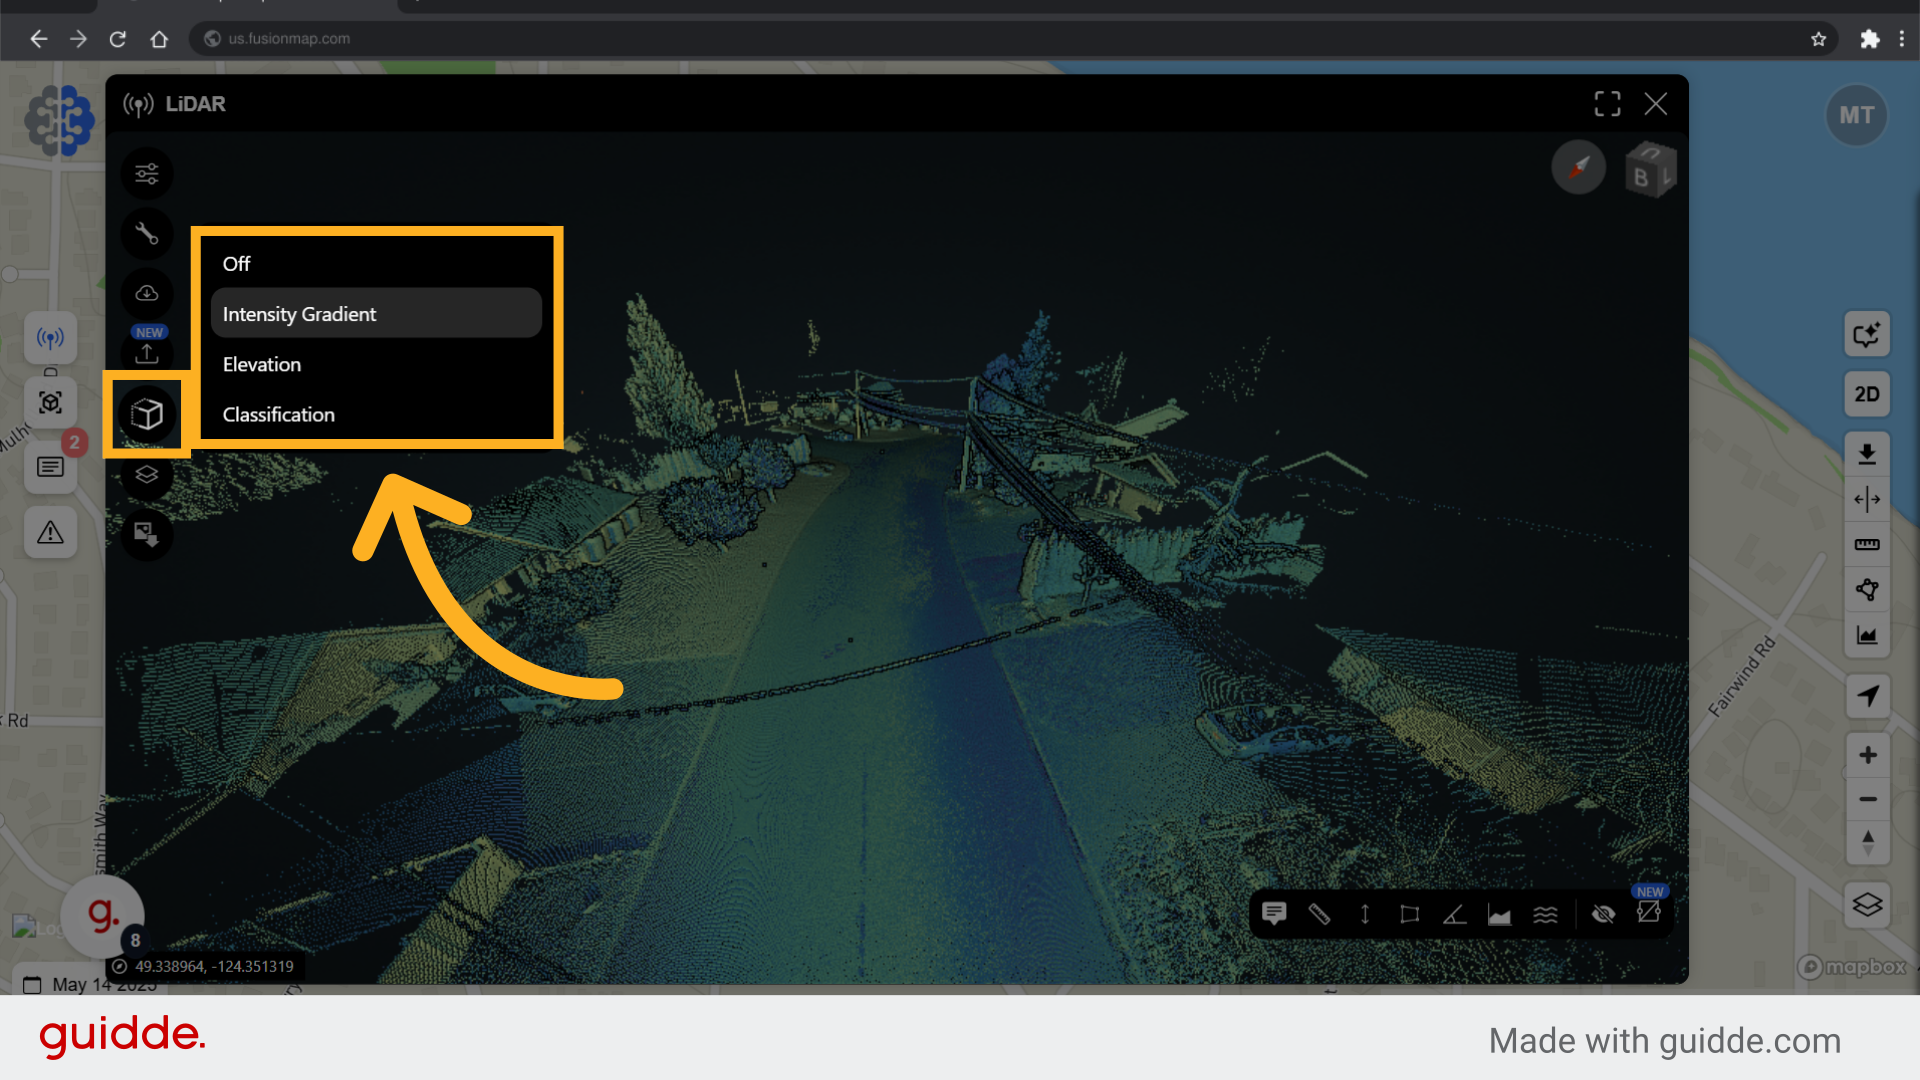
9. A pointcloud with in-depth classifications #
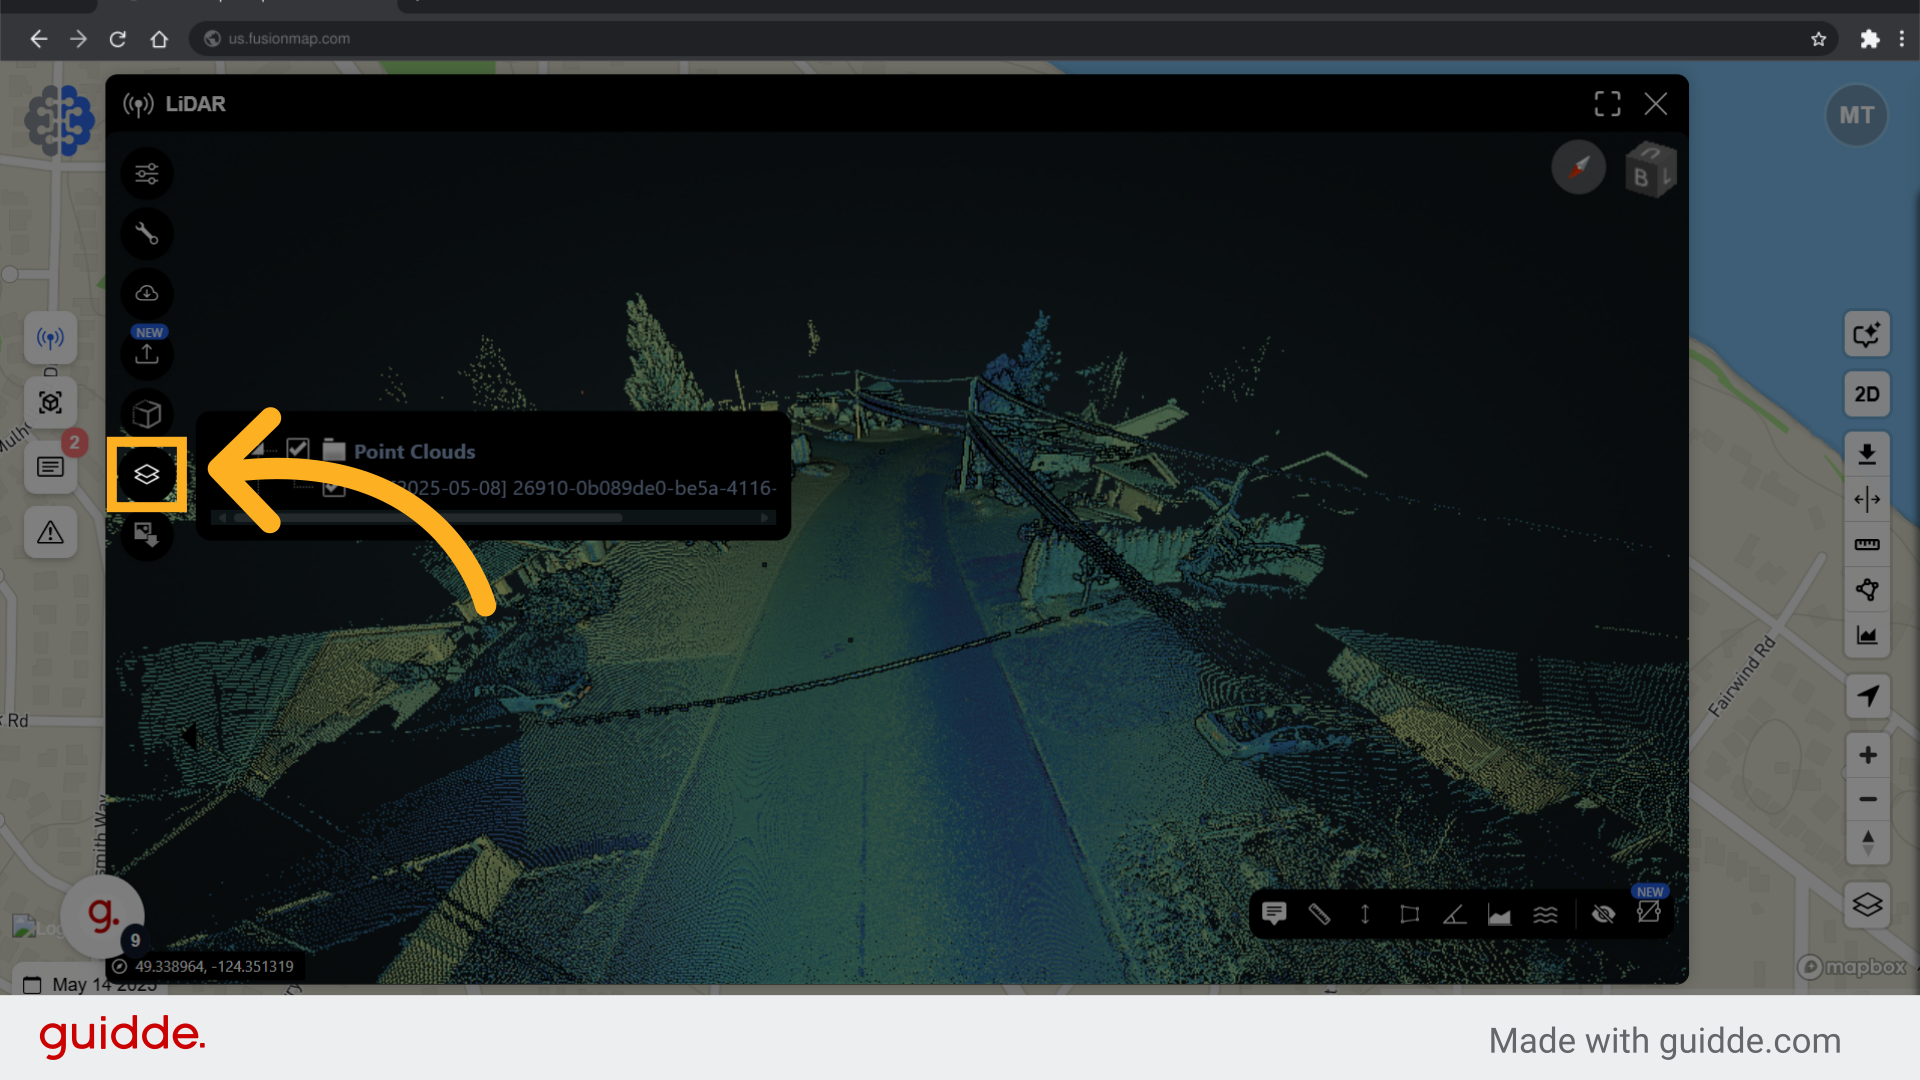
10. Toggle Layers, Measurements and pointclouds #
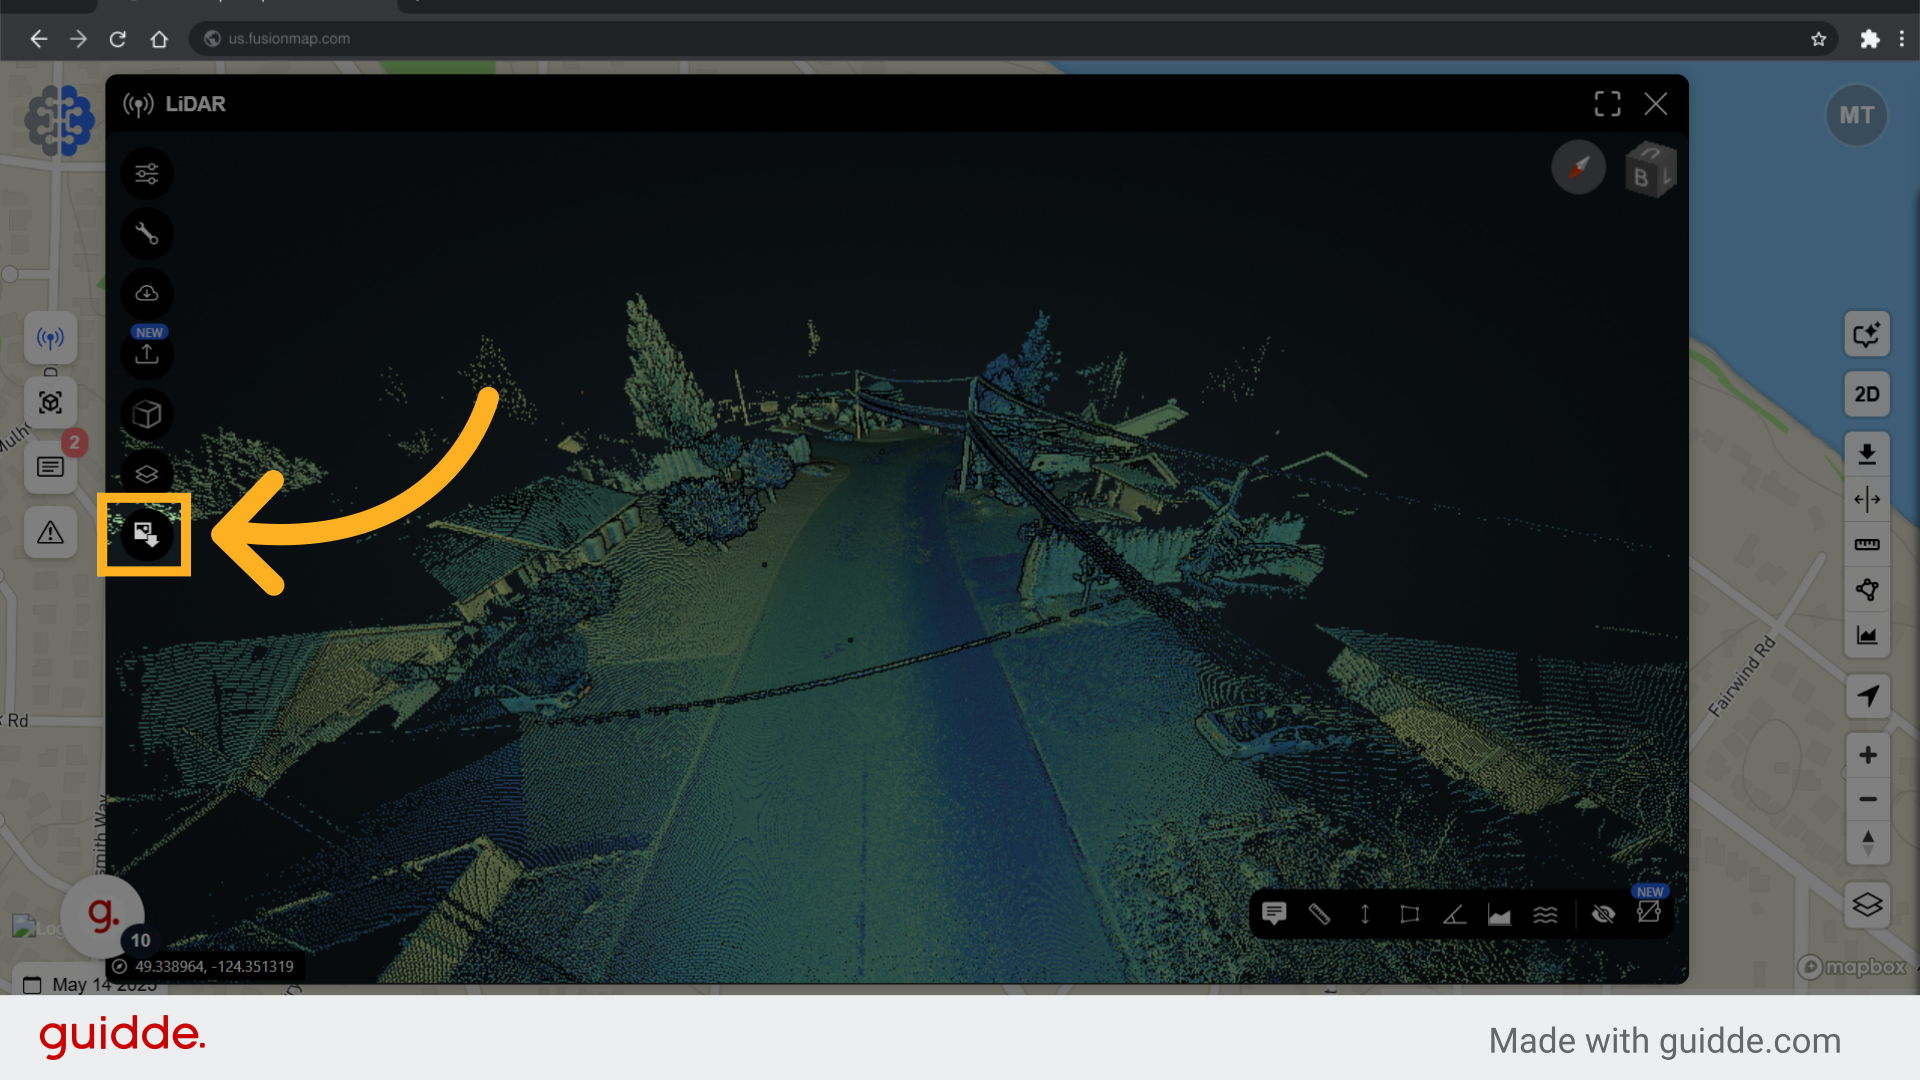
11. Take a screenshot of your current view #
Make reporting easier with one-click screenshots of your current view
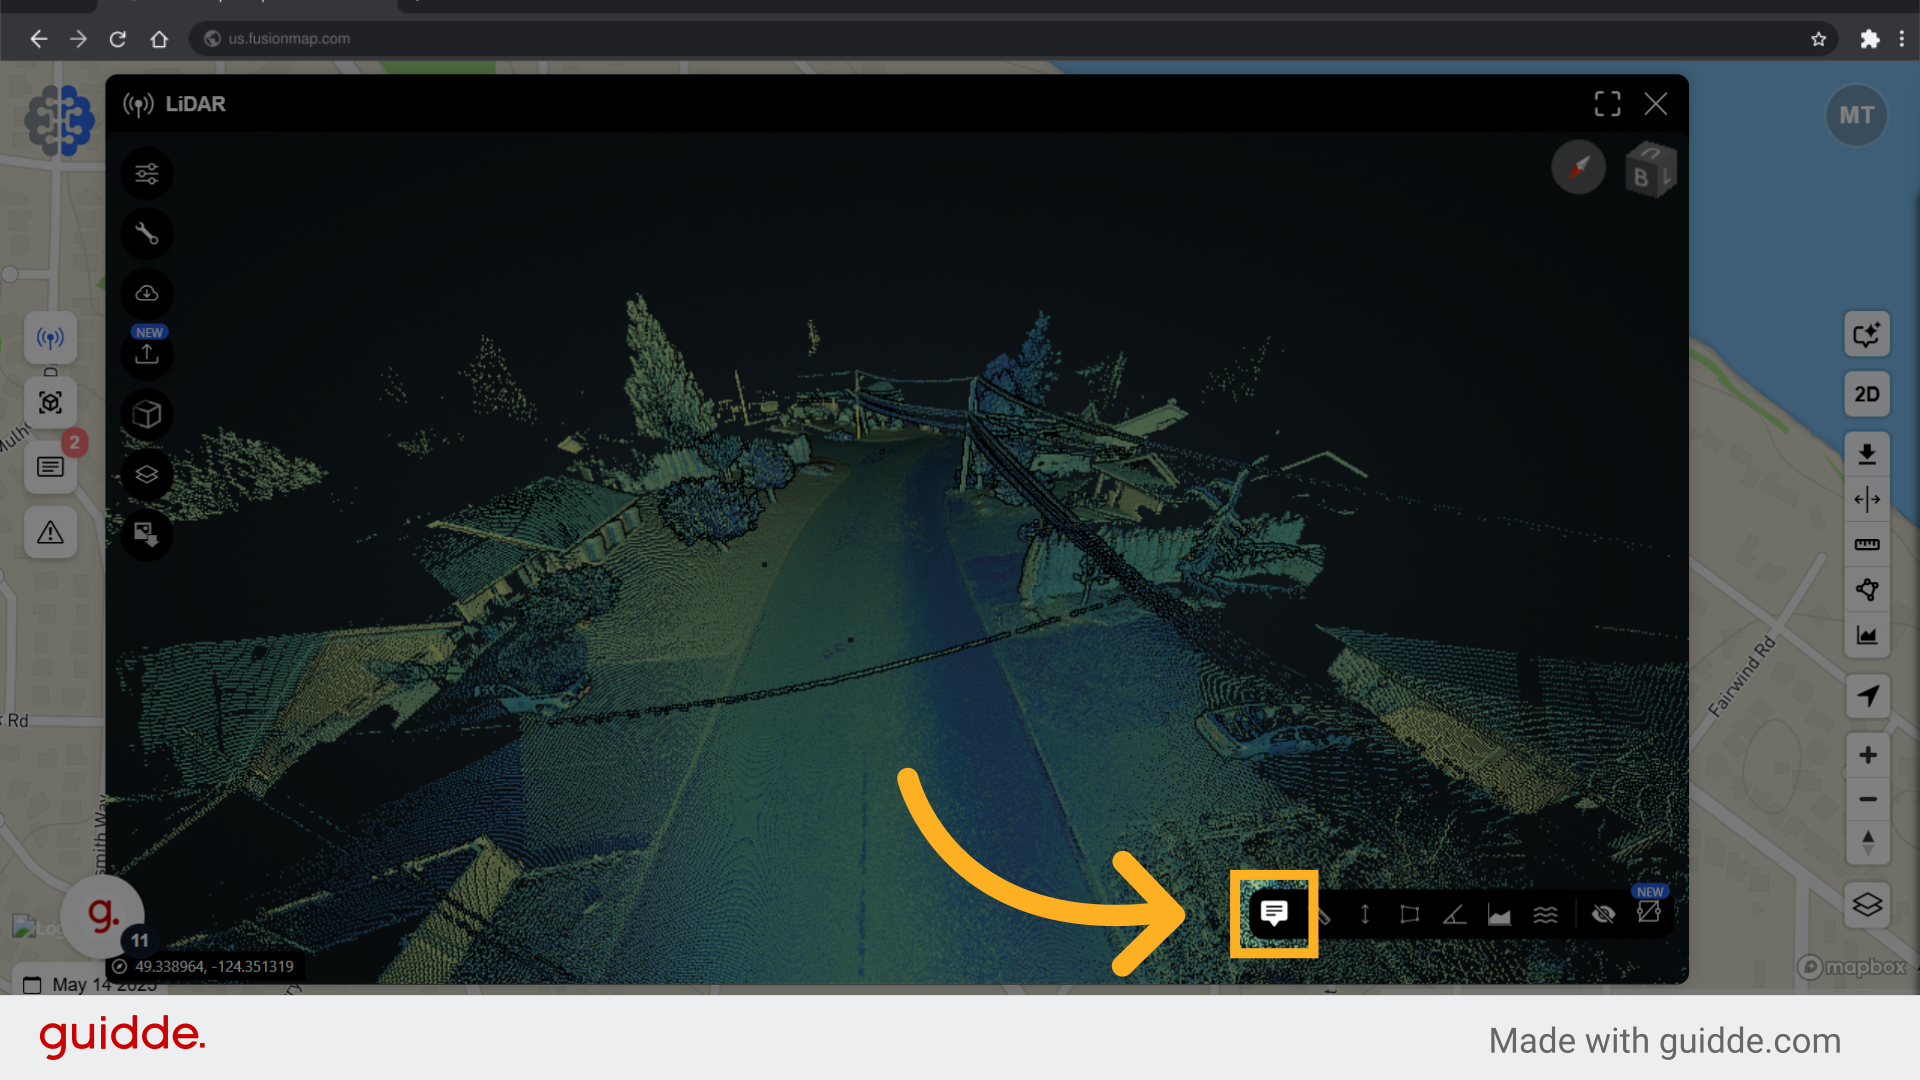
12. Add notes to your pointcloud #
13. Select the desired location #
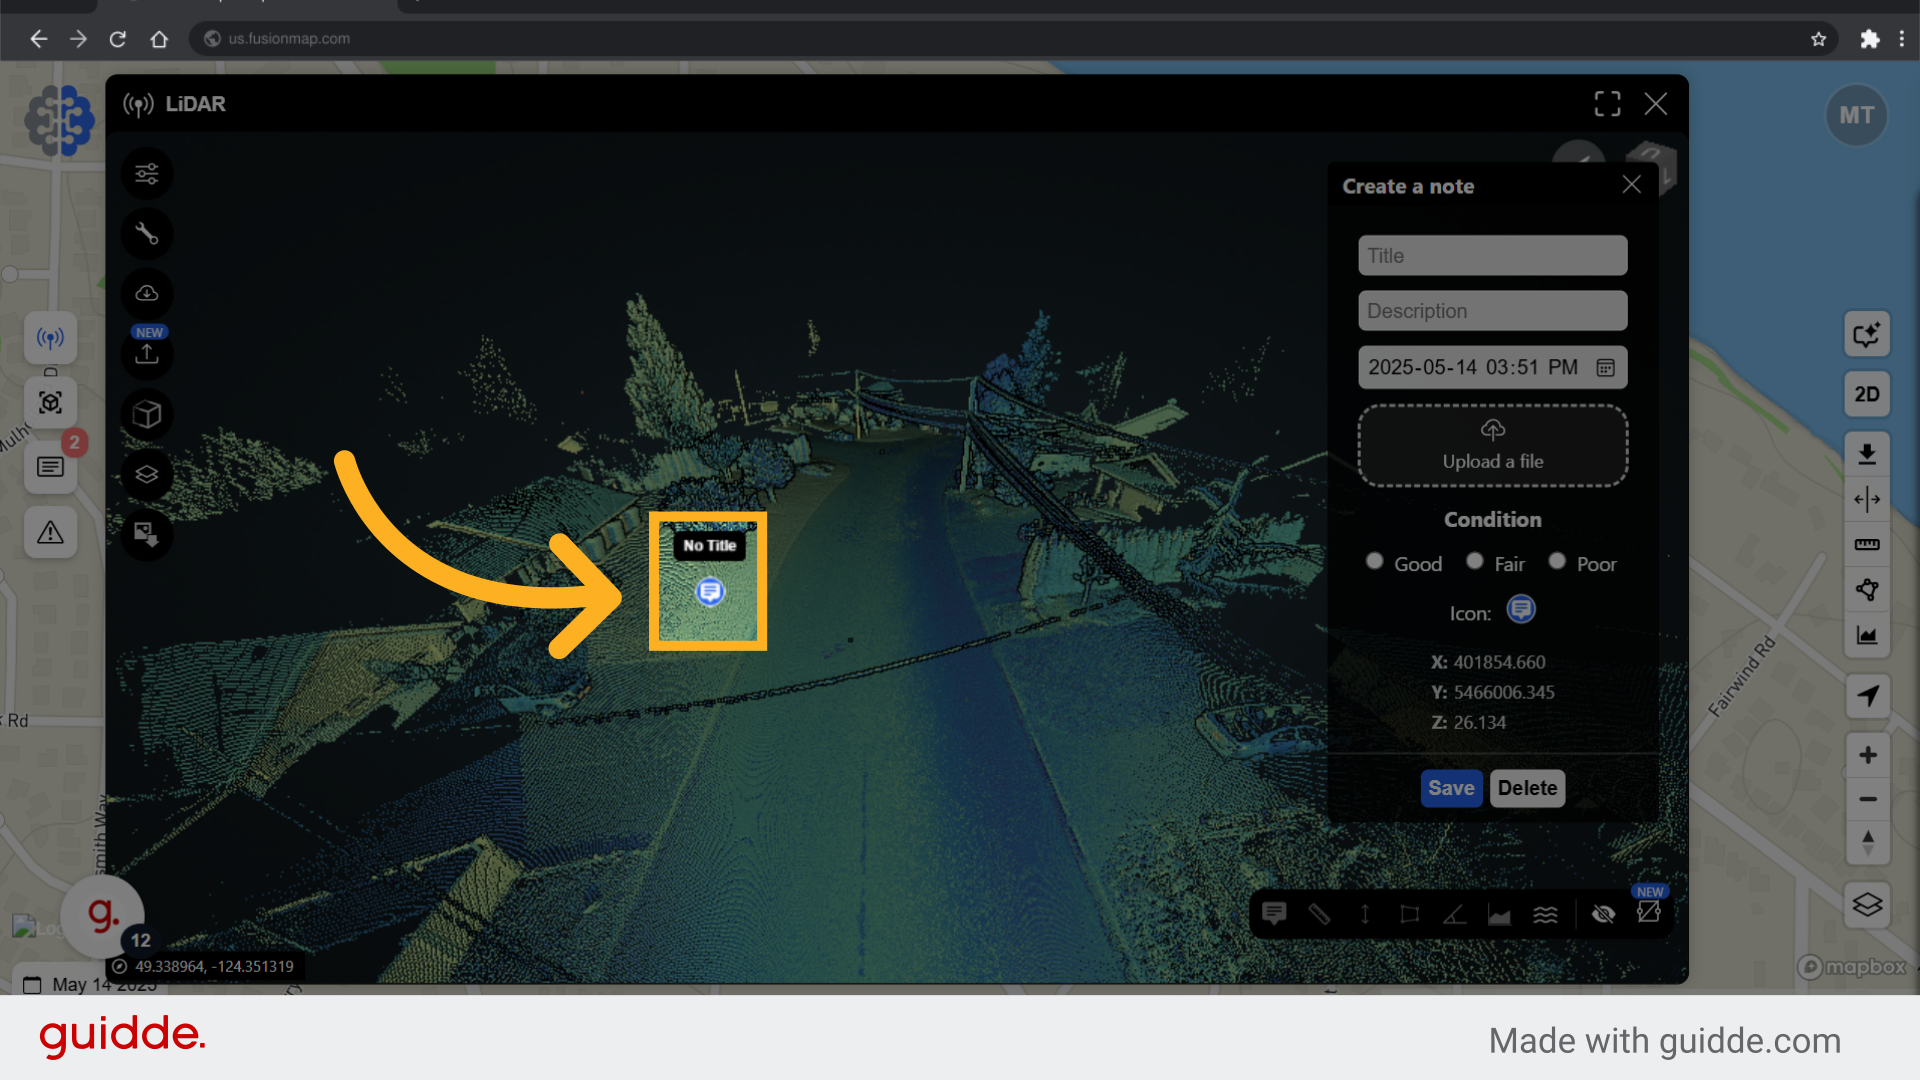
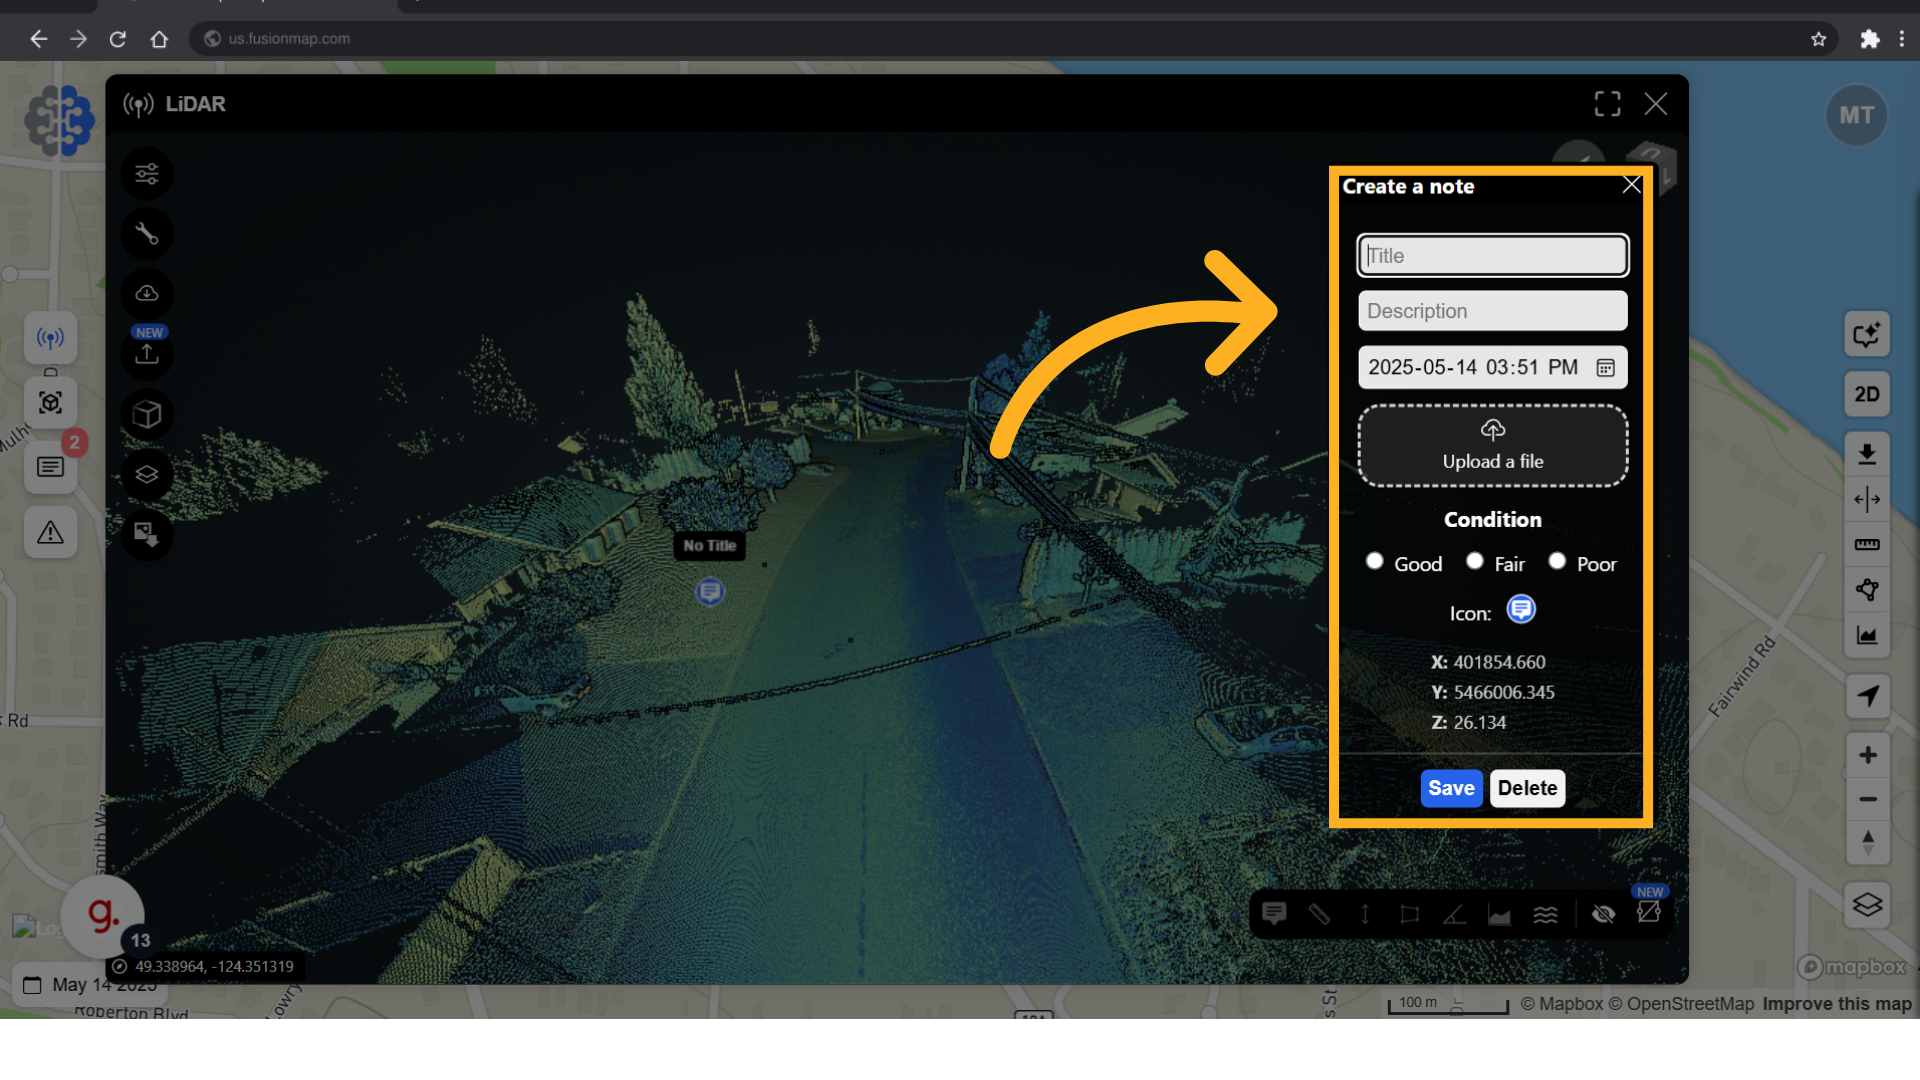
14. Populate note details #
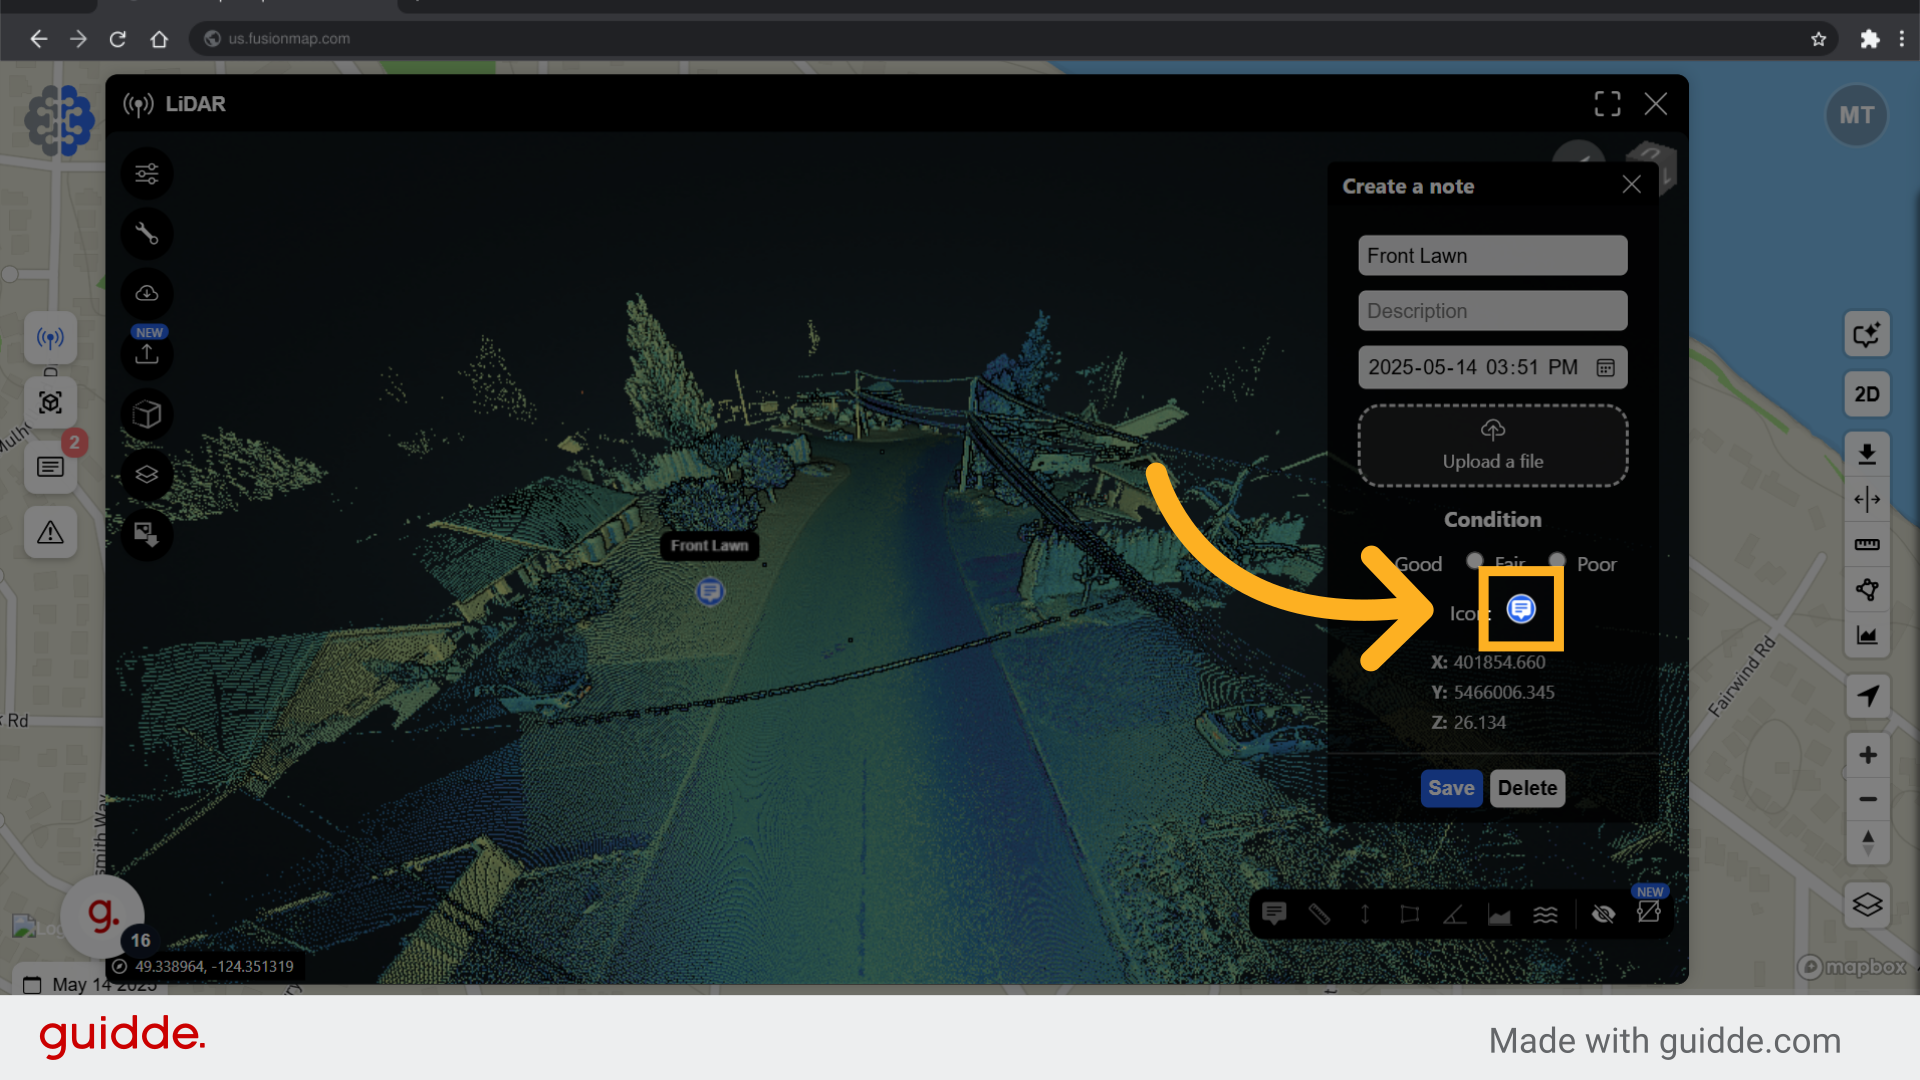
15. Choose a note icon #
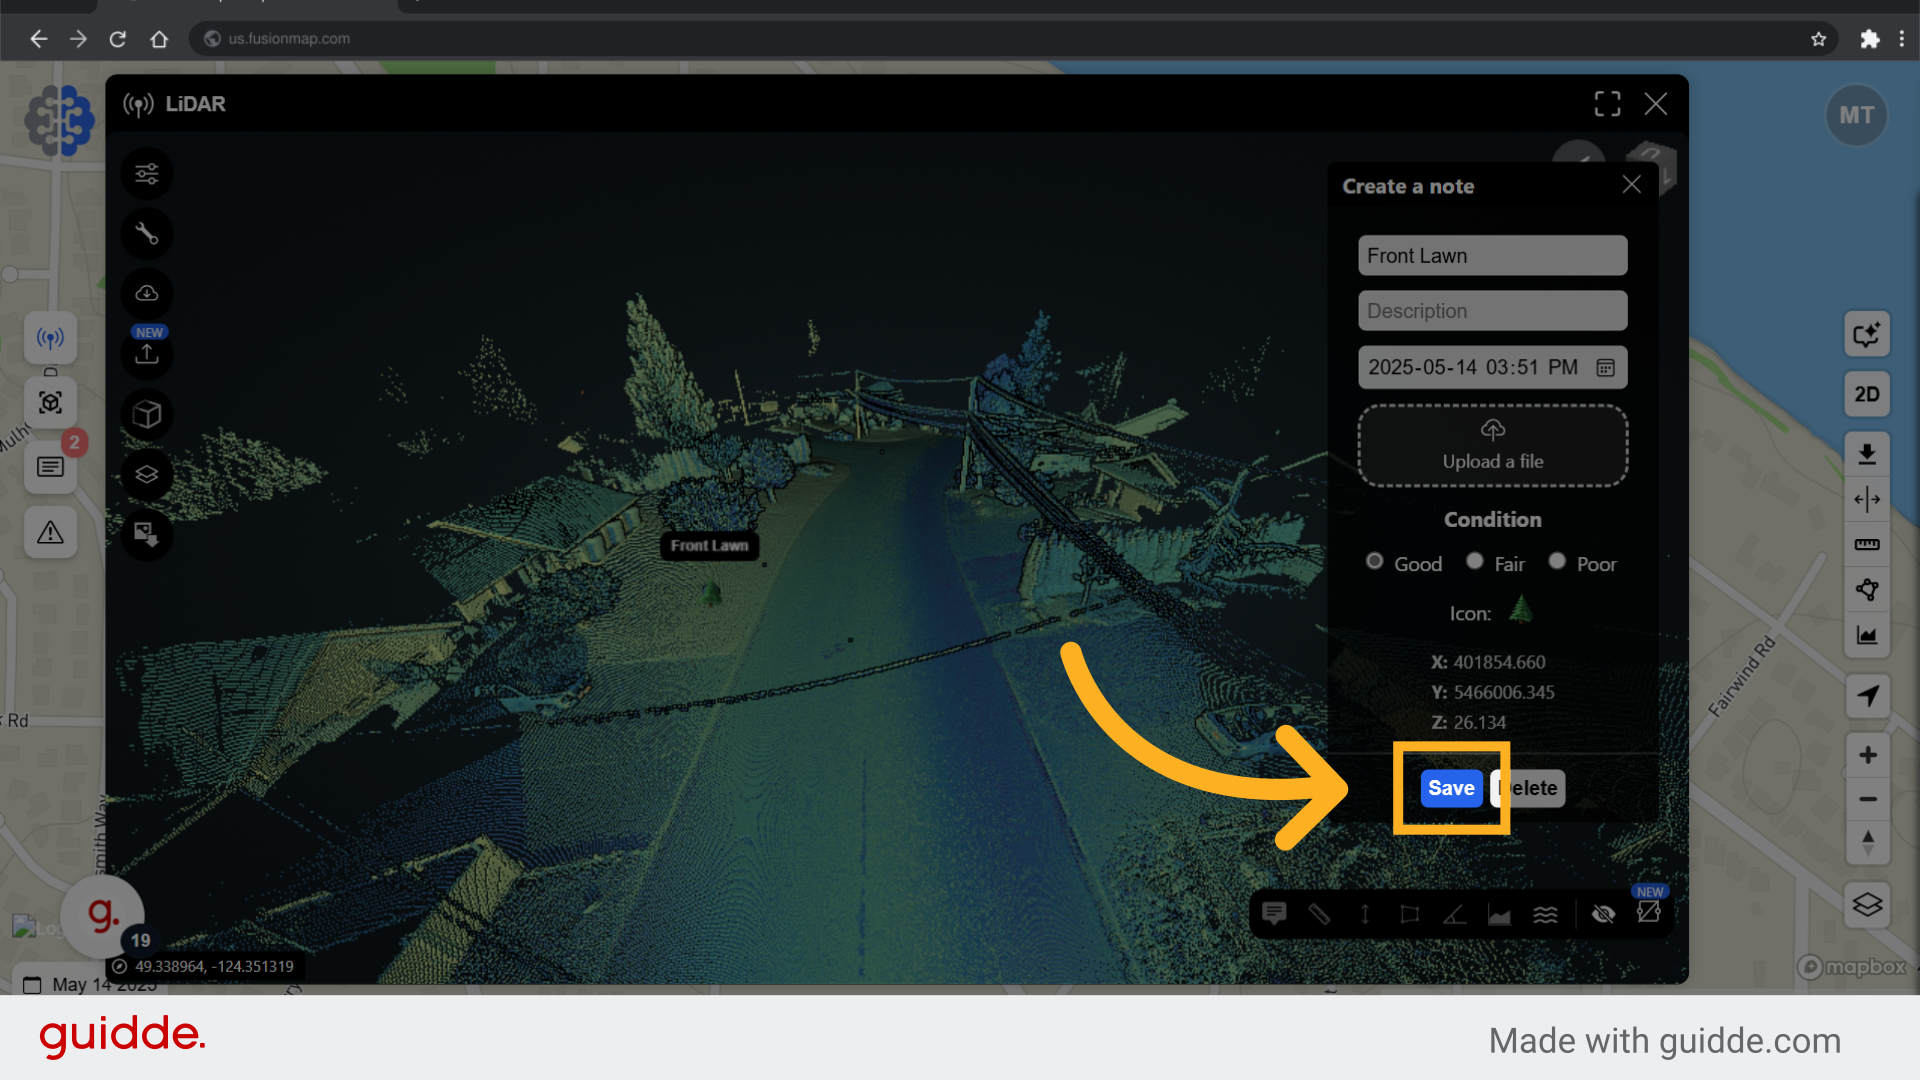
16. Click “Save” #
17. Create length, elevation, area and angle measurements on your LiDAR #
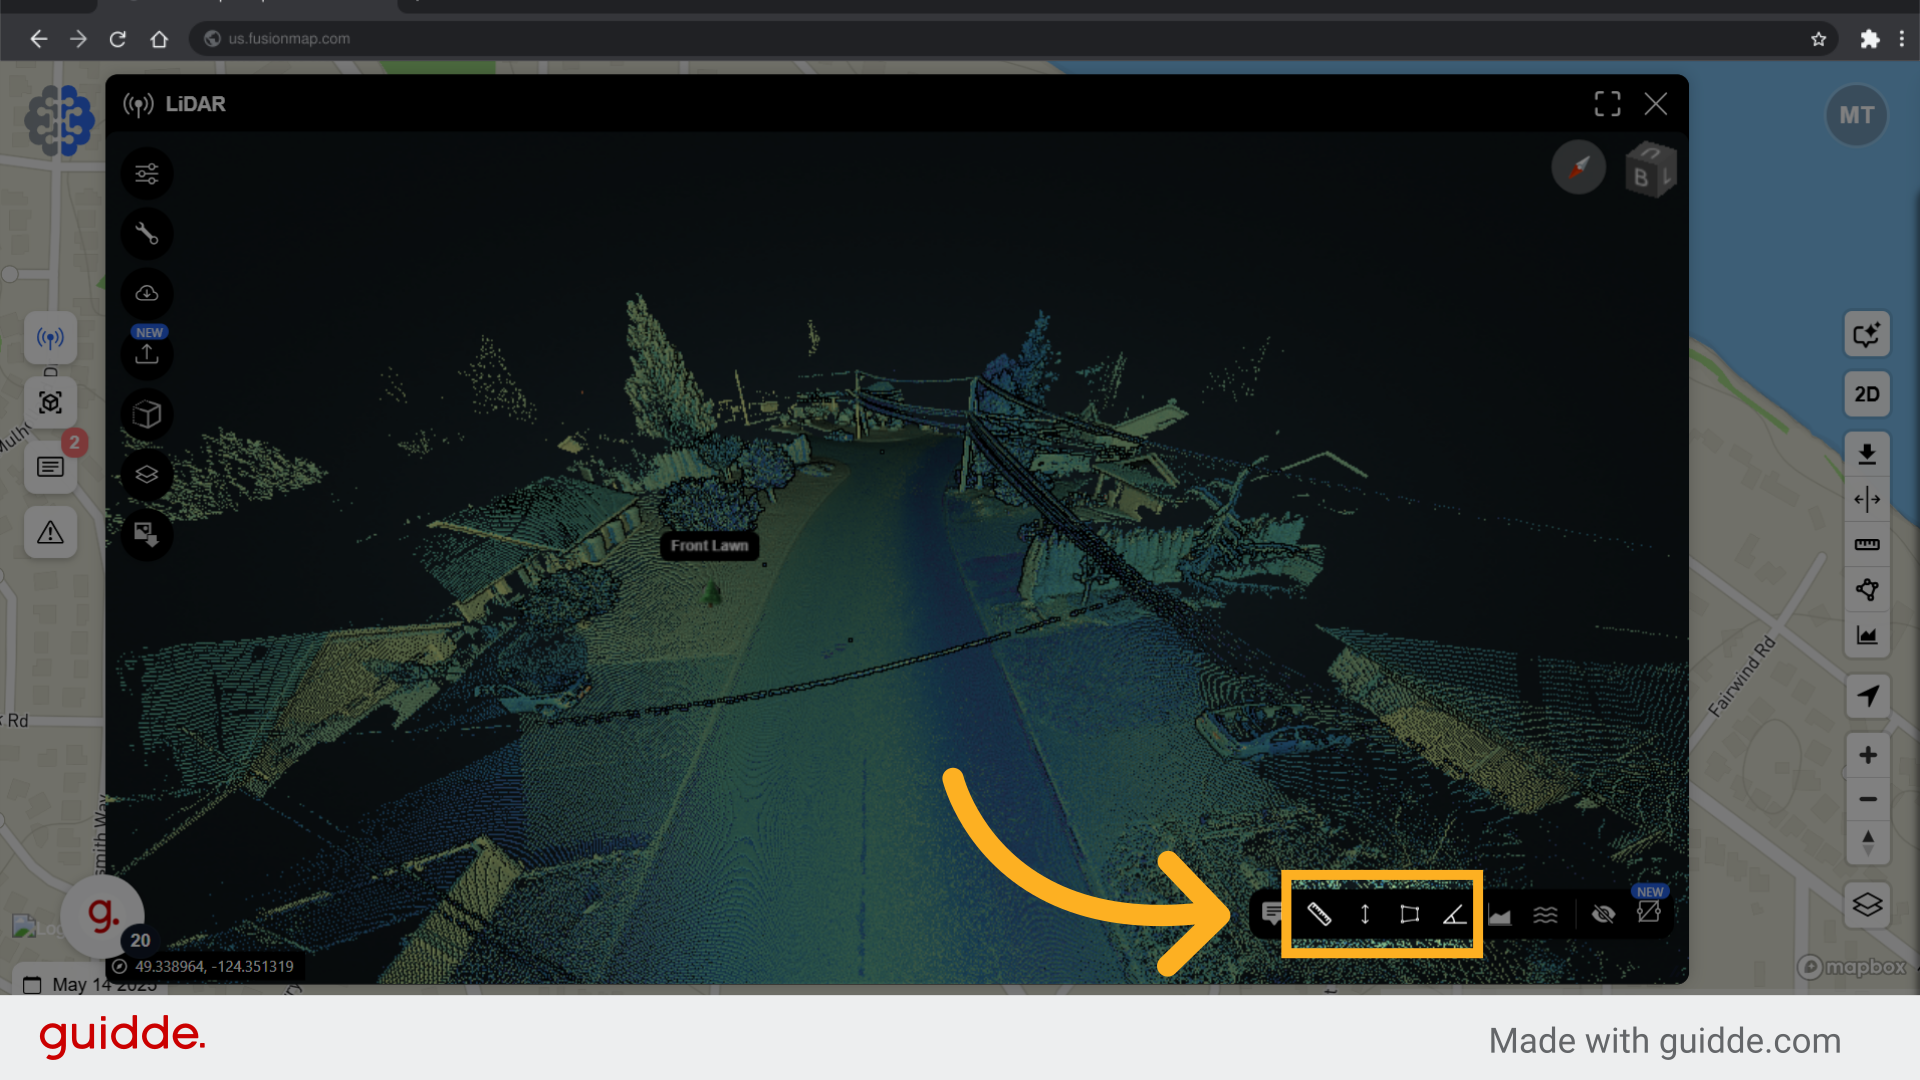
18. Create a height profile between two or more points #
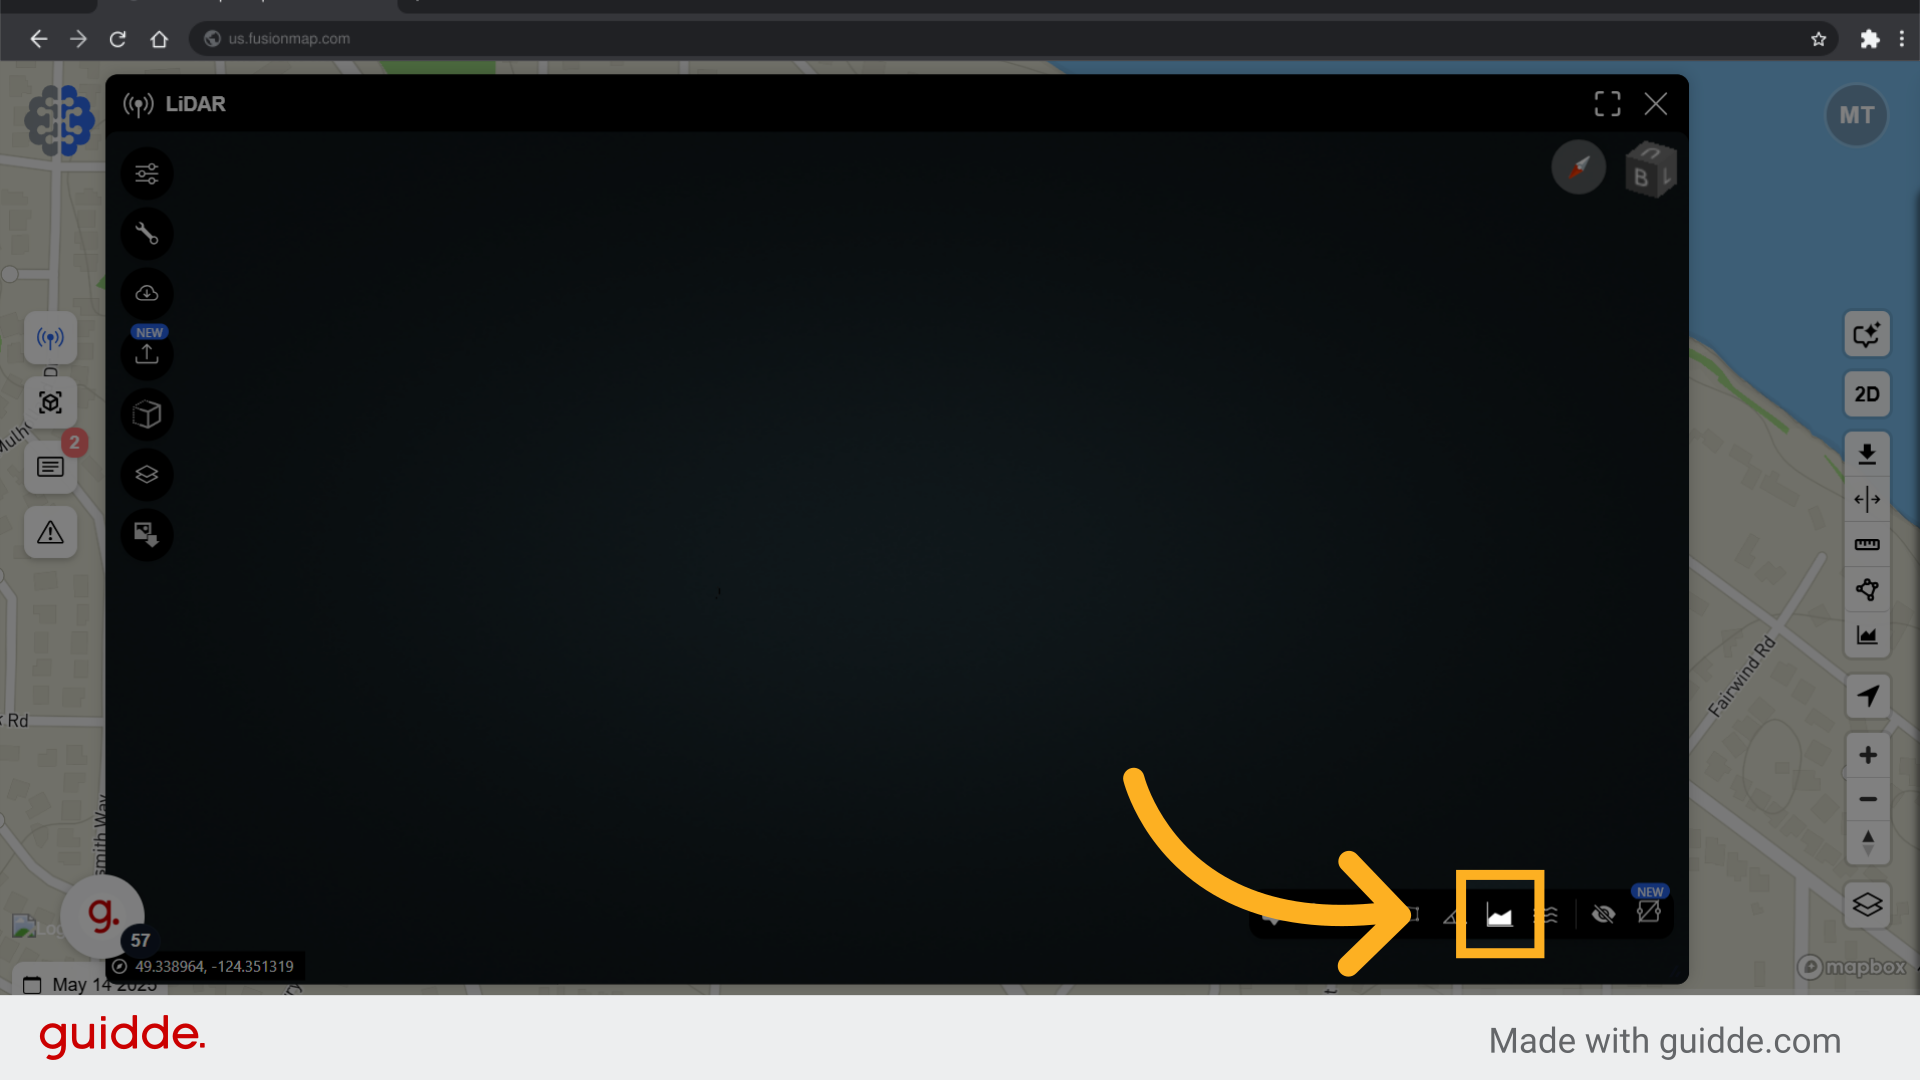
19. Select your first point #
Follow the on-screen instructions.
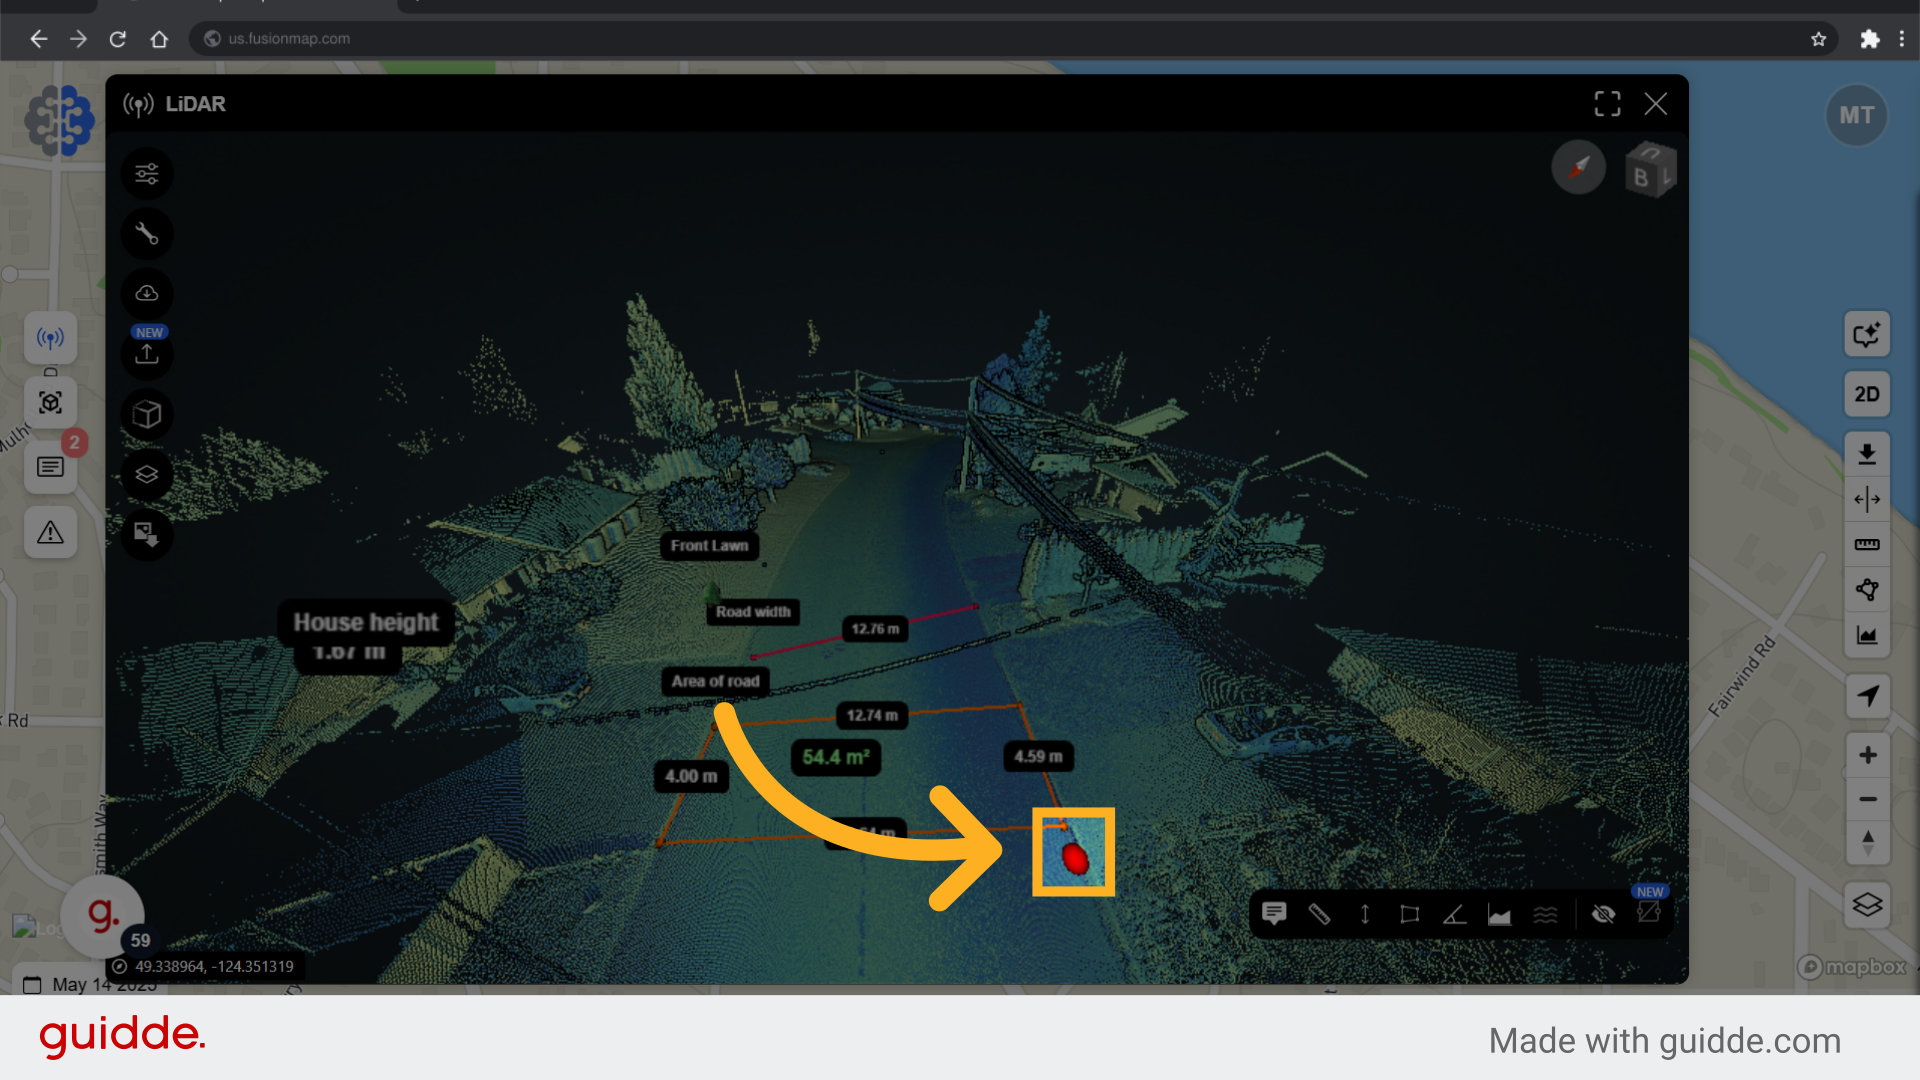
20. Select your second point #
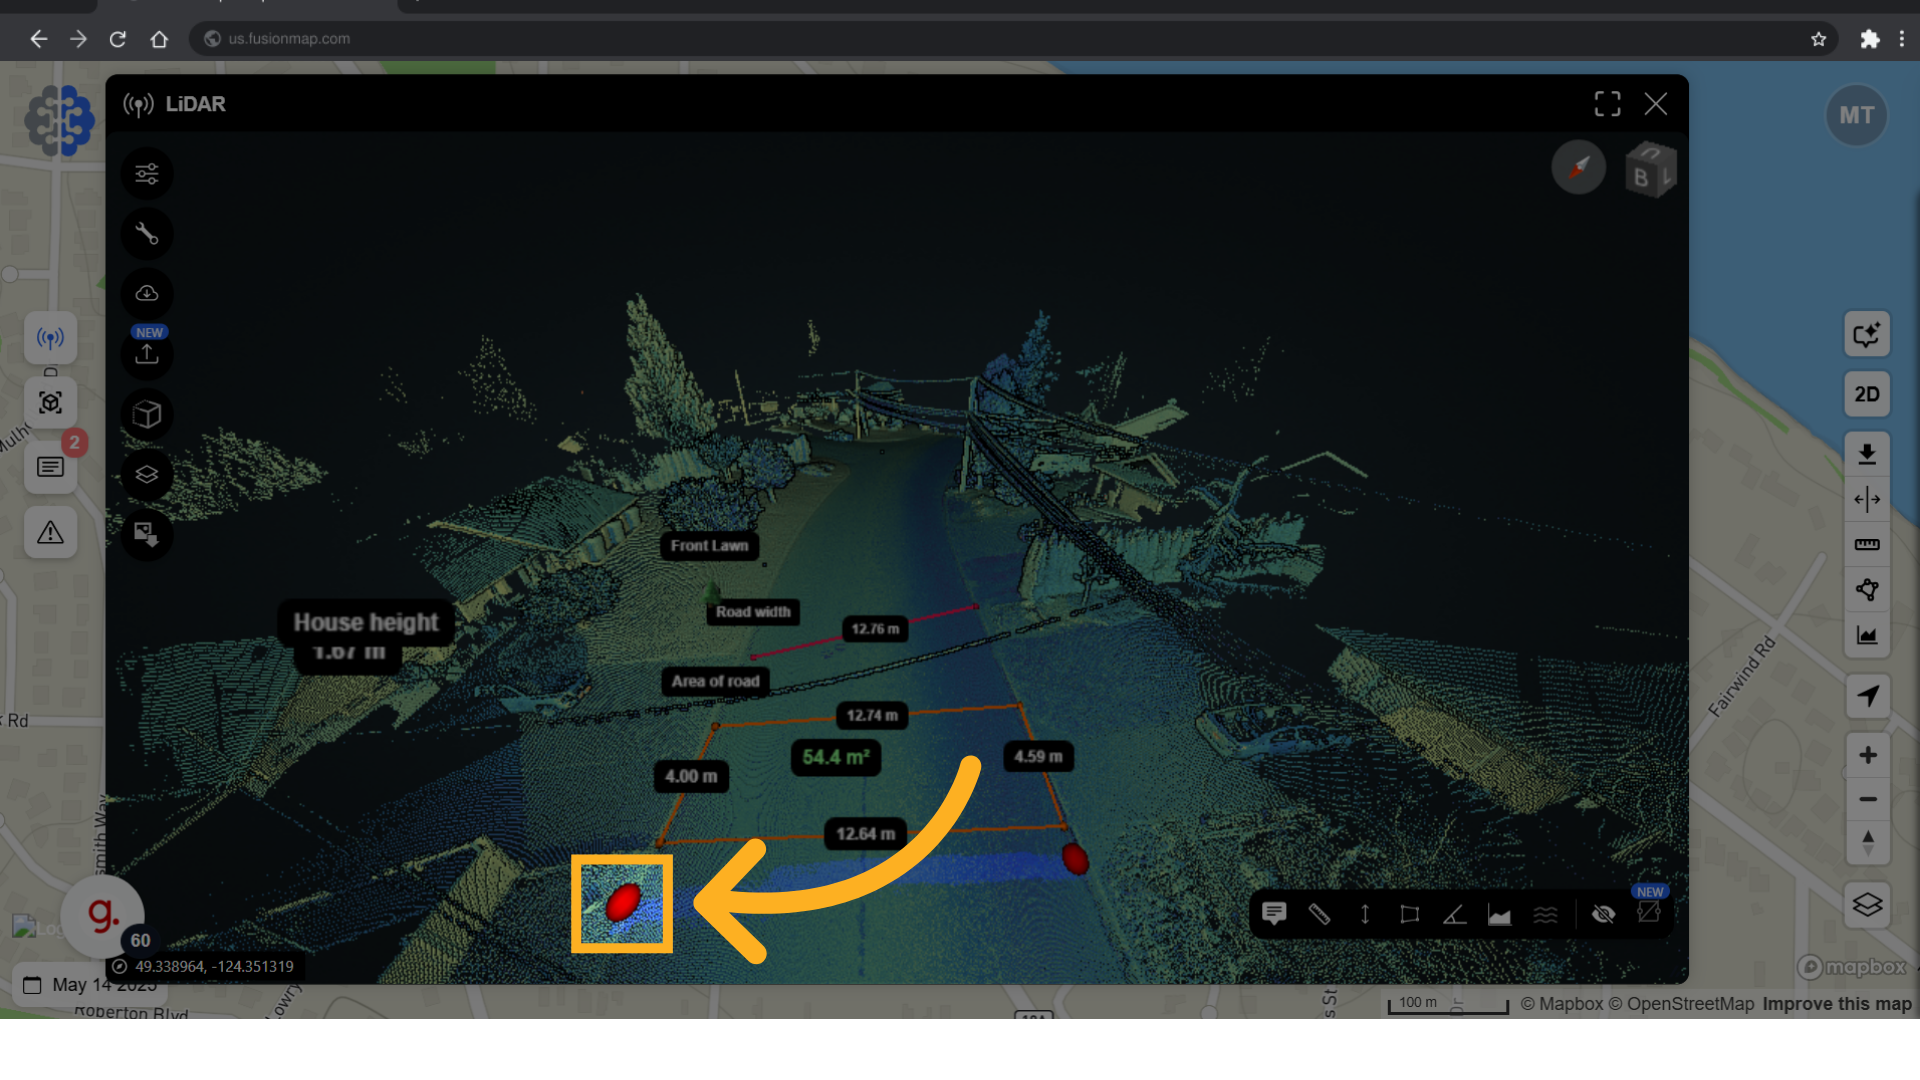
21. Right click when done selecting points #
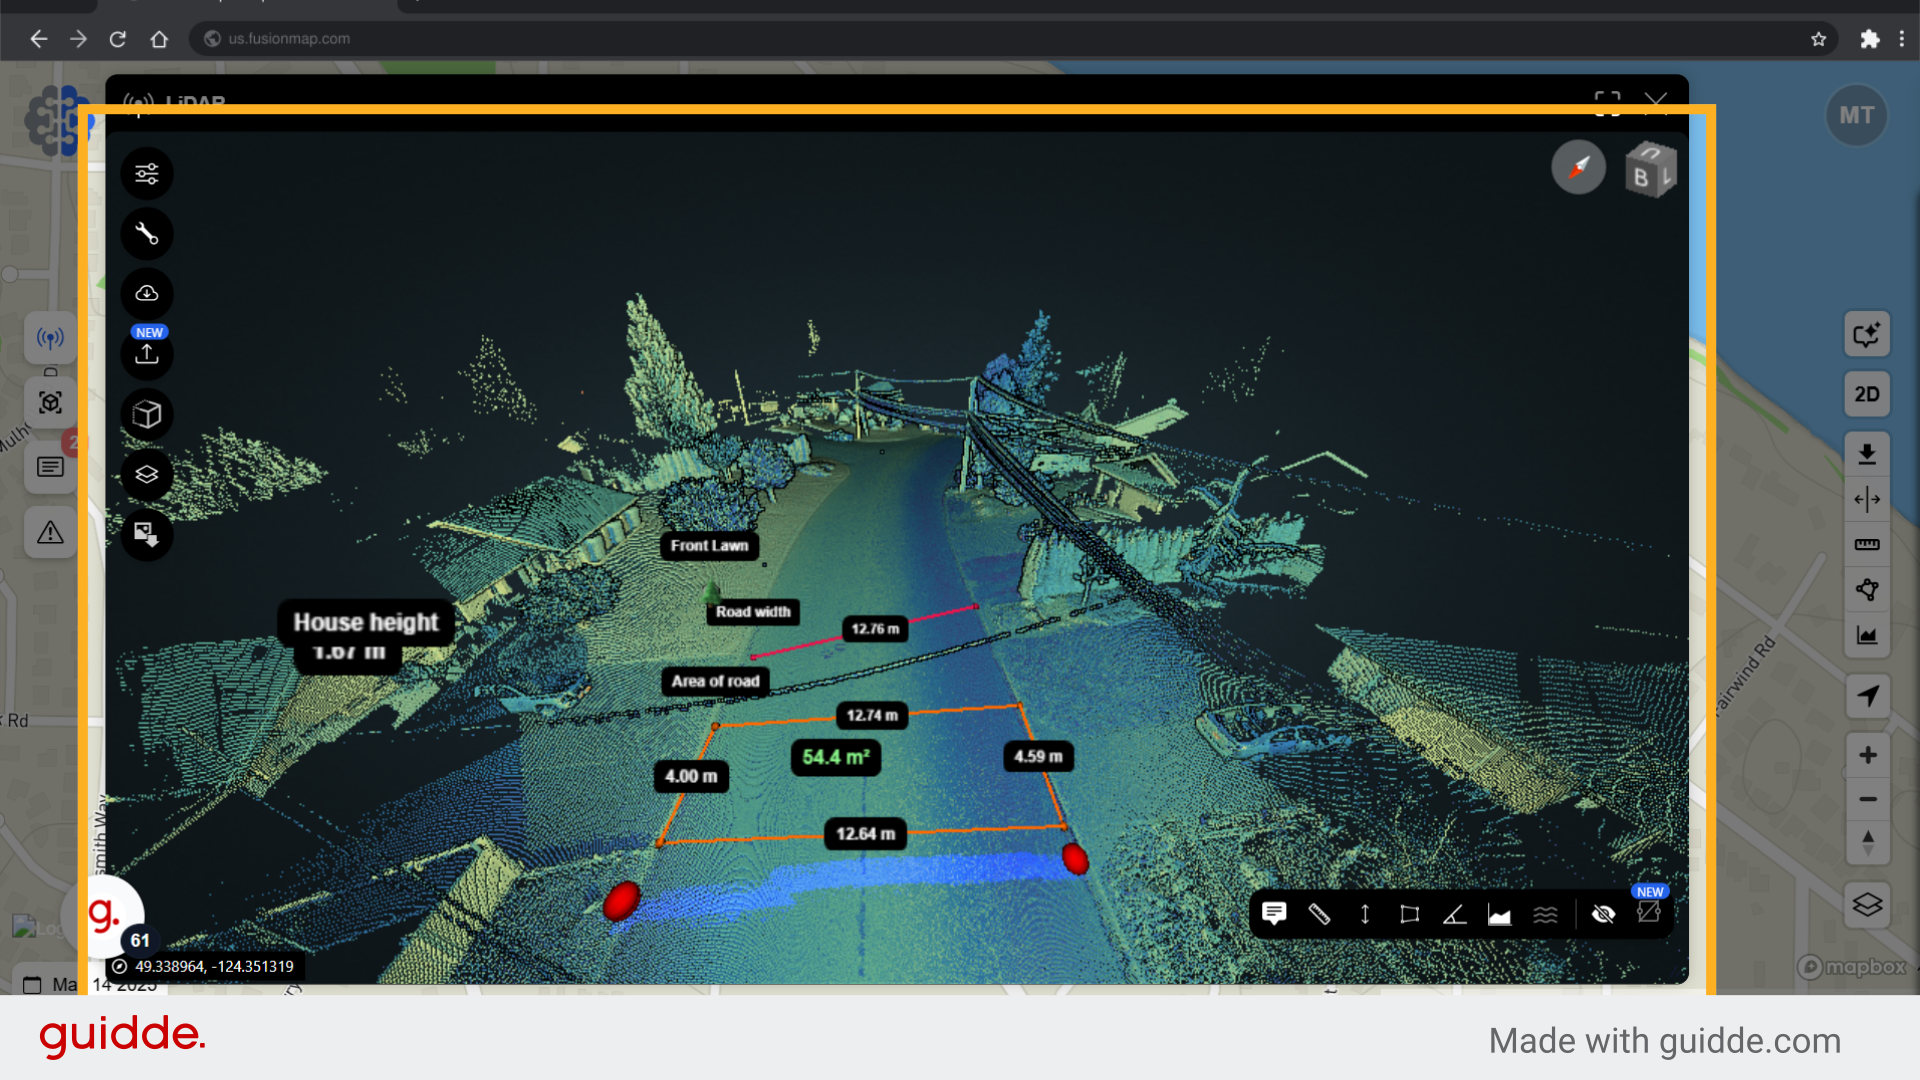
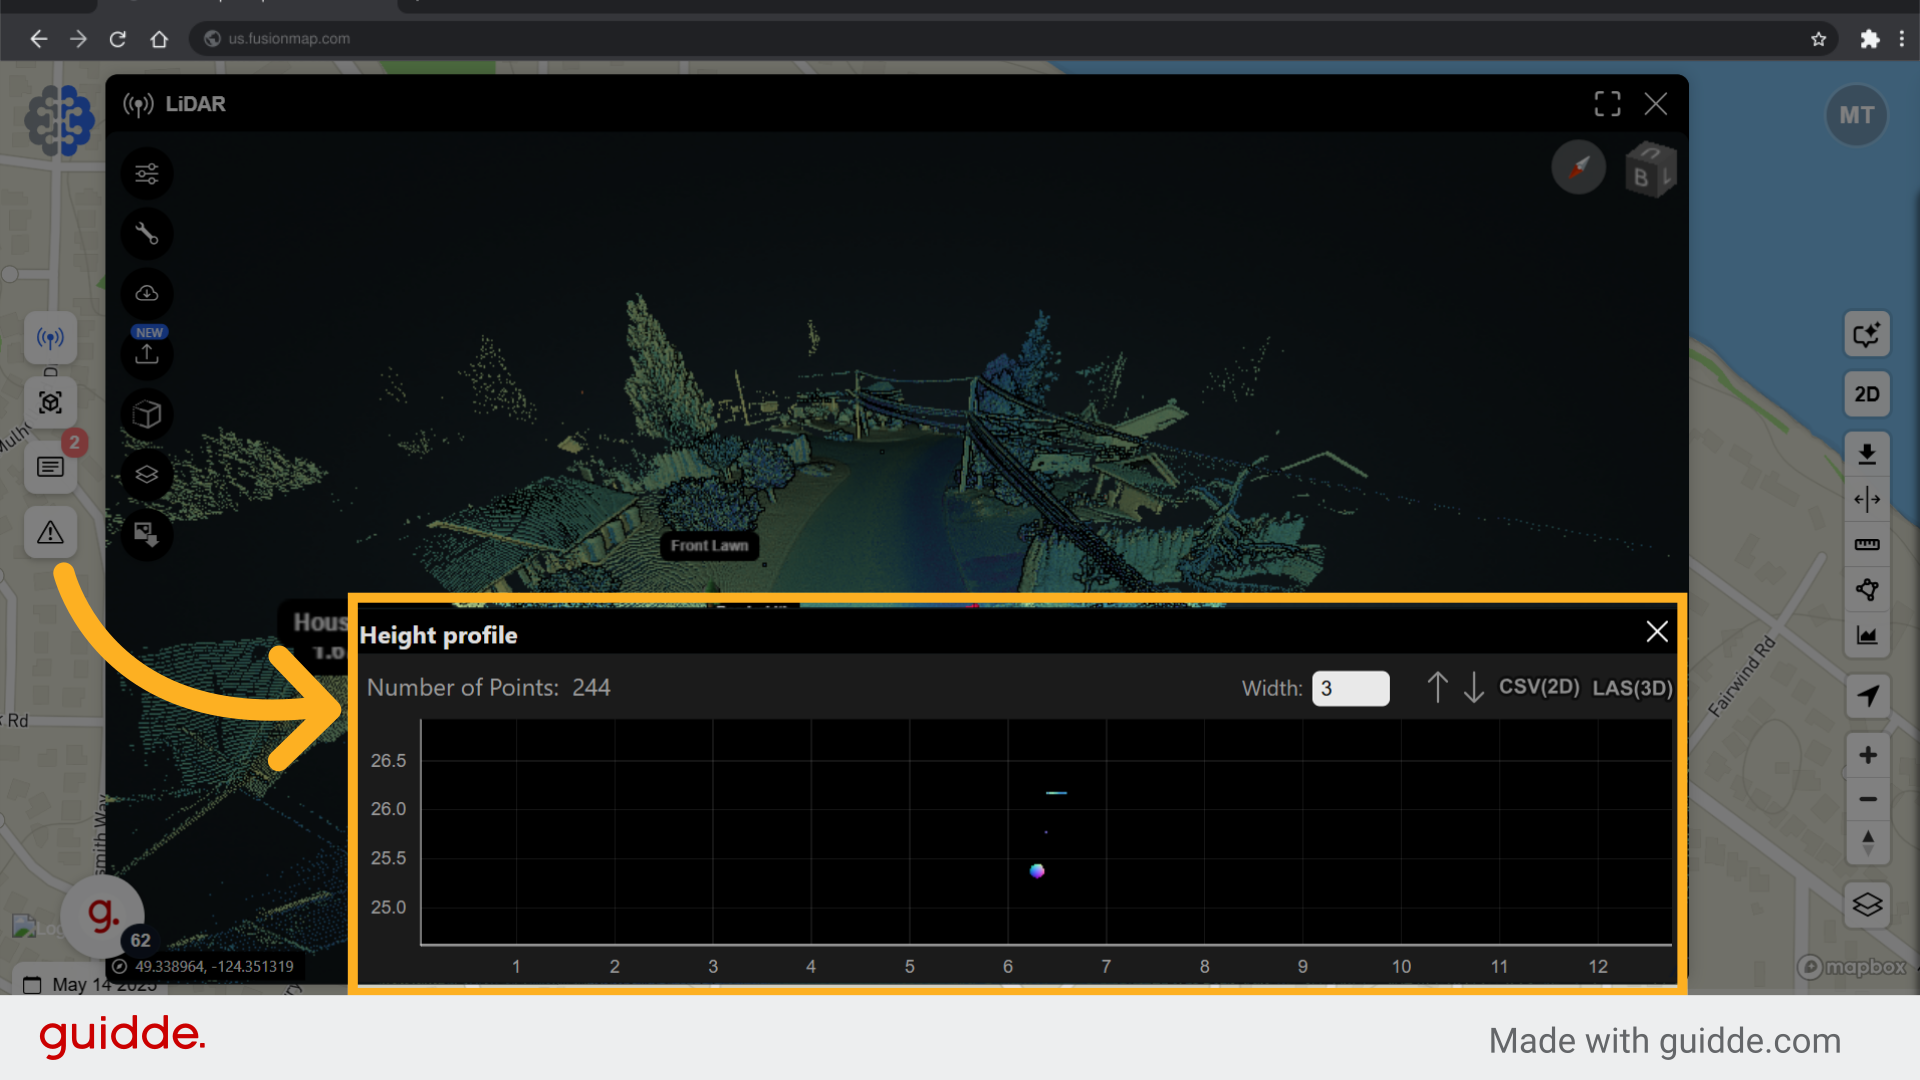
22. The height profile is visualized #
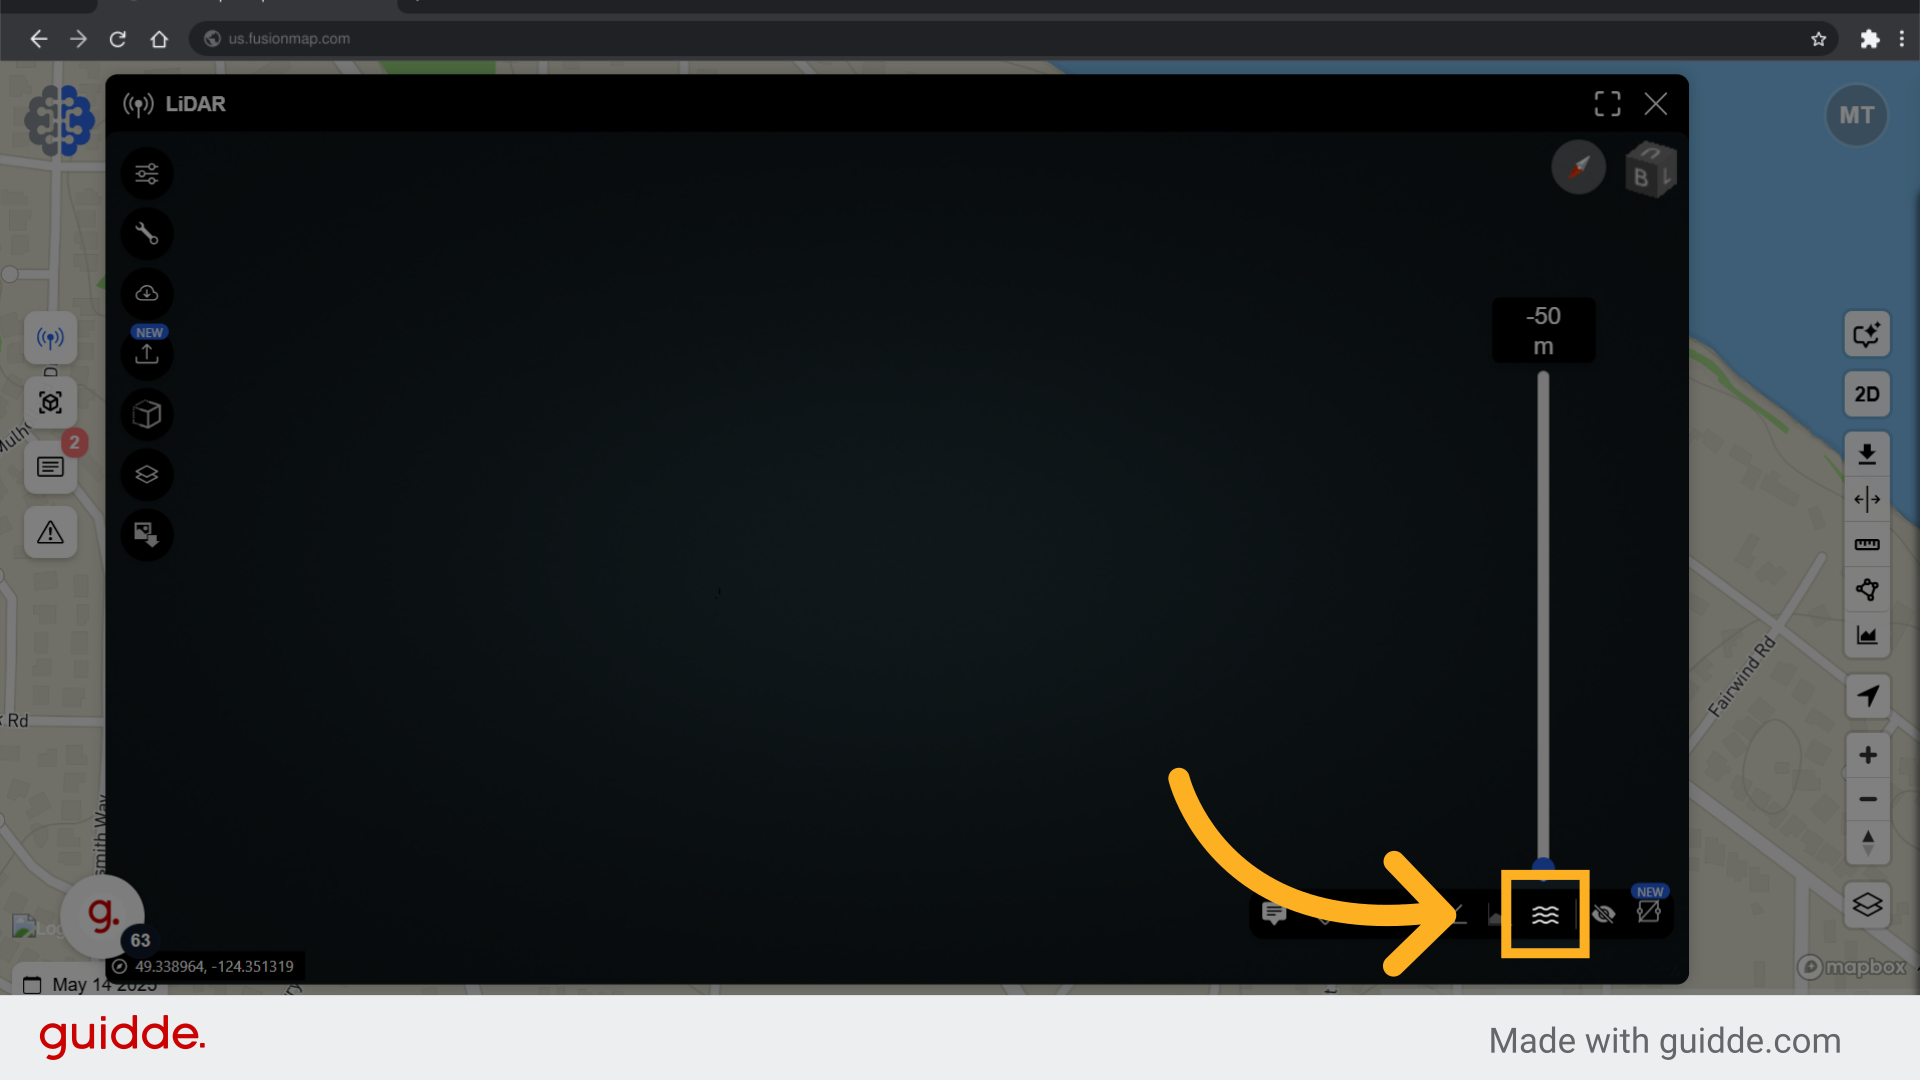
23. Simulate different water levels #
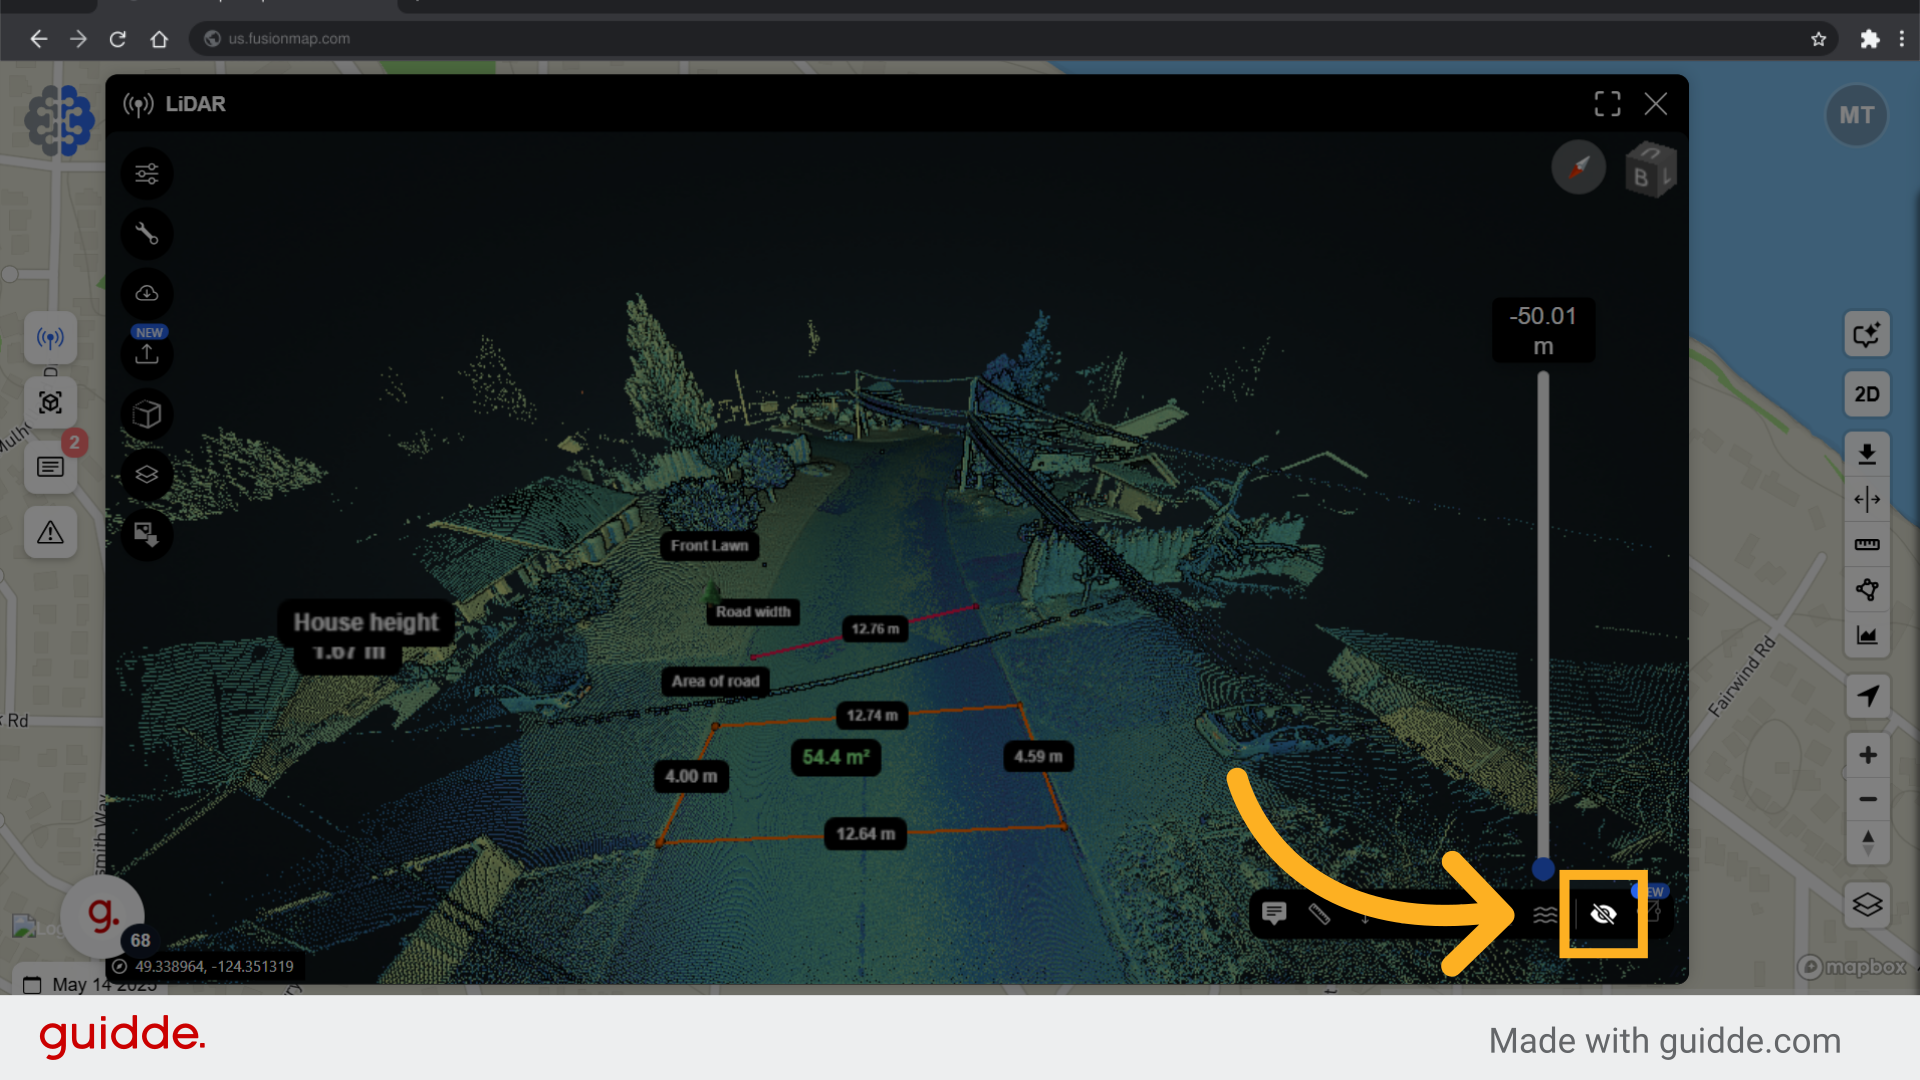
24. Toggle labels on/off #
Toggle labels of notes and measurements here.
This guide walks the user through the LiDAR view on FusionMap