

Tour Upload Tutorial #
This guide will walk you through the process of uploading a tour, from selecting the file format to finalizing the upload
1. Open the layers menu #
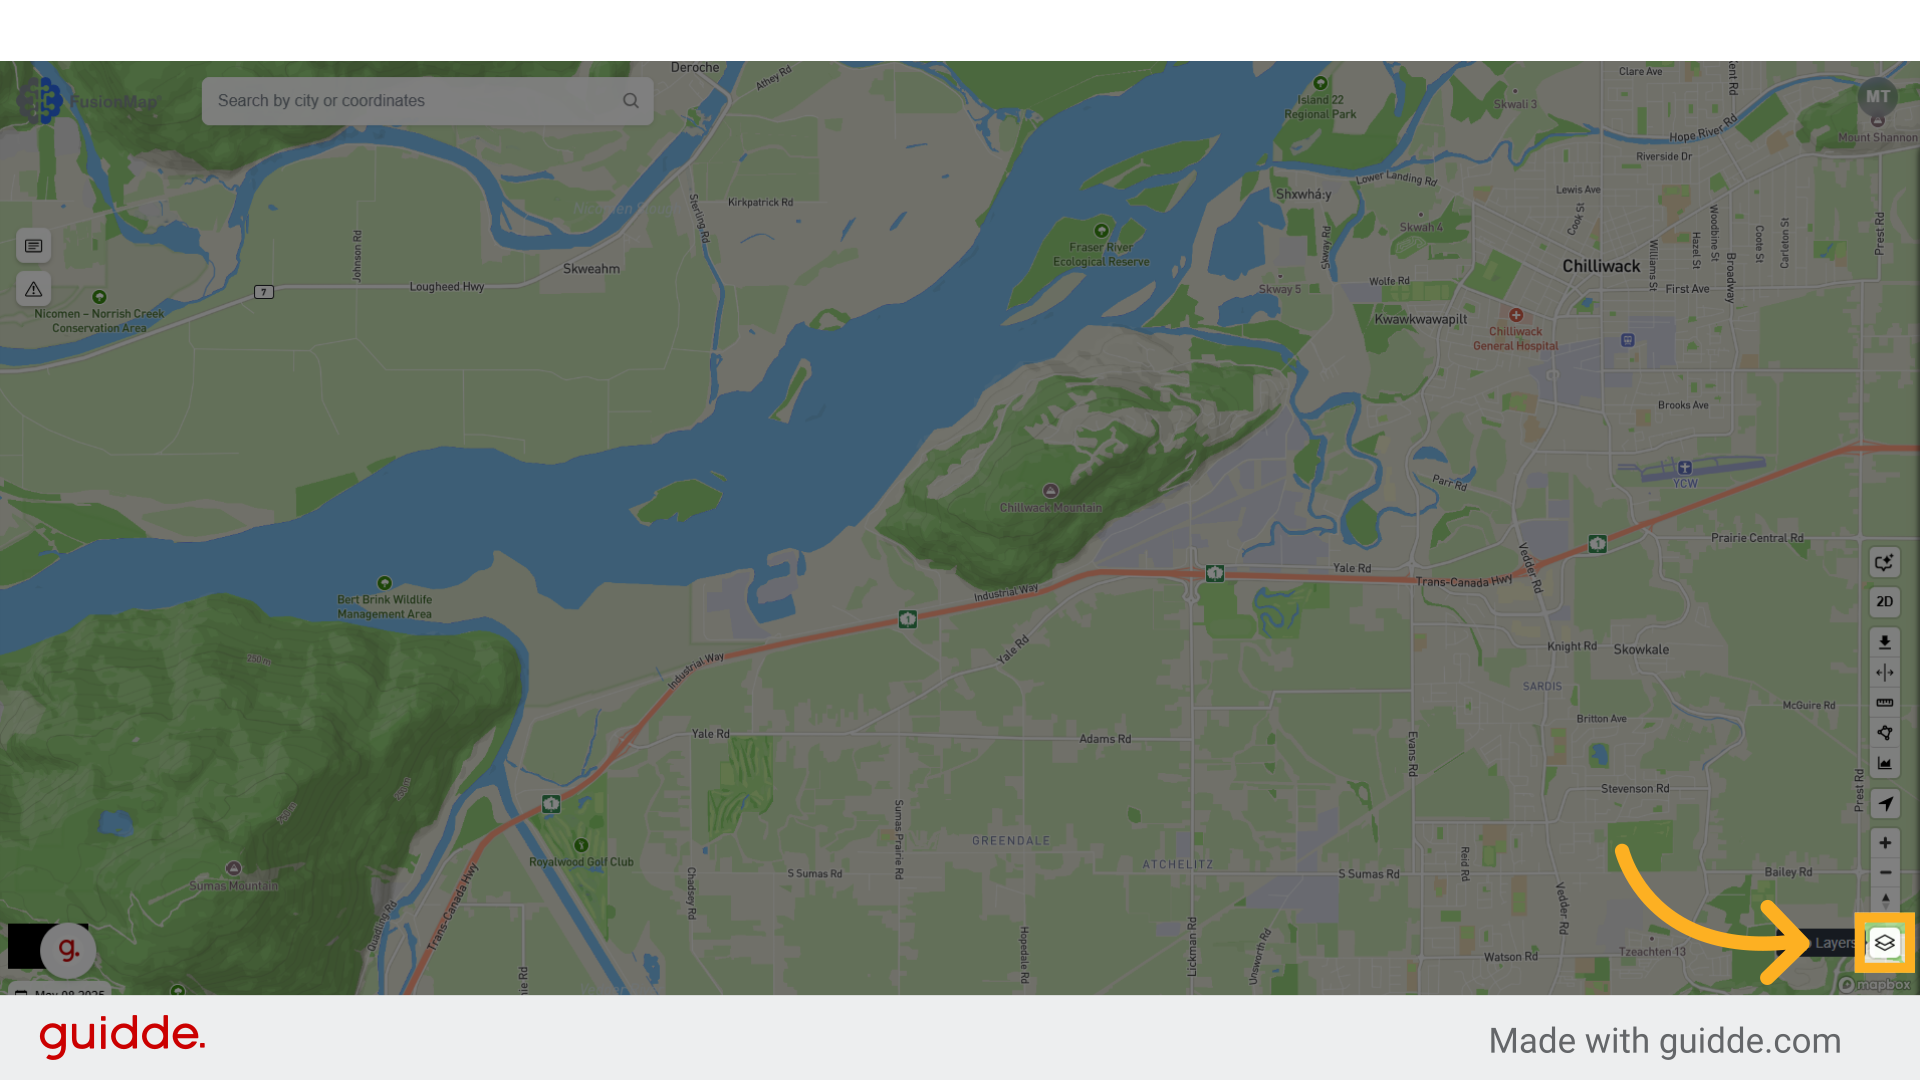
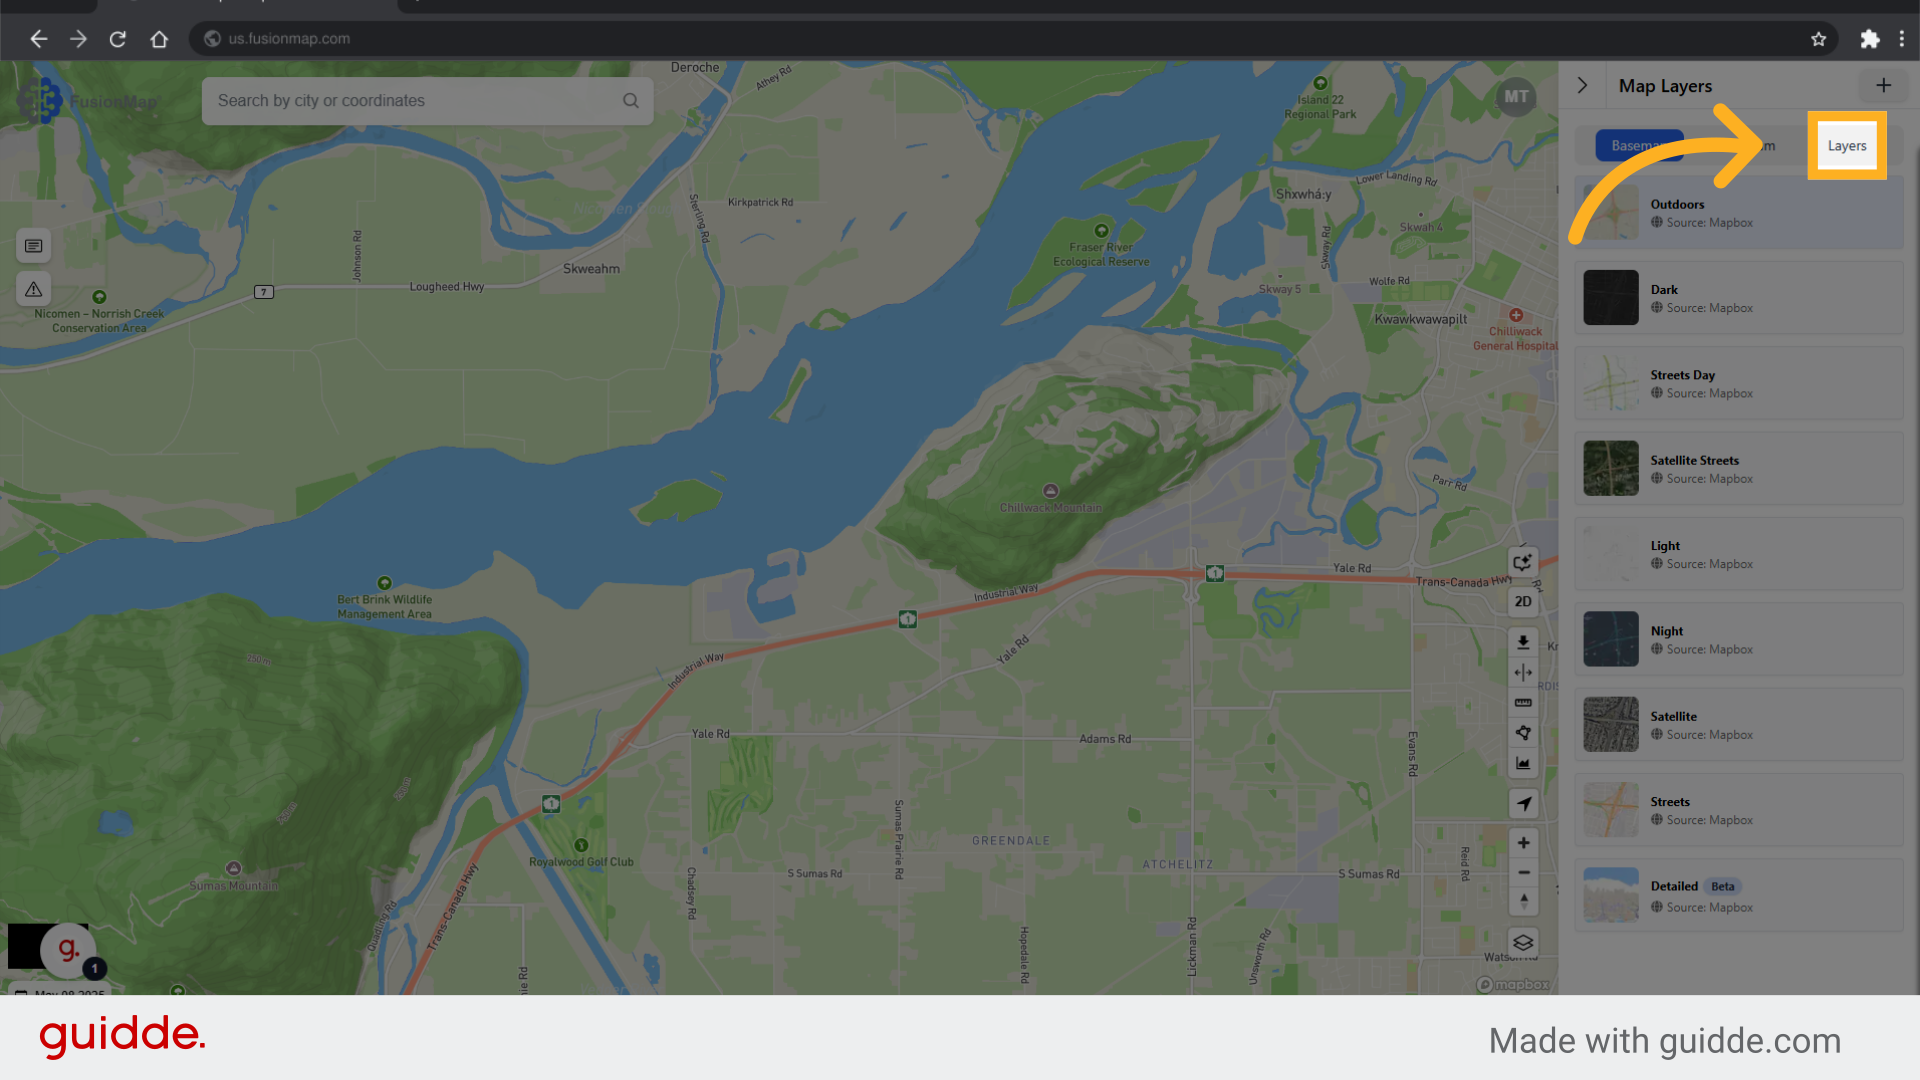
2. Open the Layers Tab #
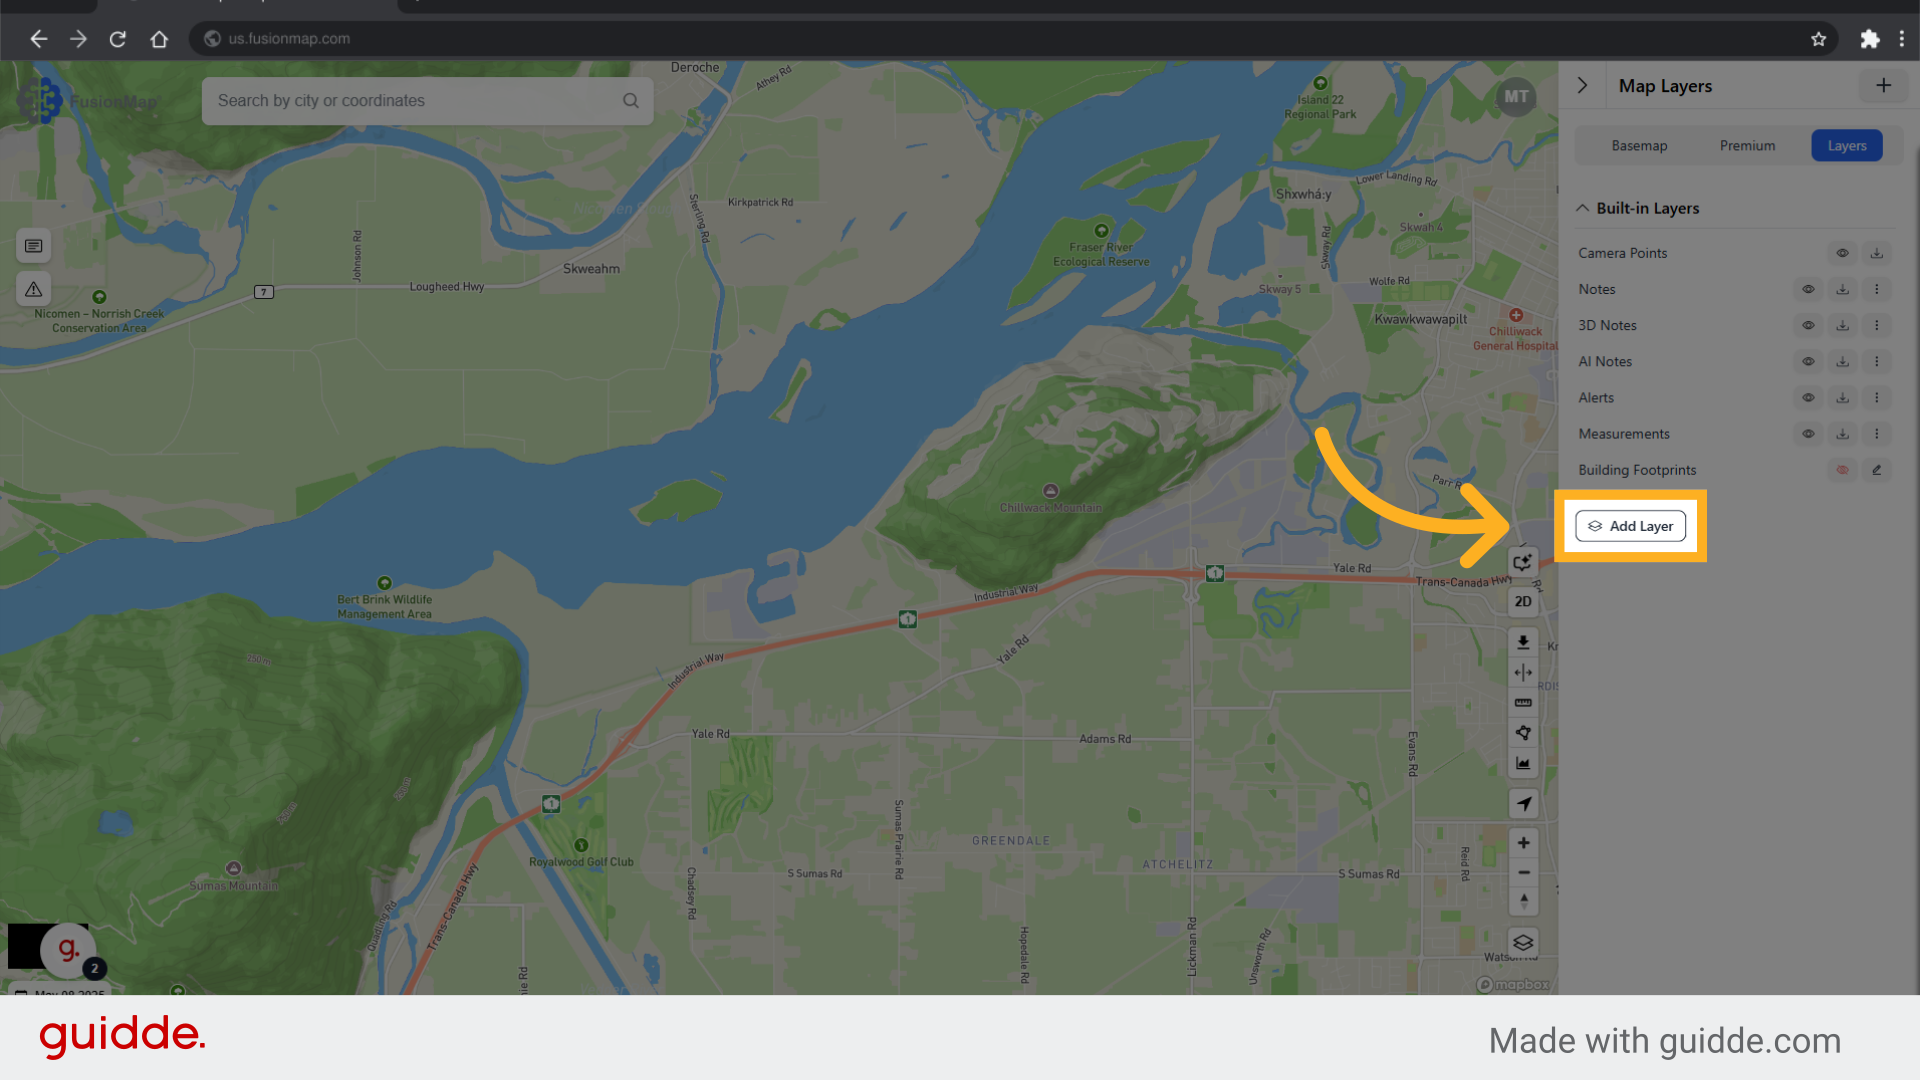
3. Click “Add Layer” #
4. Select Tours #
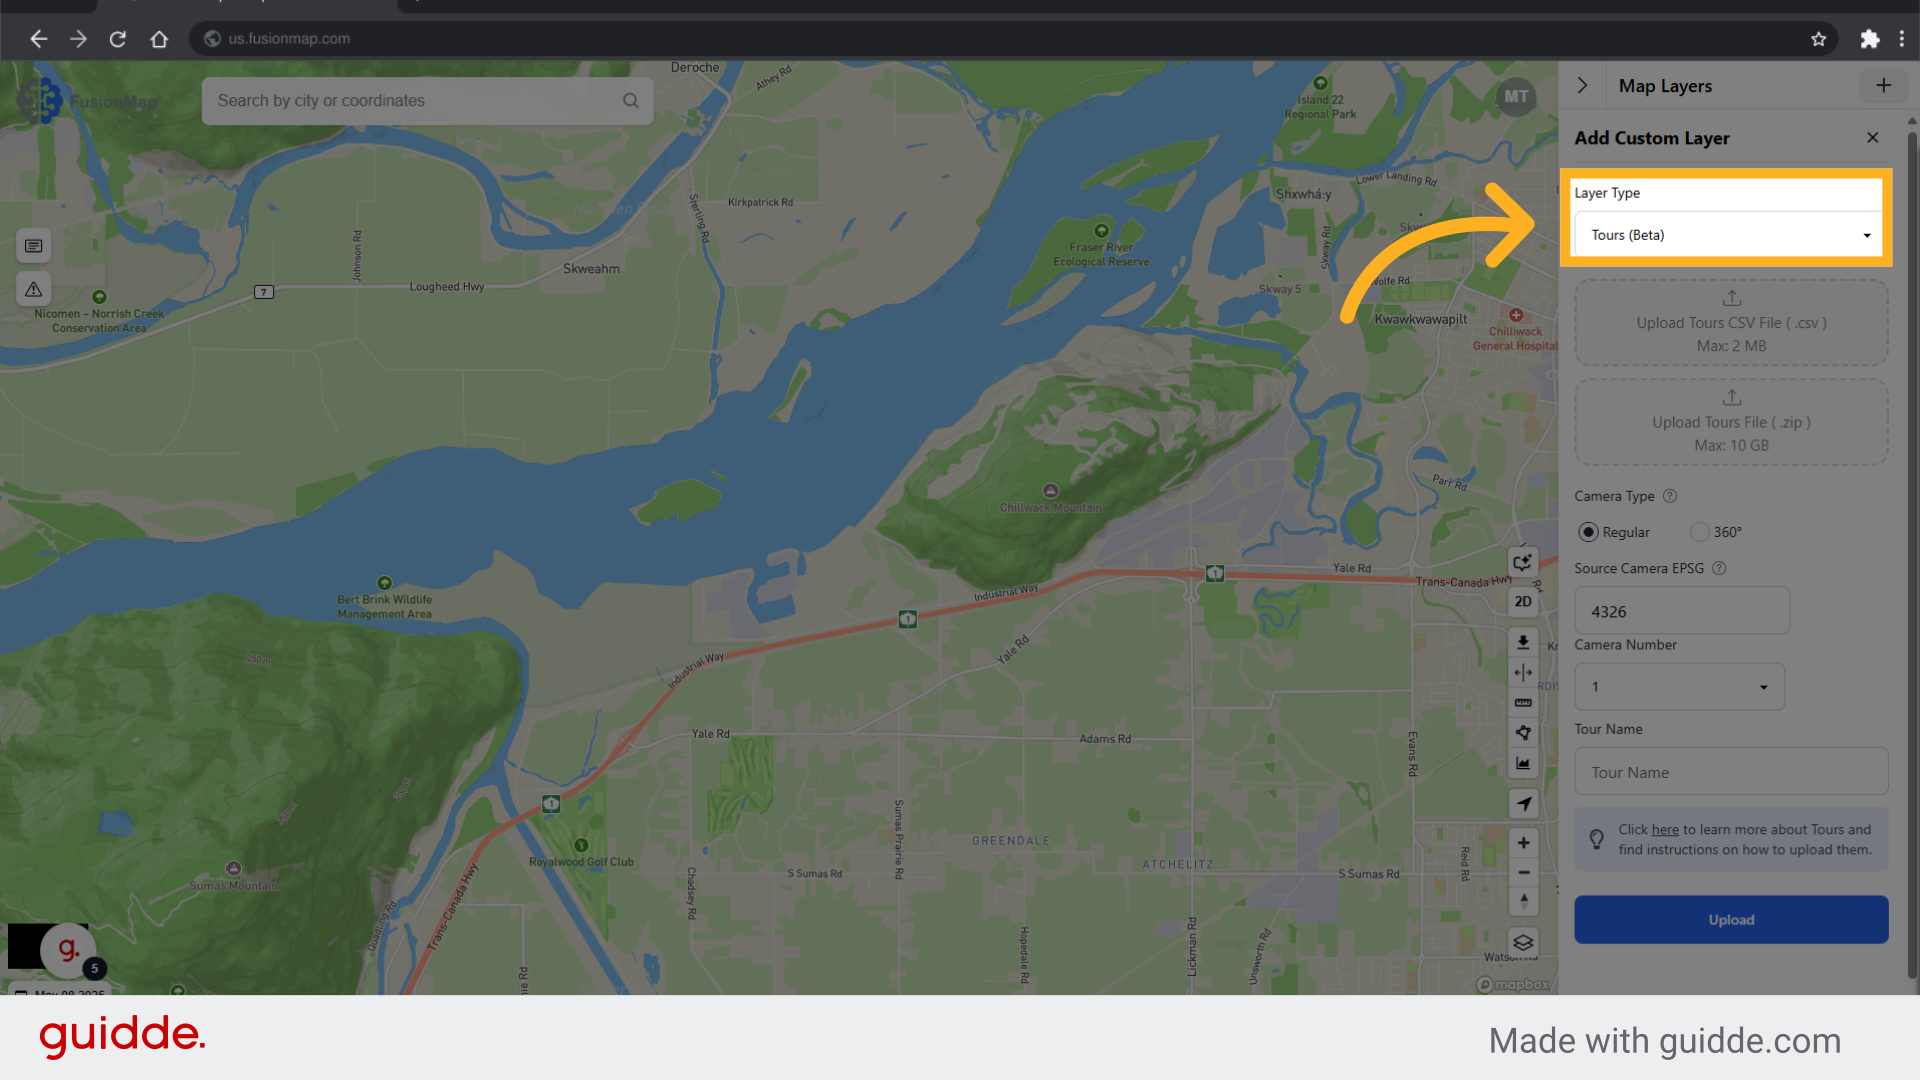
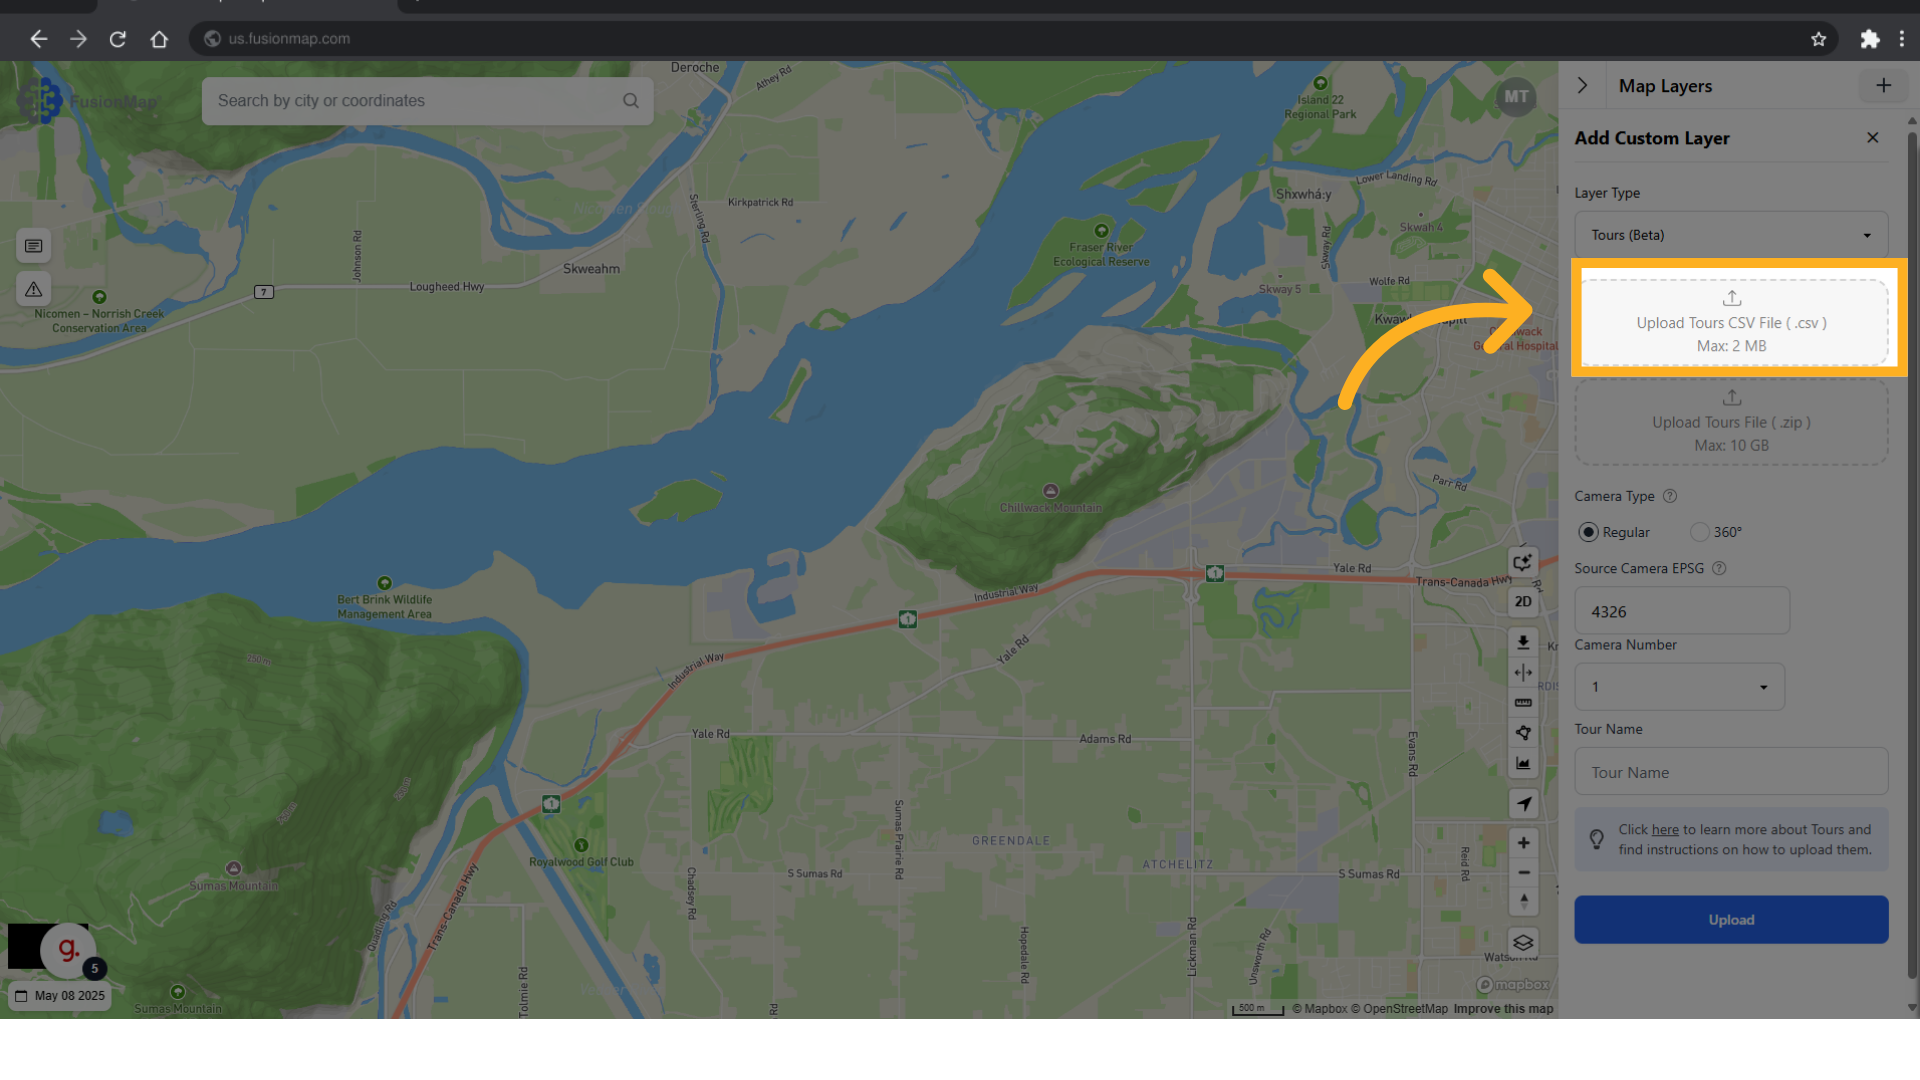
5. Upload your Tours CSV File #
Upload the CSV file for the tour.
Guidelines for the CSV file are located at the bottom of this page as well as sample files.
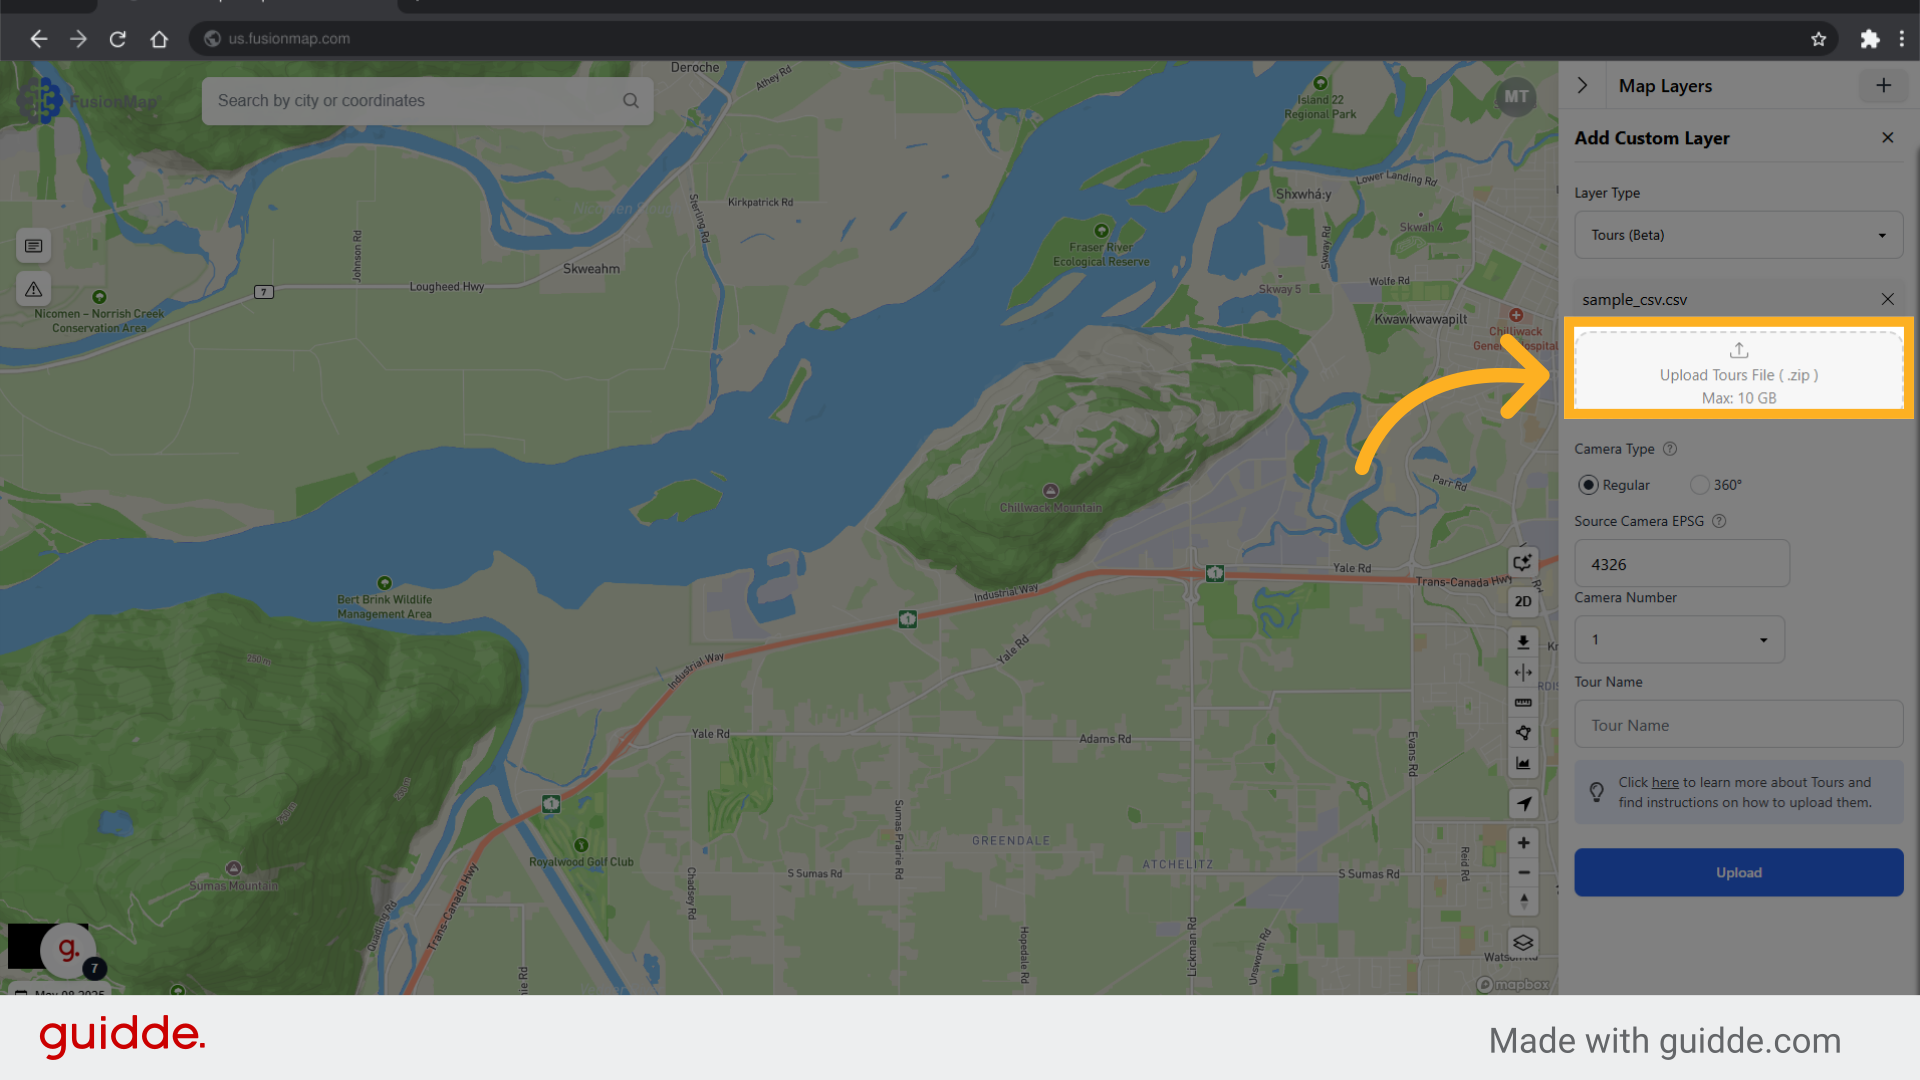
6. Upload your zipped images #
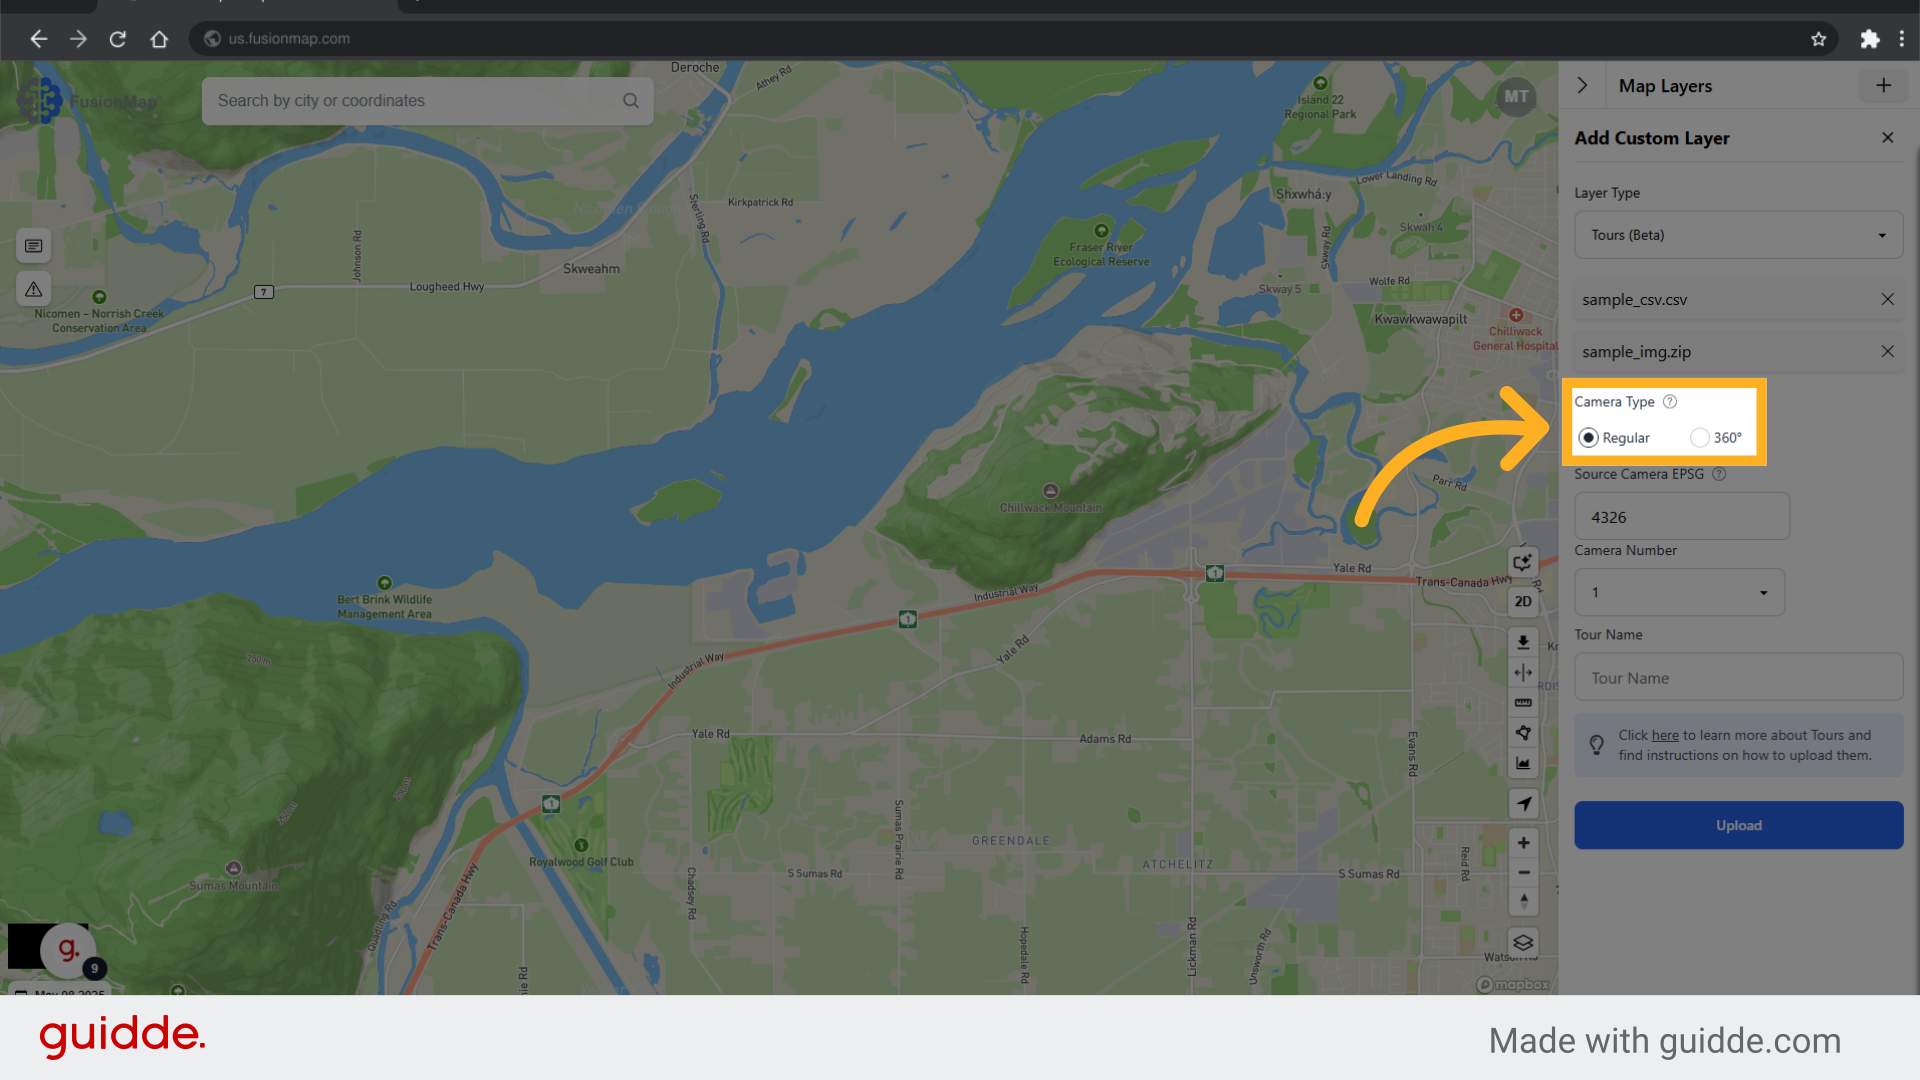
7. Choose camera type #
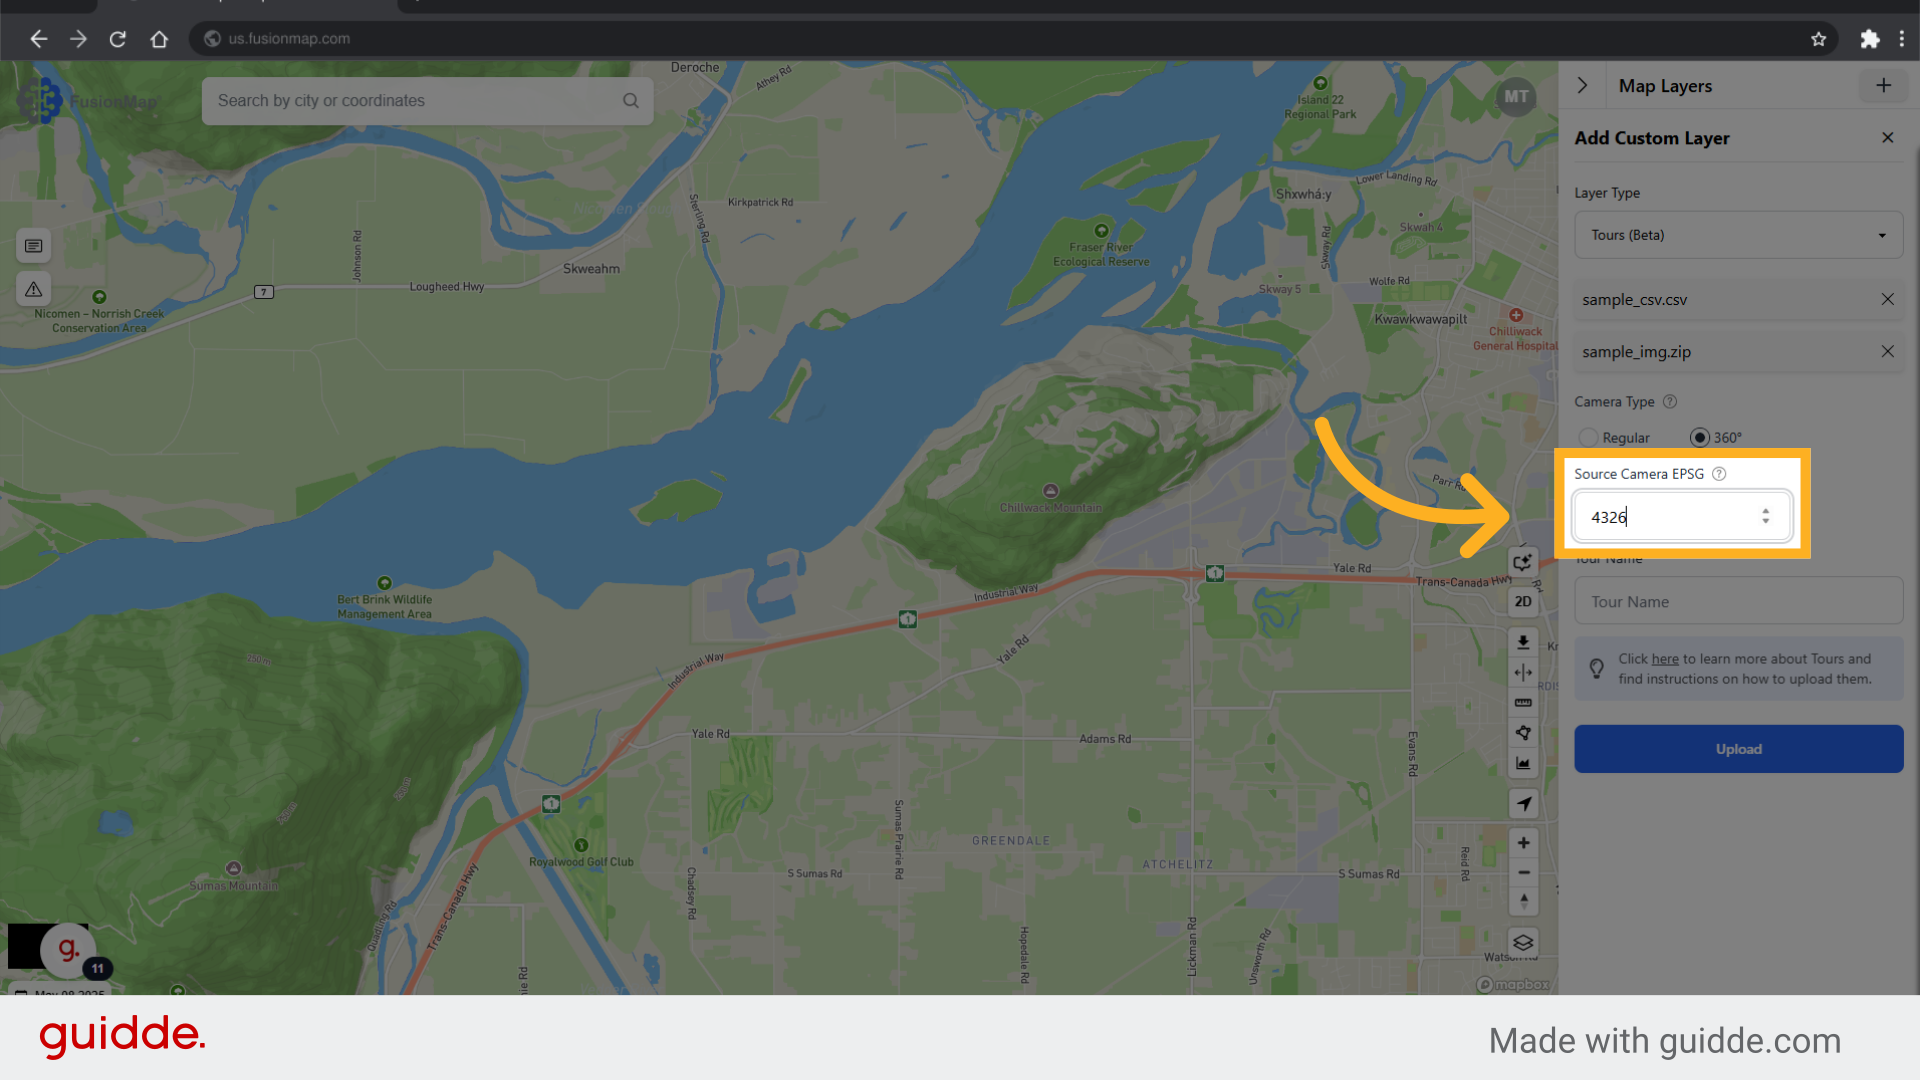
8. Set the Camera EPSG #
9. Set the Tour Name #
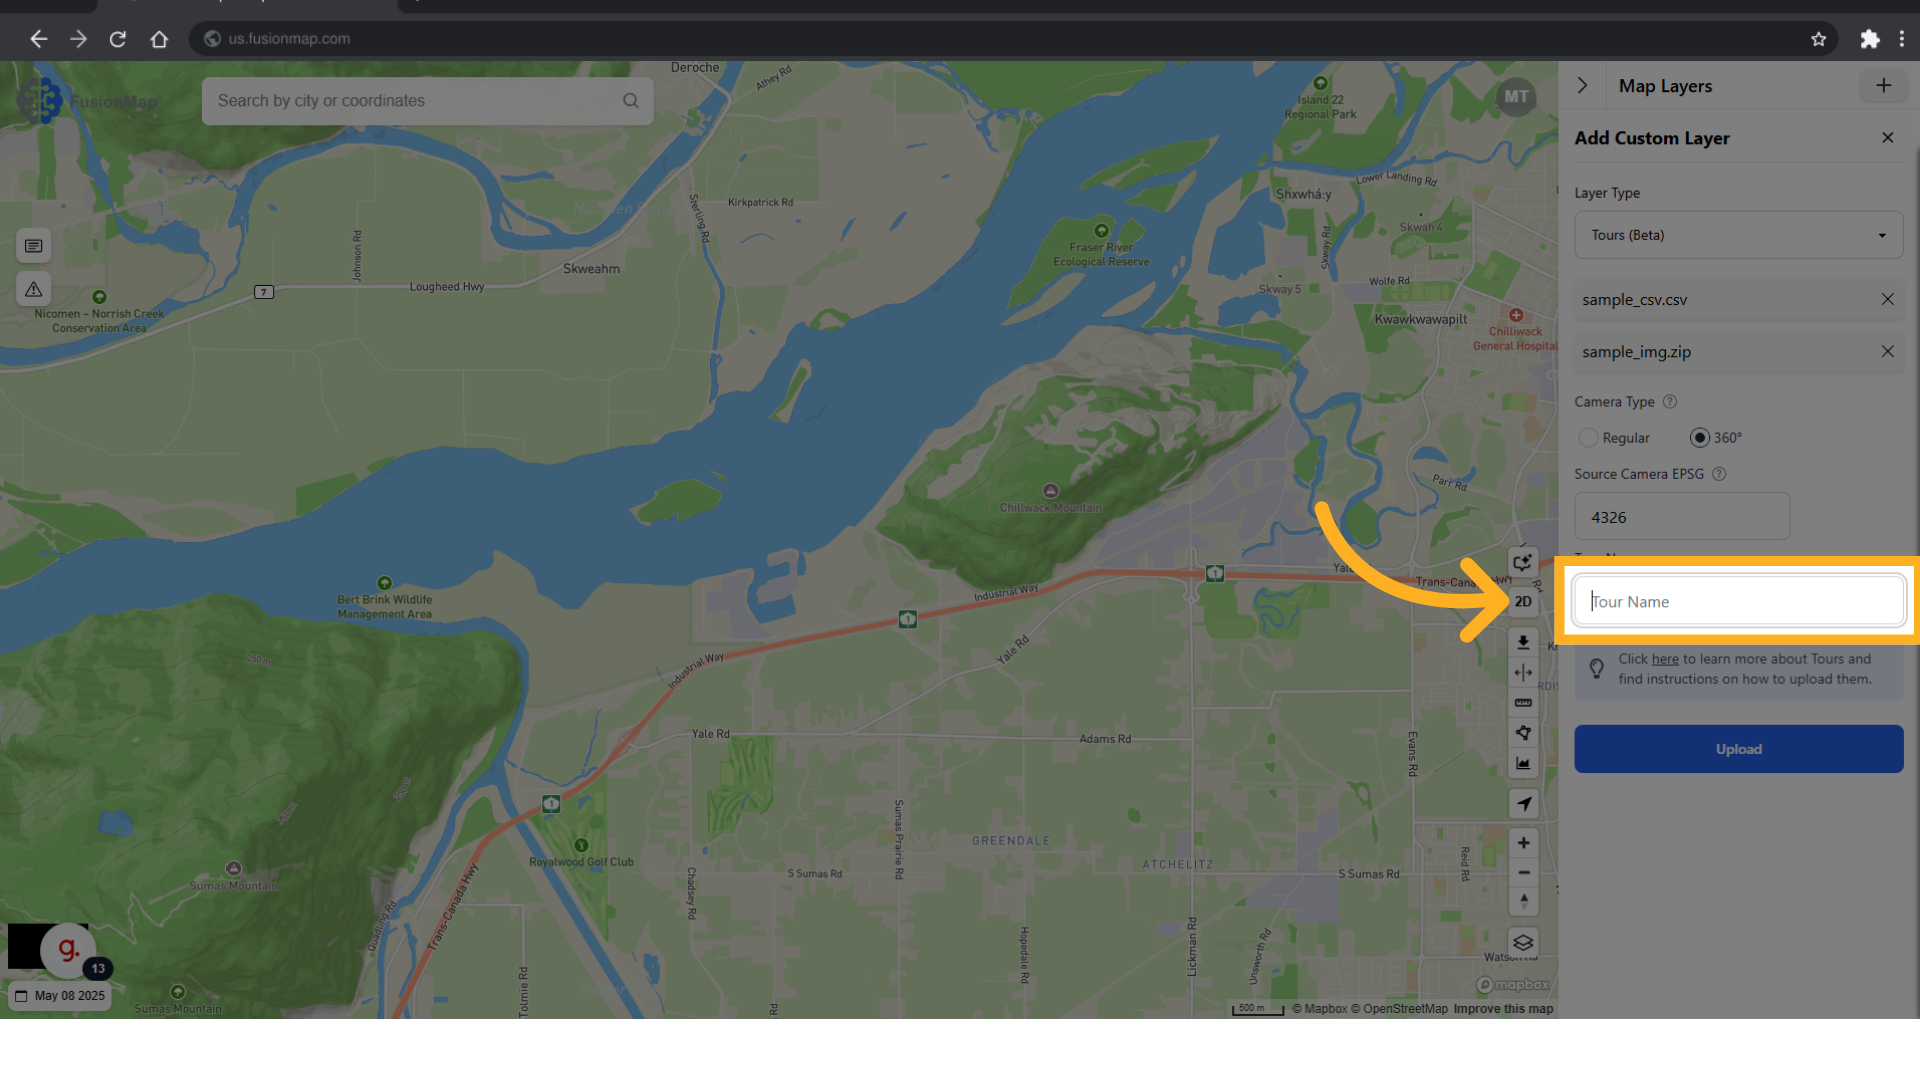
10. Click “Upload” #
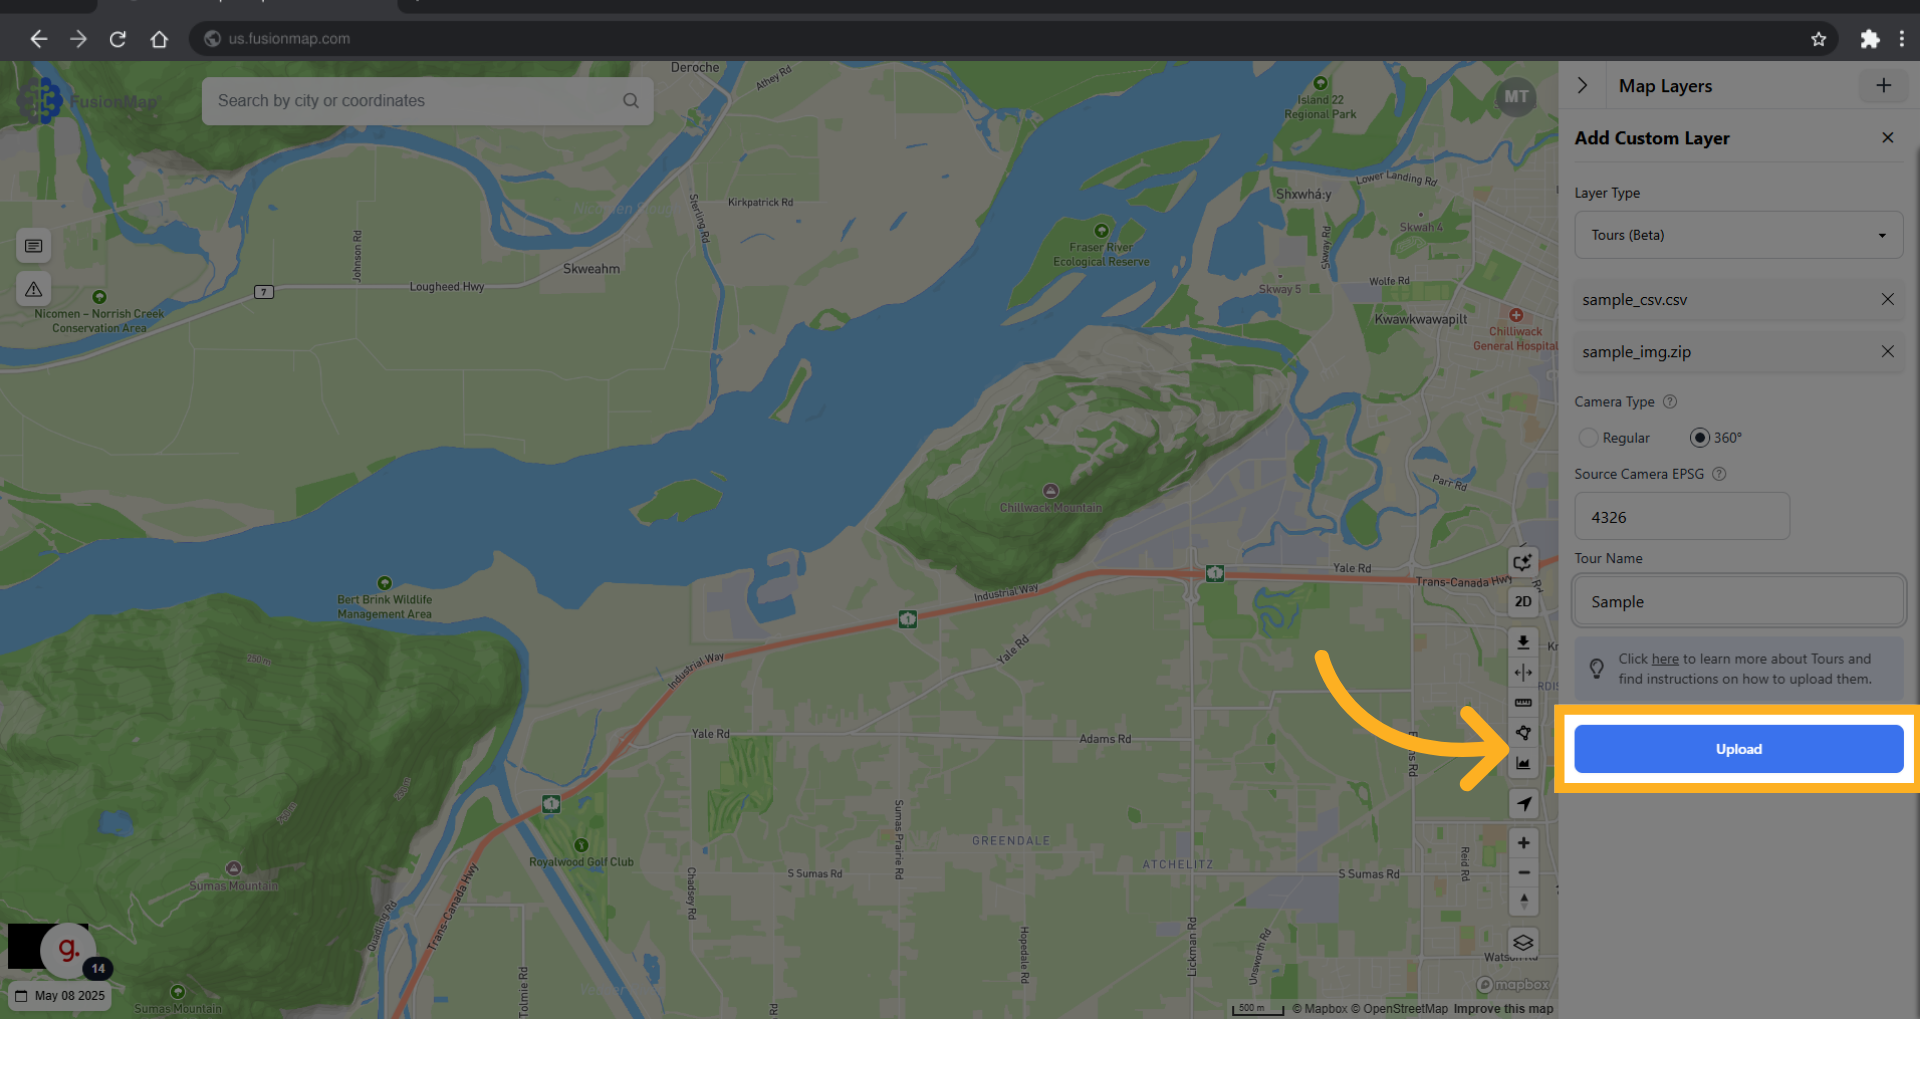
11. Wait for your upload to complete #
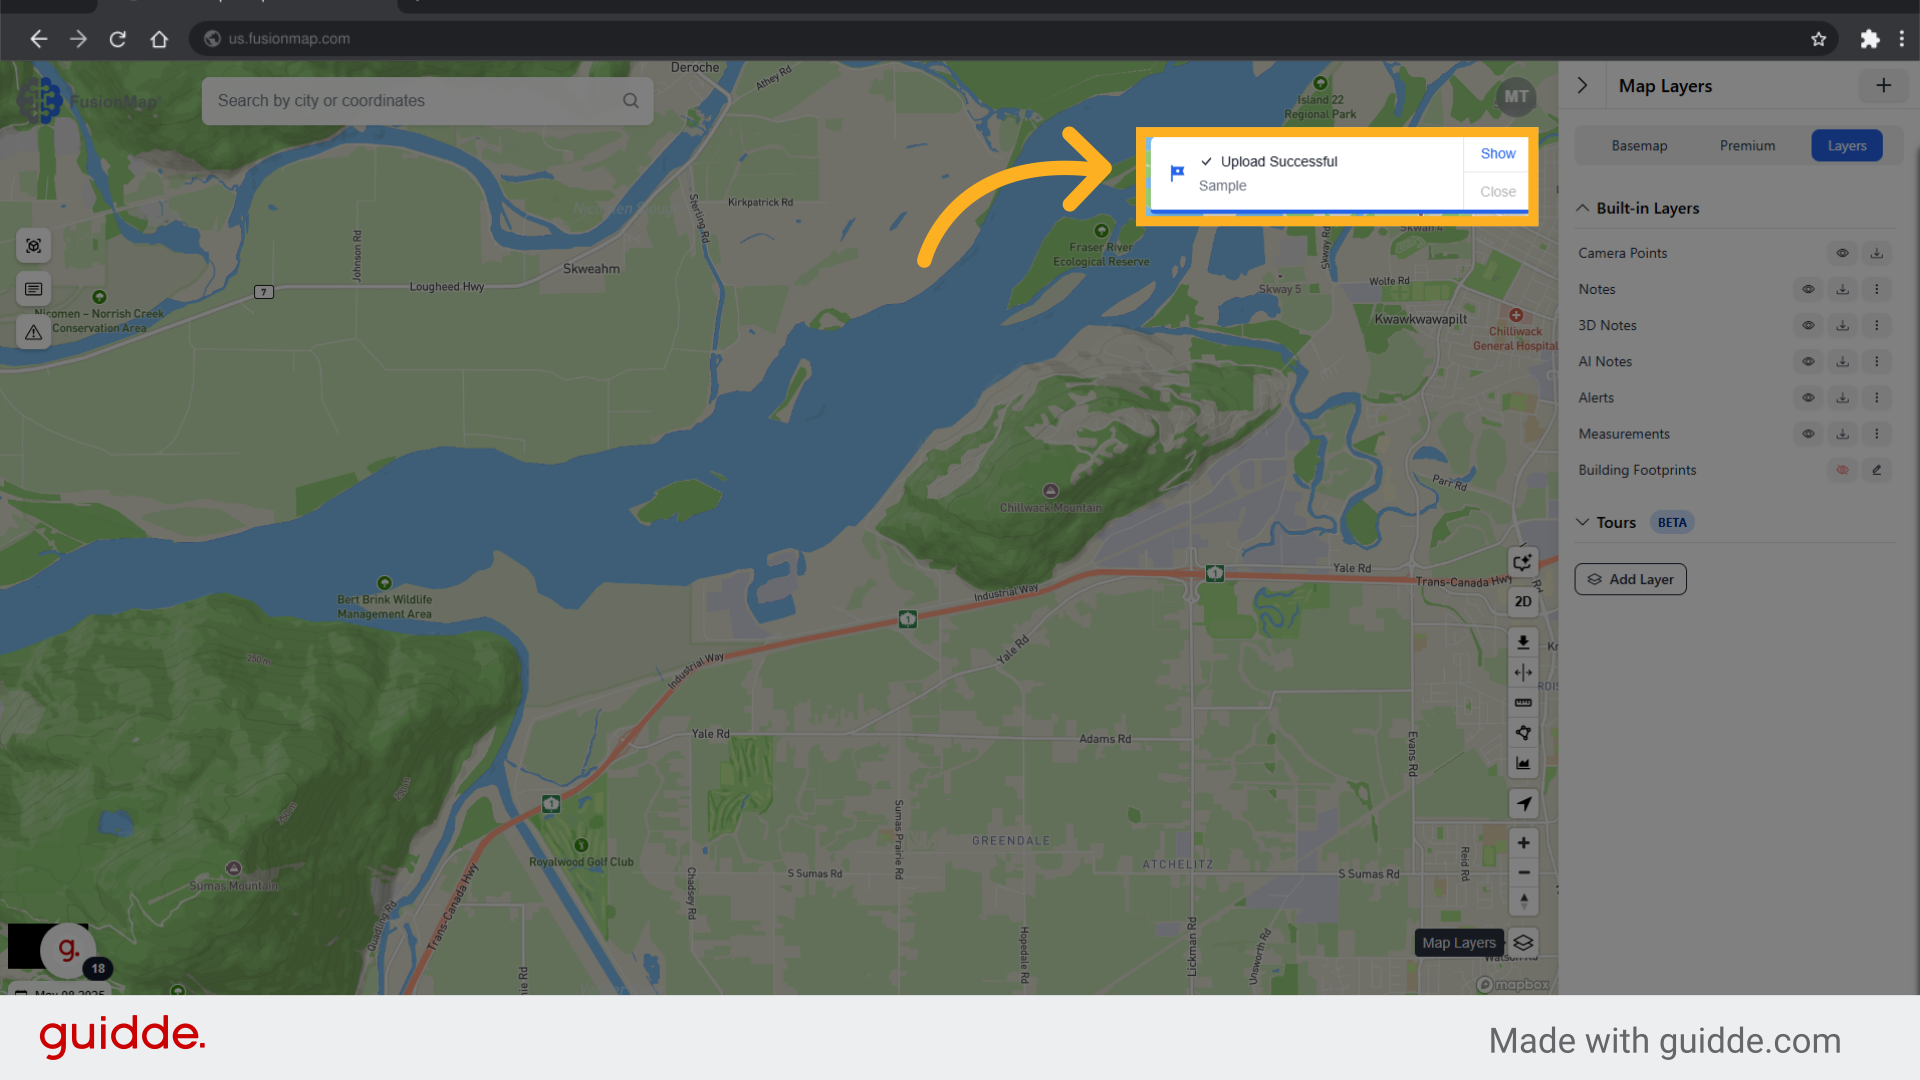
12. Go back to Layers #
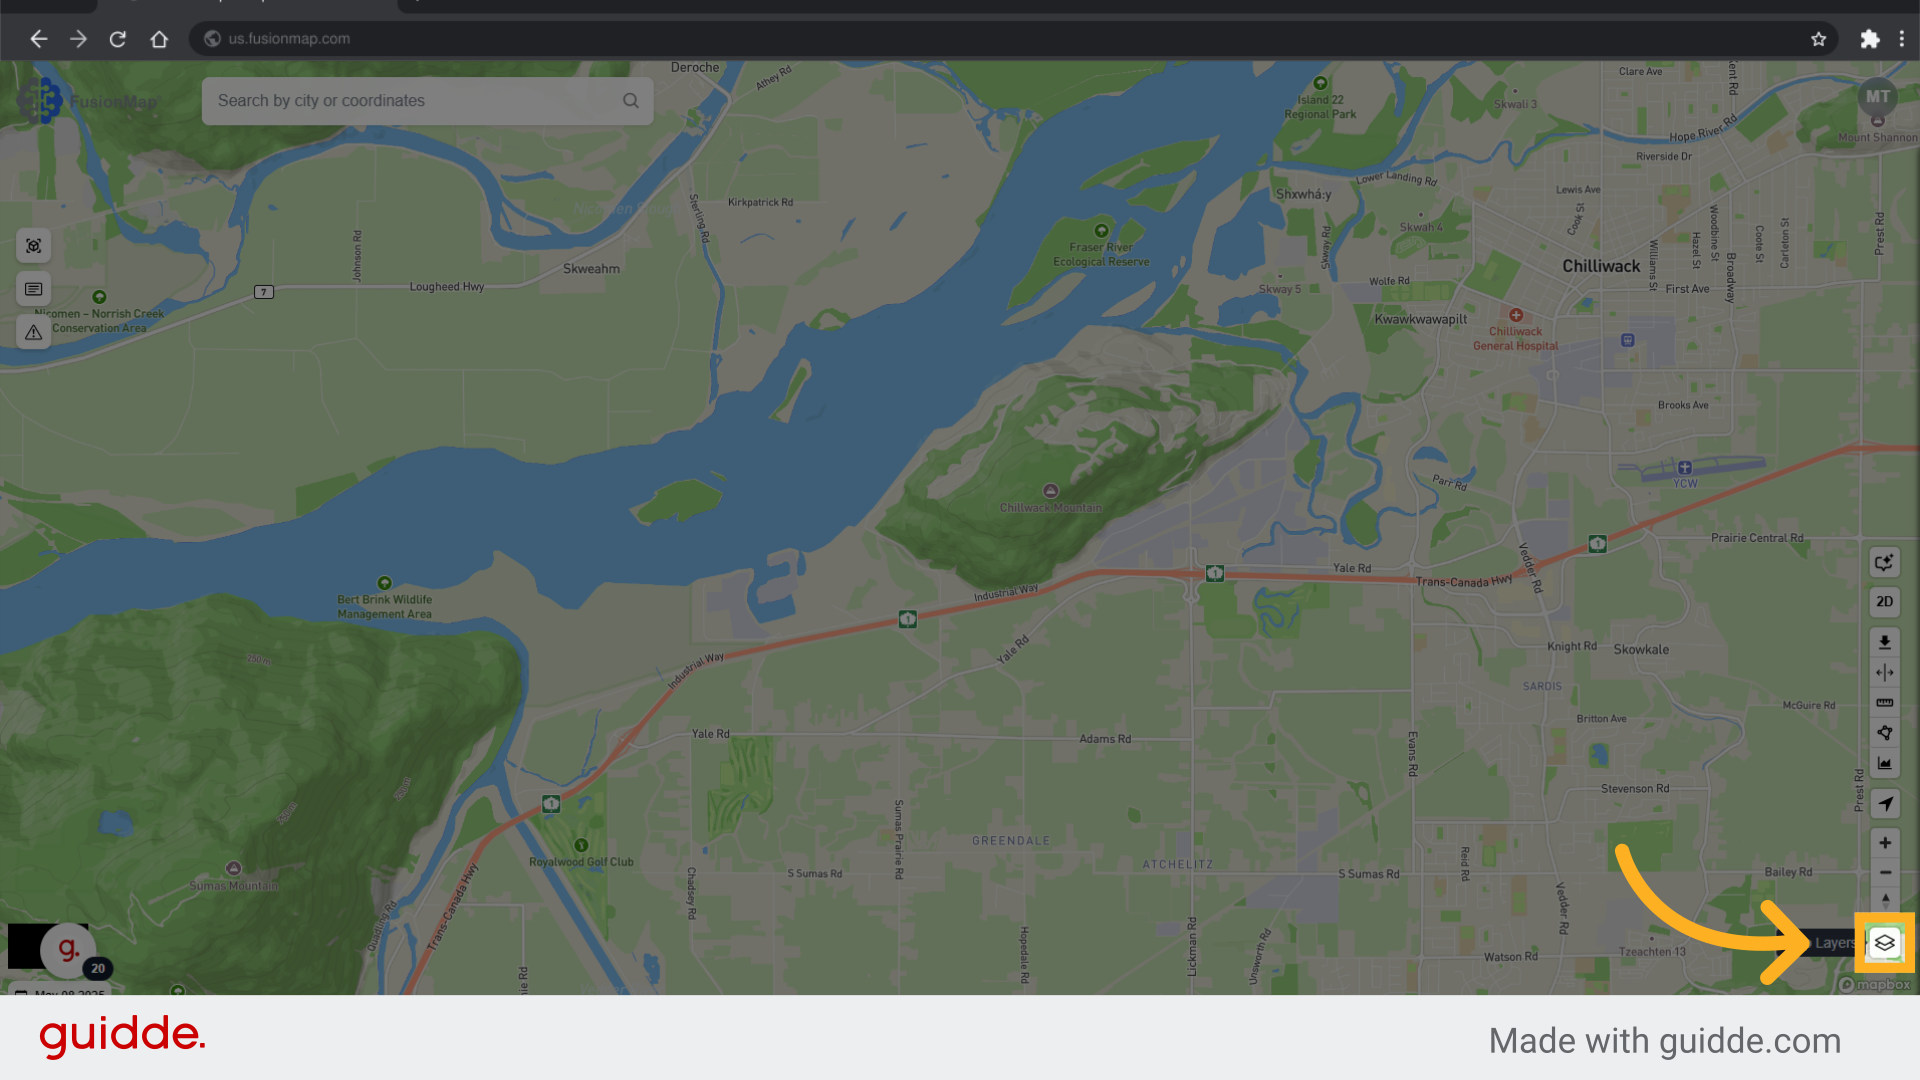
13. Switch to the layers tab #
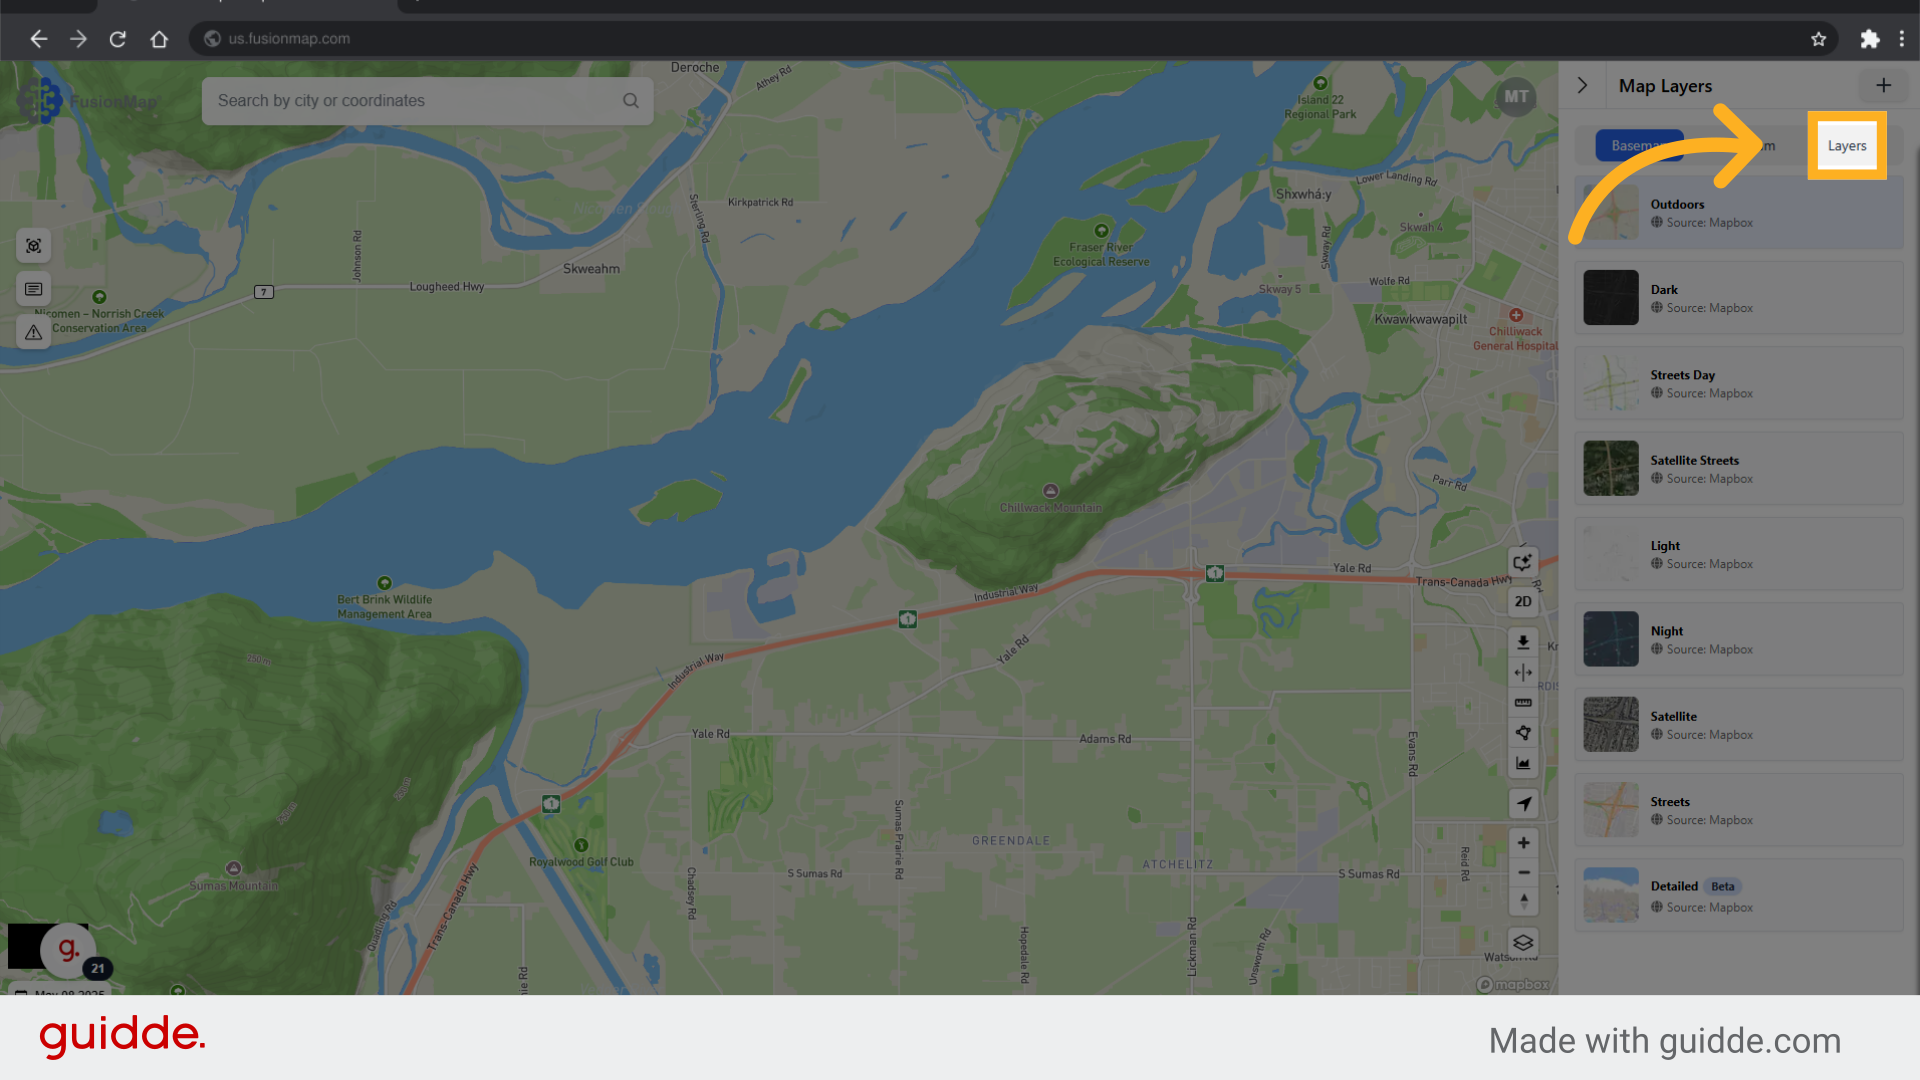
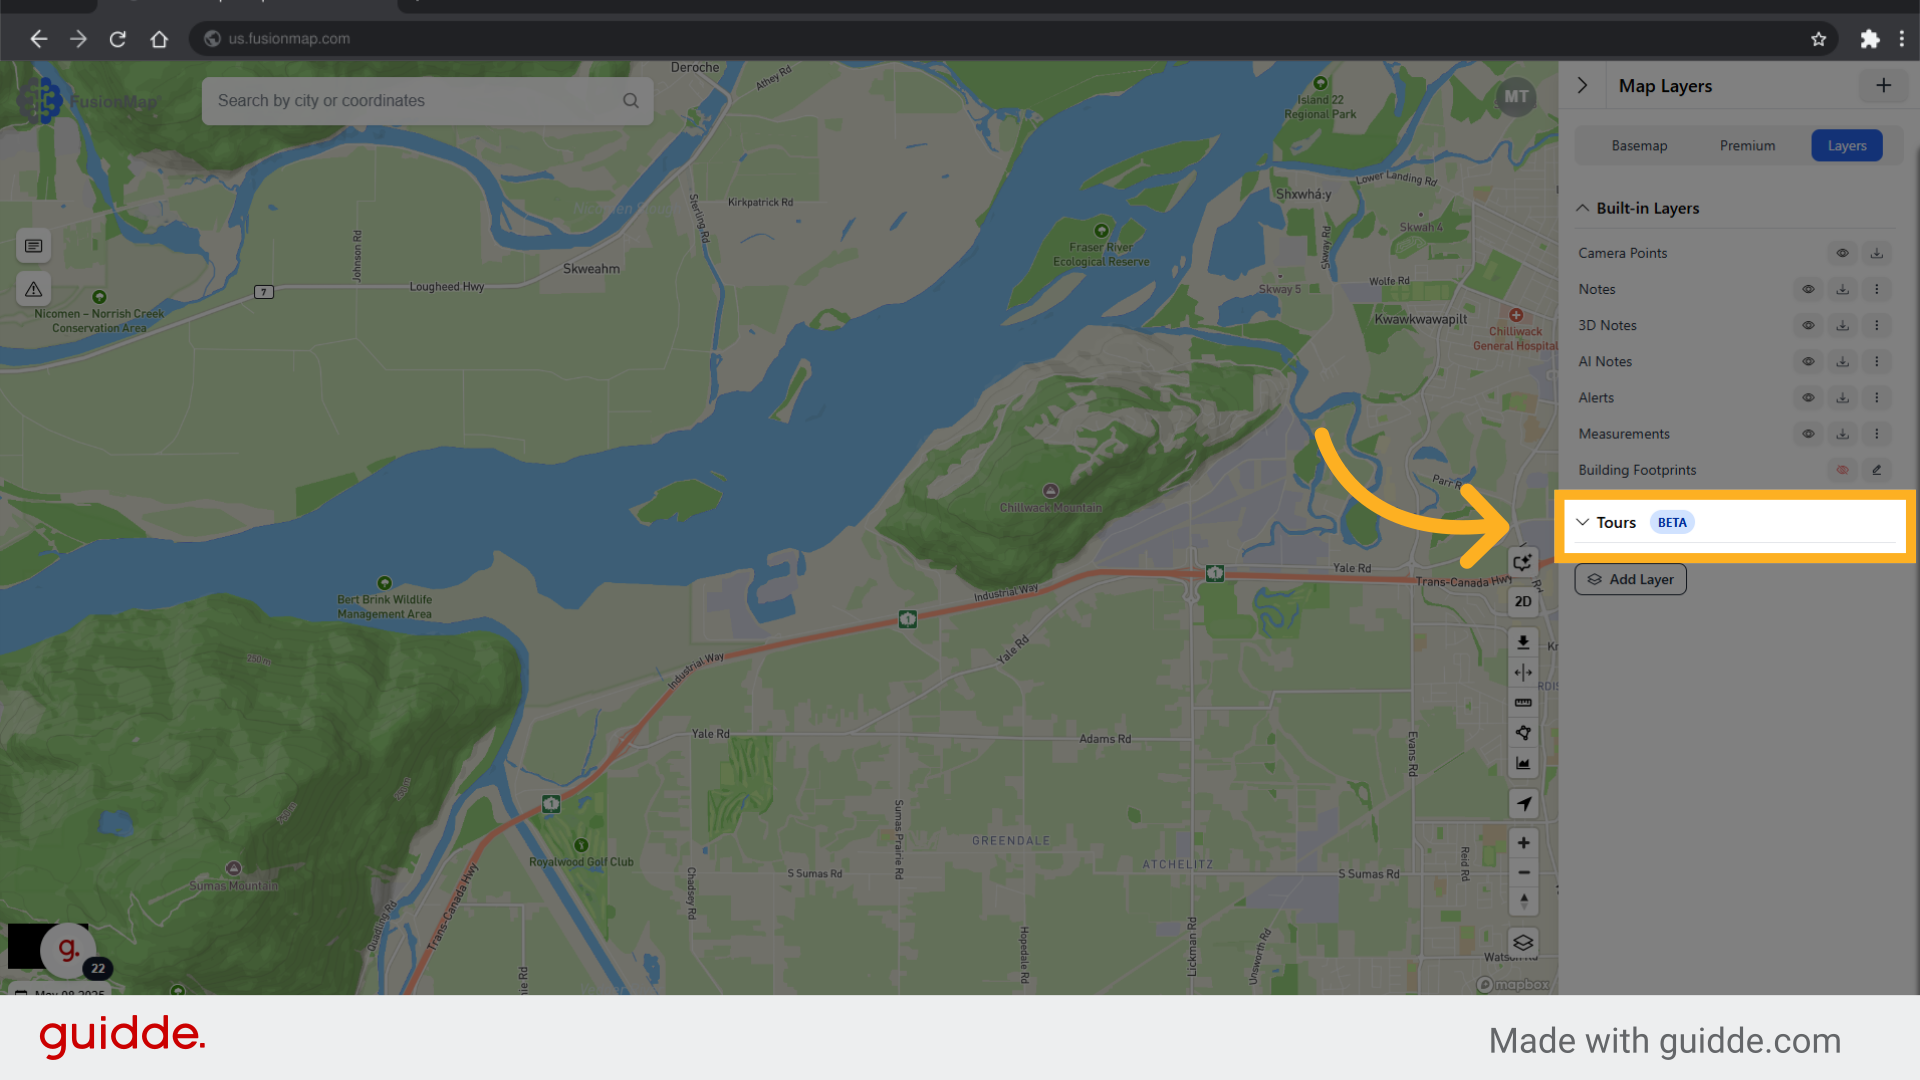
14. Click “Tours” #
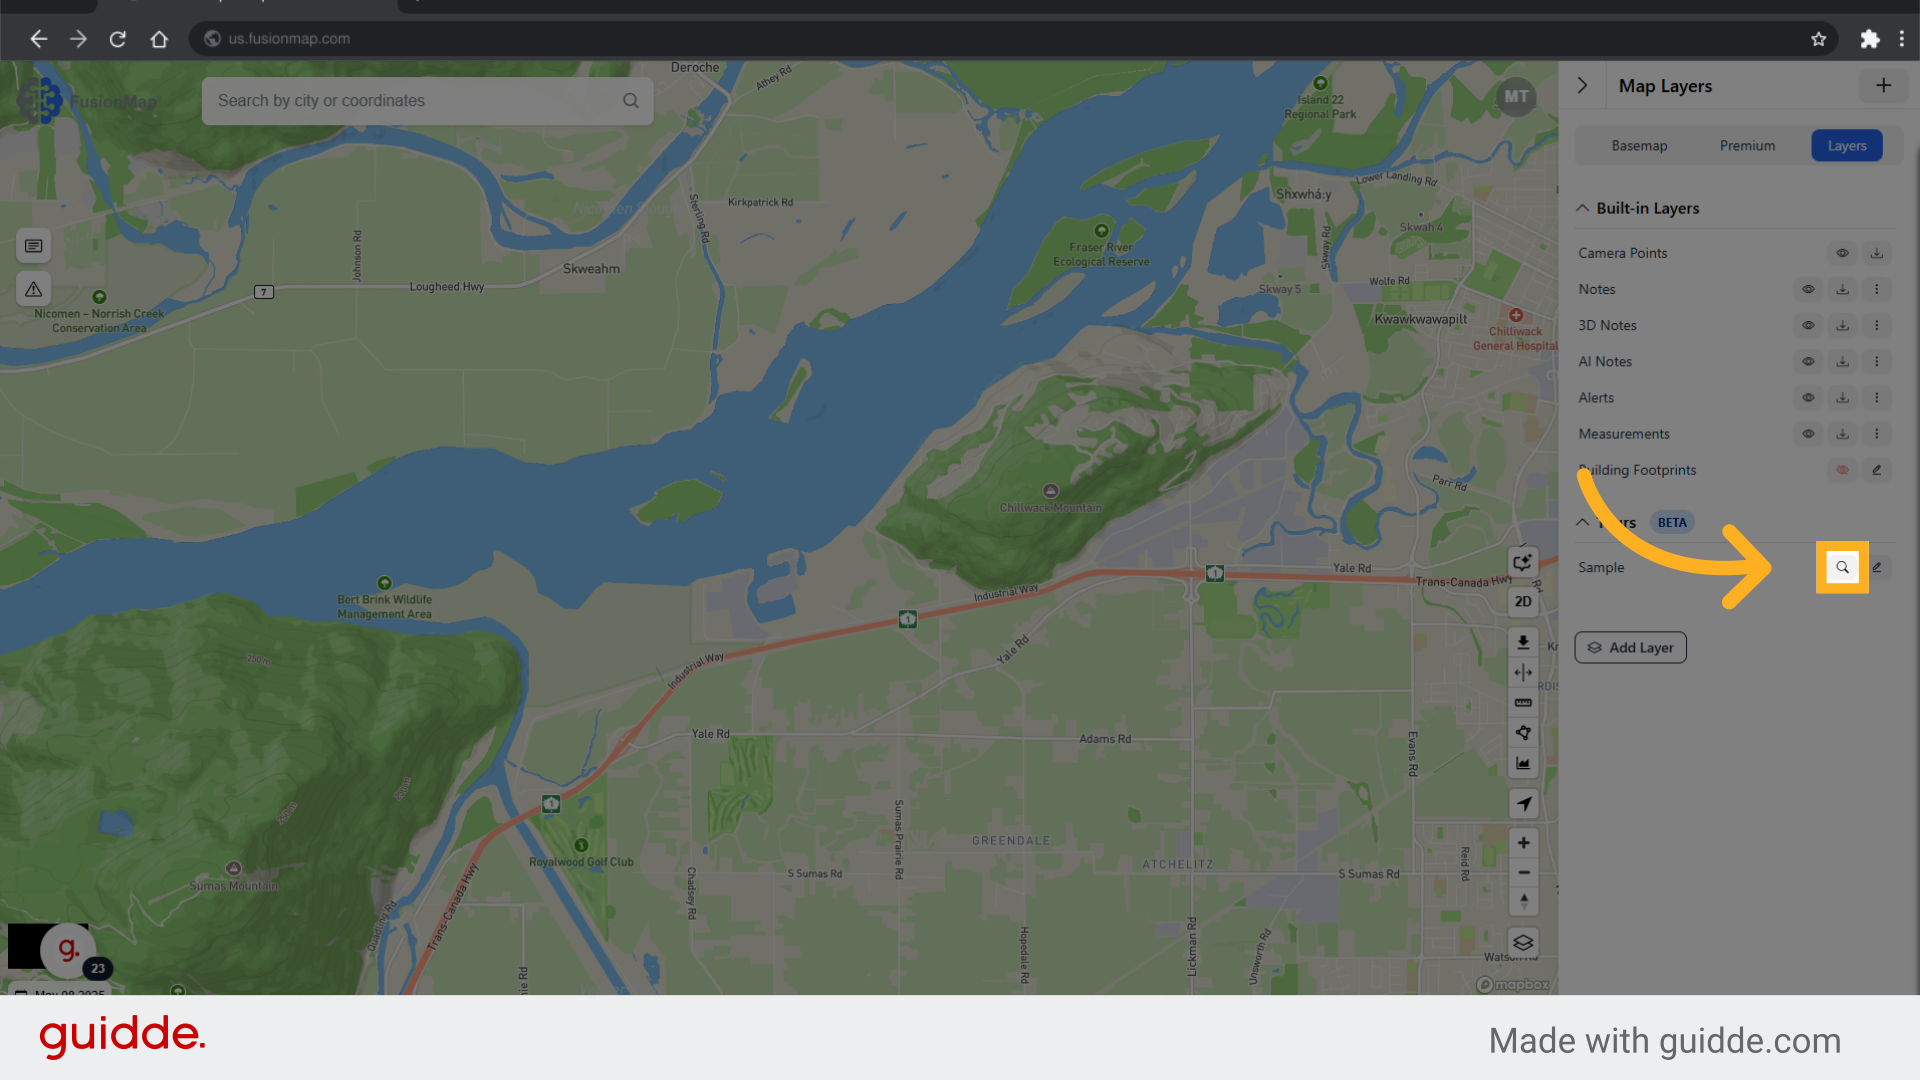
15. Click the search icon next to your tour #
16. This takes you to your visualized tour on the map #
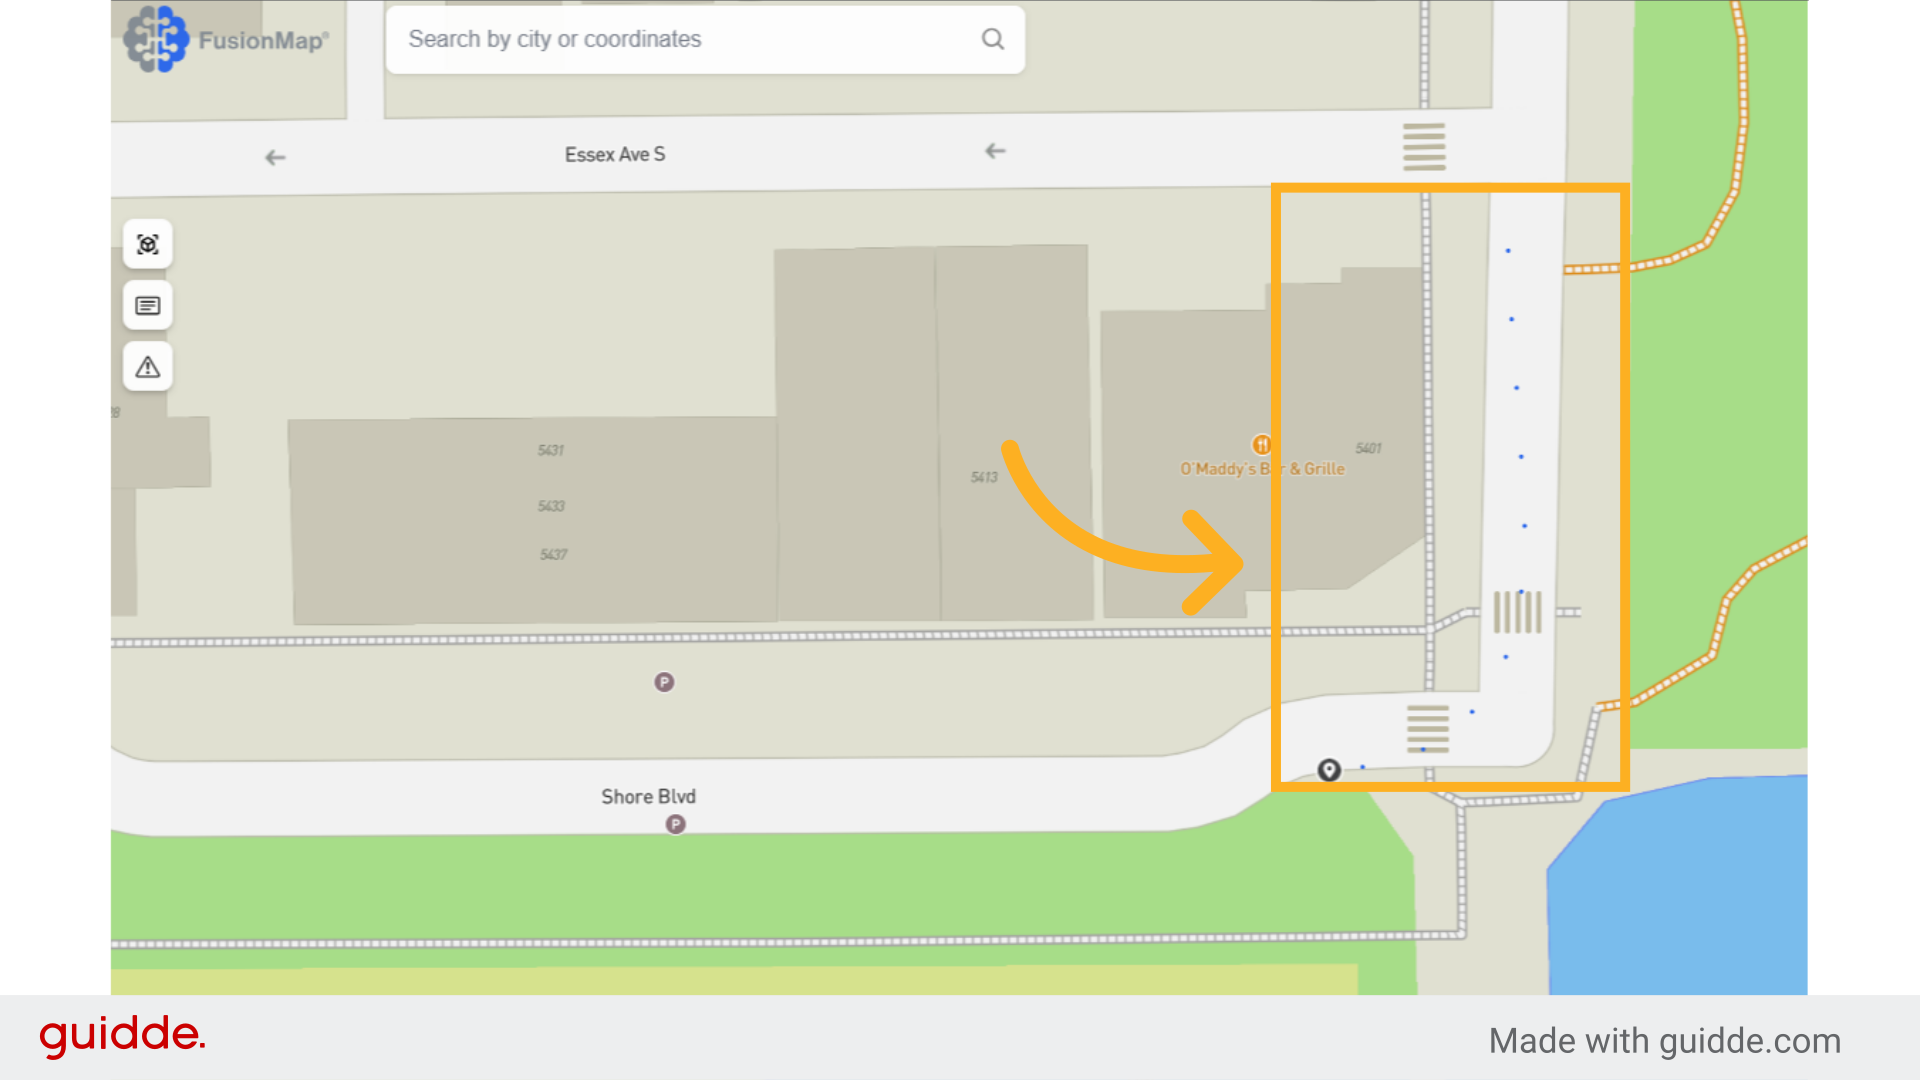
The guide covered uploading a tour in Fusionmap, including selecting file formats, uploading files, and customizing tour settings
Tour CSV Guidline #
| Category | Details |
|---|---|
| Required Headers | The CSV must include the following headers:
|
| Optional Headers | The following headers can be added but are not required:
|
| Data Integrity | The CSV must not have any empty values in any cells. |
| Filename Format | Filenames must be in JPG/JPEG format (e.g., image1.jpg, image2.jpeg). |
Sample Tours #
The EPSG for this sample tour should be set to 4326.