Tours enable users to upload their own camera images and seamlessly view them on the map. This guide will walk you through the step-by-step process of uploading a tour, as well as provide clear guidelines on the file formats and requirements for successful upload.
Index
Tour Upload Tutorial
1. Introduction
Open your FusionMap project.
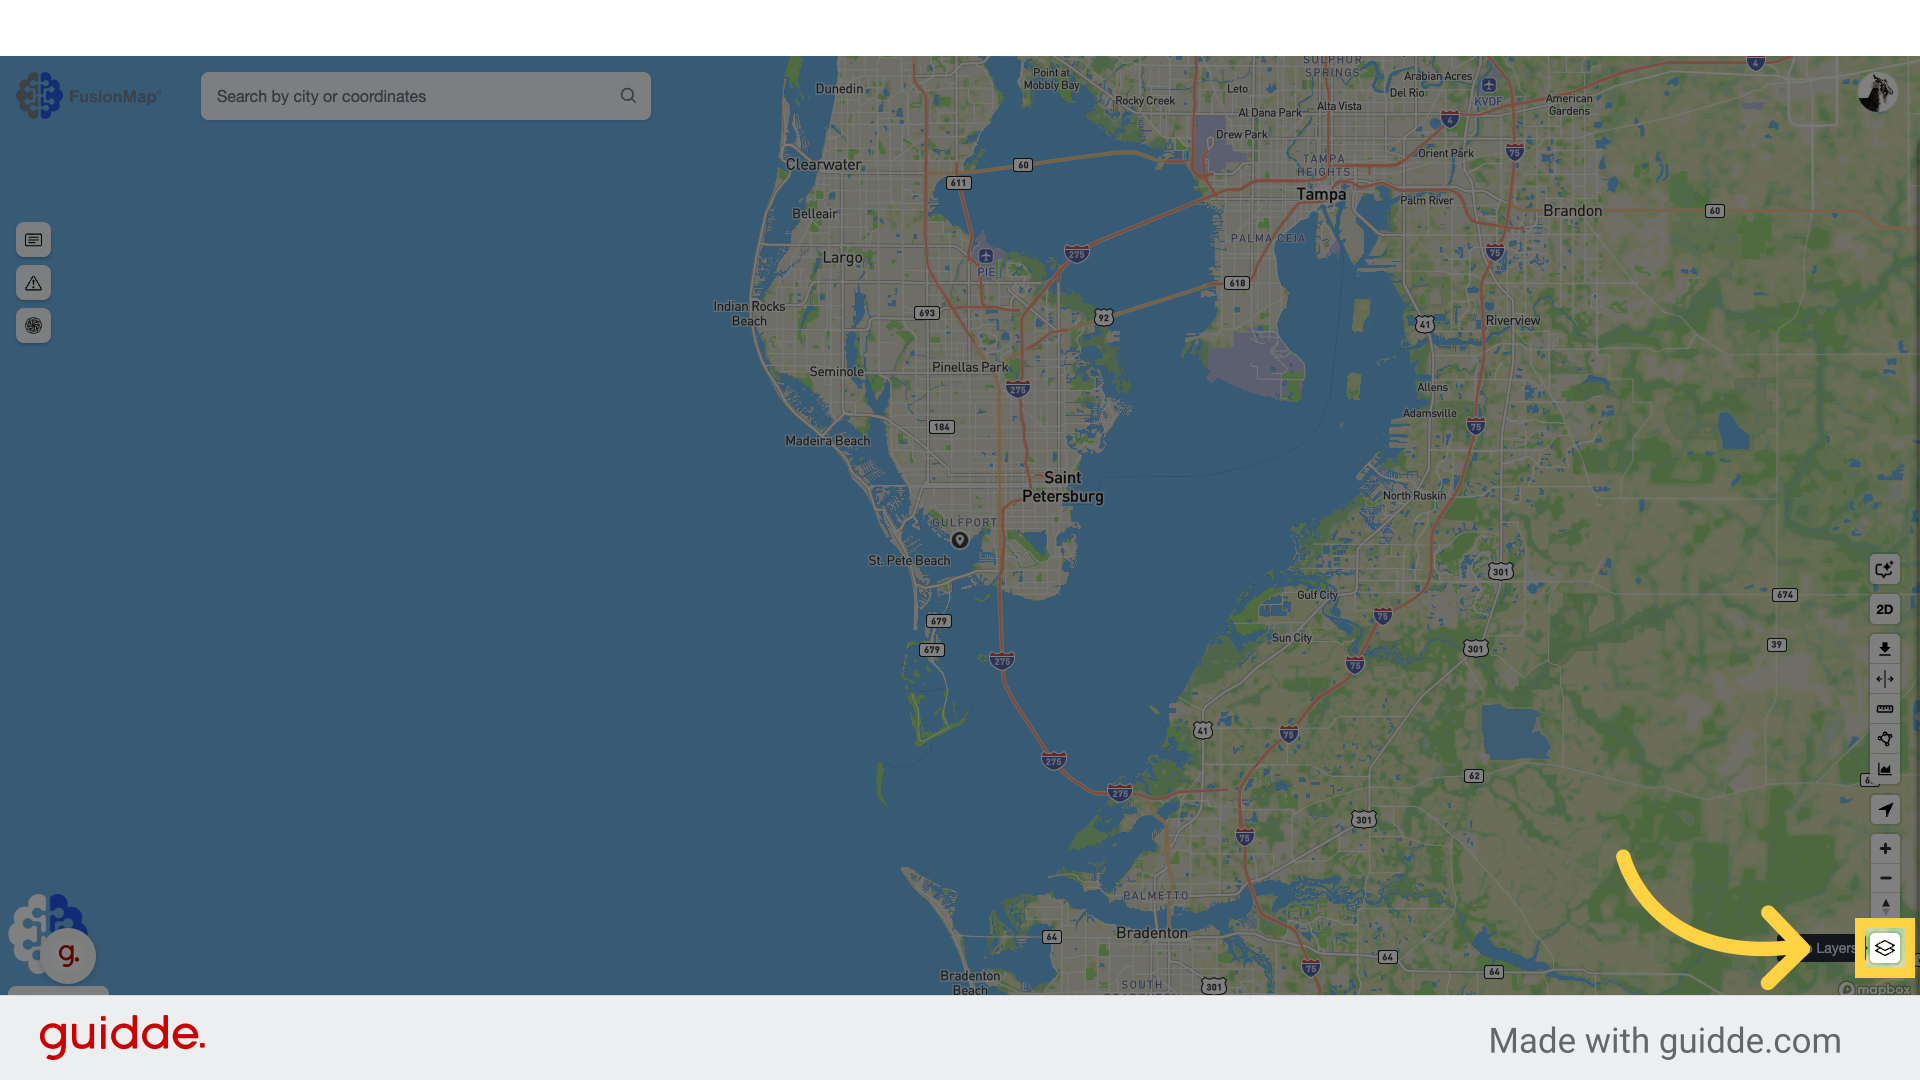
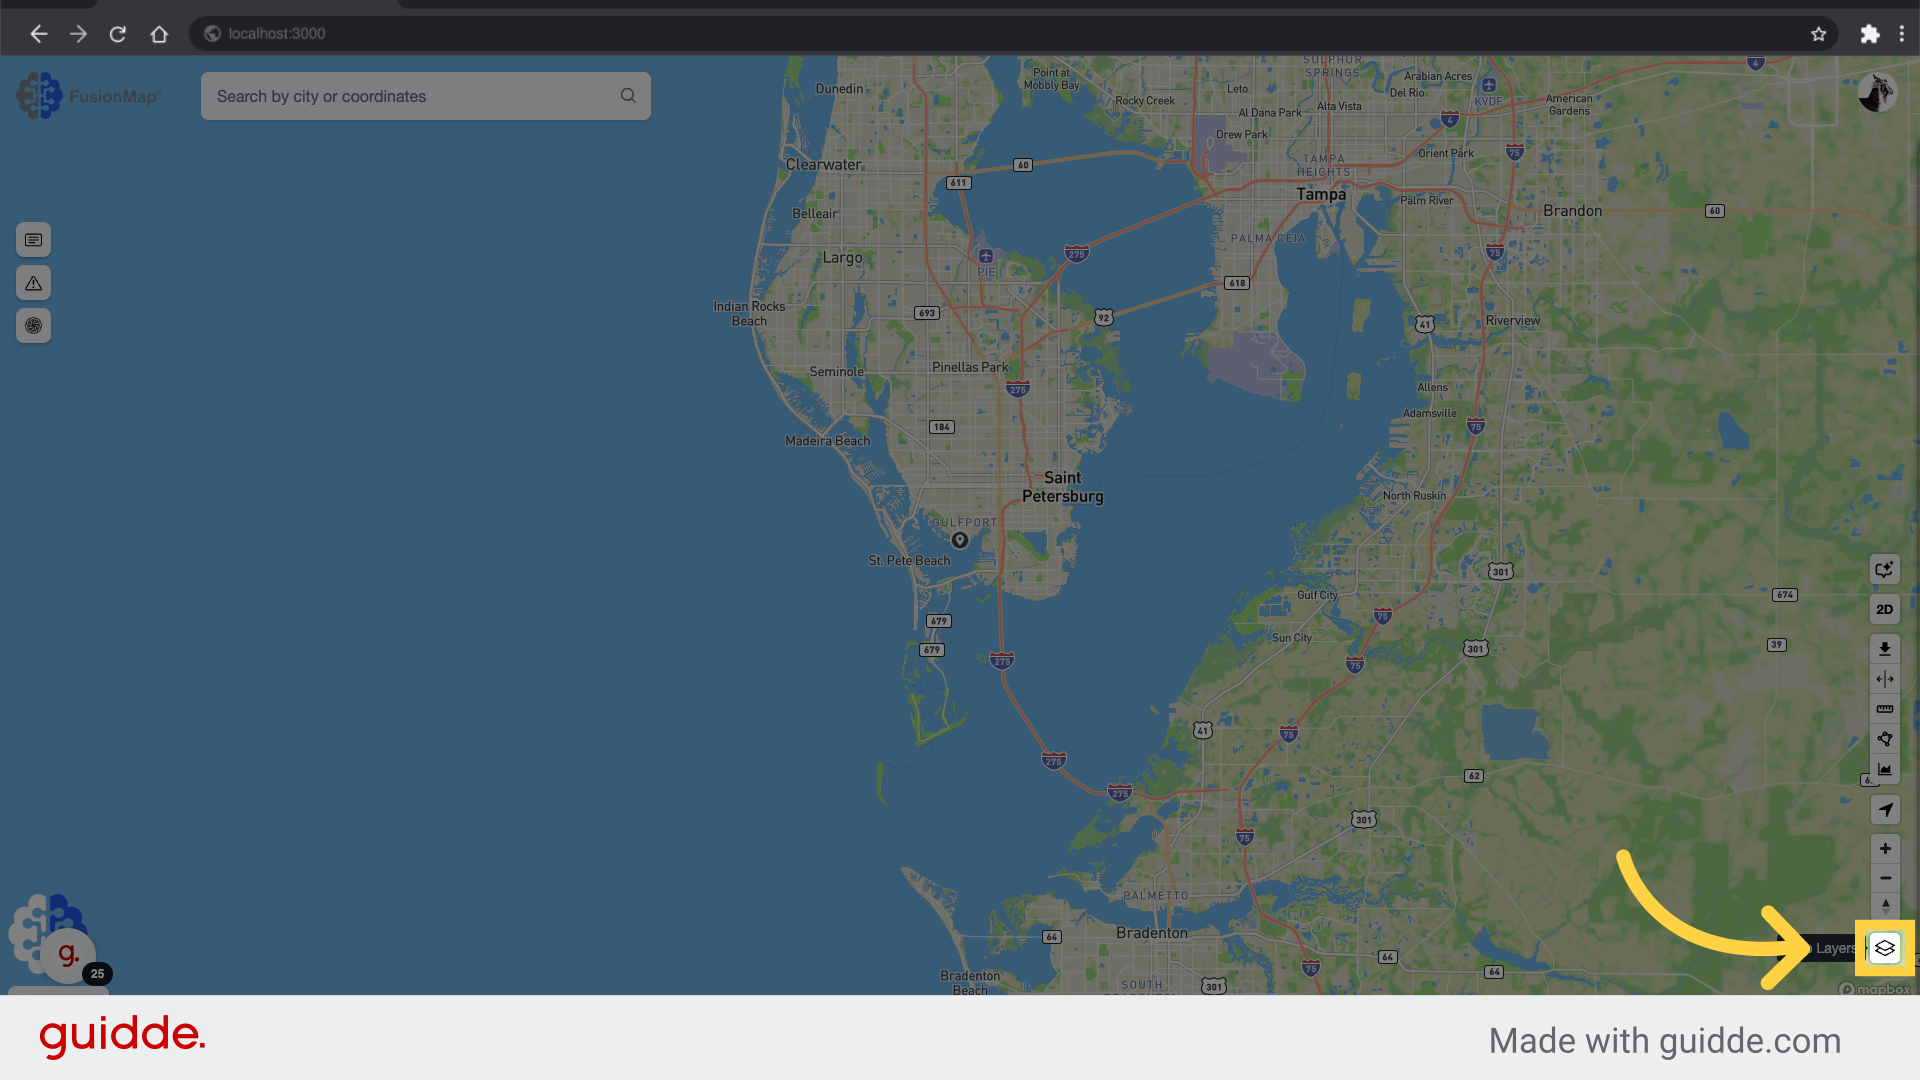
2. Click the Layers Modal button
Click to open the layers modal.
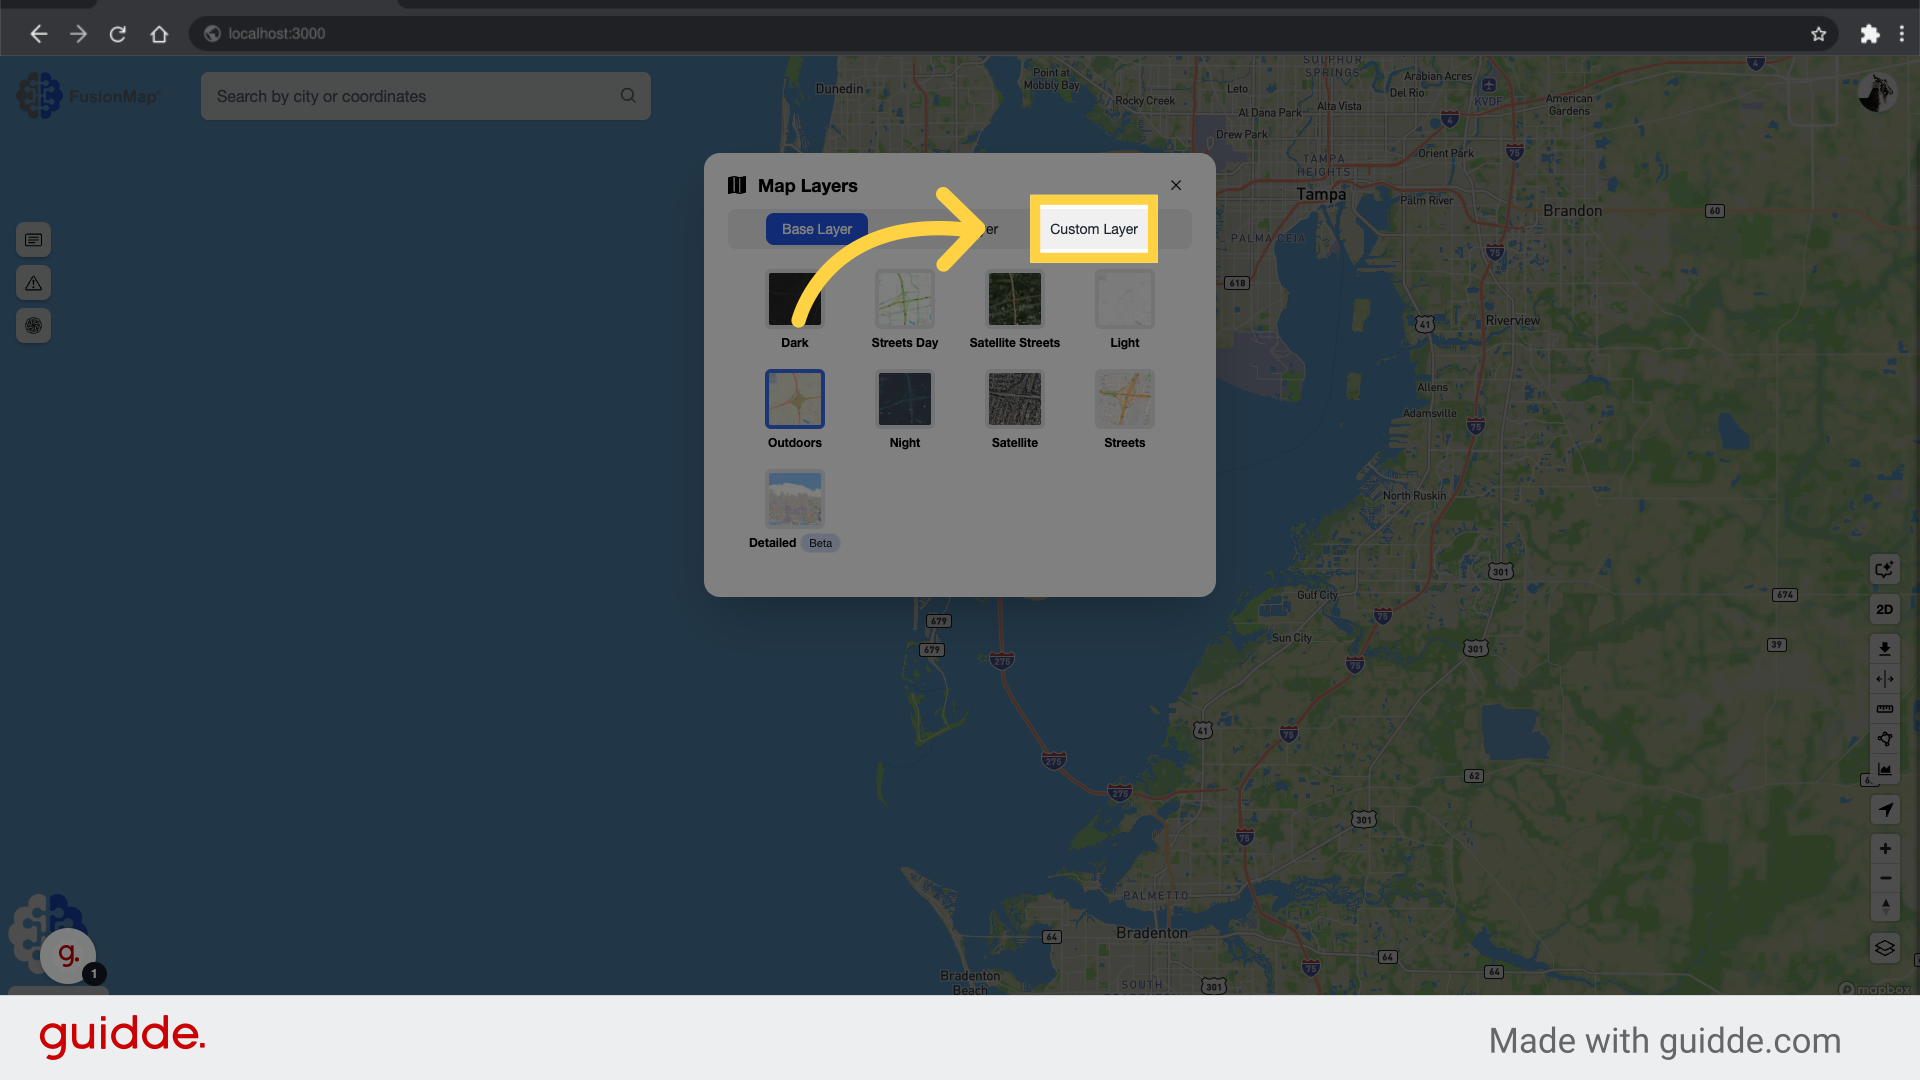
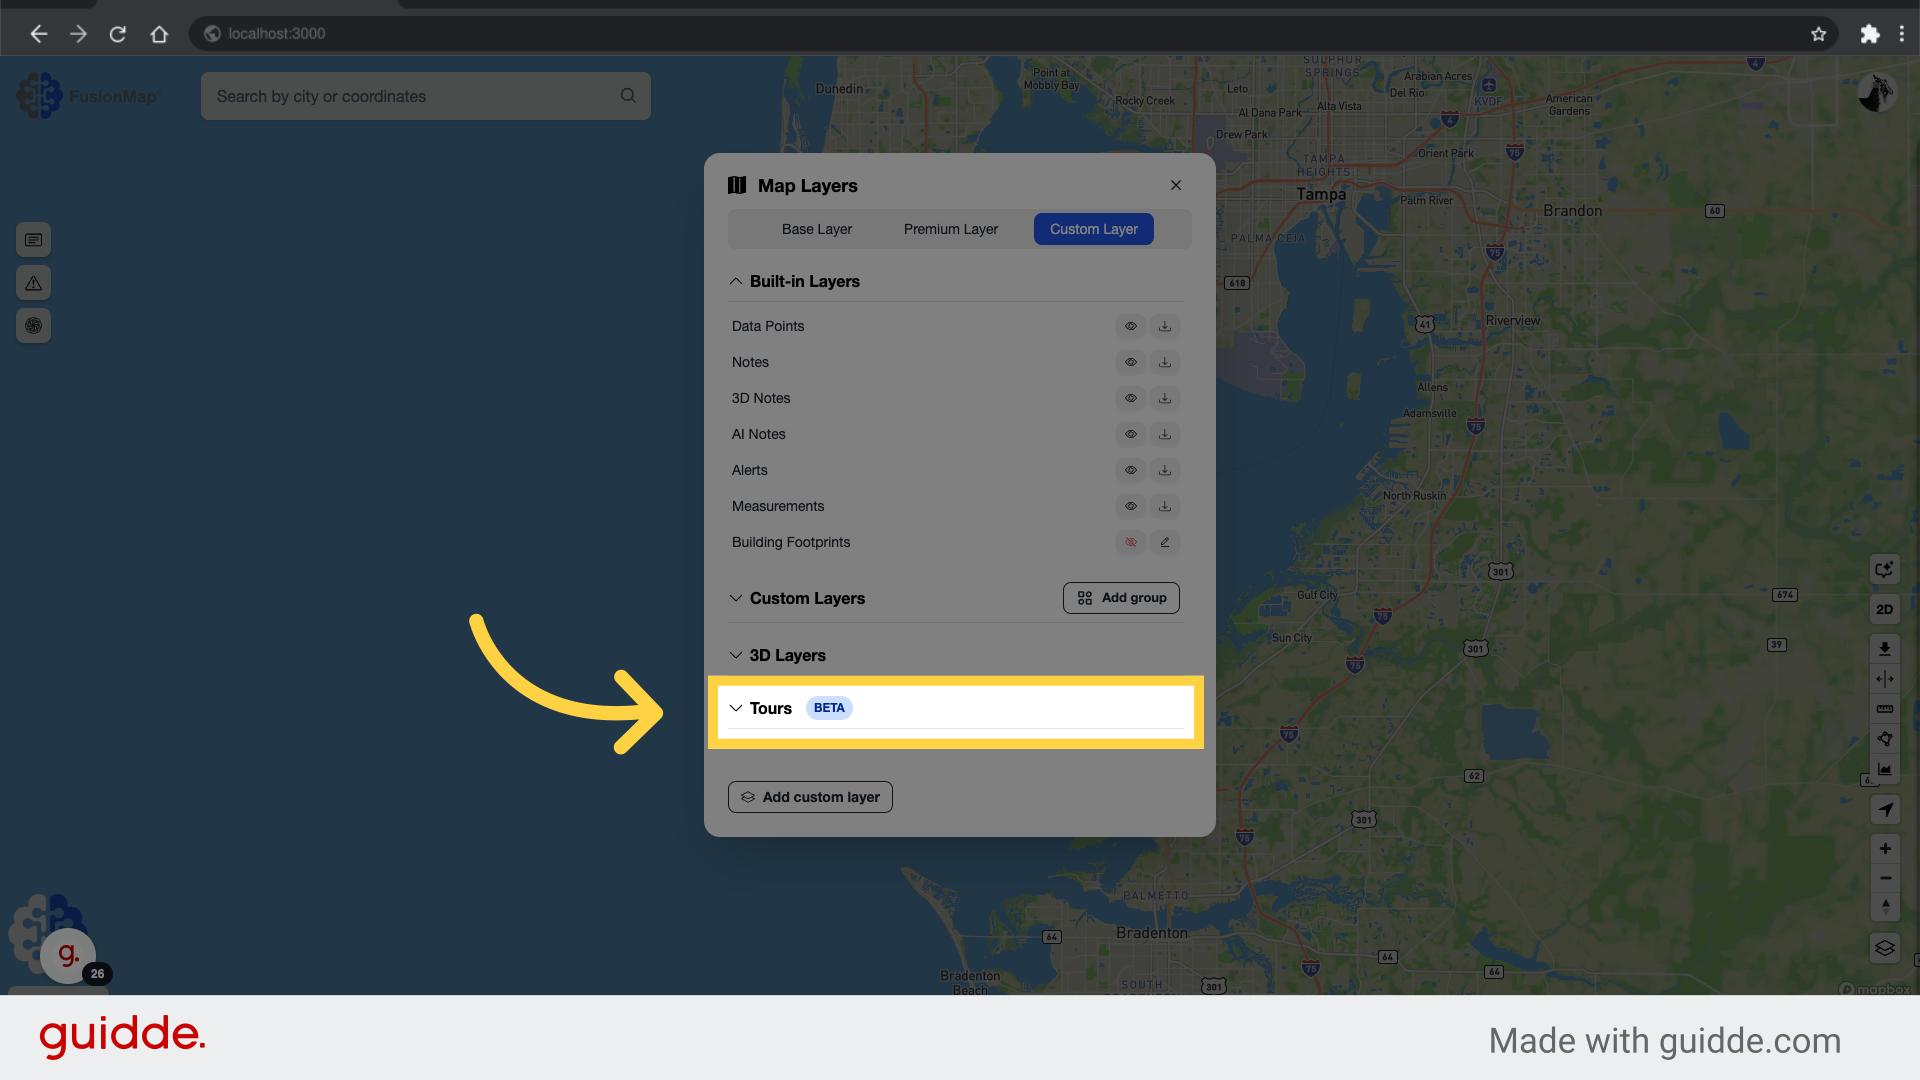
3. Go to the Custom Layer tab
Click the custom layer tab.
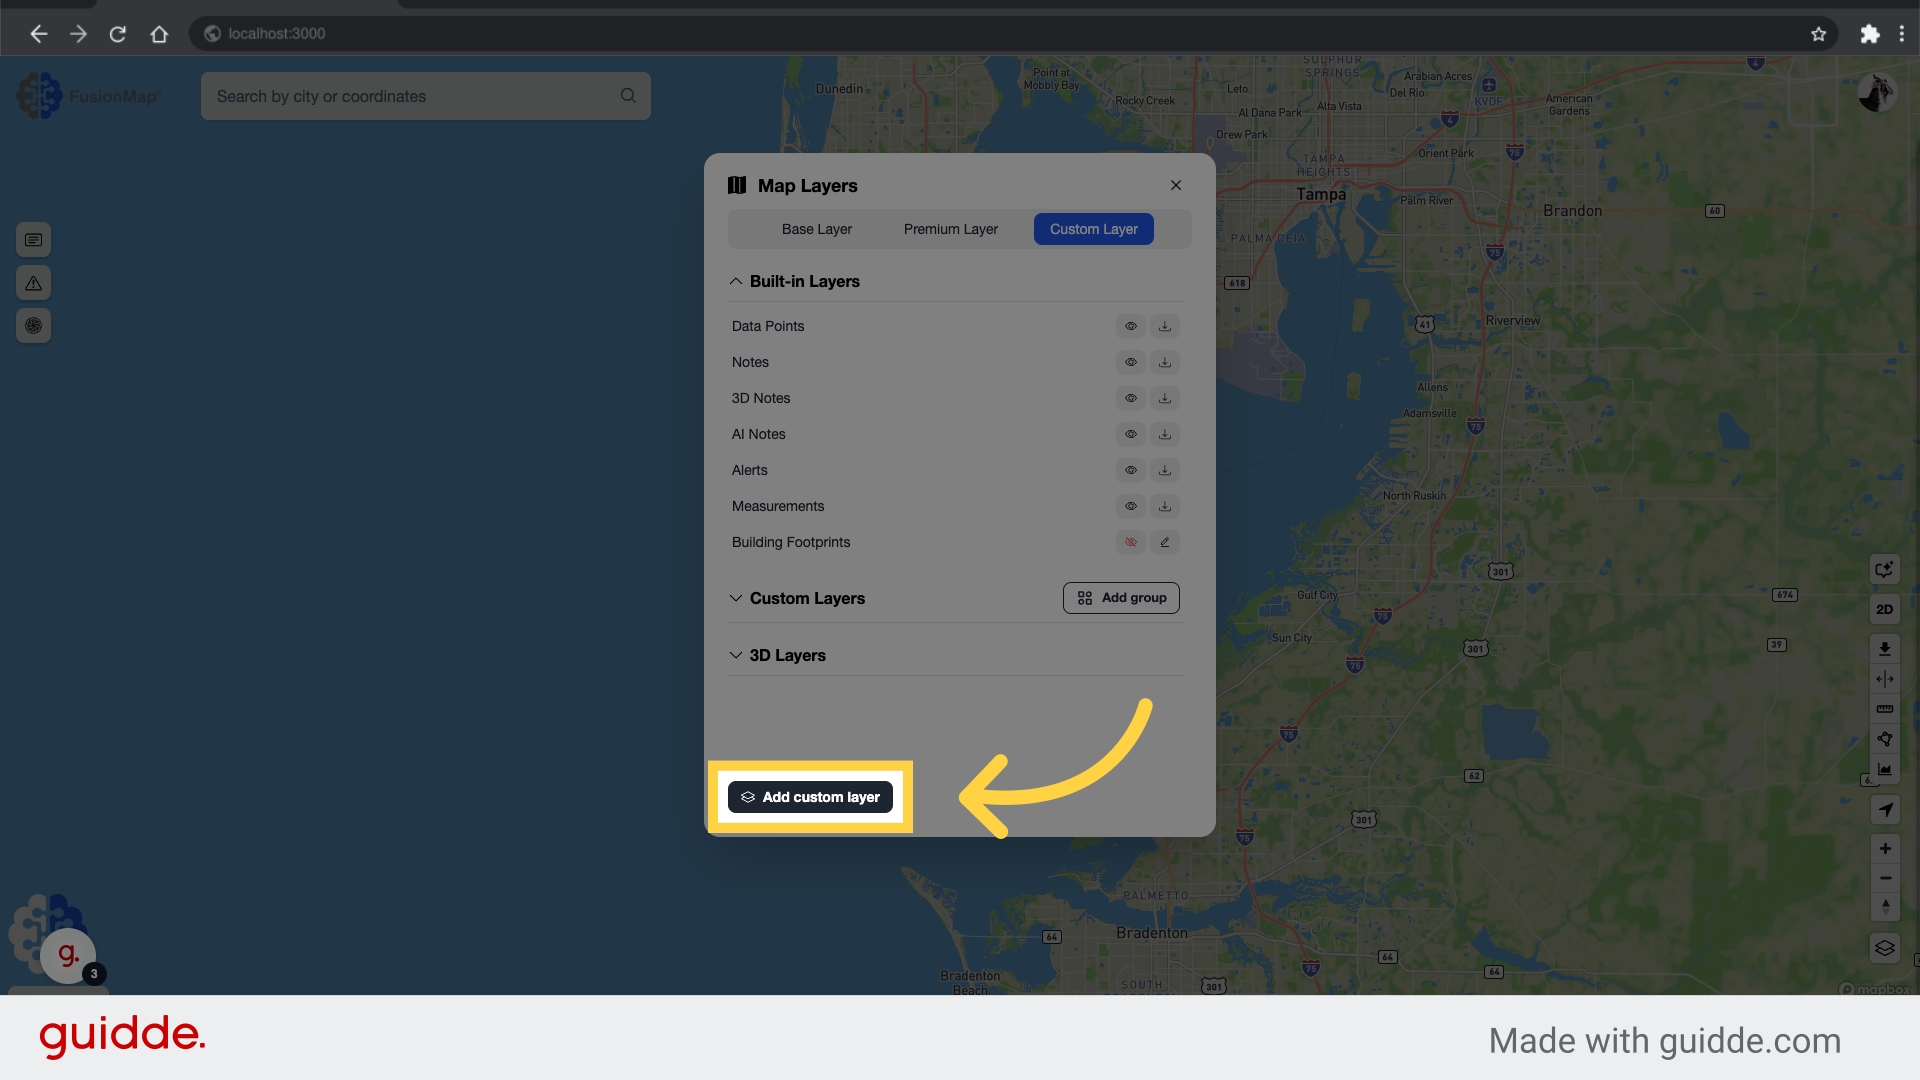
4. Click “Add custom layer”
Add a new layer to the project.
5. Select Tours
Select the “Tours” option in the dropdown.

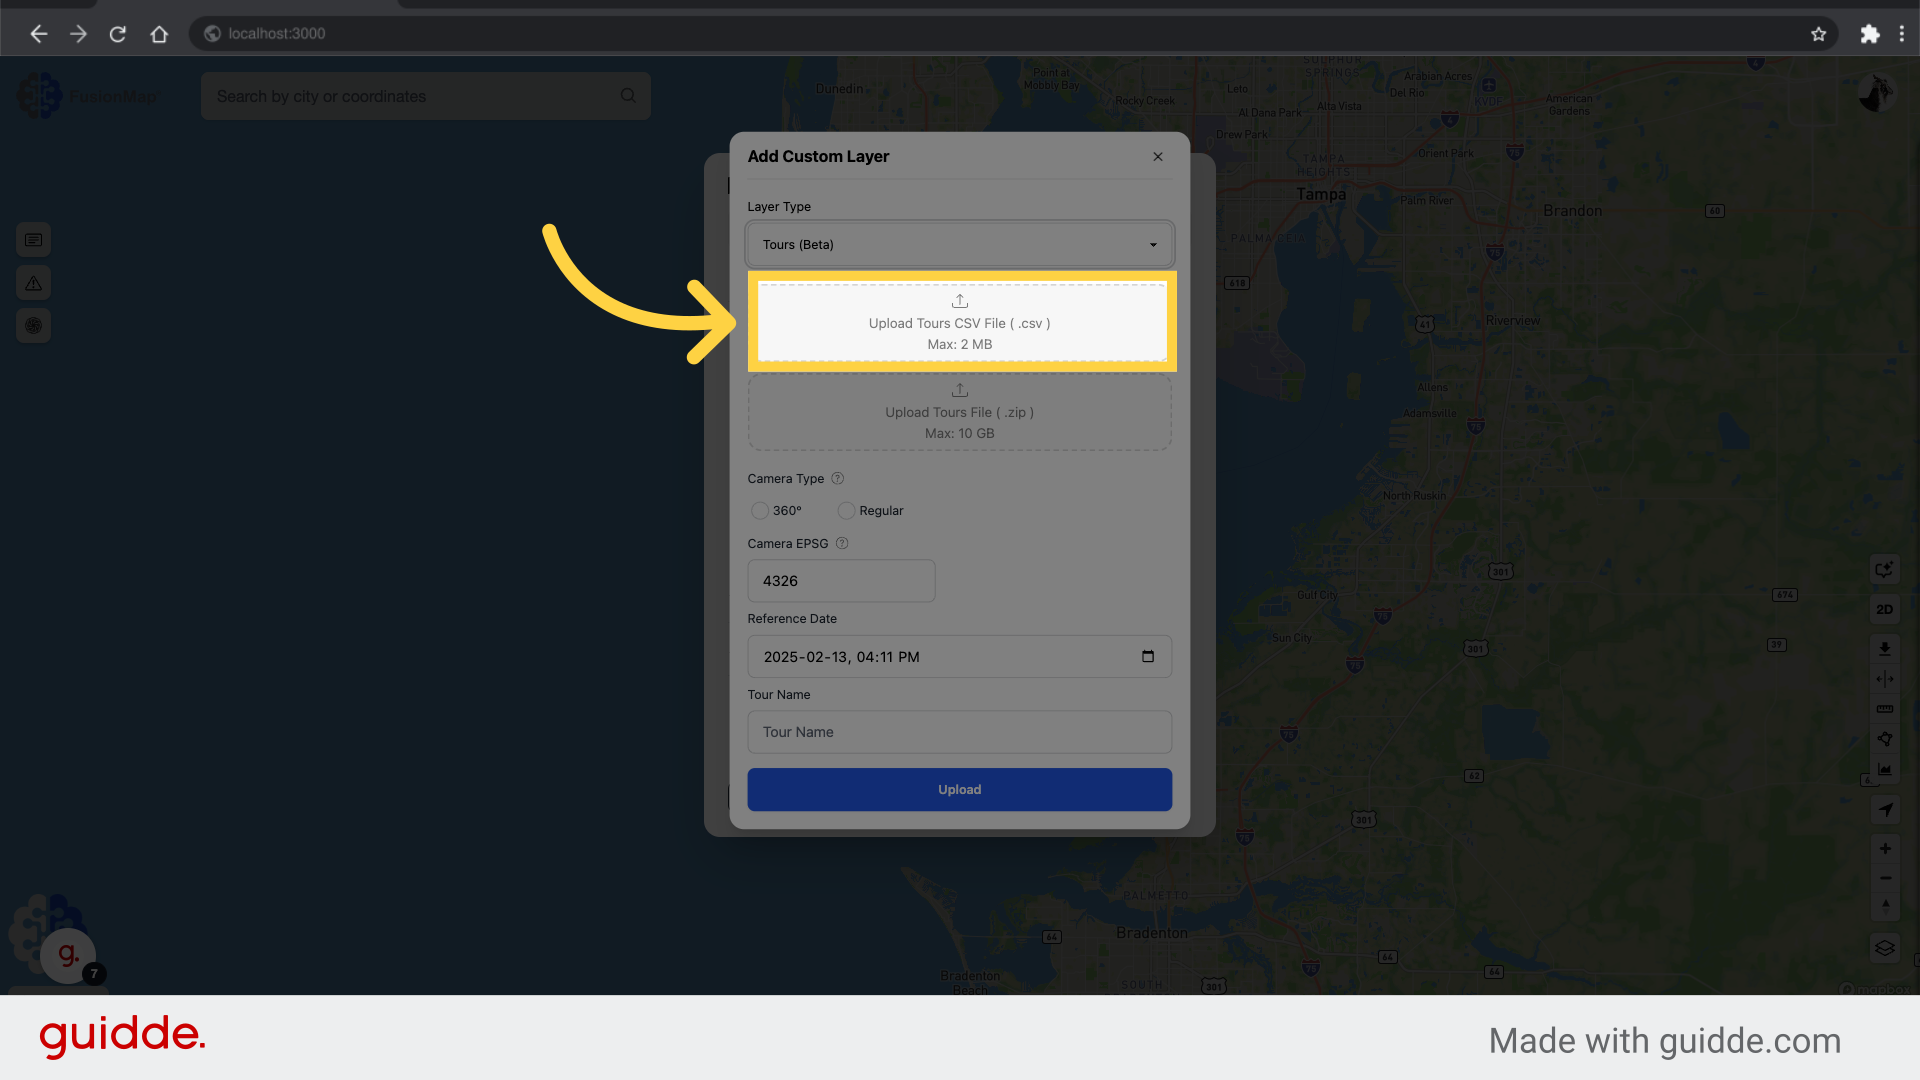
6. Upload your Tours CSV file
Upload the CSV file for the tour. The CSV must follow the Tour CSV guidelines to be valid.
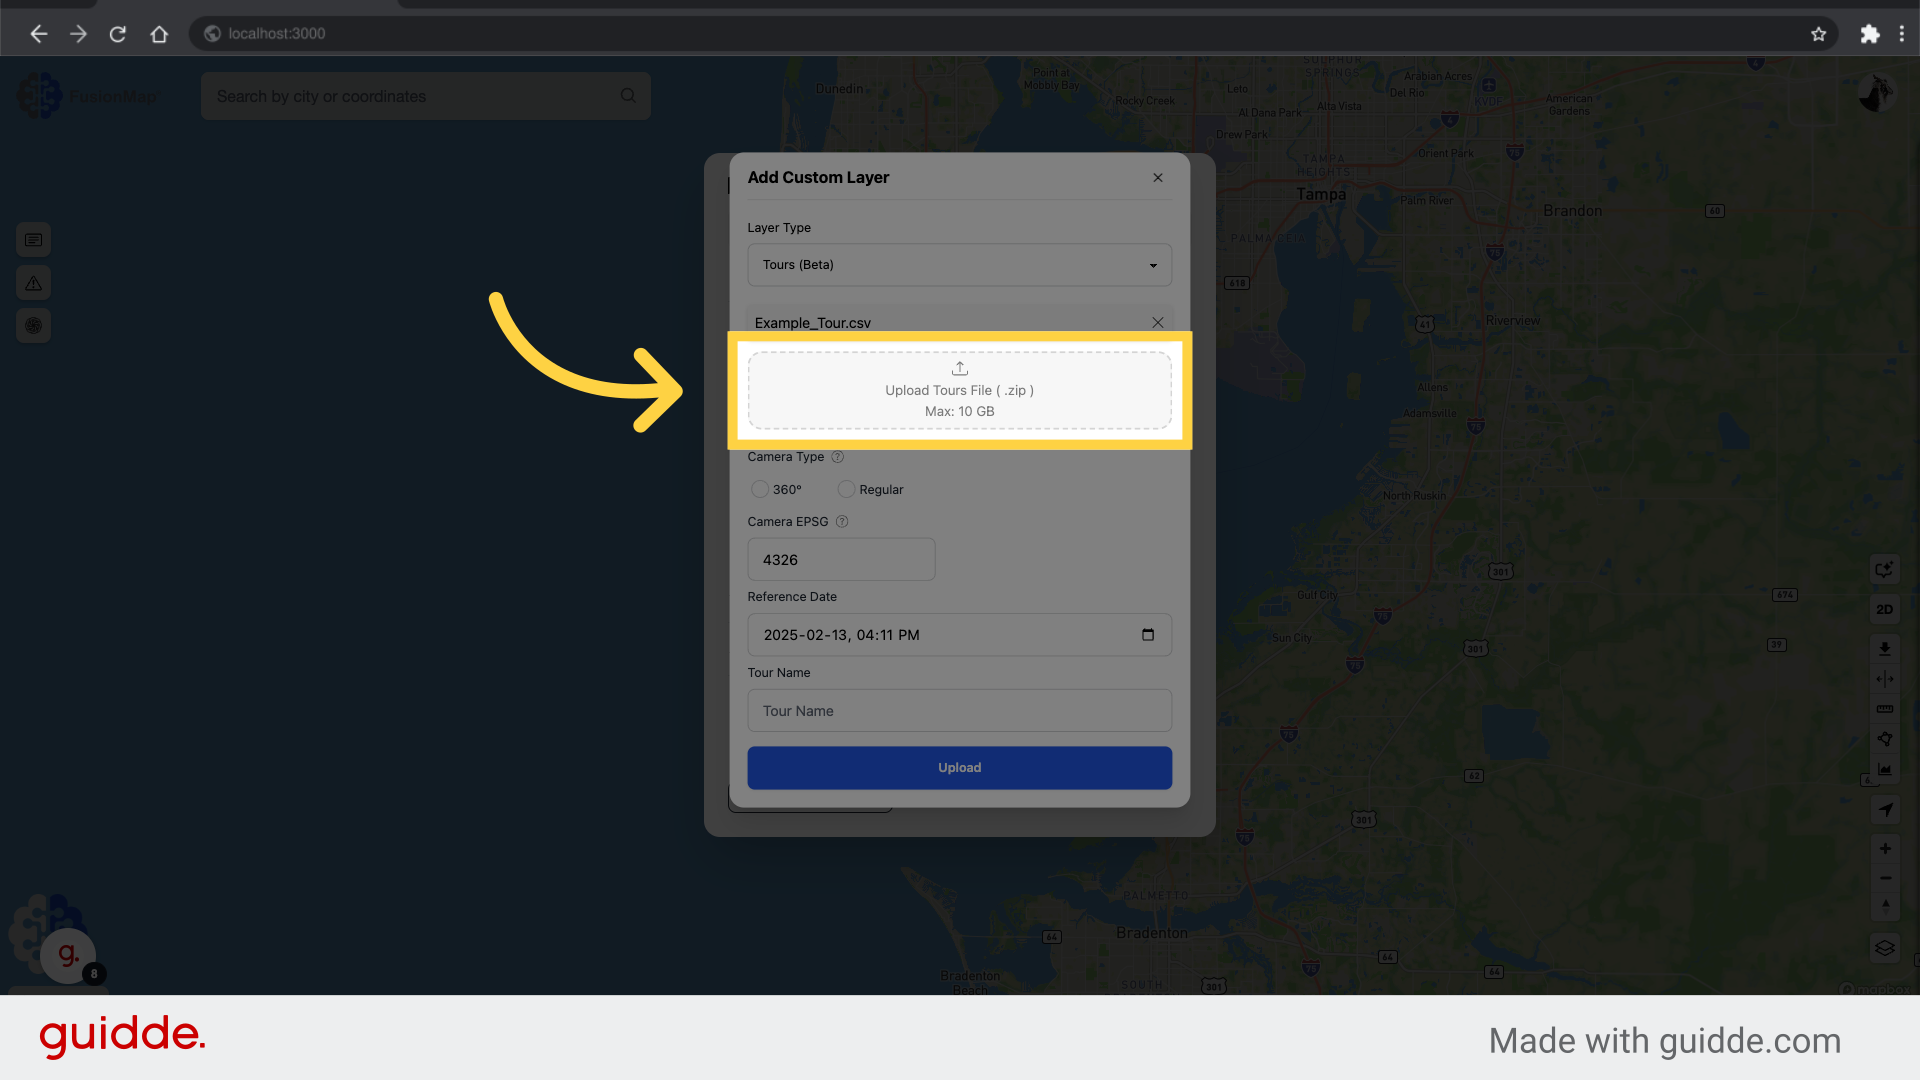
7. Upload your zipped images
Upload the zipped tour file containing the tour images. The images must be in JPG/JPEG format.
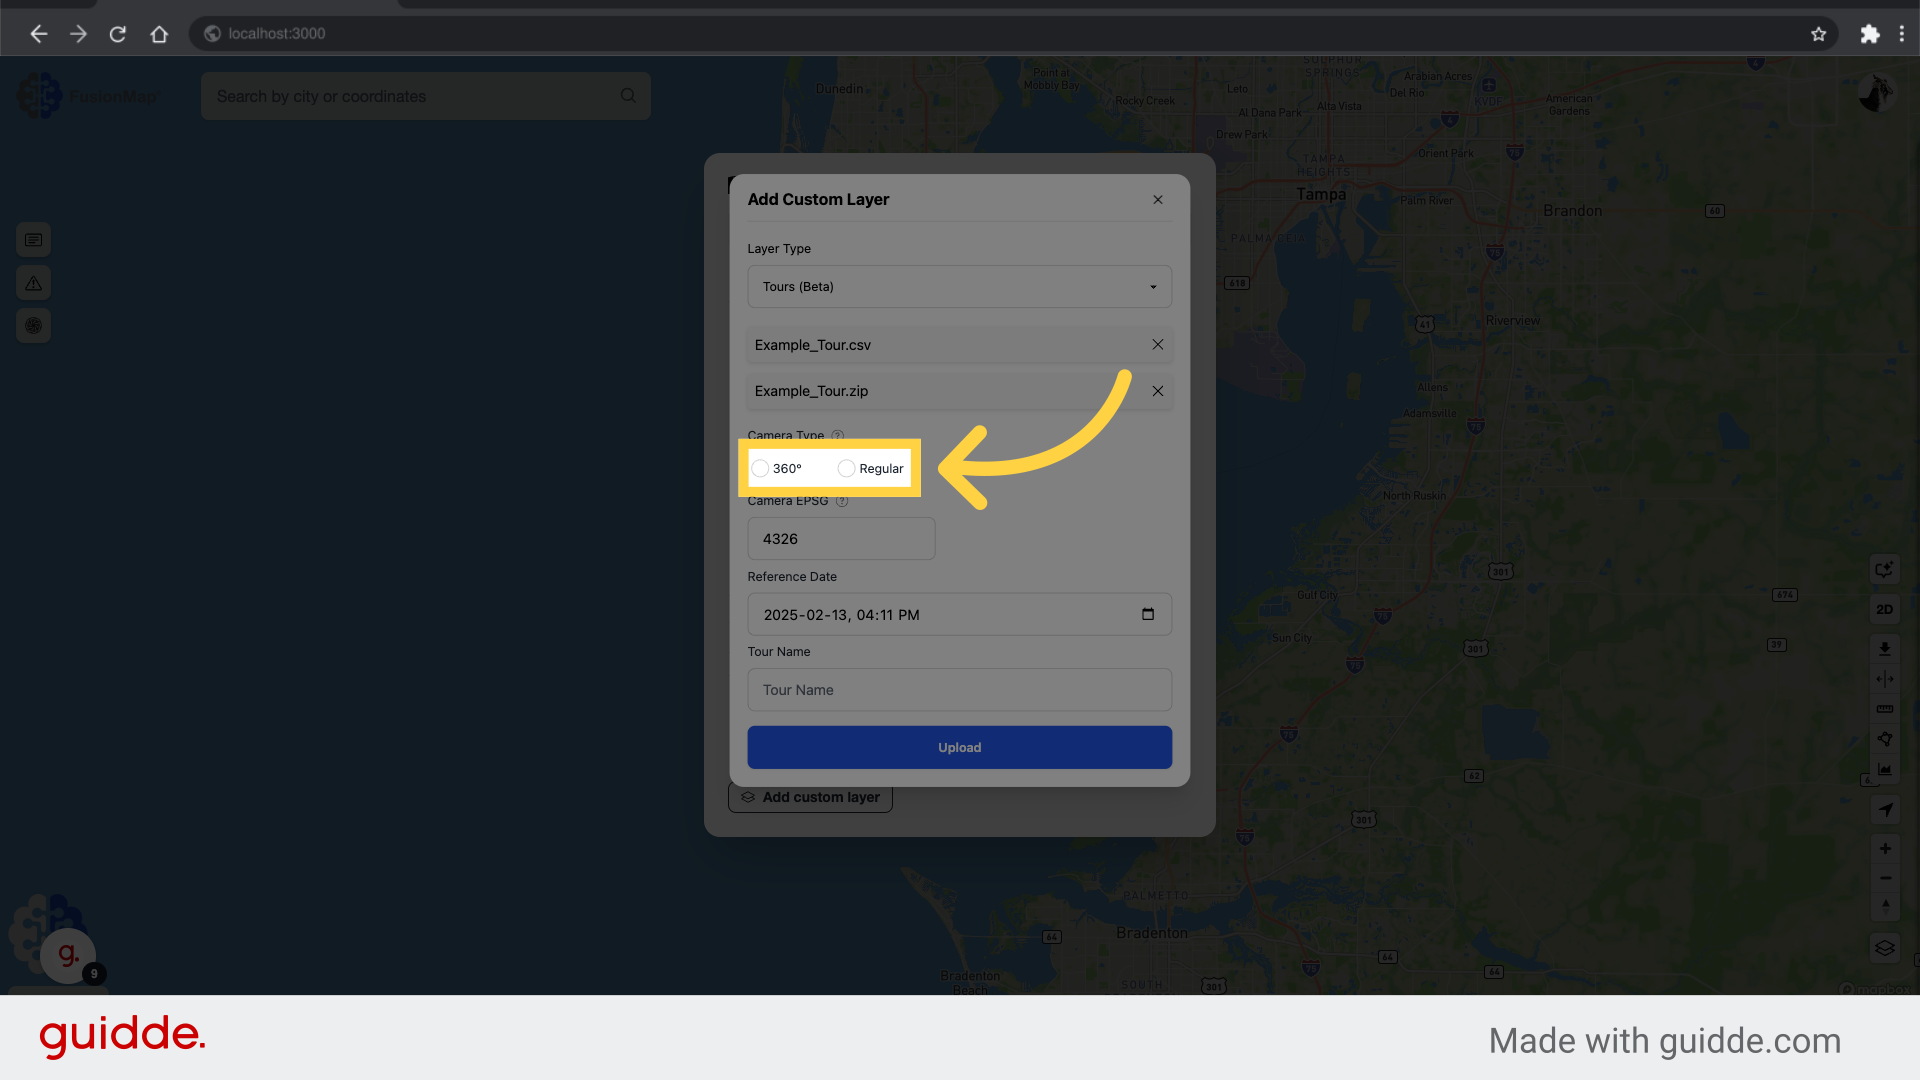
8. Select the Camera Type
Select the camera type for the tour (360° for panoramic images).
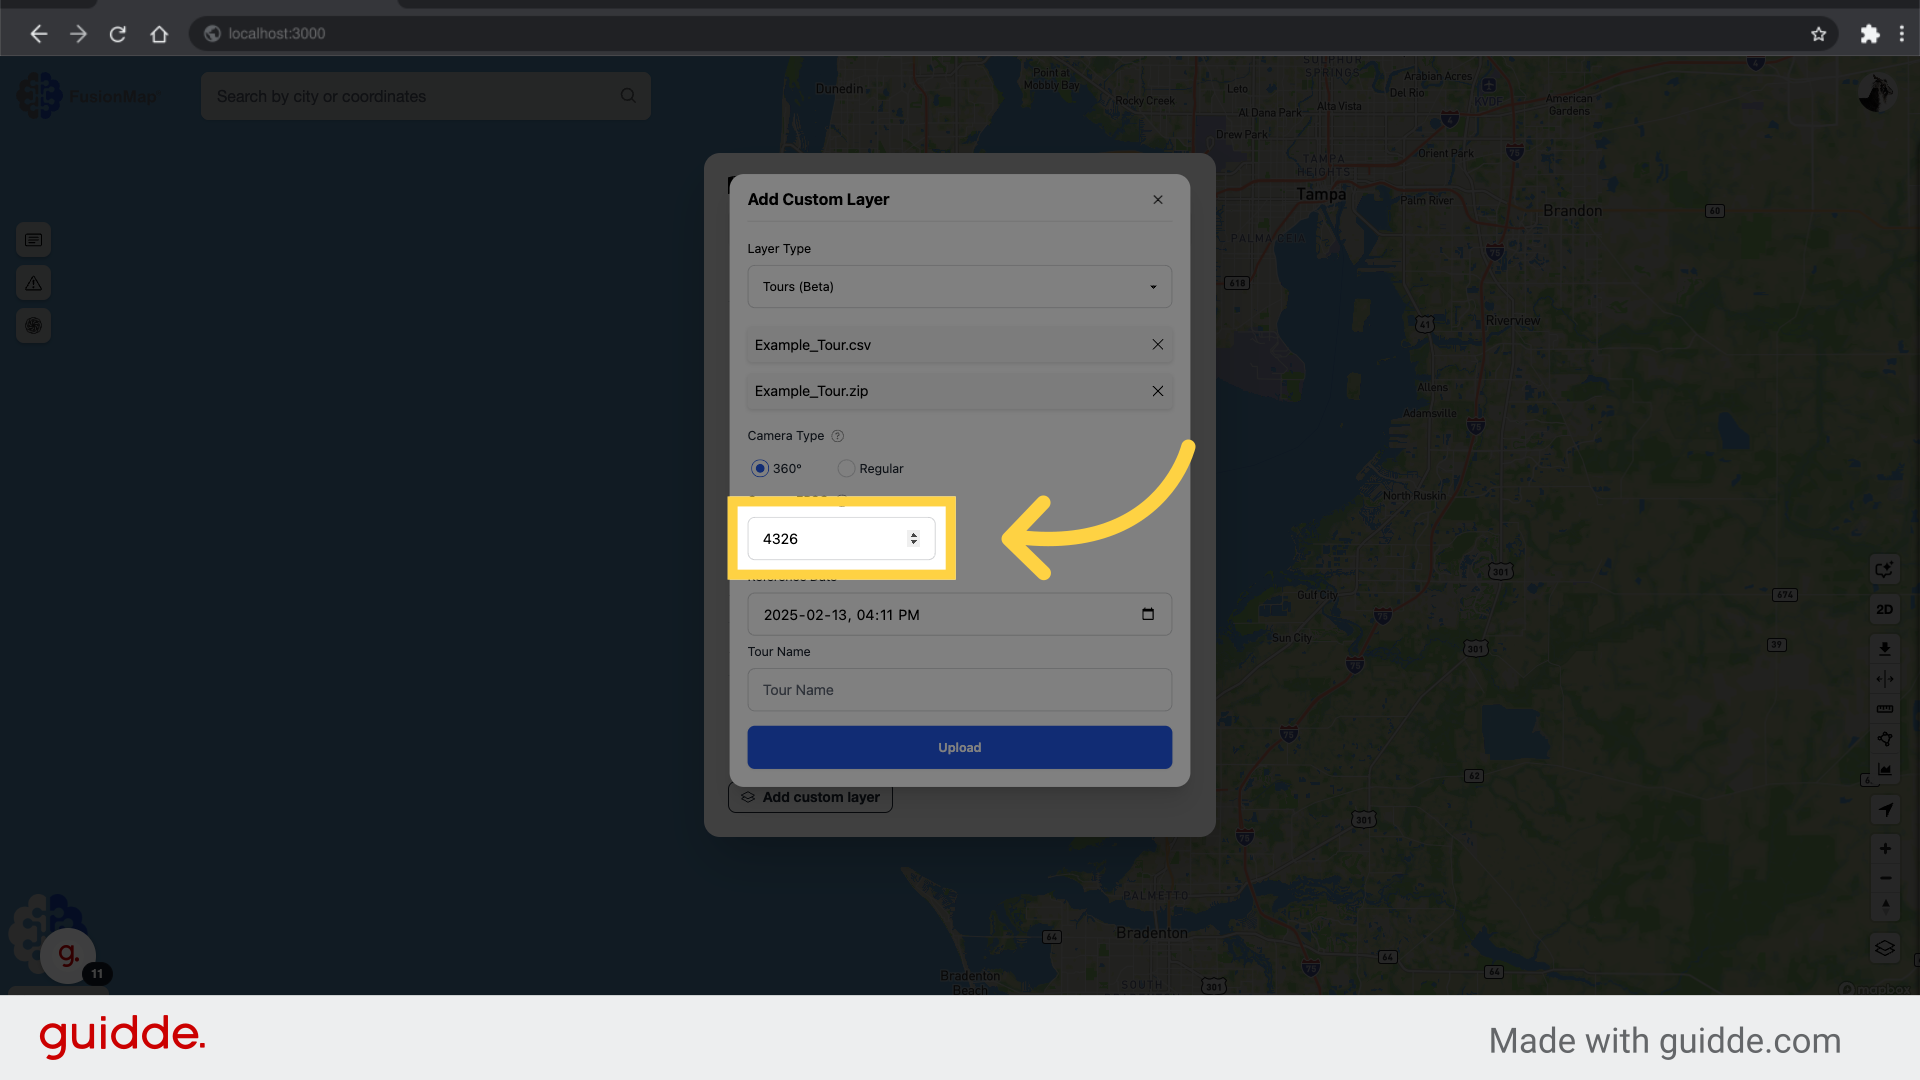
9. Set the Tour EPSG
Set the coordinate system for your tour.
10. Set the Tour Name
Input the name for your tour.
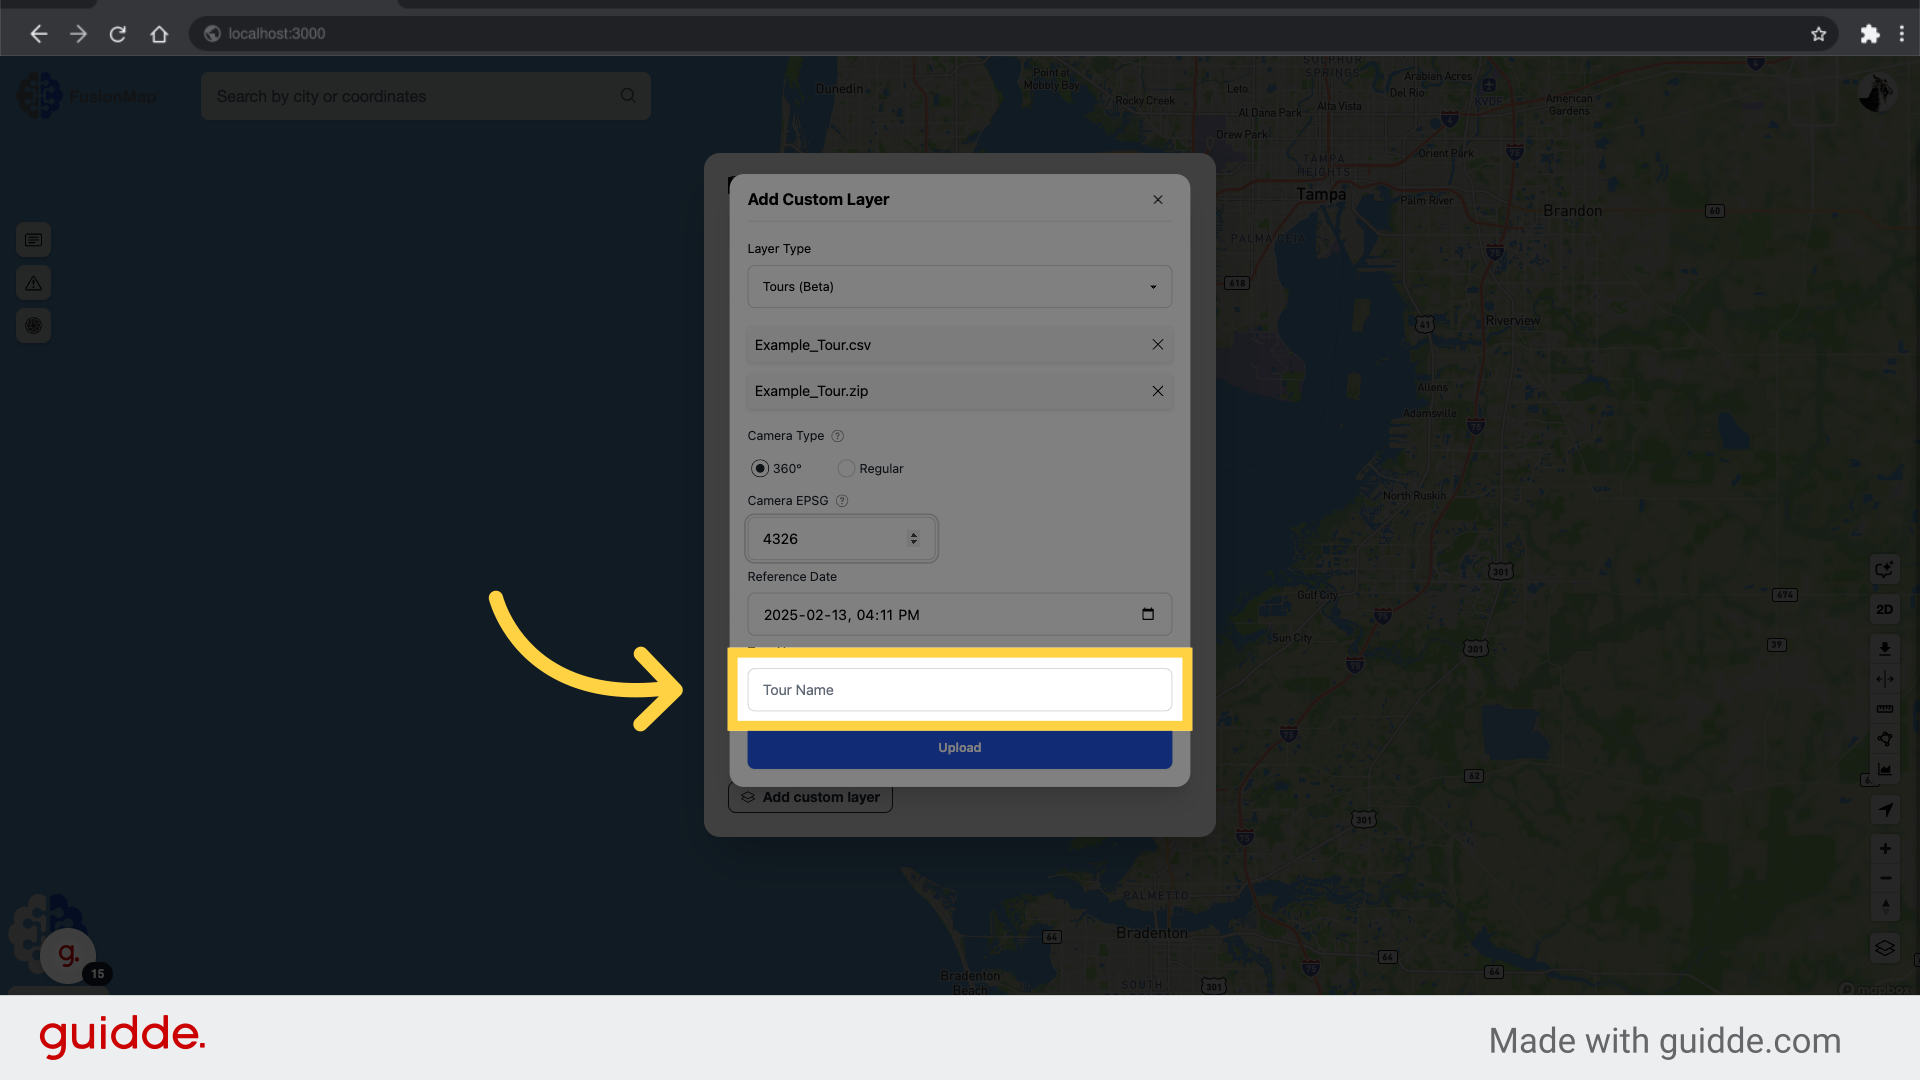
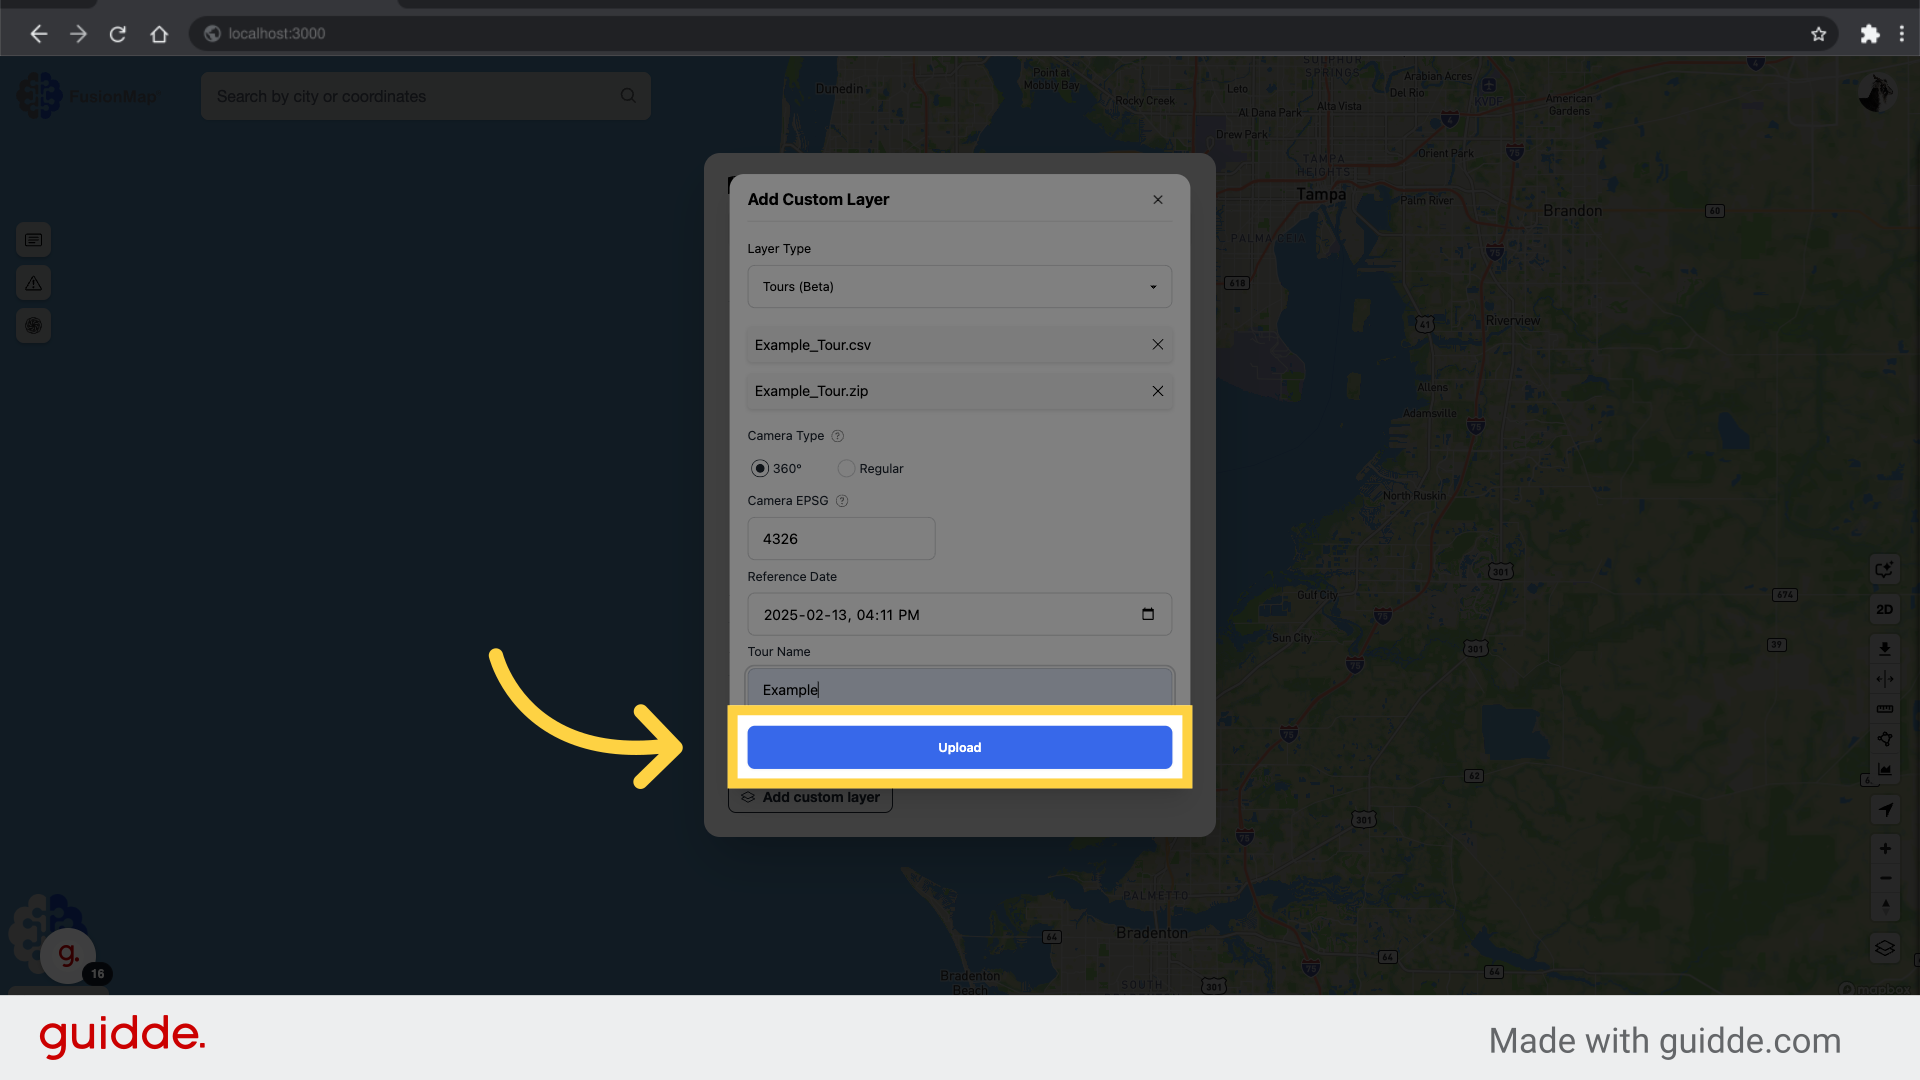
11. Click “Upload”
Initiate the tour upload process.
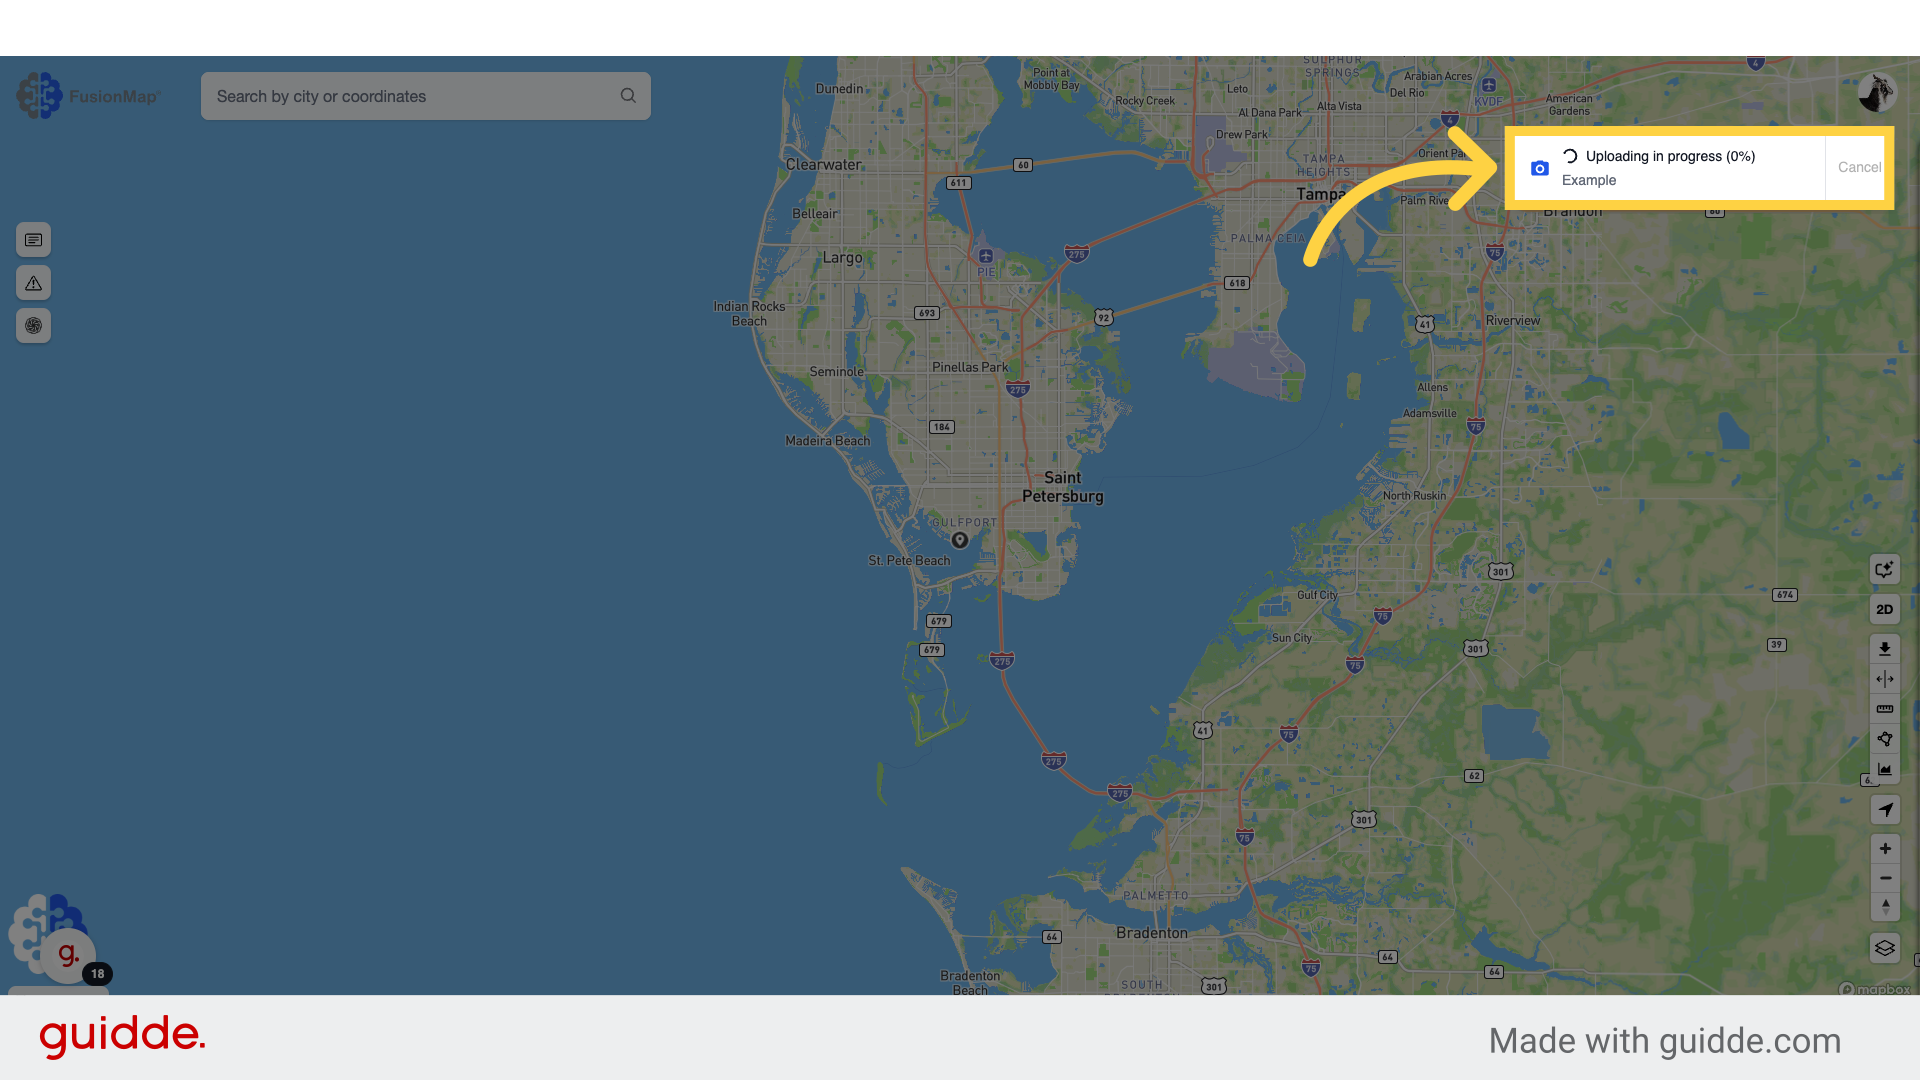
12. Upload is now in progress
The tour is now uploading, with a note displaying the progress.
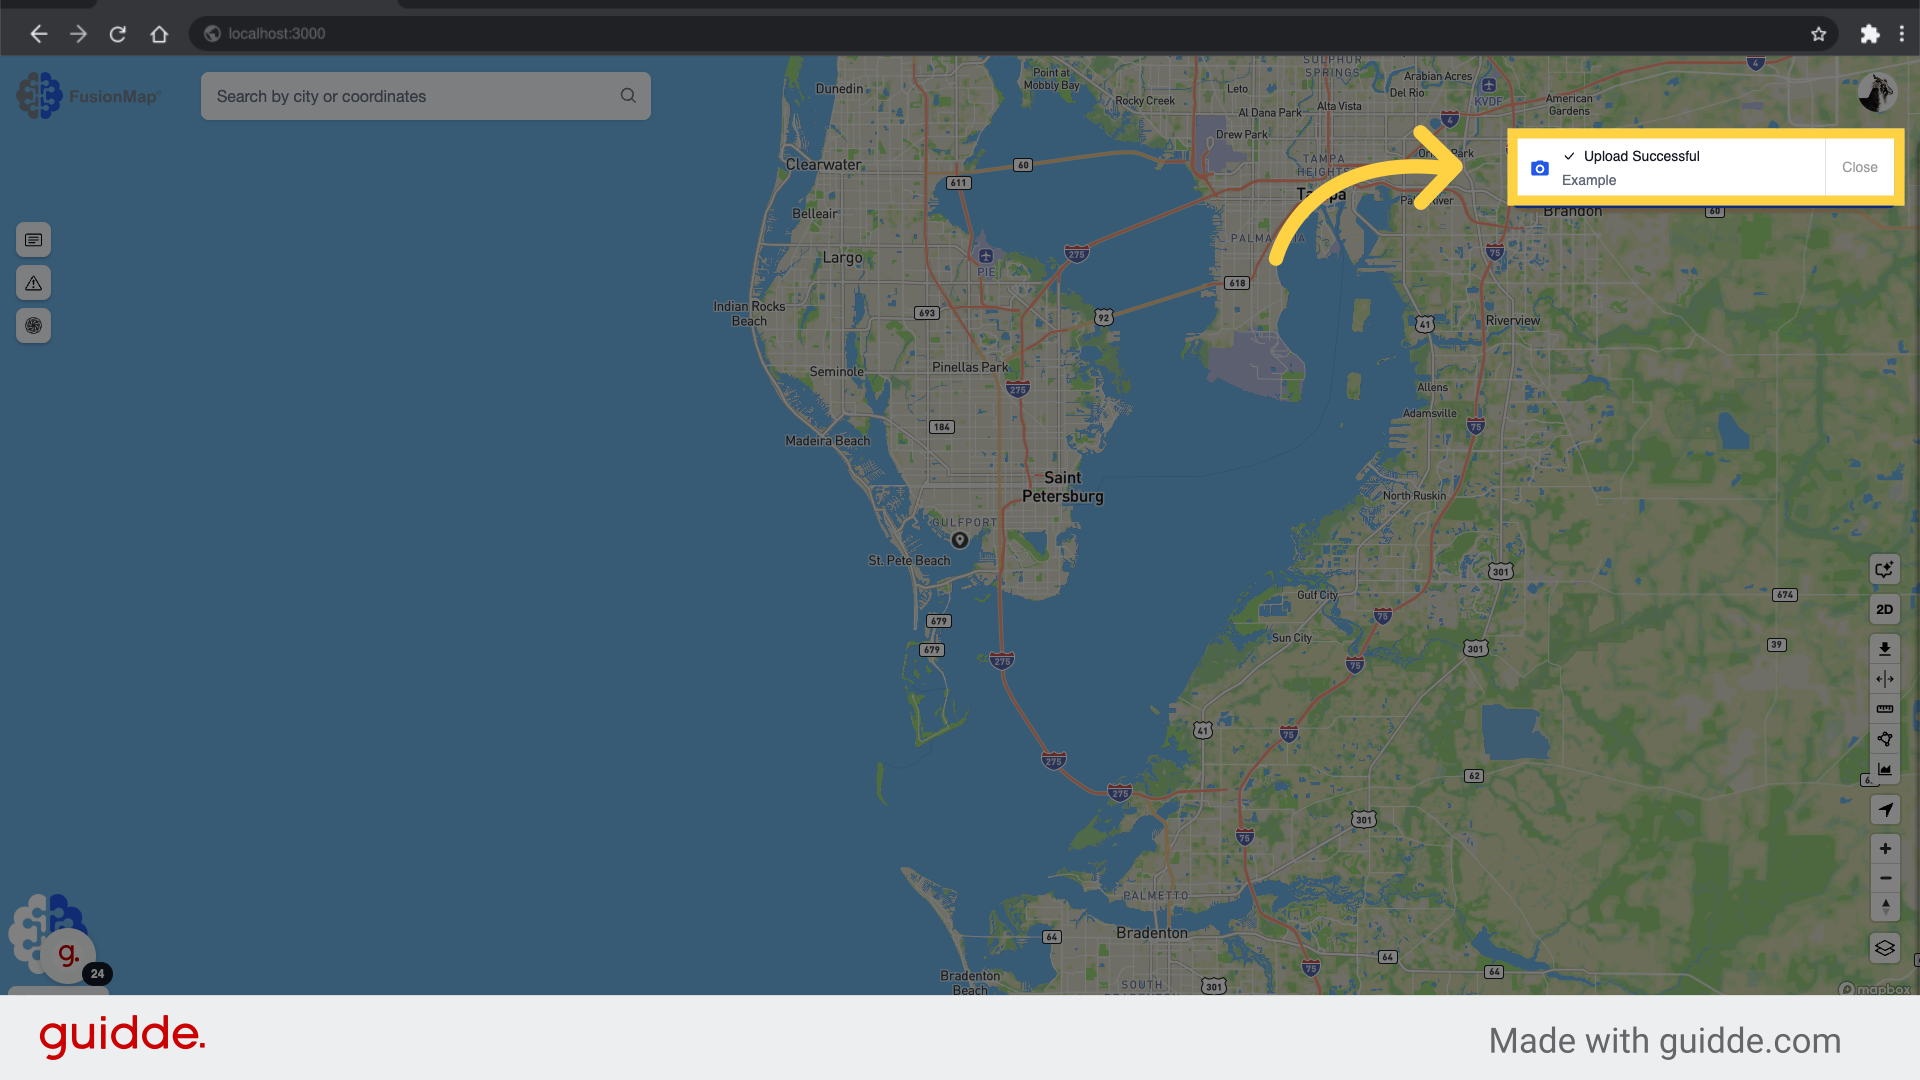
13. Upload is completed
A completion note will appear once the upload is completed successfully.
14. Click the Layers Modal button
Open the layers modal to check the newly uploaded tour.
15. Click “Tours”
Open the tours list to check the newly uploaded tour.
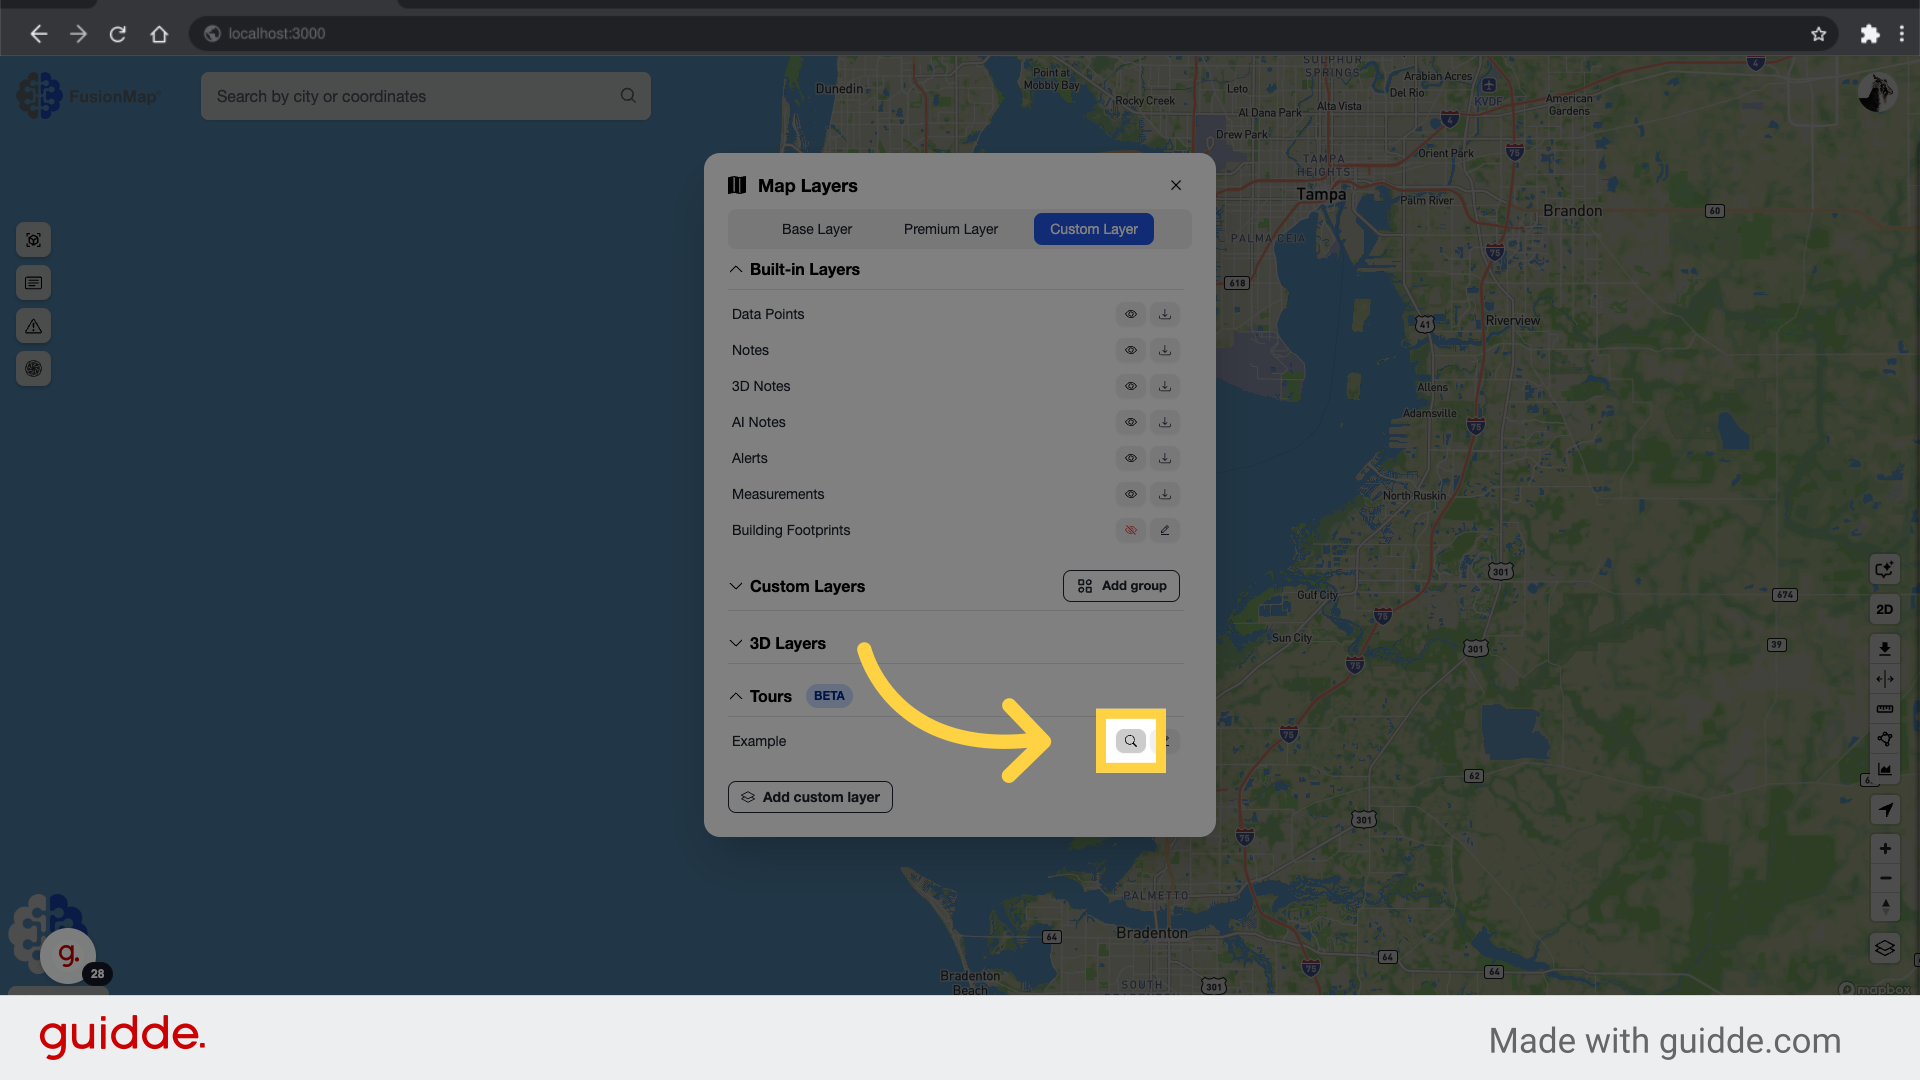
16. Navigate to your Tour
Click the navigate button to view the Tour.
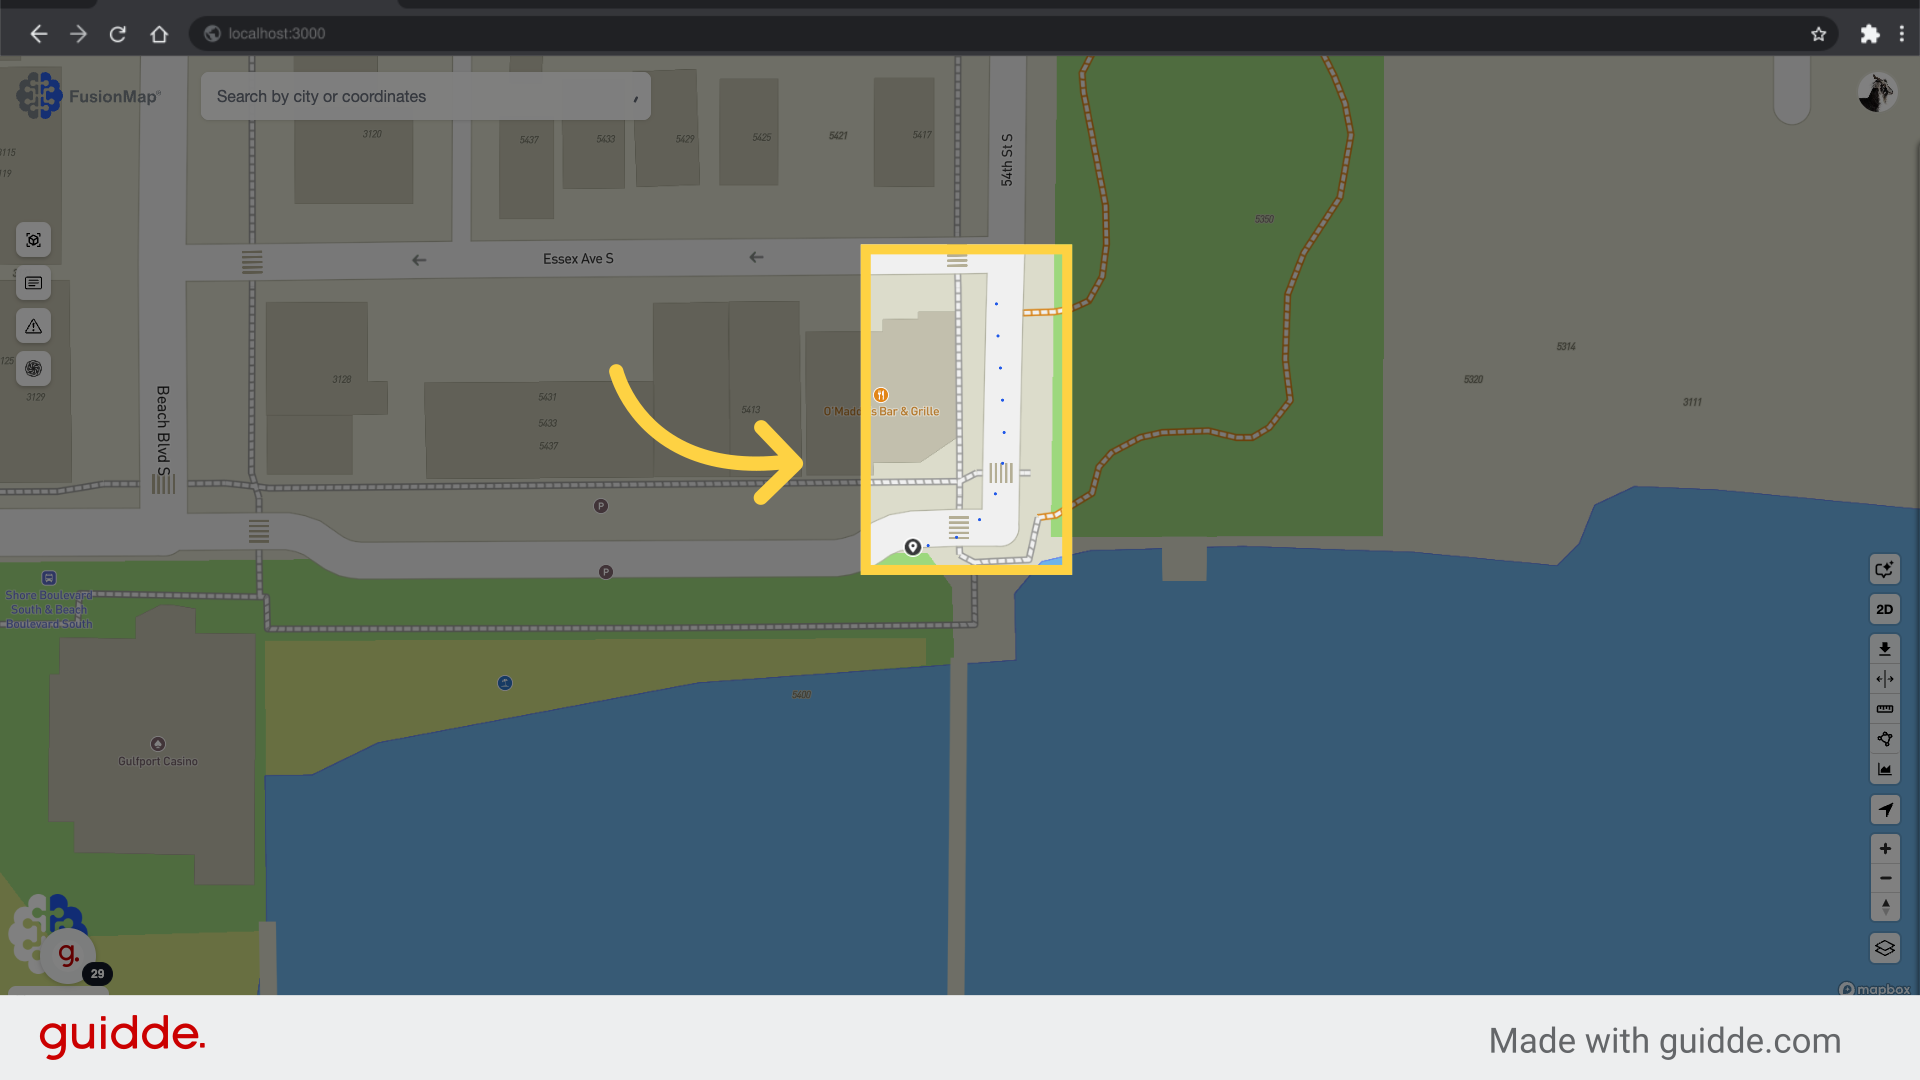
17. Tour Upload Completed
The tour is now available for viewing on the map.
Tour CSV Guidelines
| Category | Details |
|---|---|
| Required Headers |
The CSV must include the following headers:
|
| Optional Headers |
The following headers can be added but are not required:
|
| Data Integrity | The CSV must not have any empty values in any cells. |
| Filename Format | Filenames must be in JPG/JPEG format (e.g., image1.jpg, image2.jpeg). |
Sample Tour
The EPSG for this sample tour should be set to 4326.