This guide will walk you through the process of uploading a tour, from selecting the file format to finalizing the upload
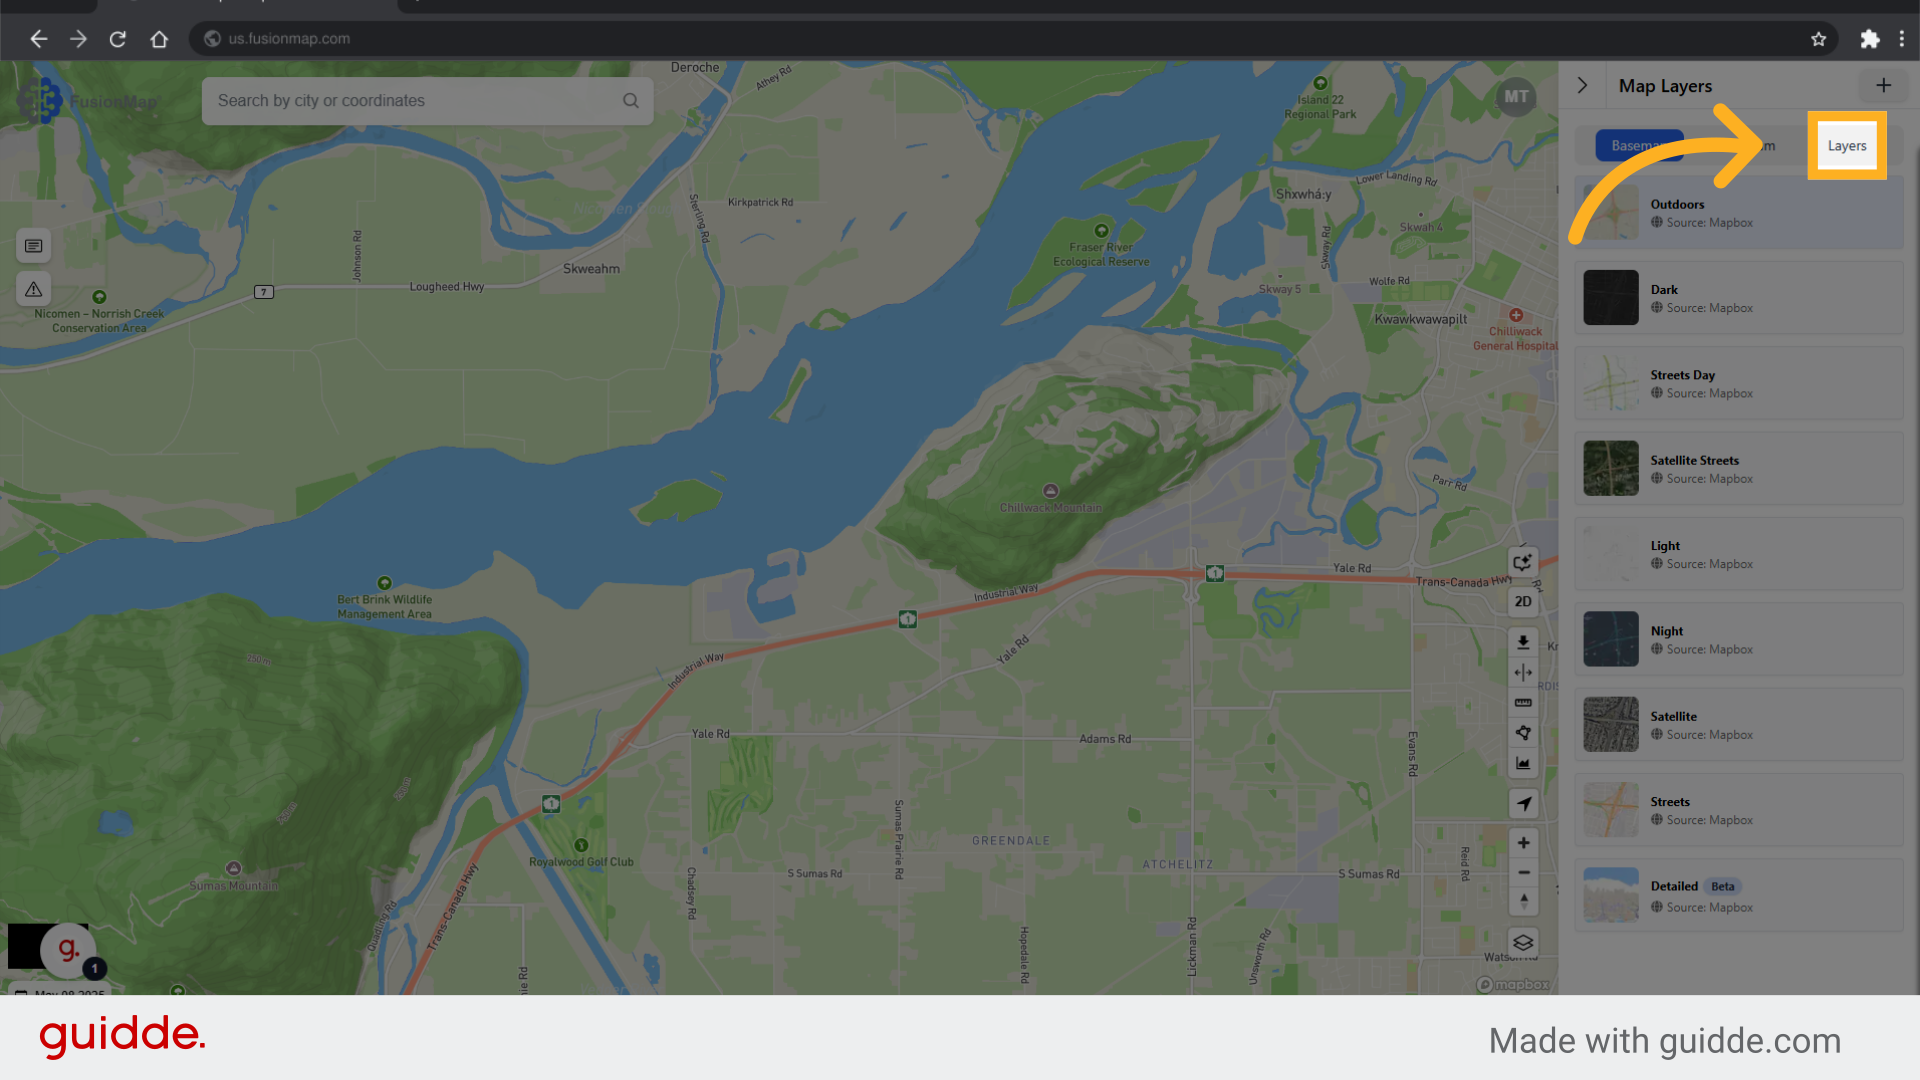
1. Open the layers menu

2. Open the Layers Tab
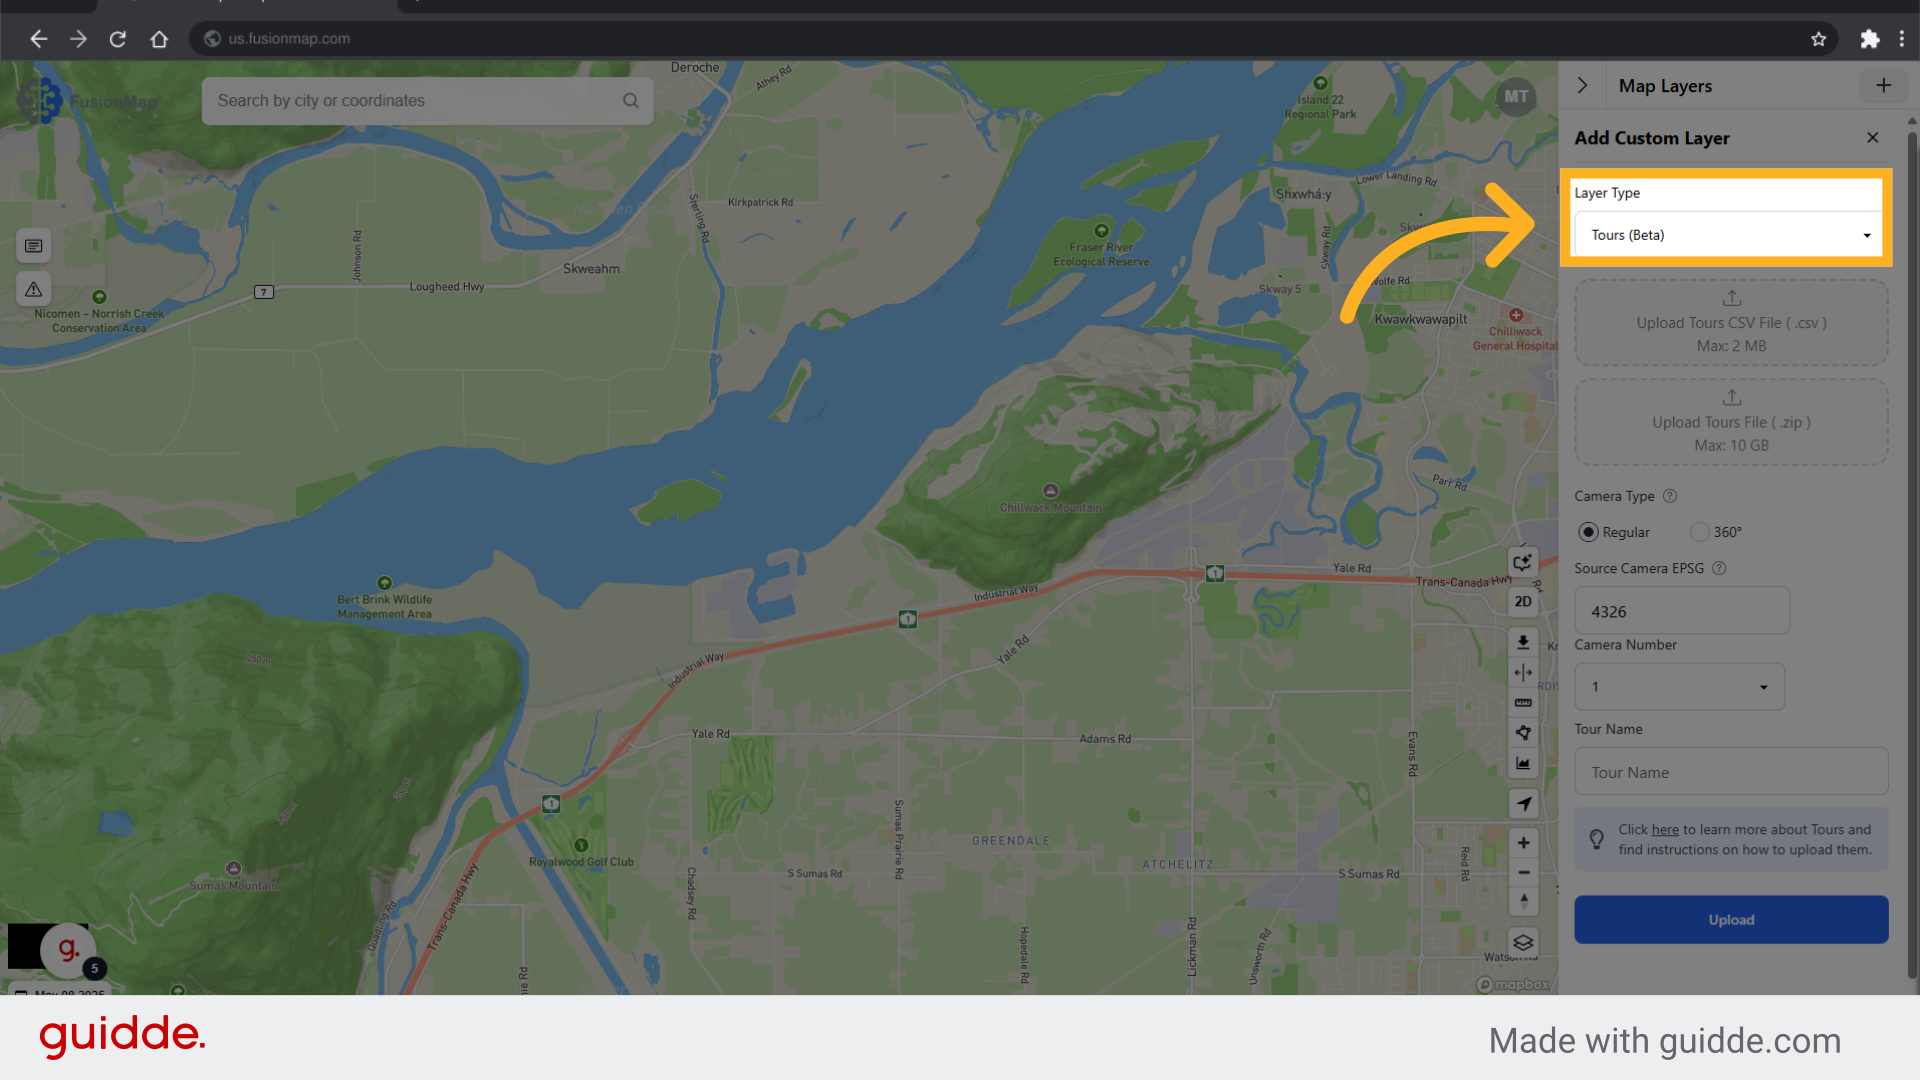
3. Click "Add Layer"

4. Select Tours
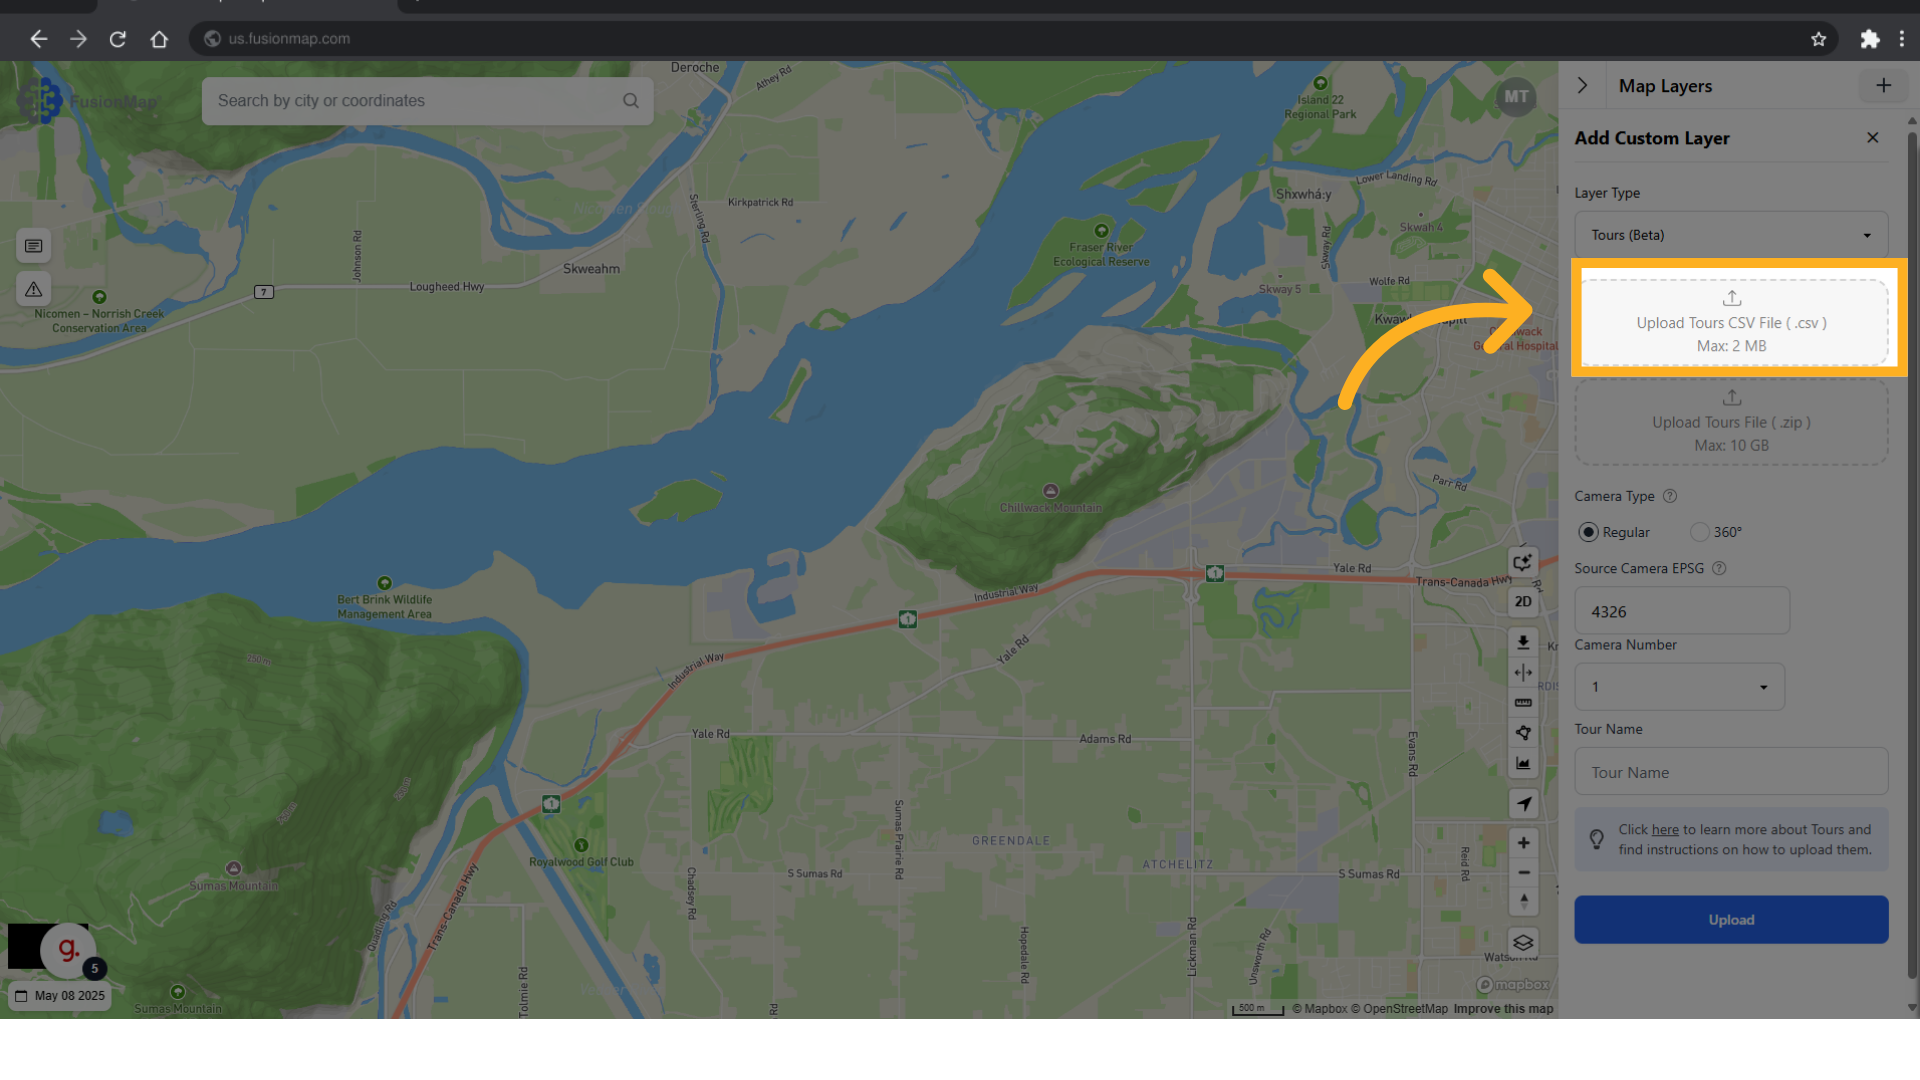
5. Upload your Tours CSV File
Upload the CSV file for the tour.
Guidelines for the CSV file are located here. (insert hyperlink once embedding into website)
Sample files are located here.
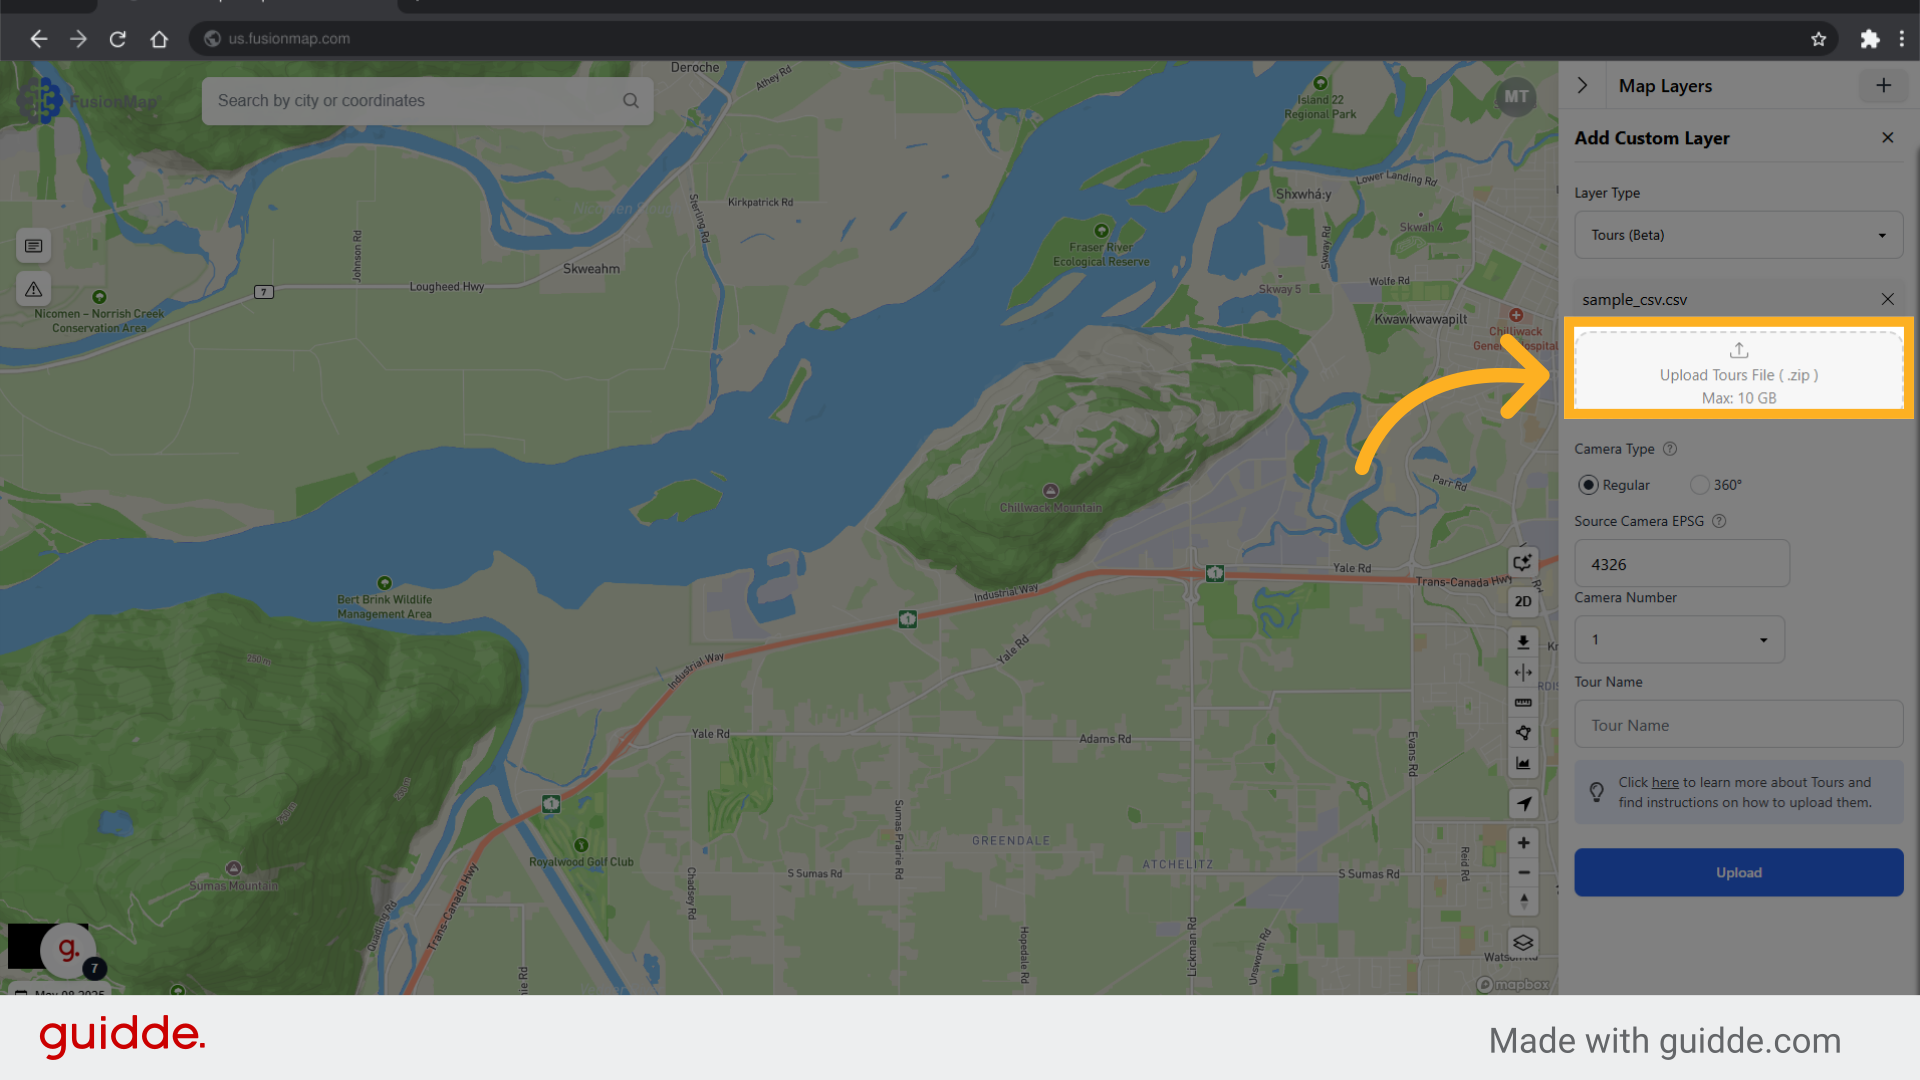
6. Upload your zipped images
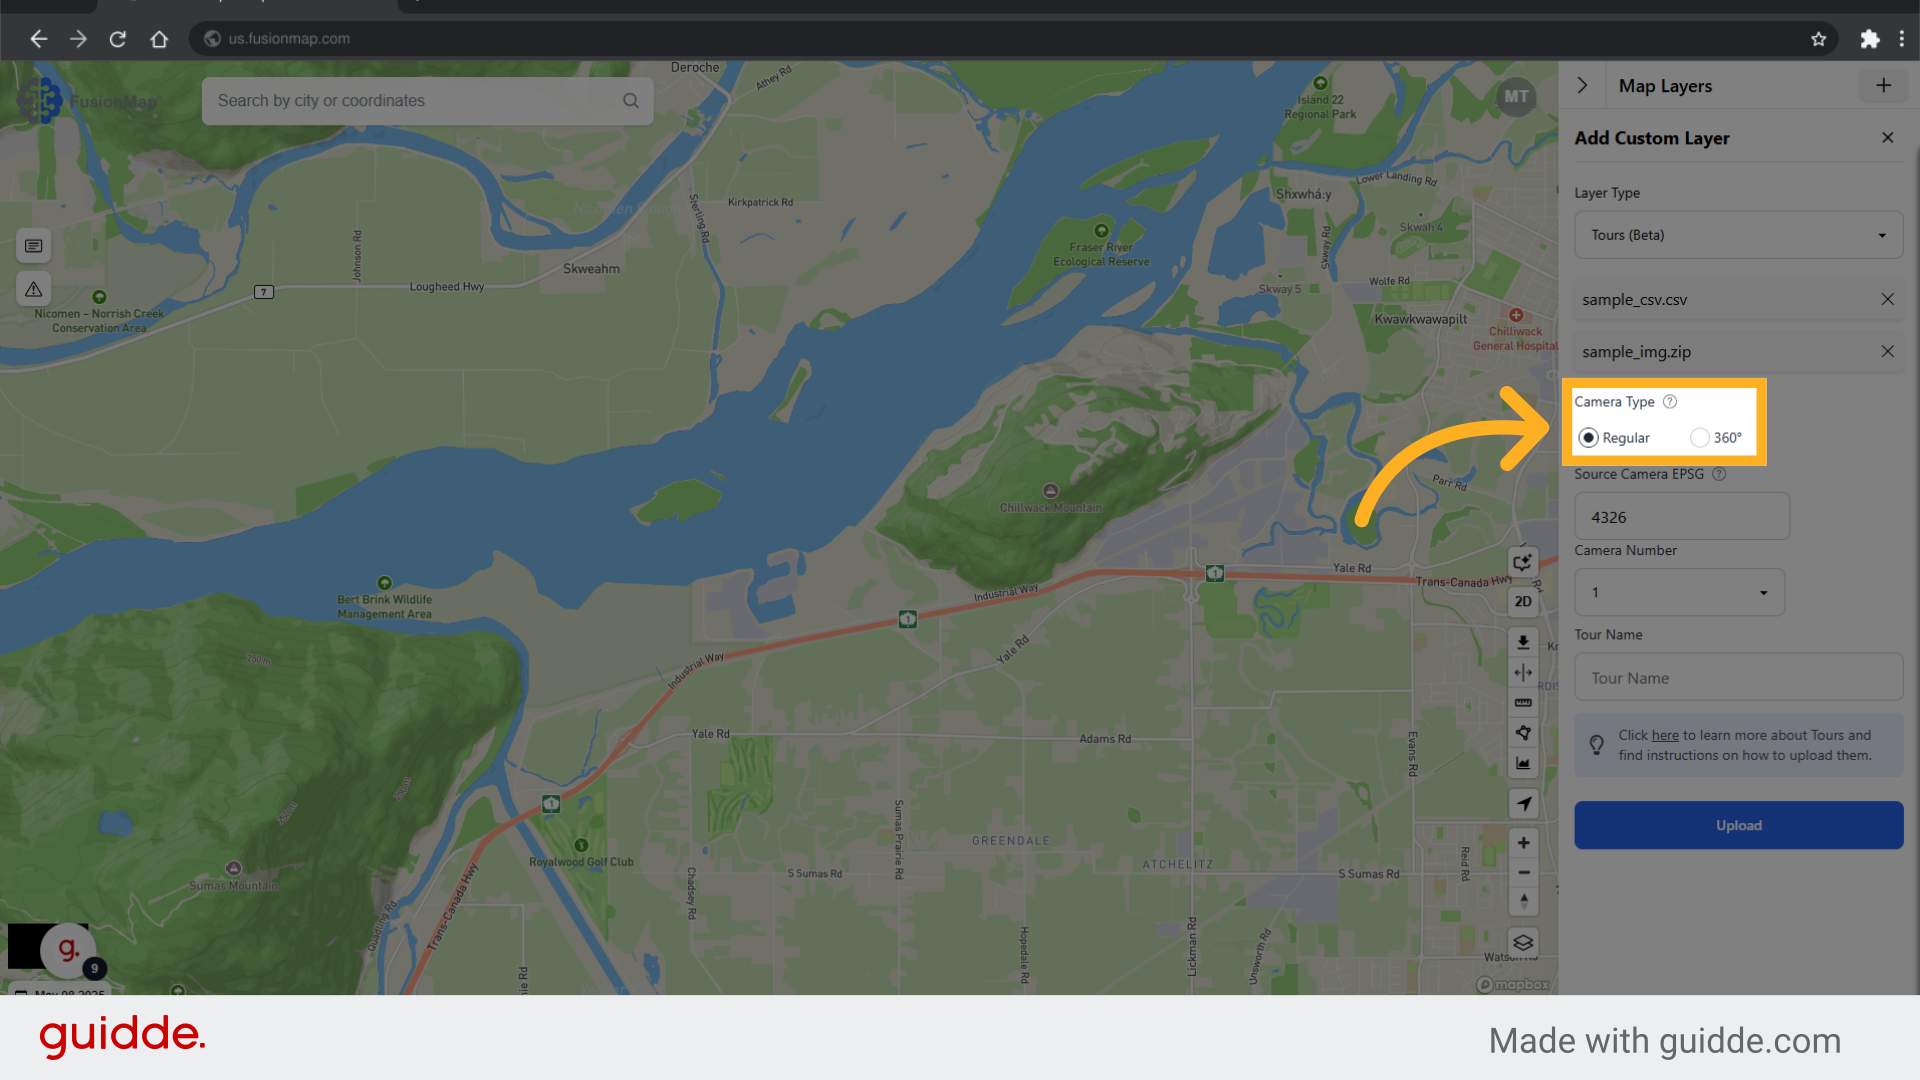
7. Choose camera type
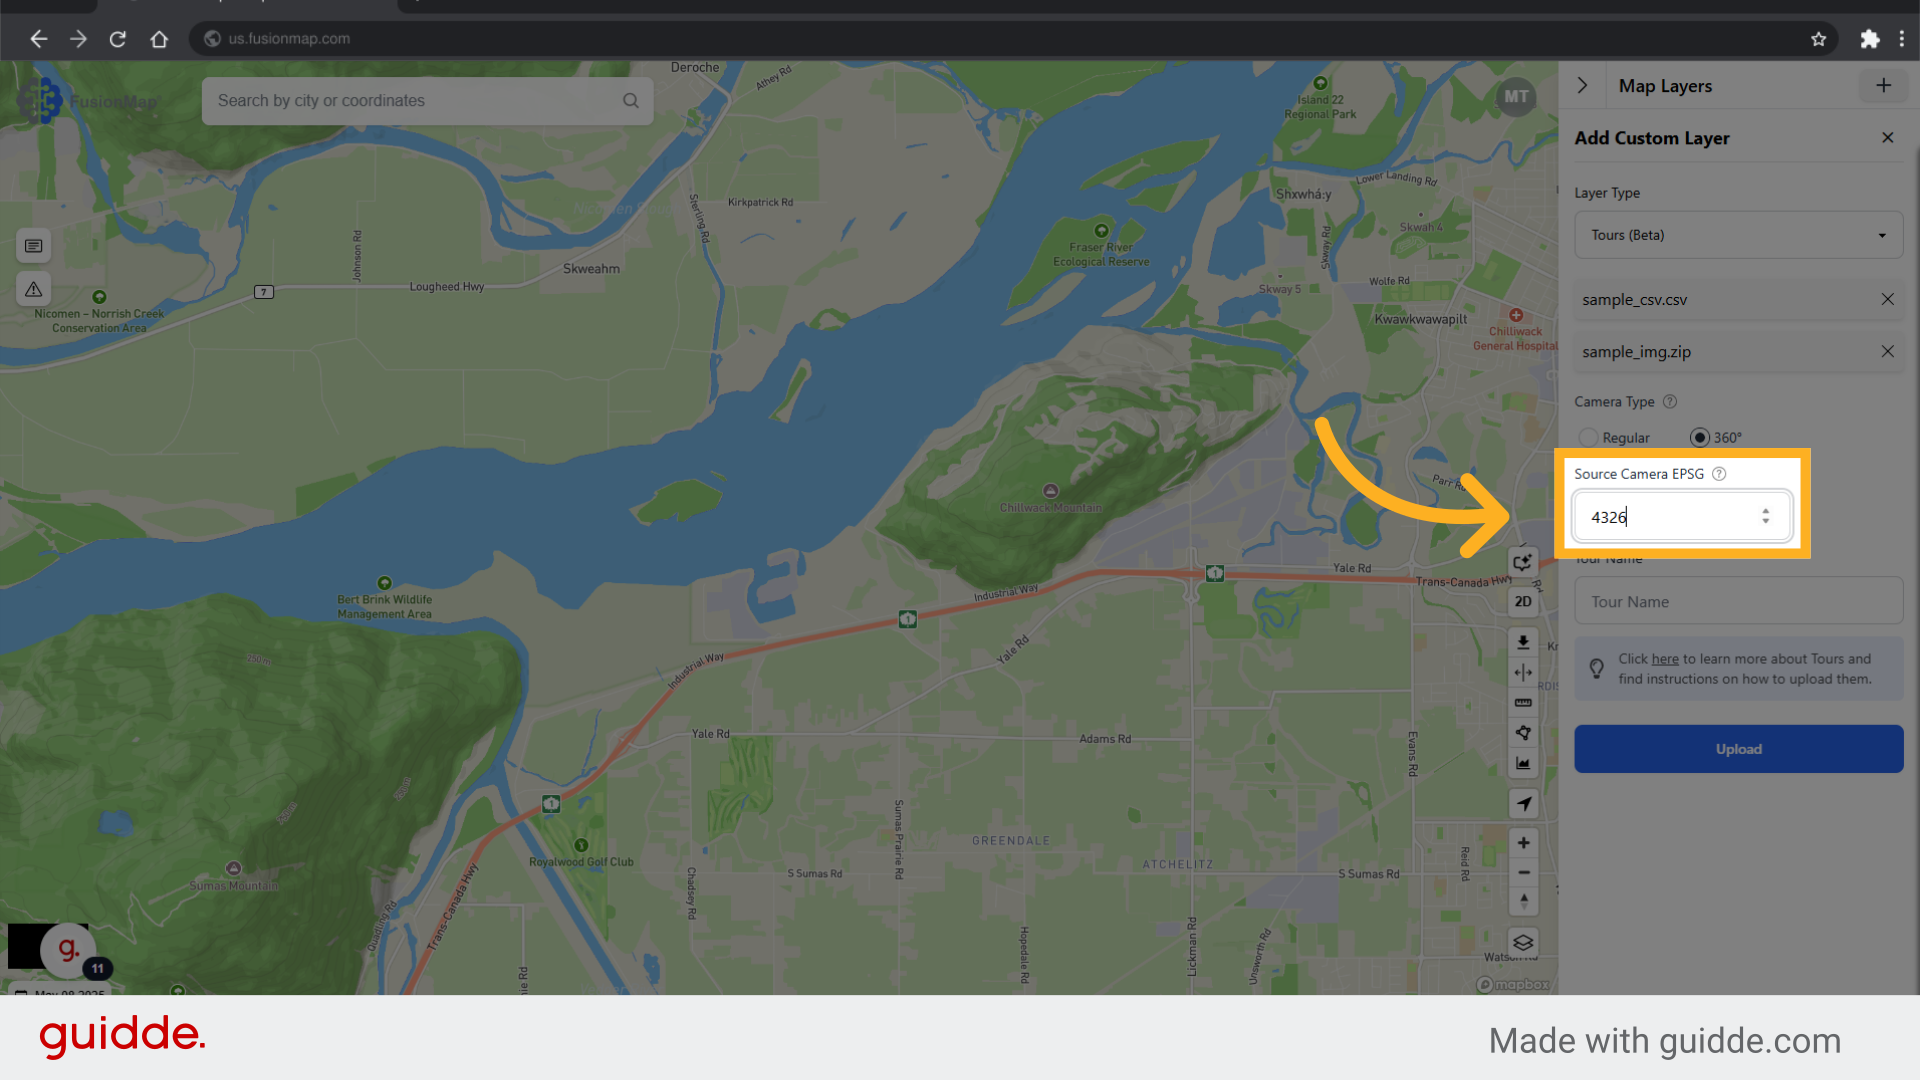
8. Set the Camera EPSG
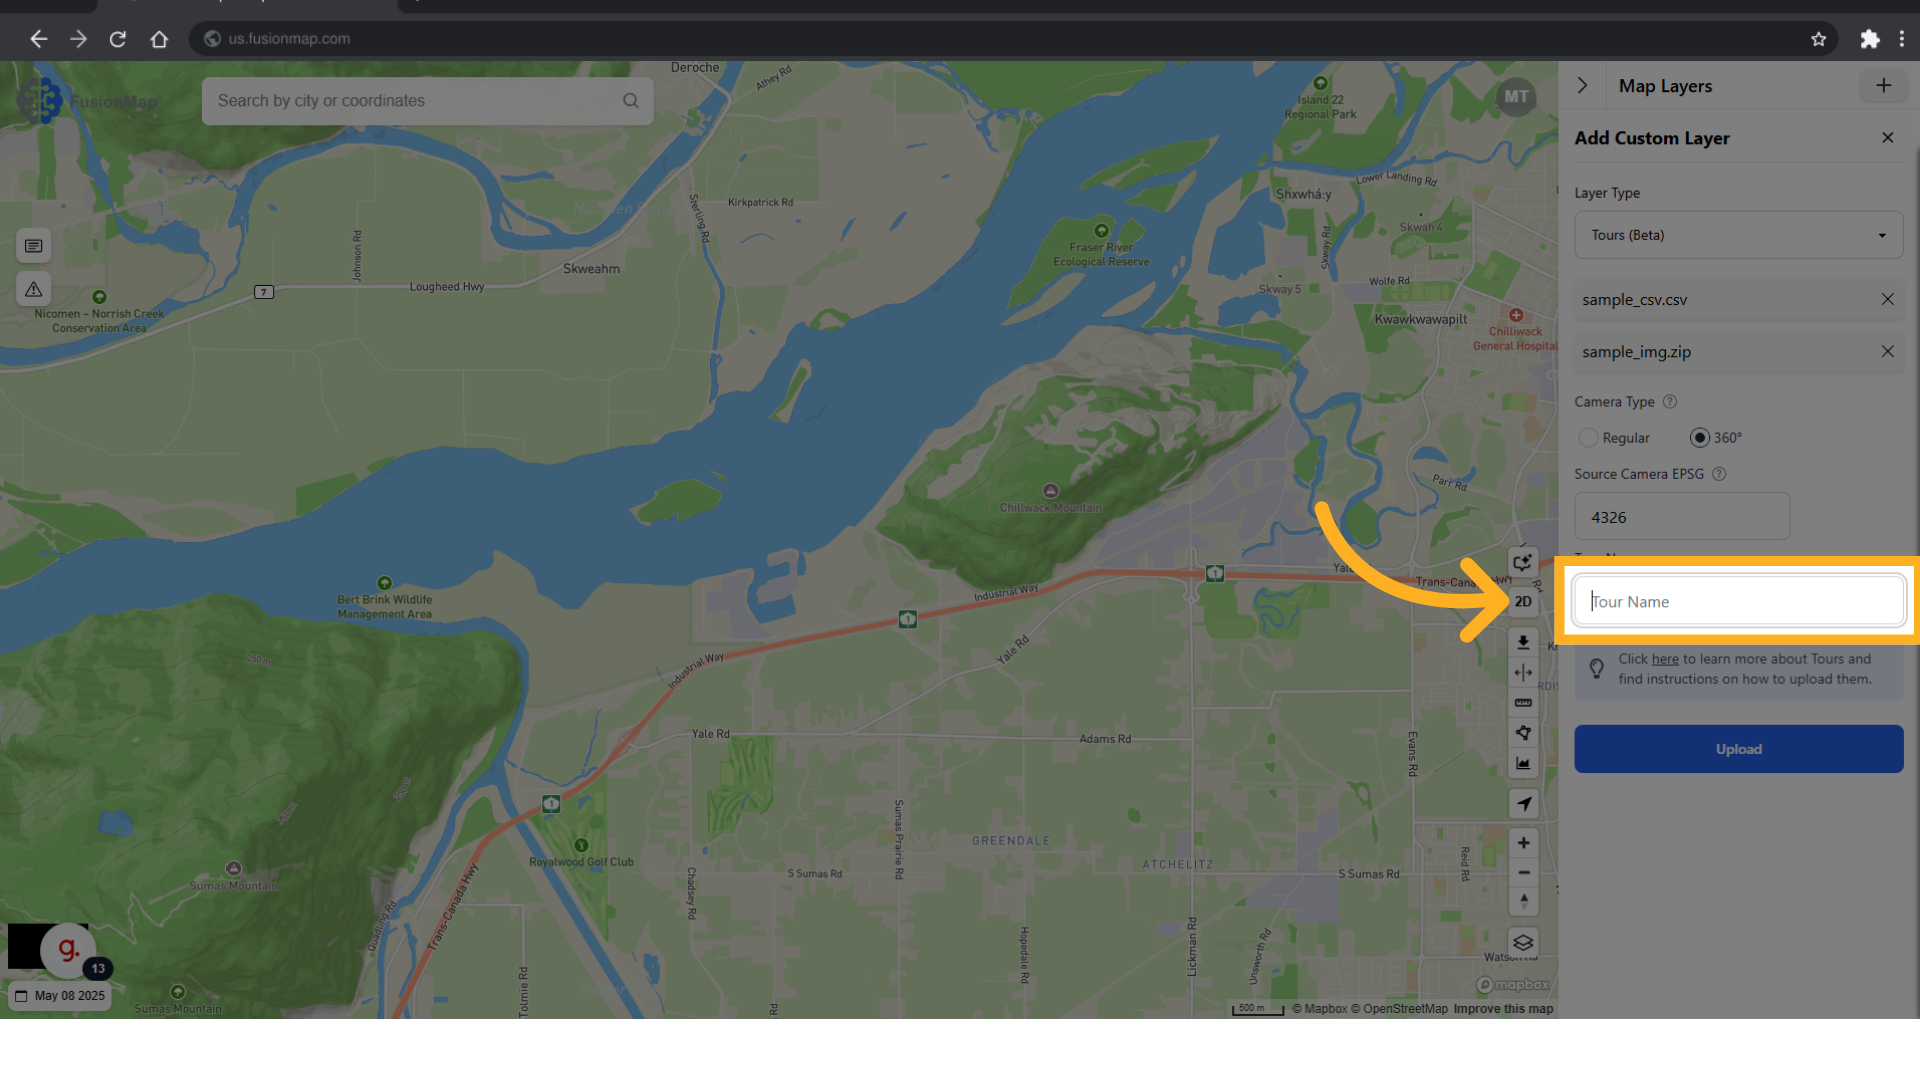
9. Set the Tour Name
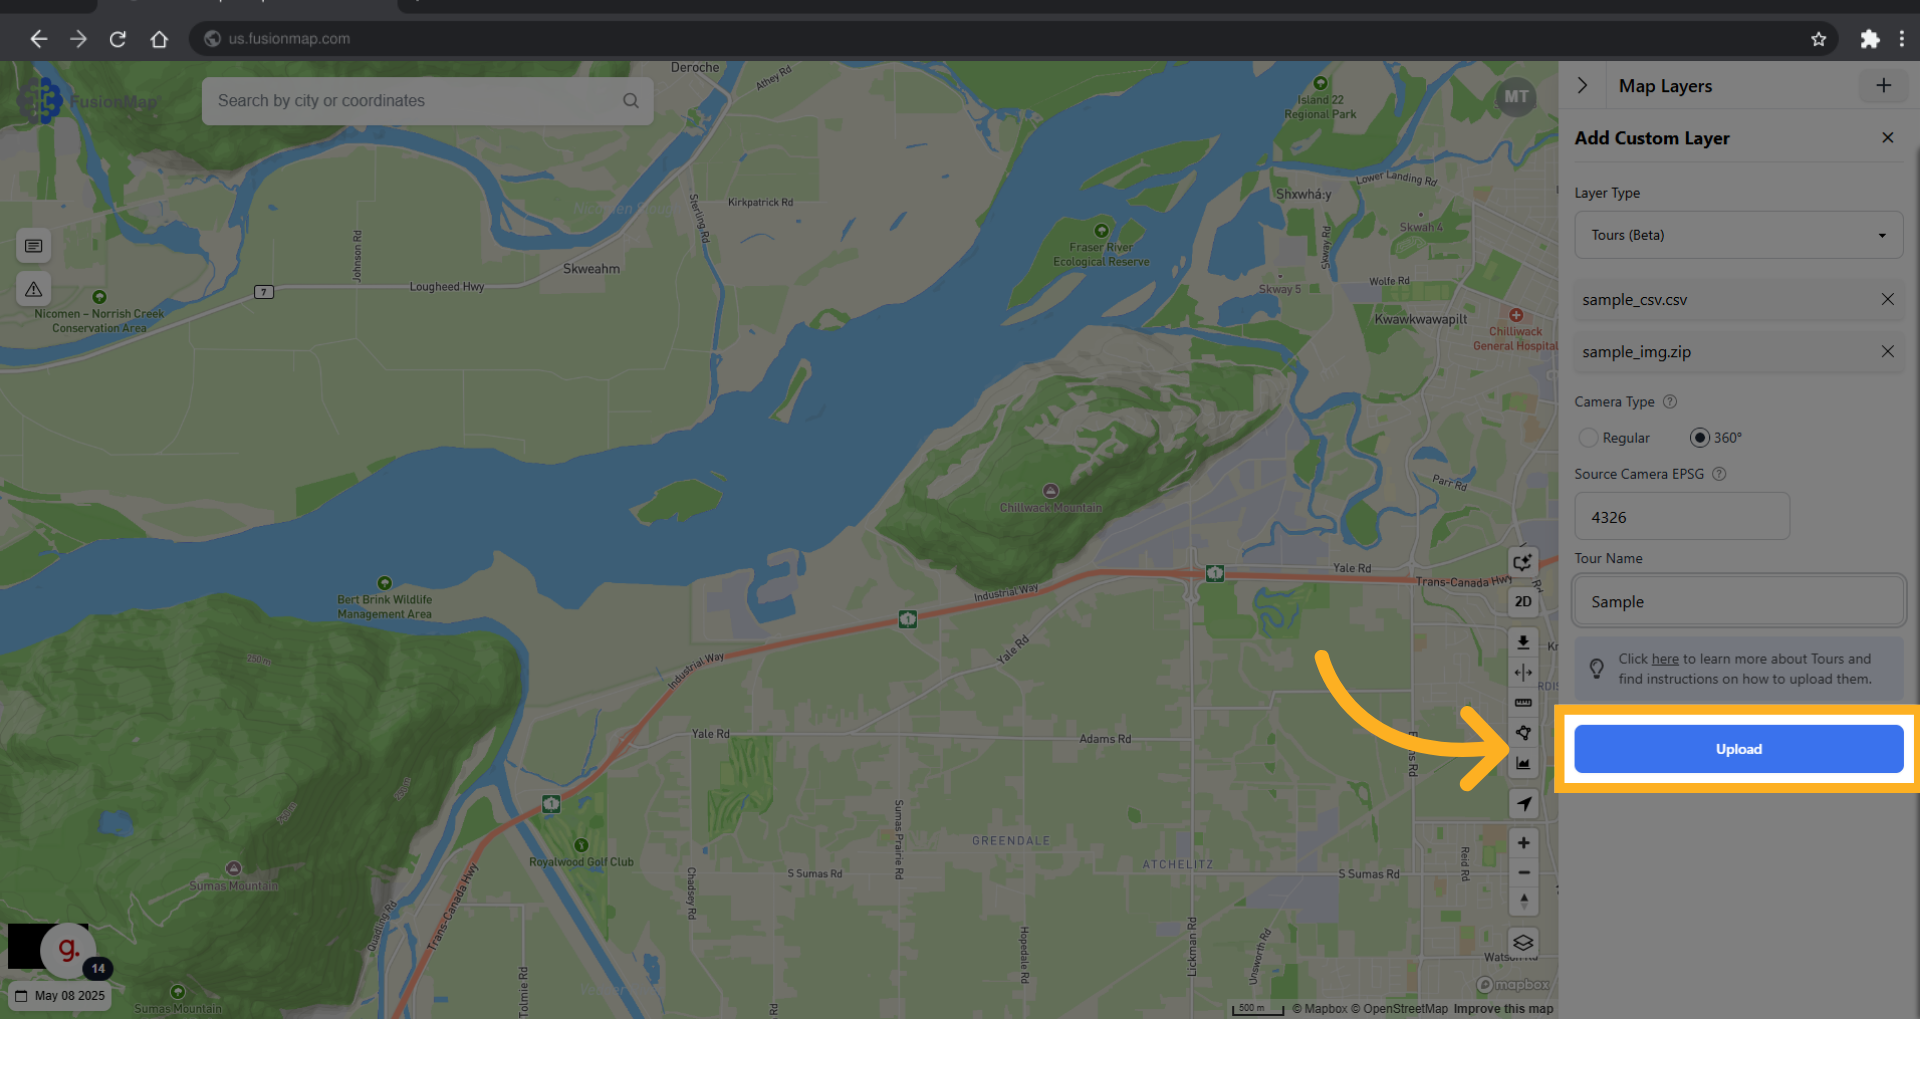
10. Click "Upload"
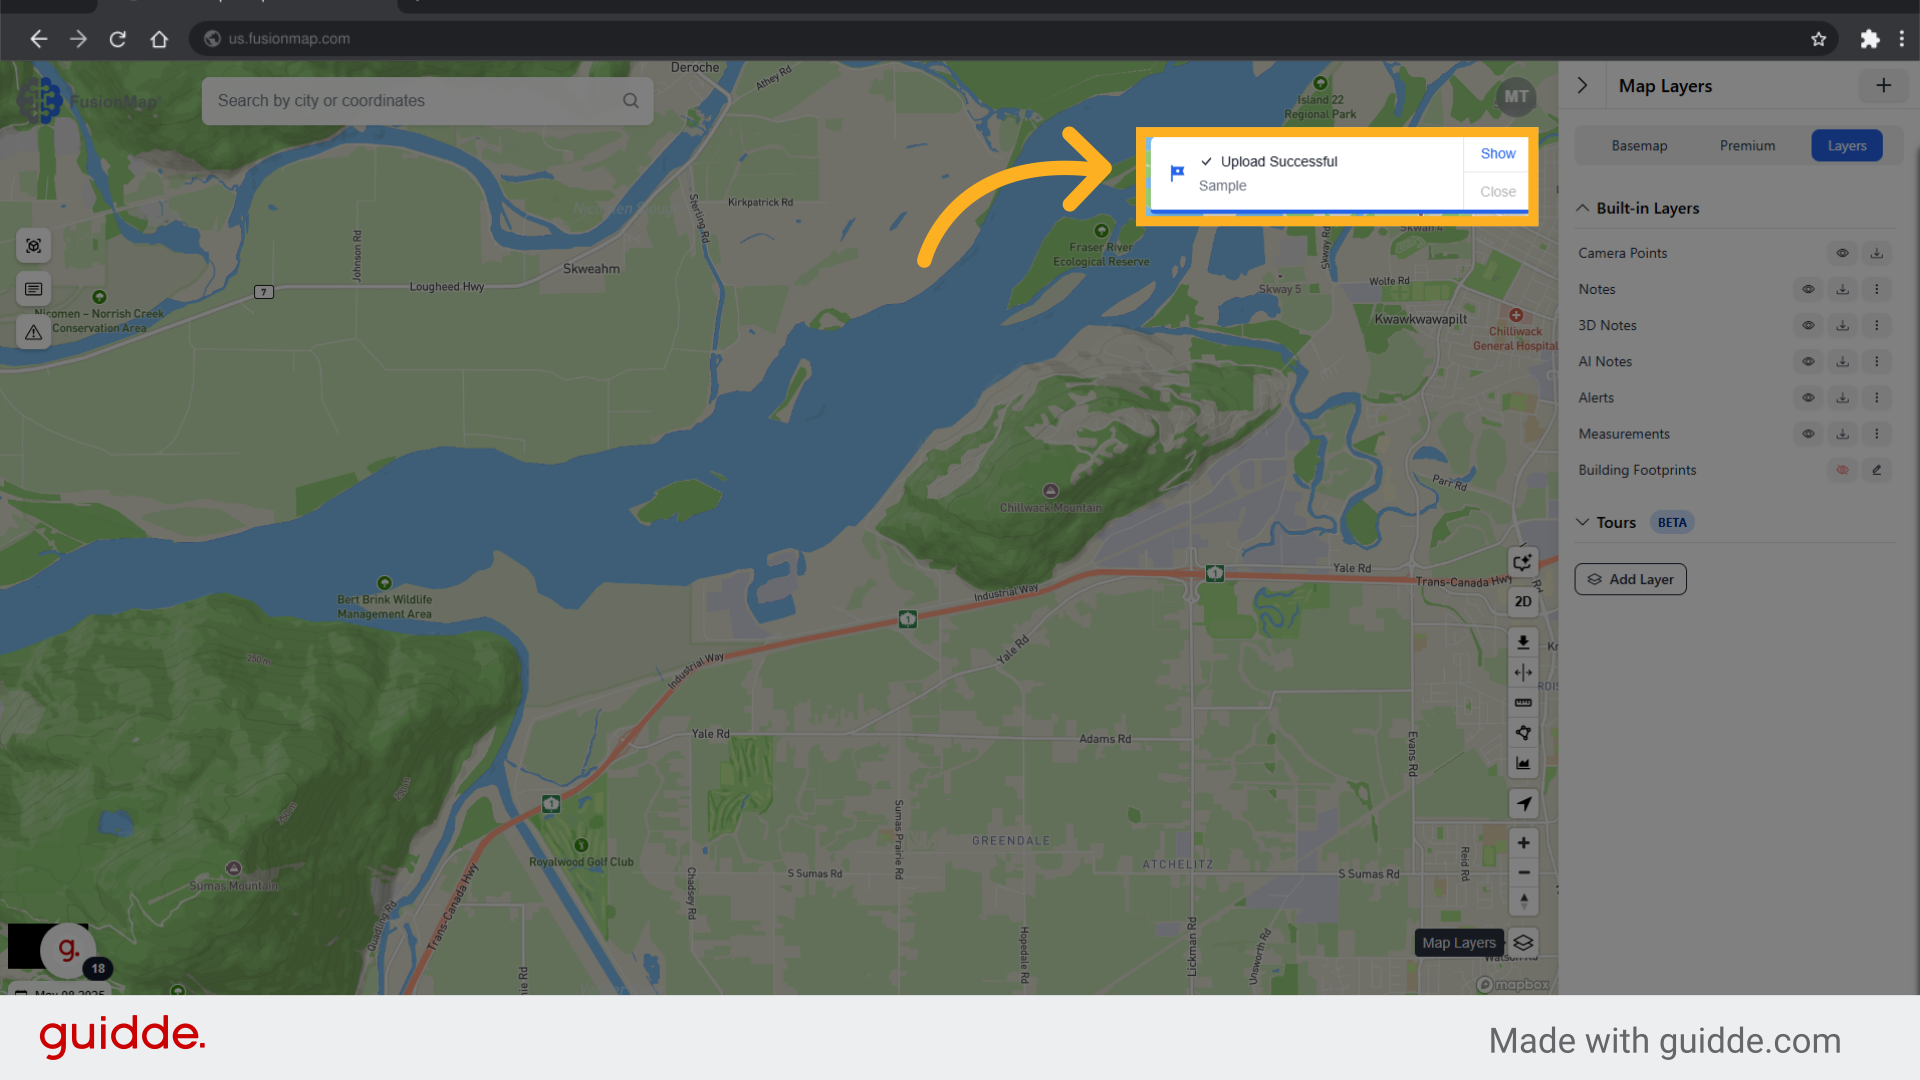
11. Wait for your upload to complete
12. Go back to Layers
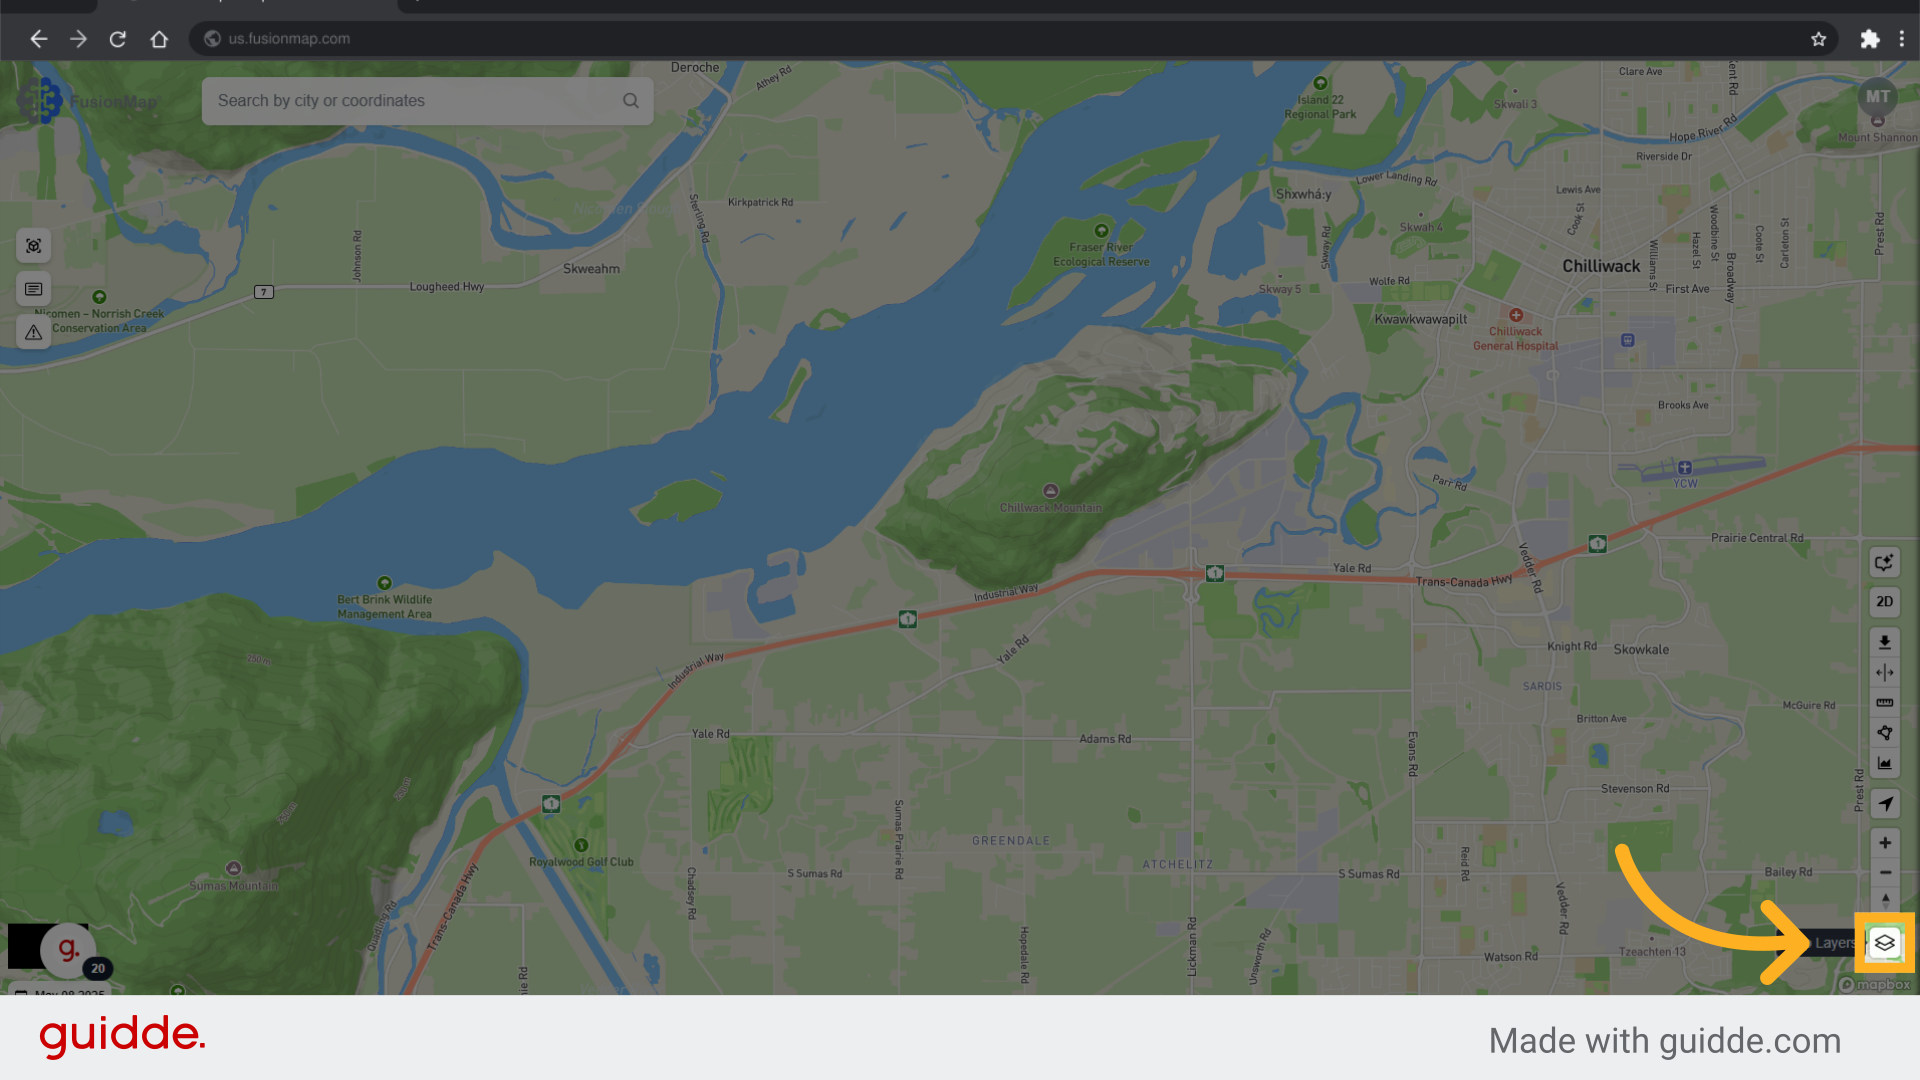
13. Switch to the layers tab

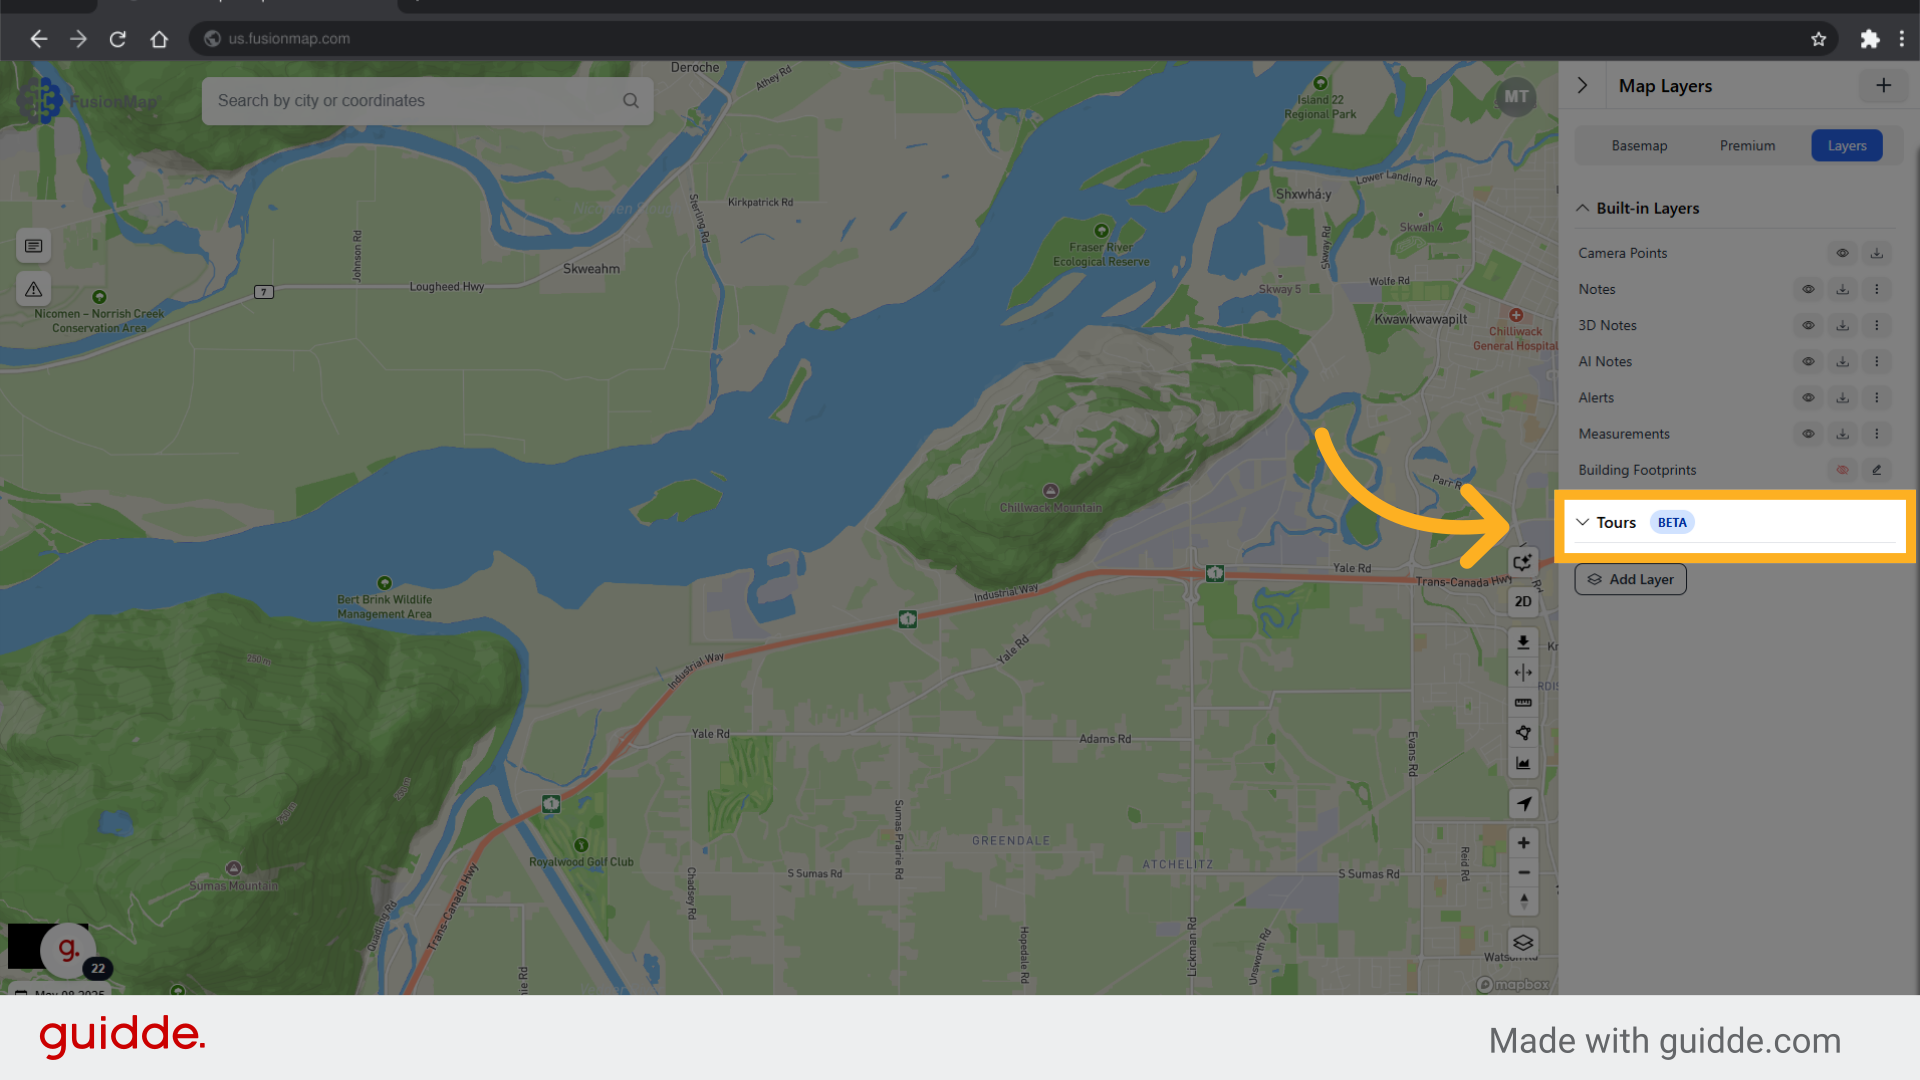
14. Click "Tours"
15. Click the search icon next to your tour
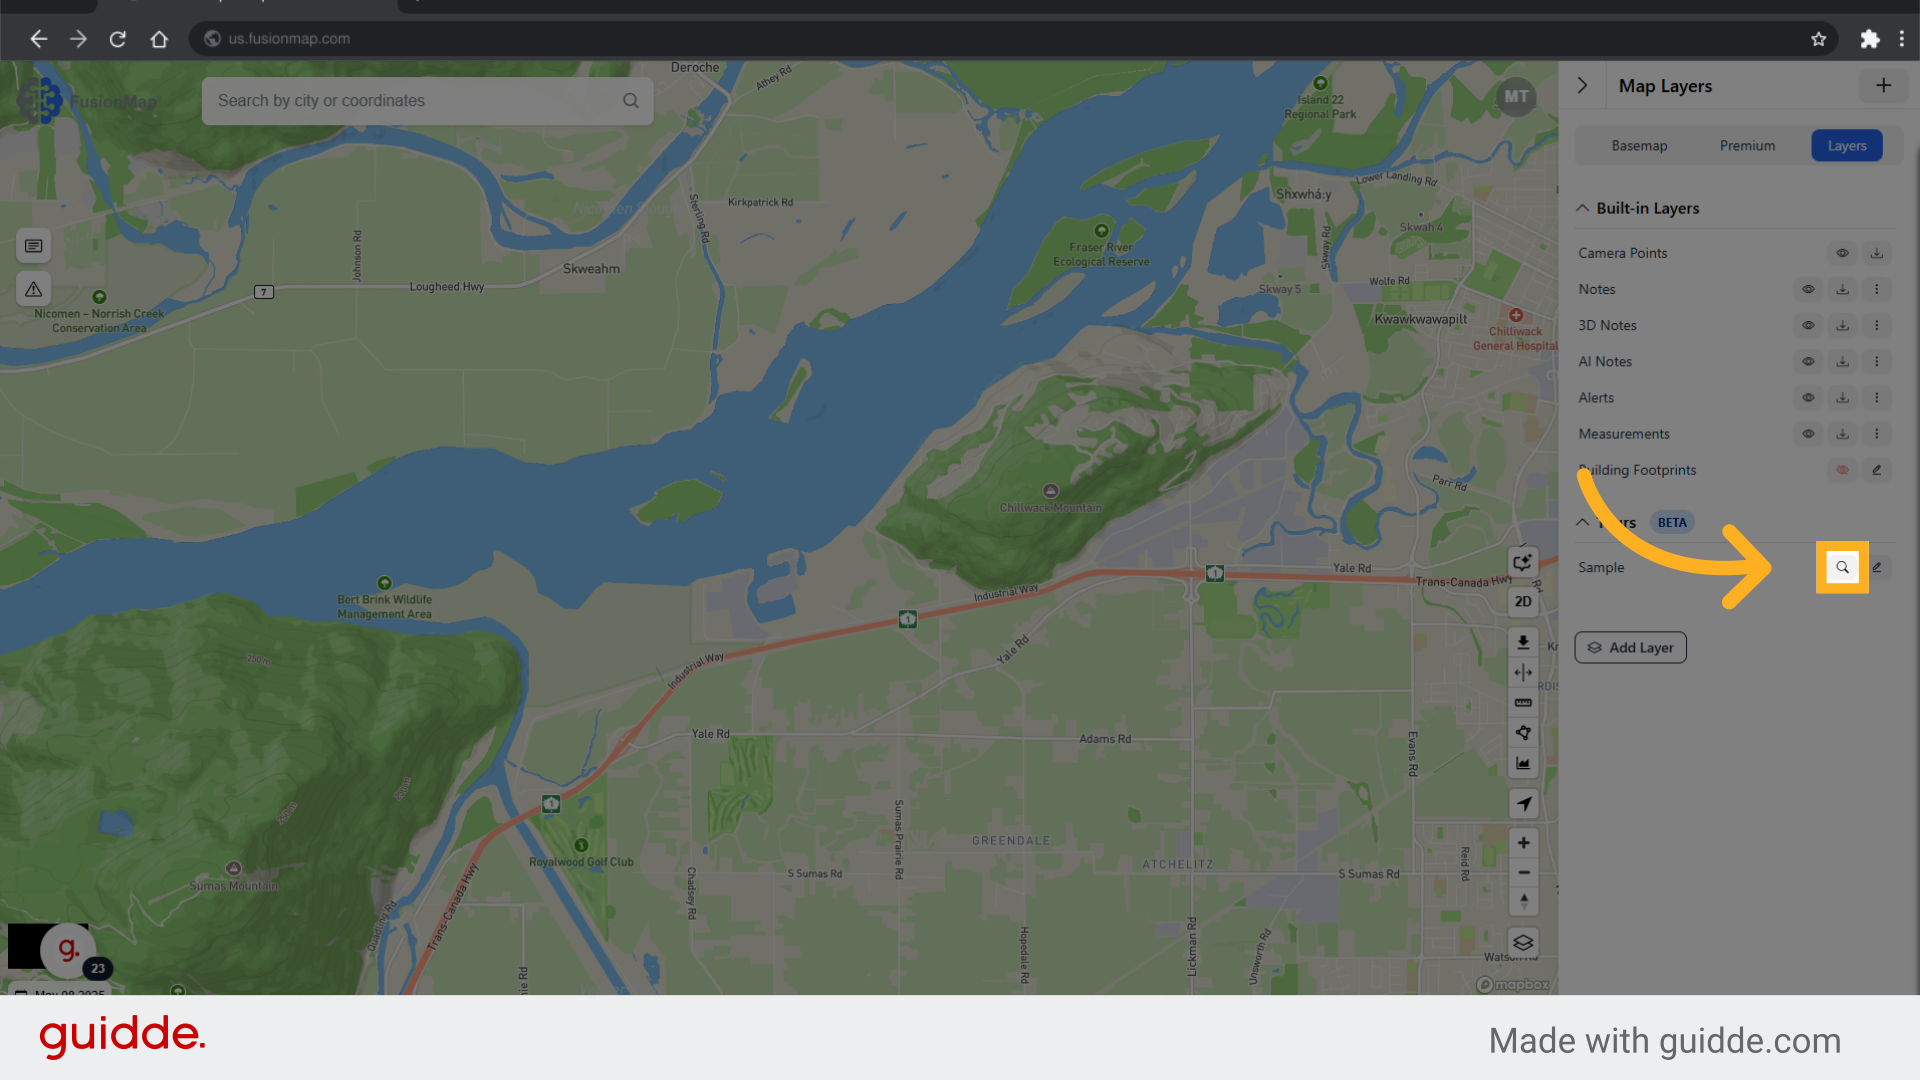
16. This takes you to your visualized tour on the map
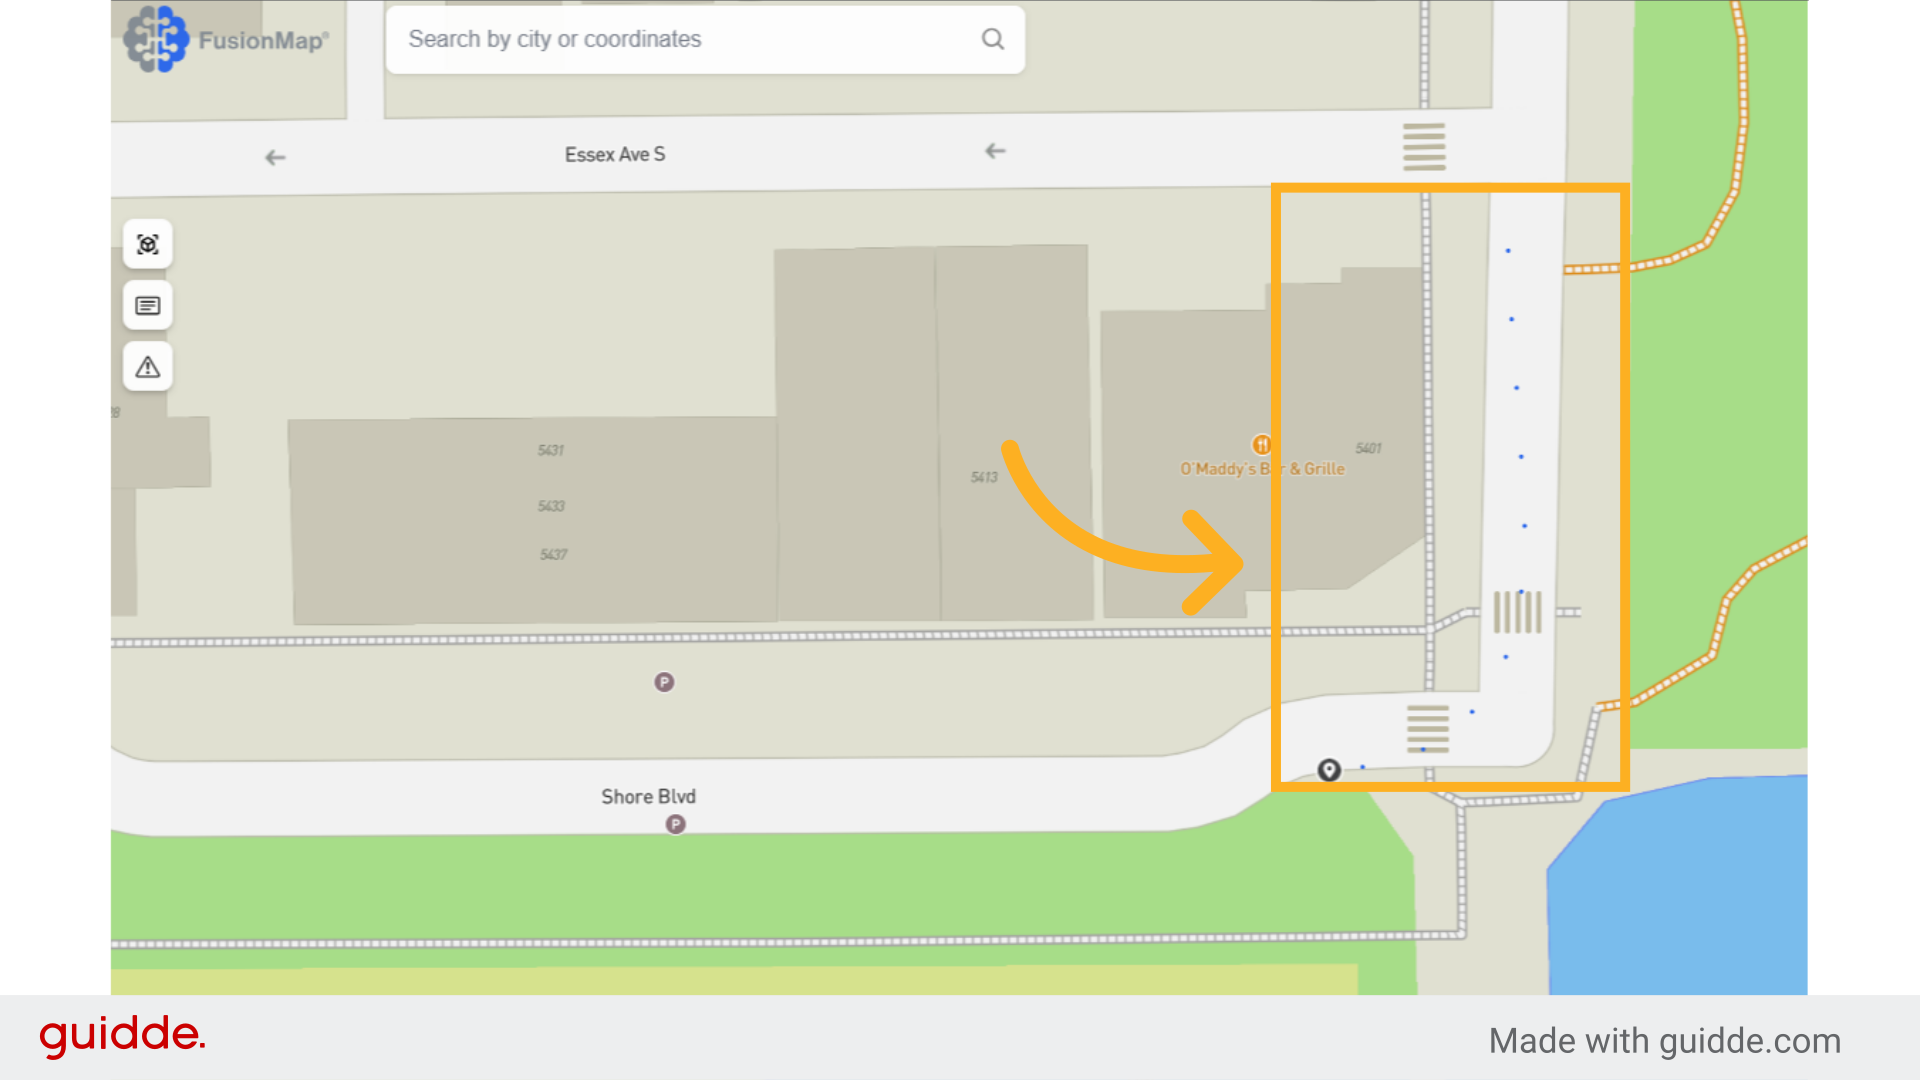
The guide covered uploading a tour in Fusionmap, including selecting file formats, uploading files, and customizing tour settings