This is a comprehensive guide for layers in FusionMap
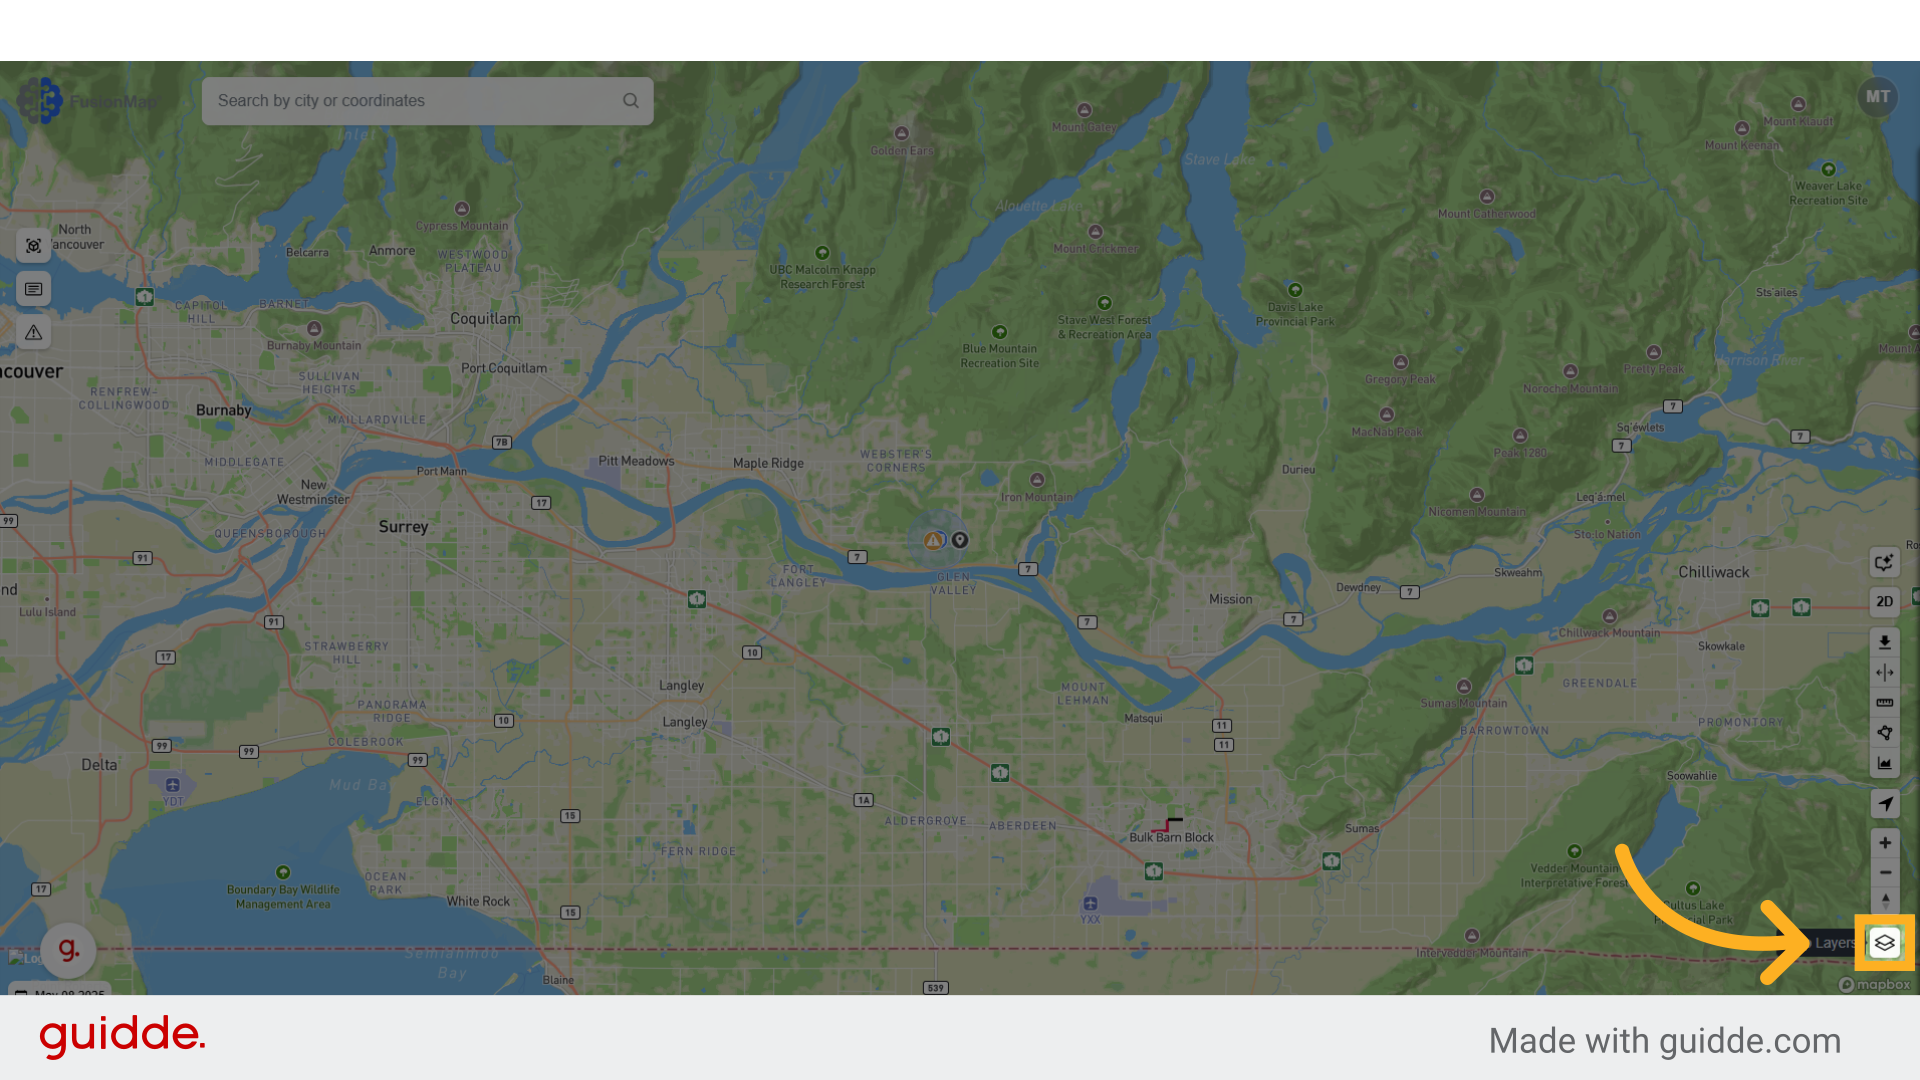
1. Open Layers Menu
2. Choose from the list of basemaps

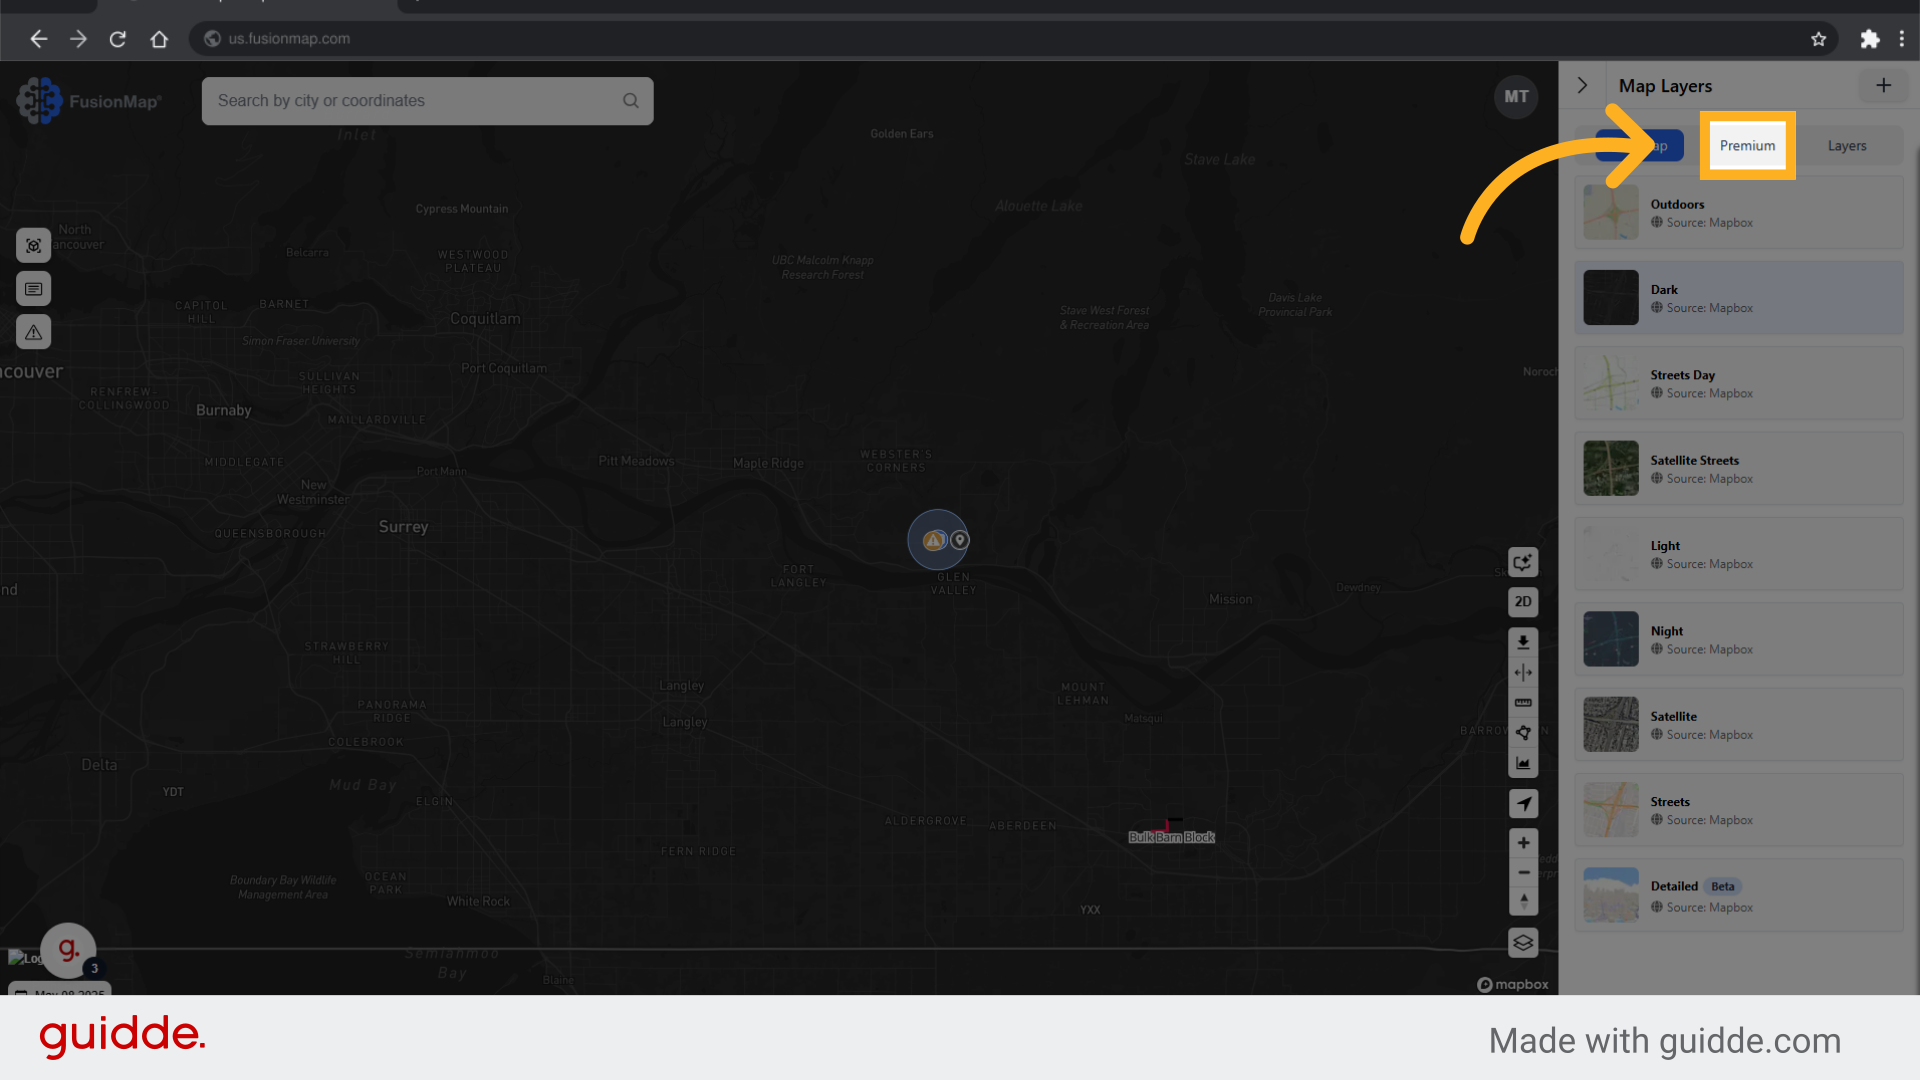
3. Switch to the Premium Tab
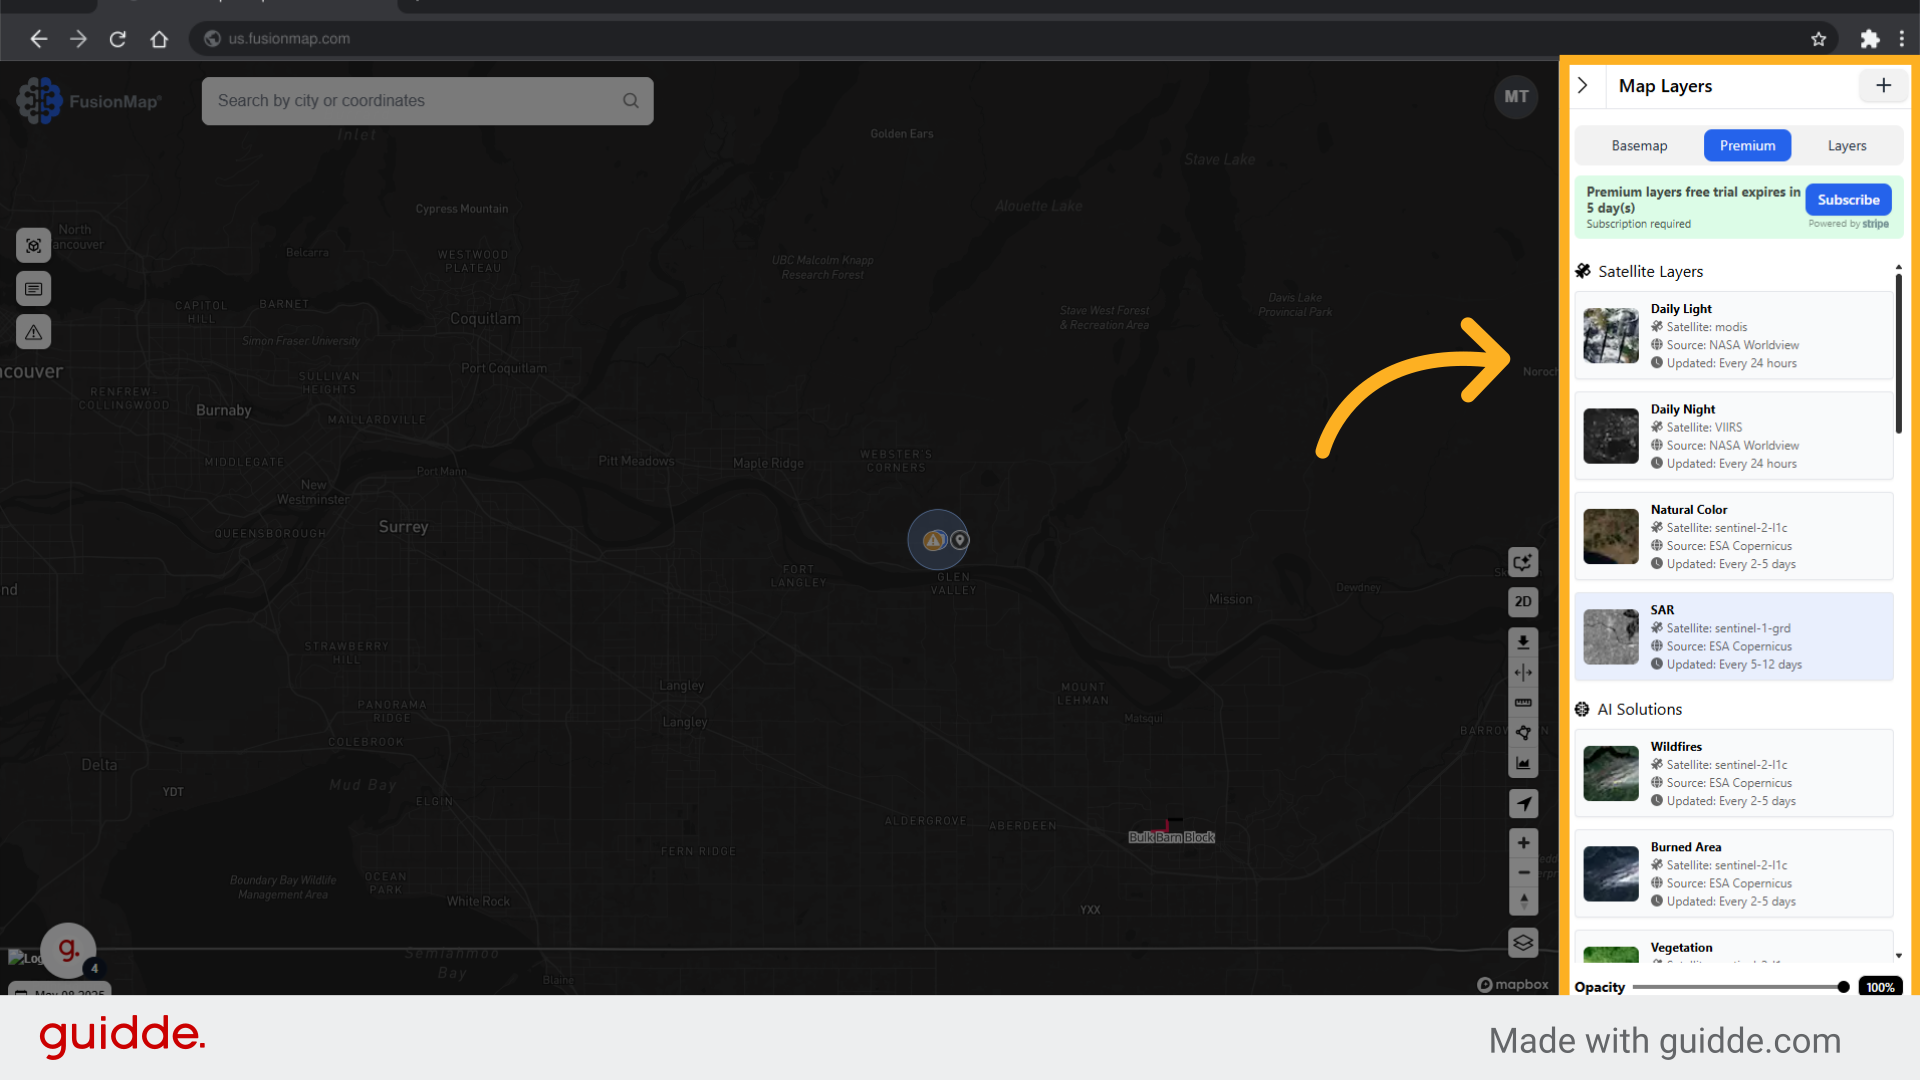
4. Choose from a list of premium layers
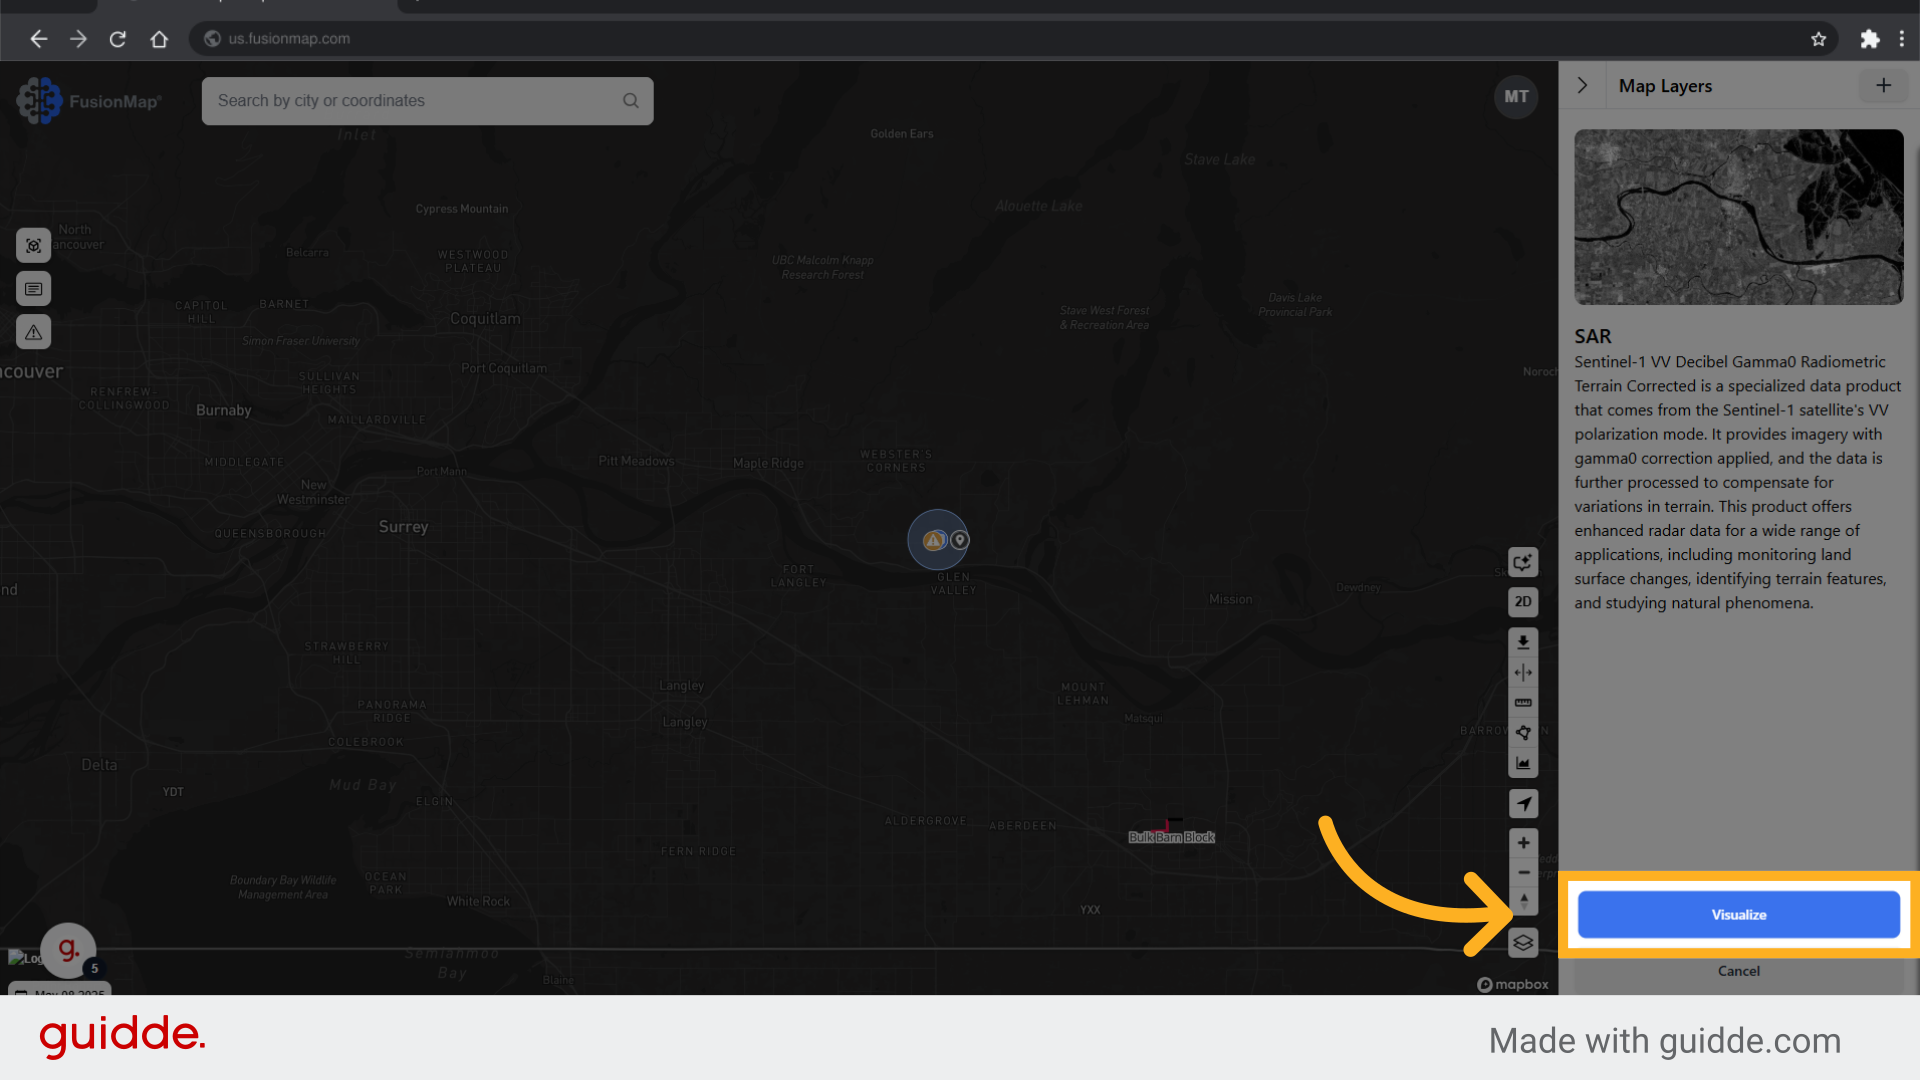
5. Clicking a layer opens up an info tab
The information tab contains detailed descriptions of each layer, ensuring you know understand the layer you are using.
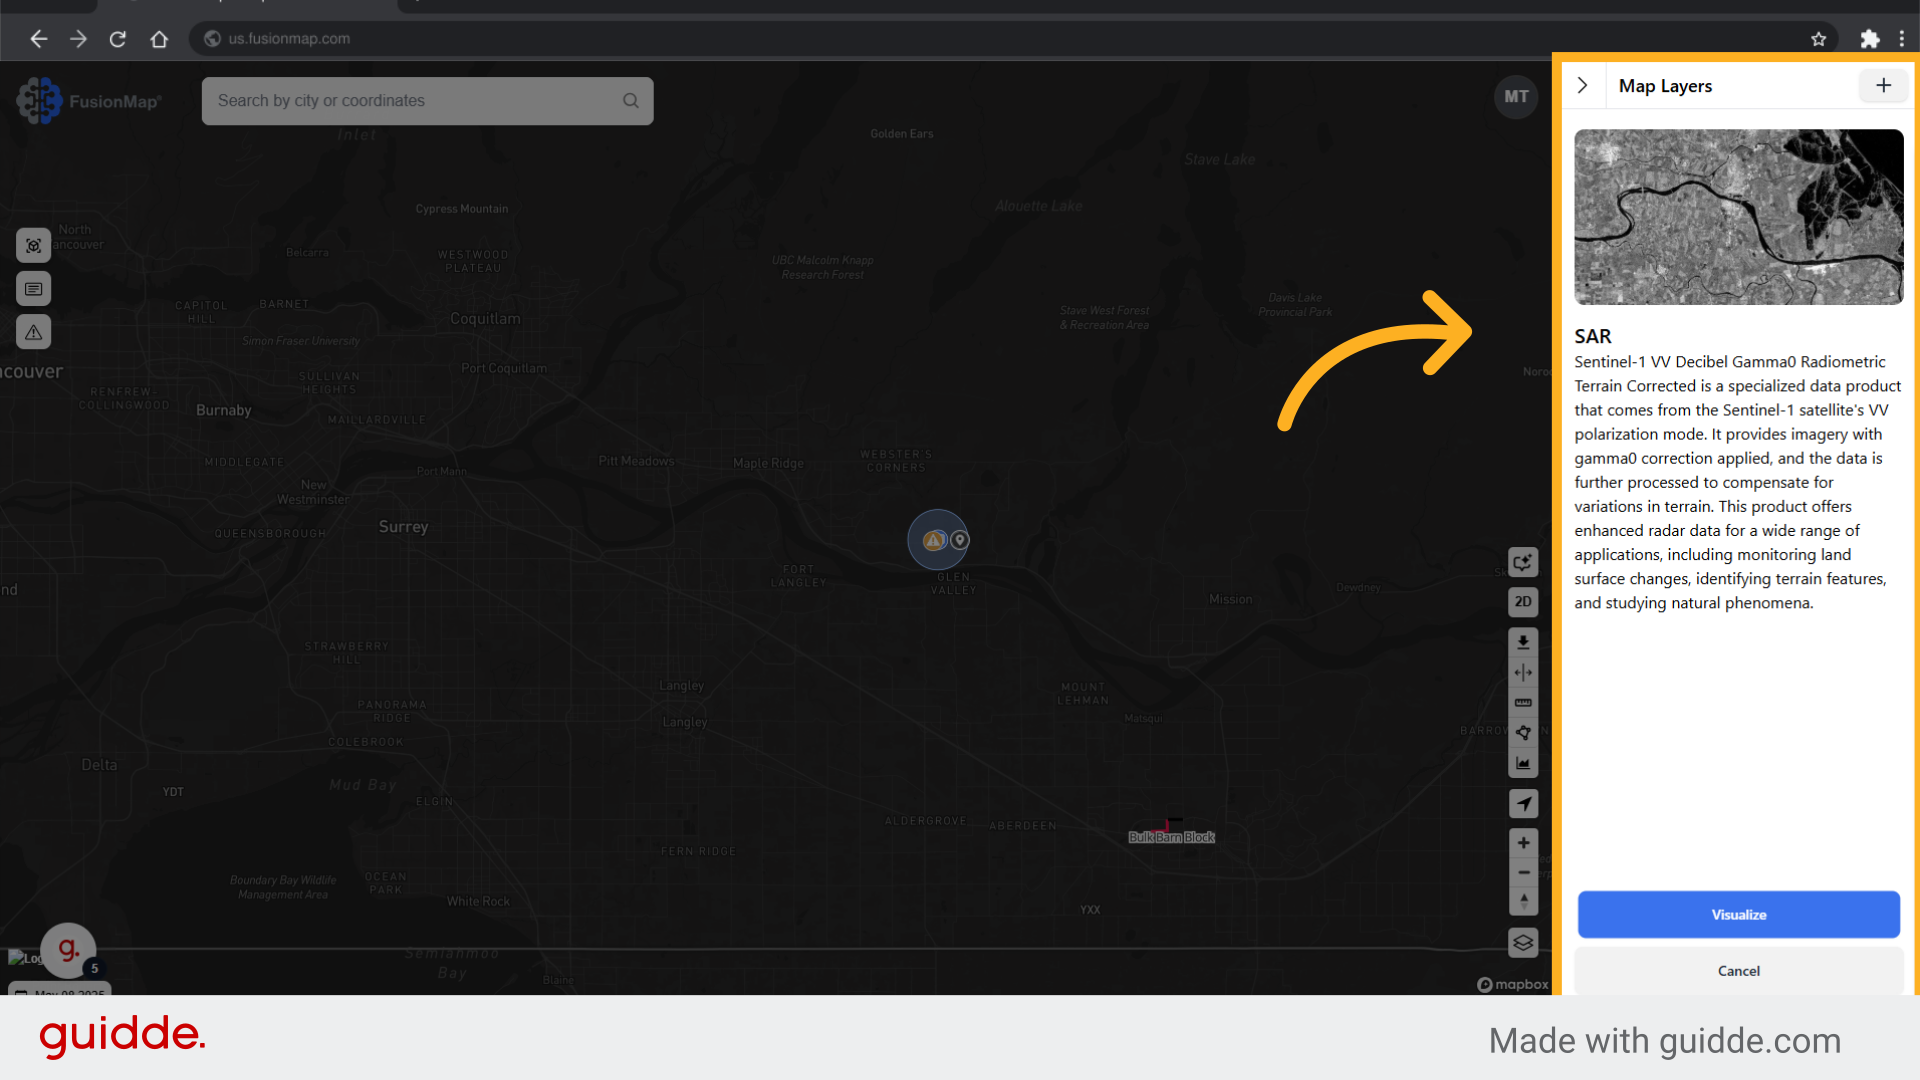
6. Click "Visualize"
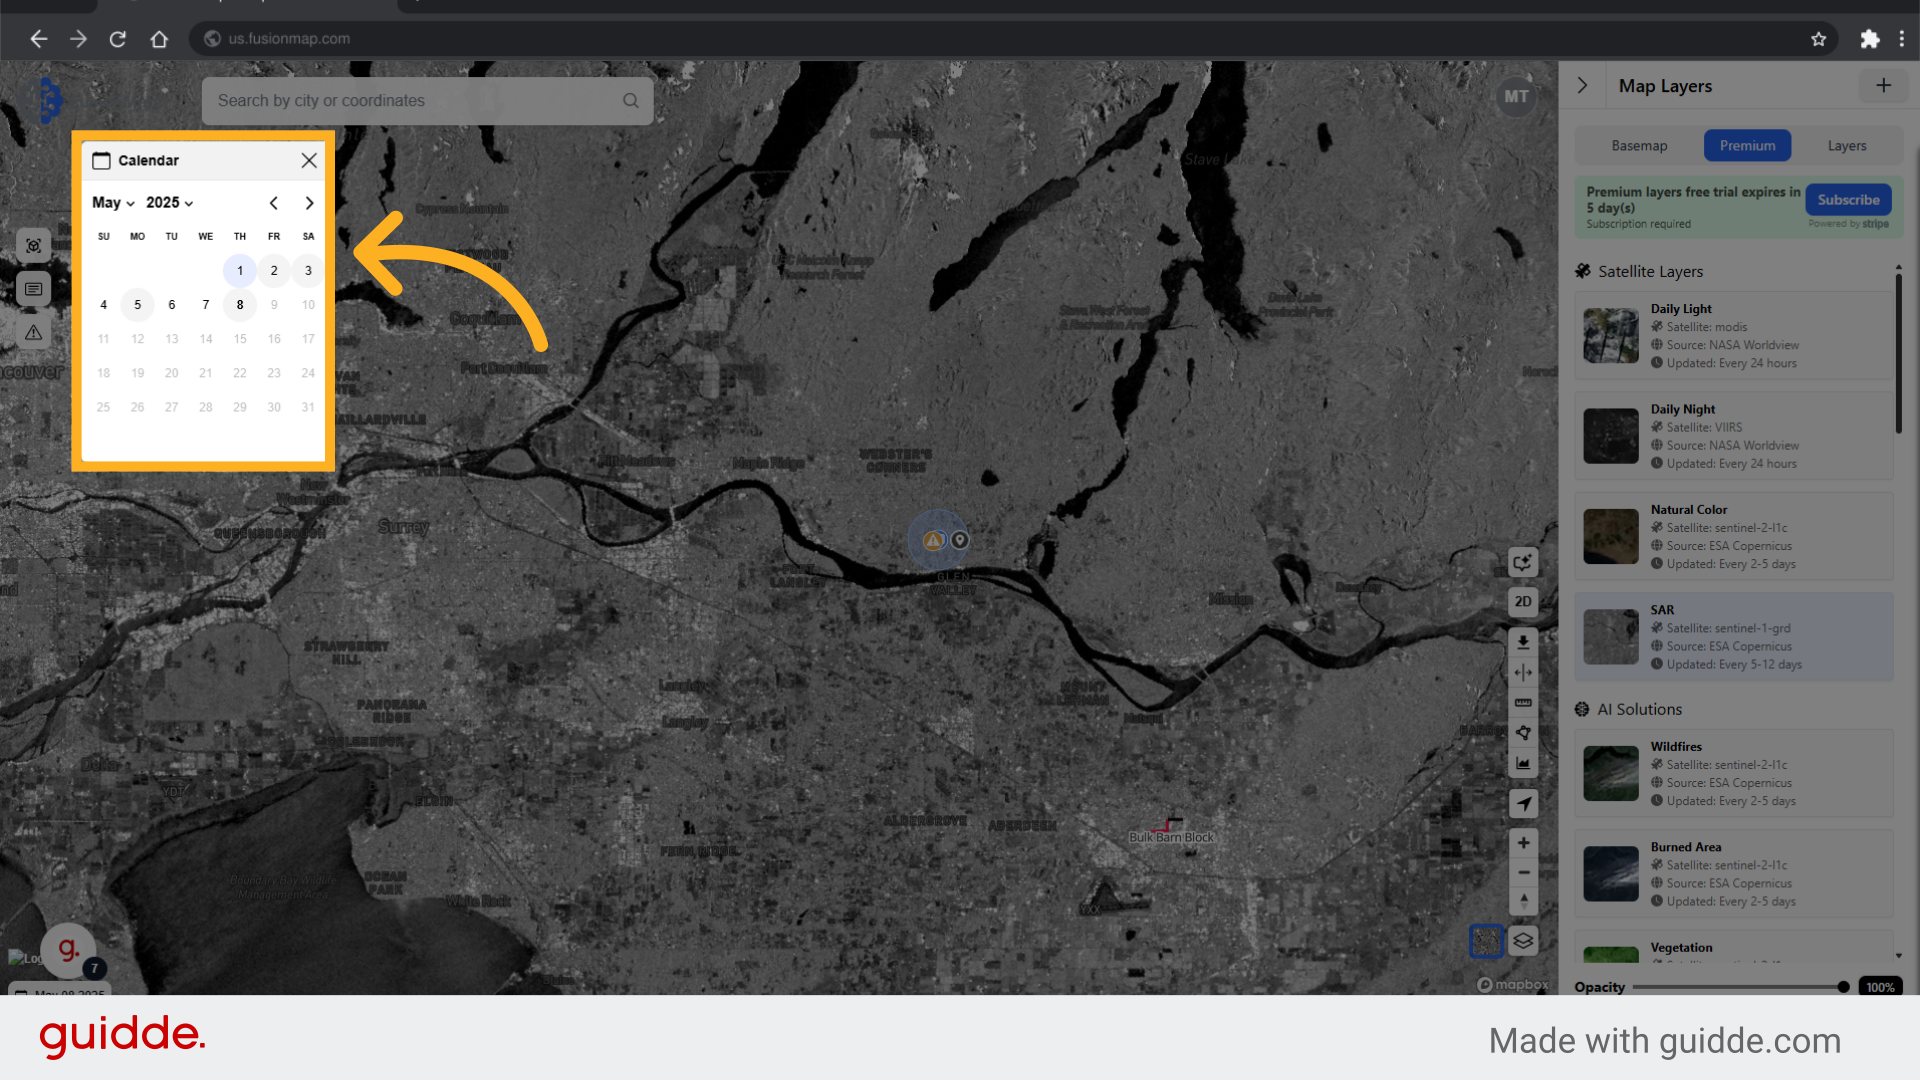
7. Use the calendar to switch to different dates
FusionMap allows you to view historical data for every premium layer.
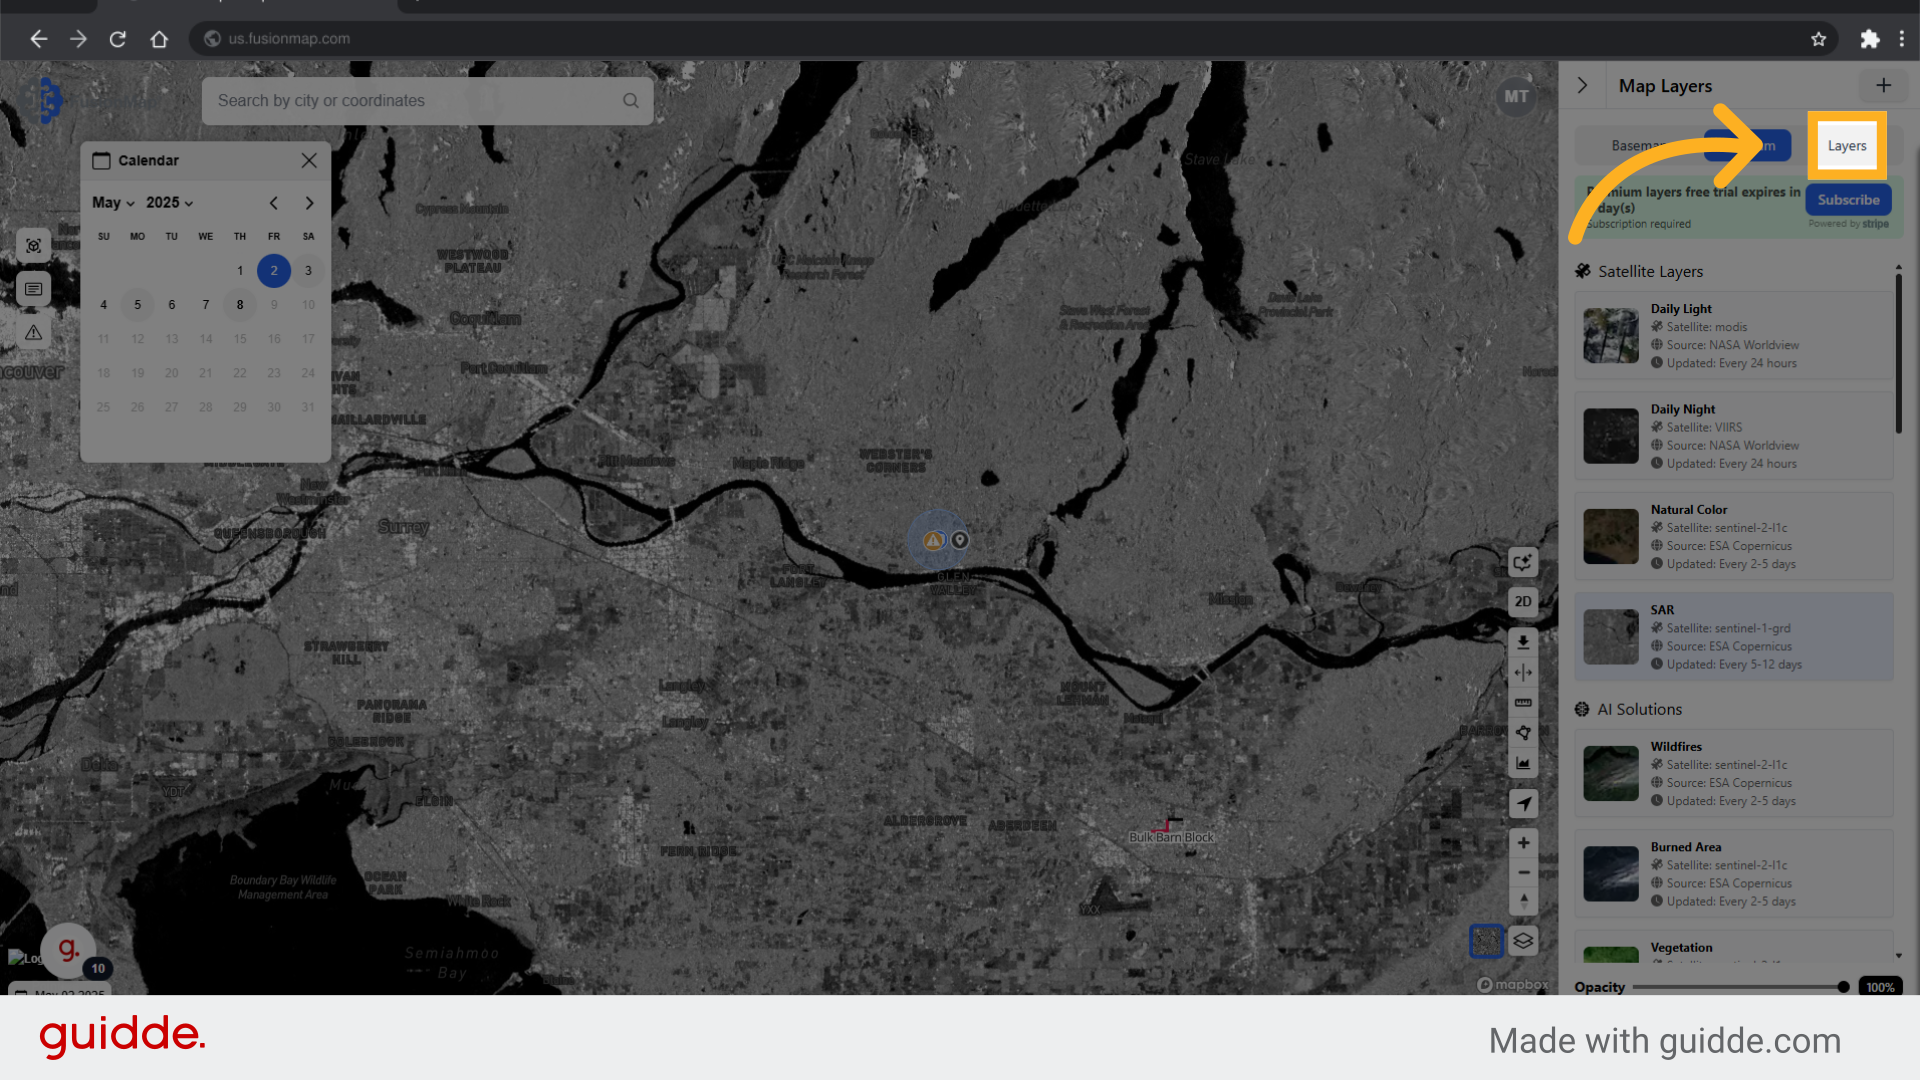
8. Switch to the layers tab
9. Choose from built in layers or upload your own custom layer
This tab contains built-in layers and allows you to upload your own custom ones to display on the map.
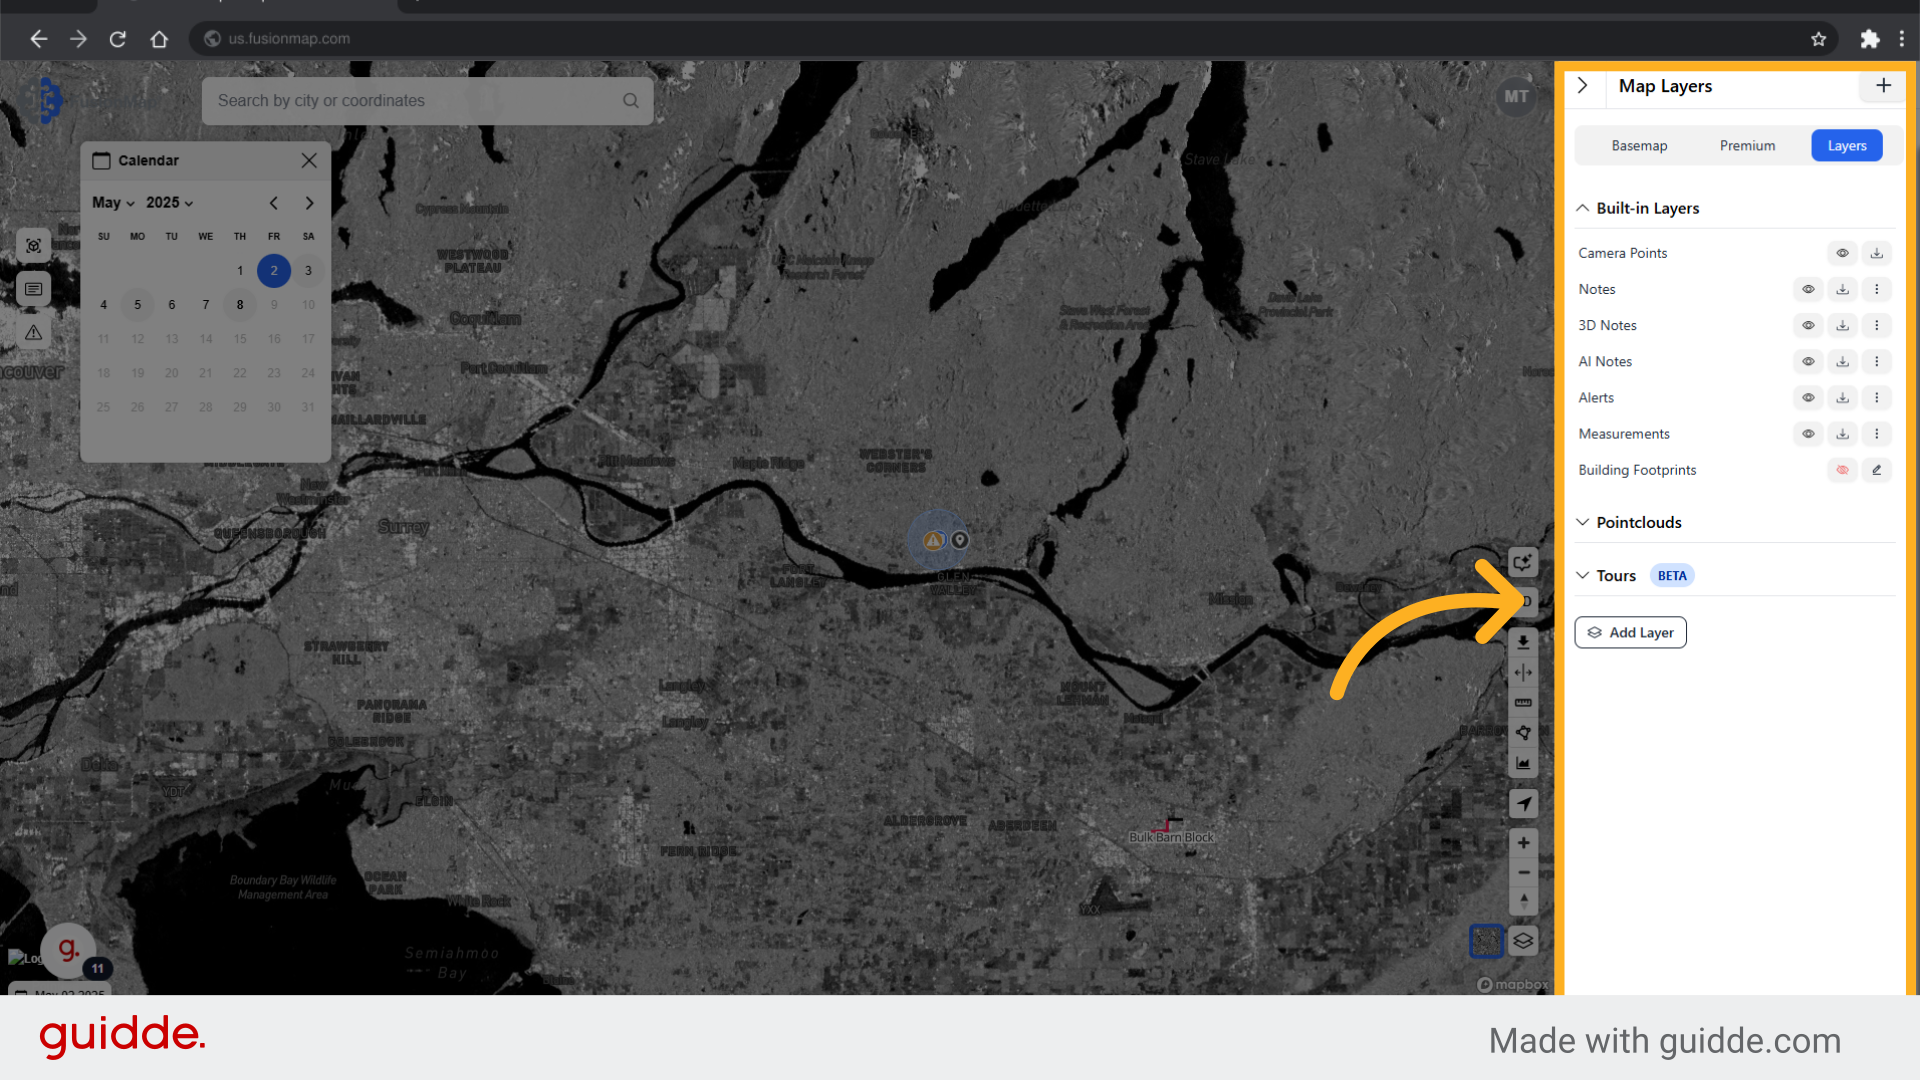
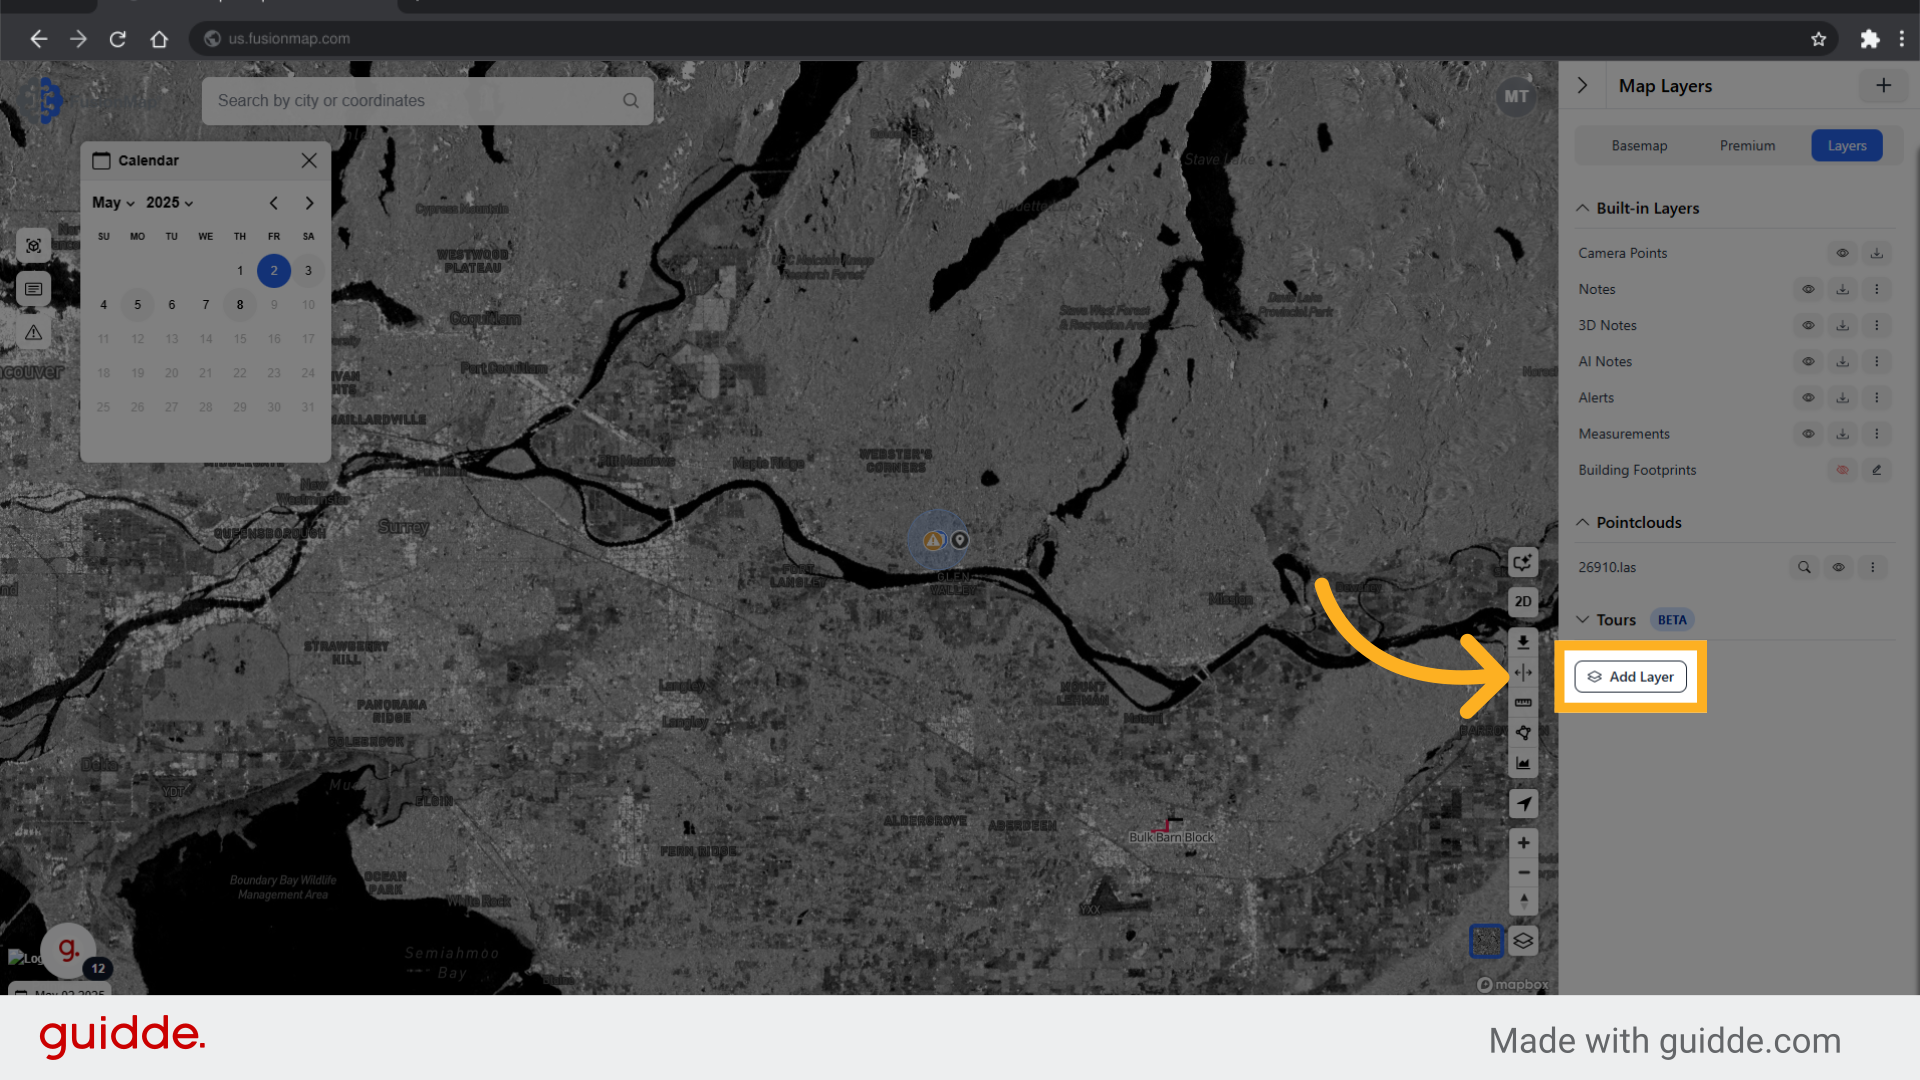
10. Click "Add Layer"
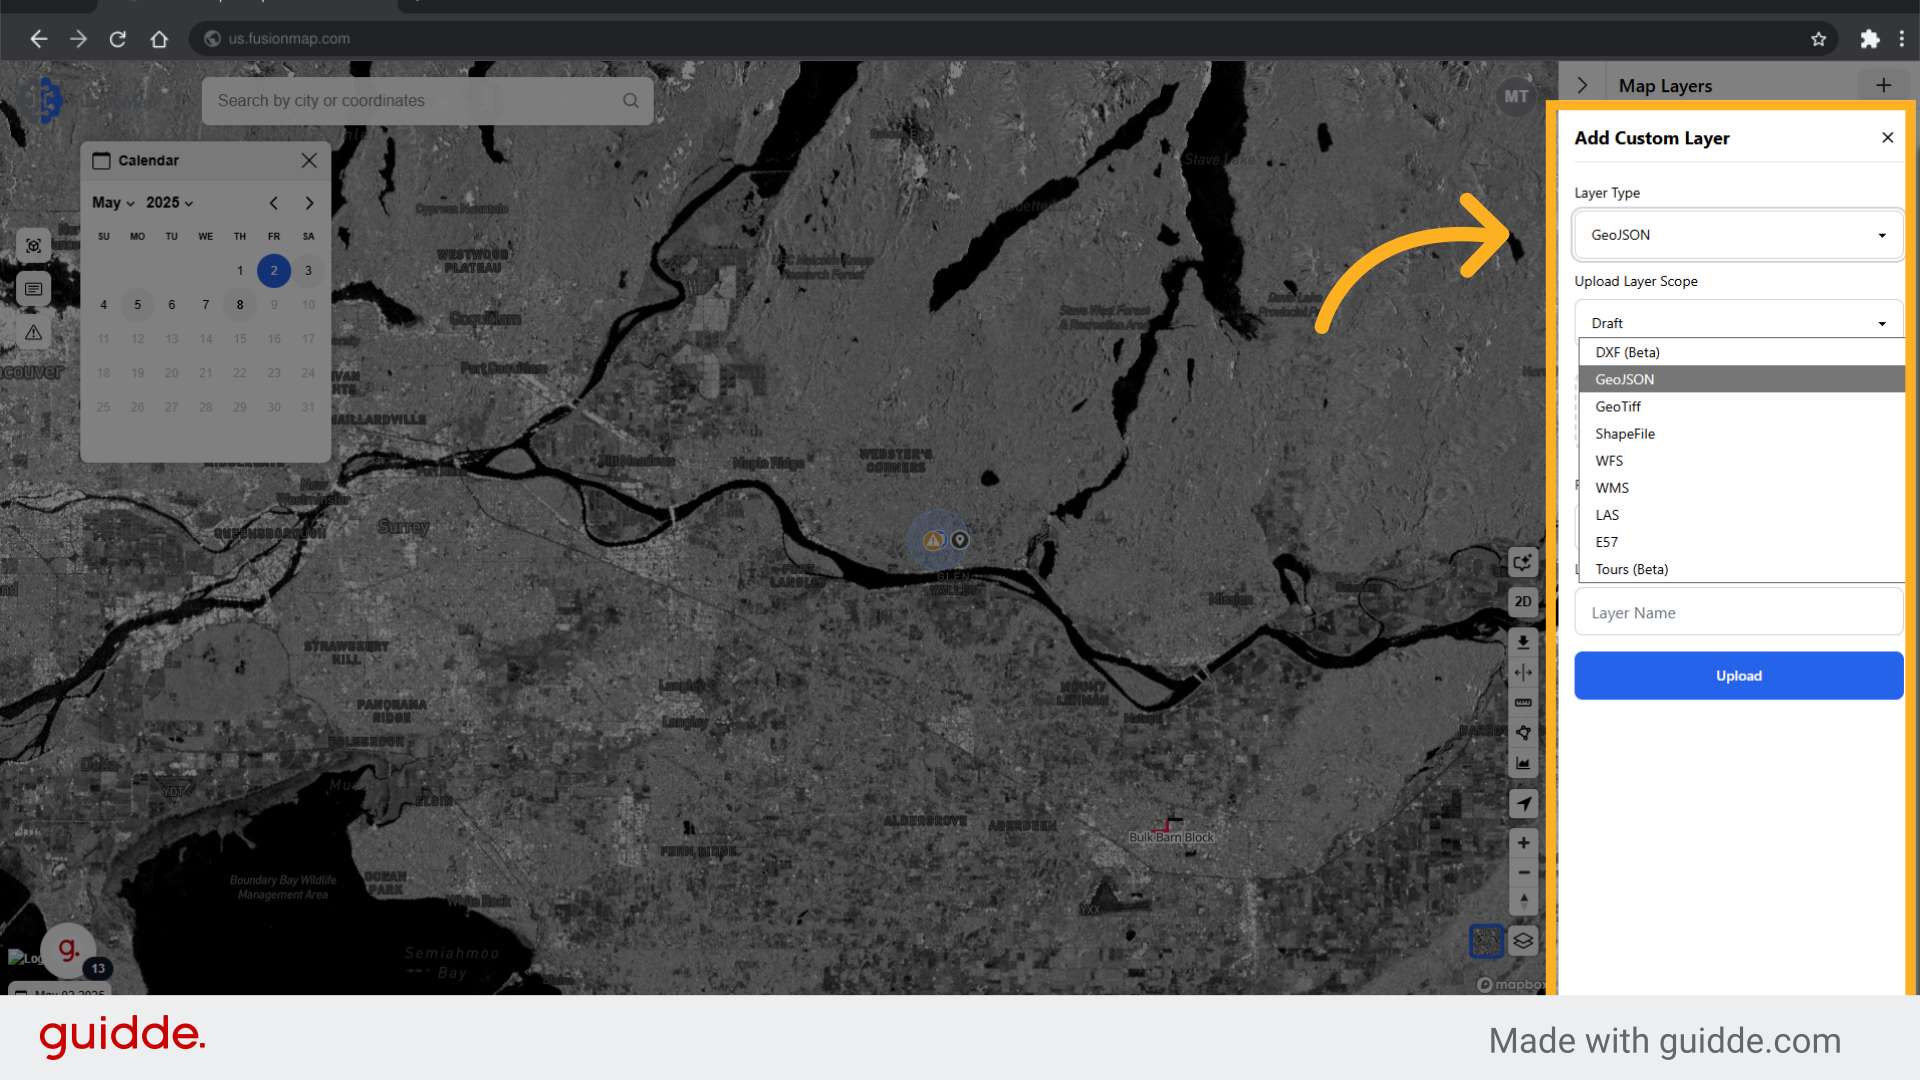
11. Choose from the list of supported layers and upload
This guide walked the user through everything related to layers in FusionMap.