How to change icons in custom layers
In this tutorial, you’ll learn how to customize icons within custom layers in FusionMap—helping you tailor your maps to better reflect your data and project needs.
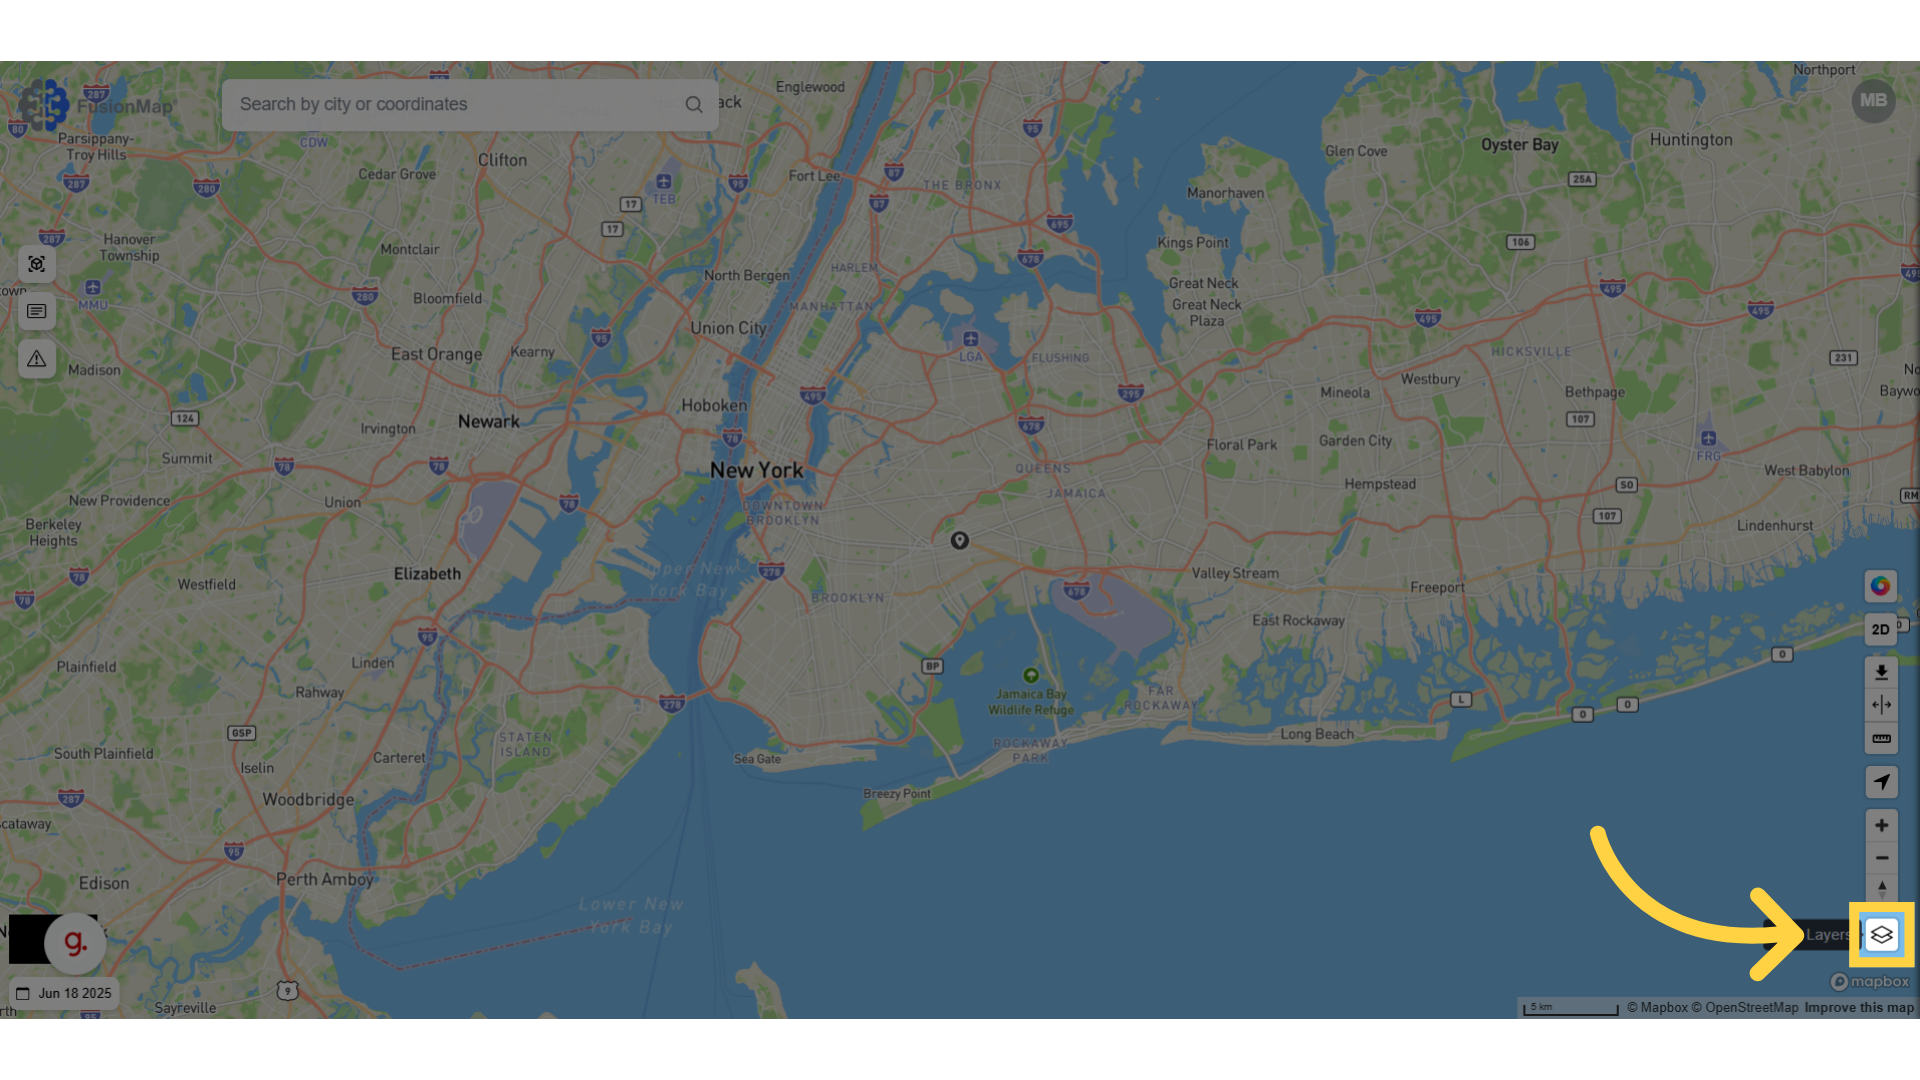
1. Click here
Open the layers tab to start uploading your custom layer!
2. Click "Add Layer"

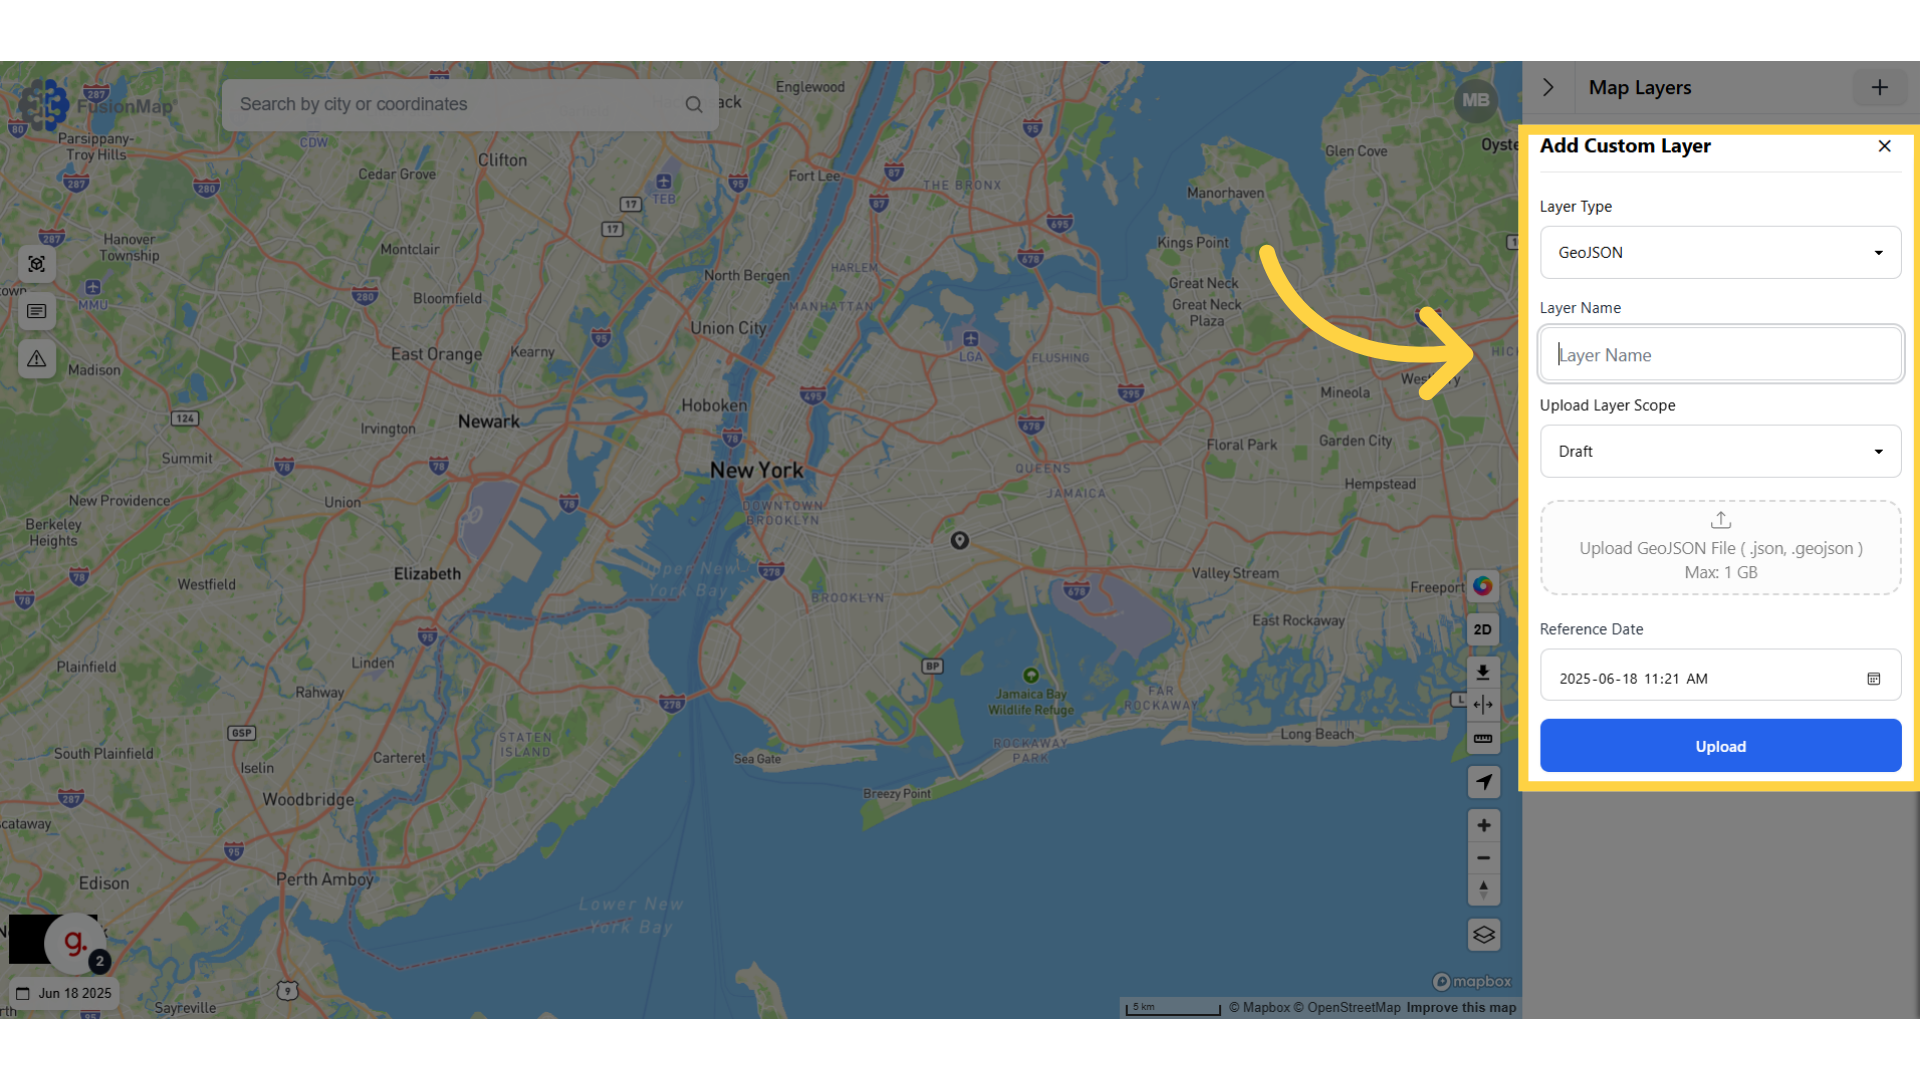
3. Fill in the details for the layer
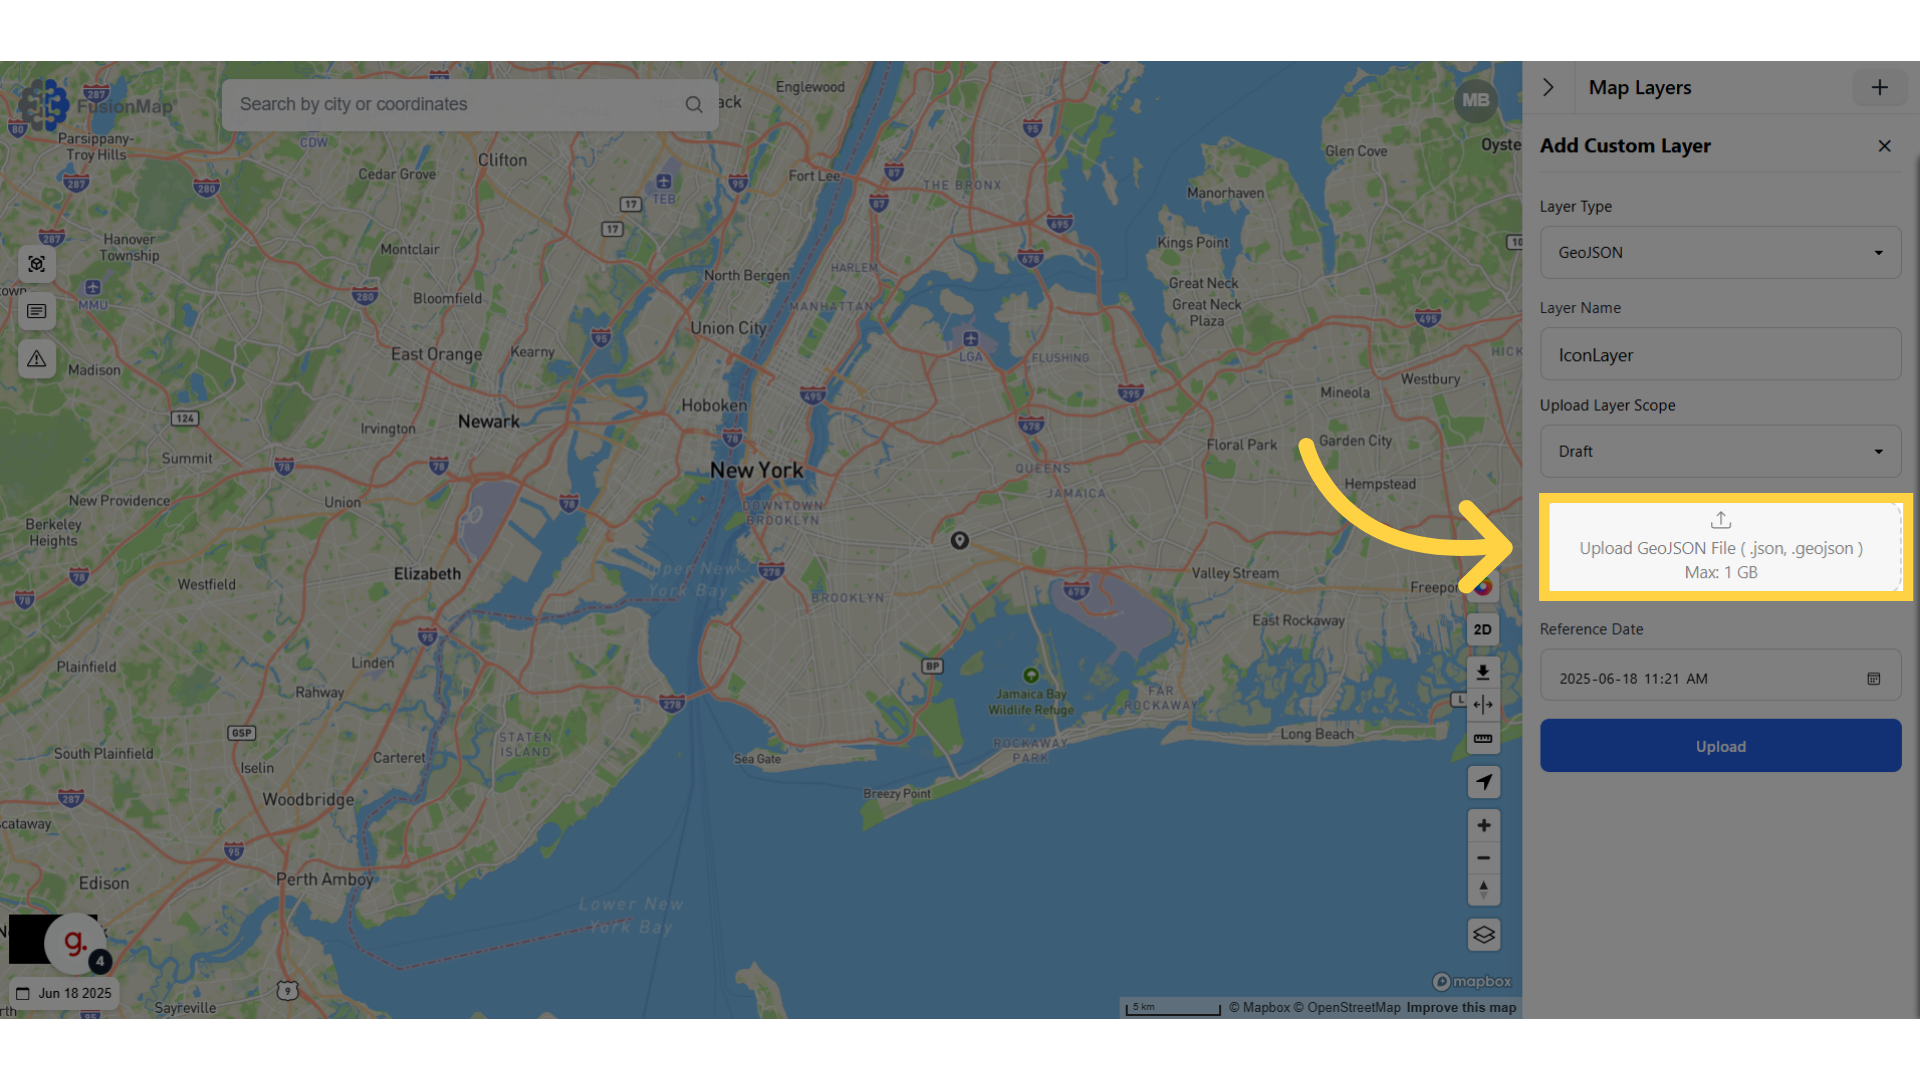
4. Upload your file
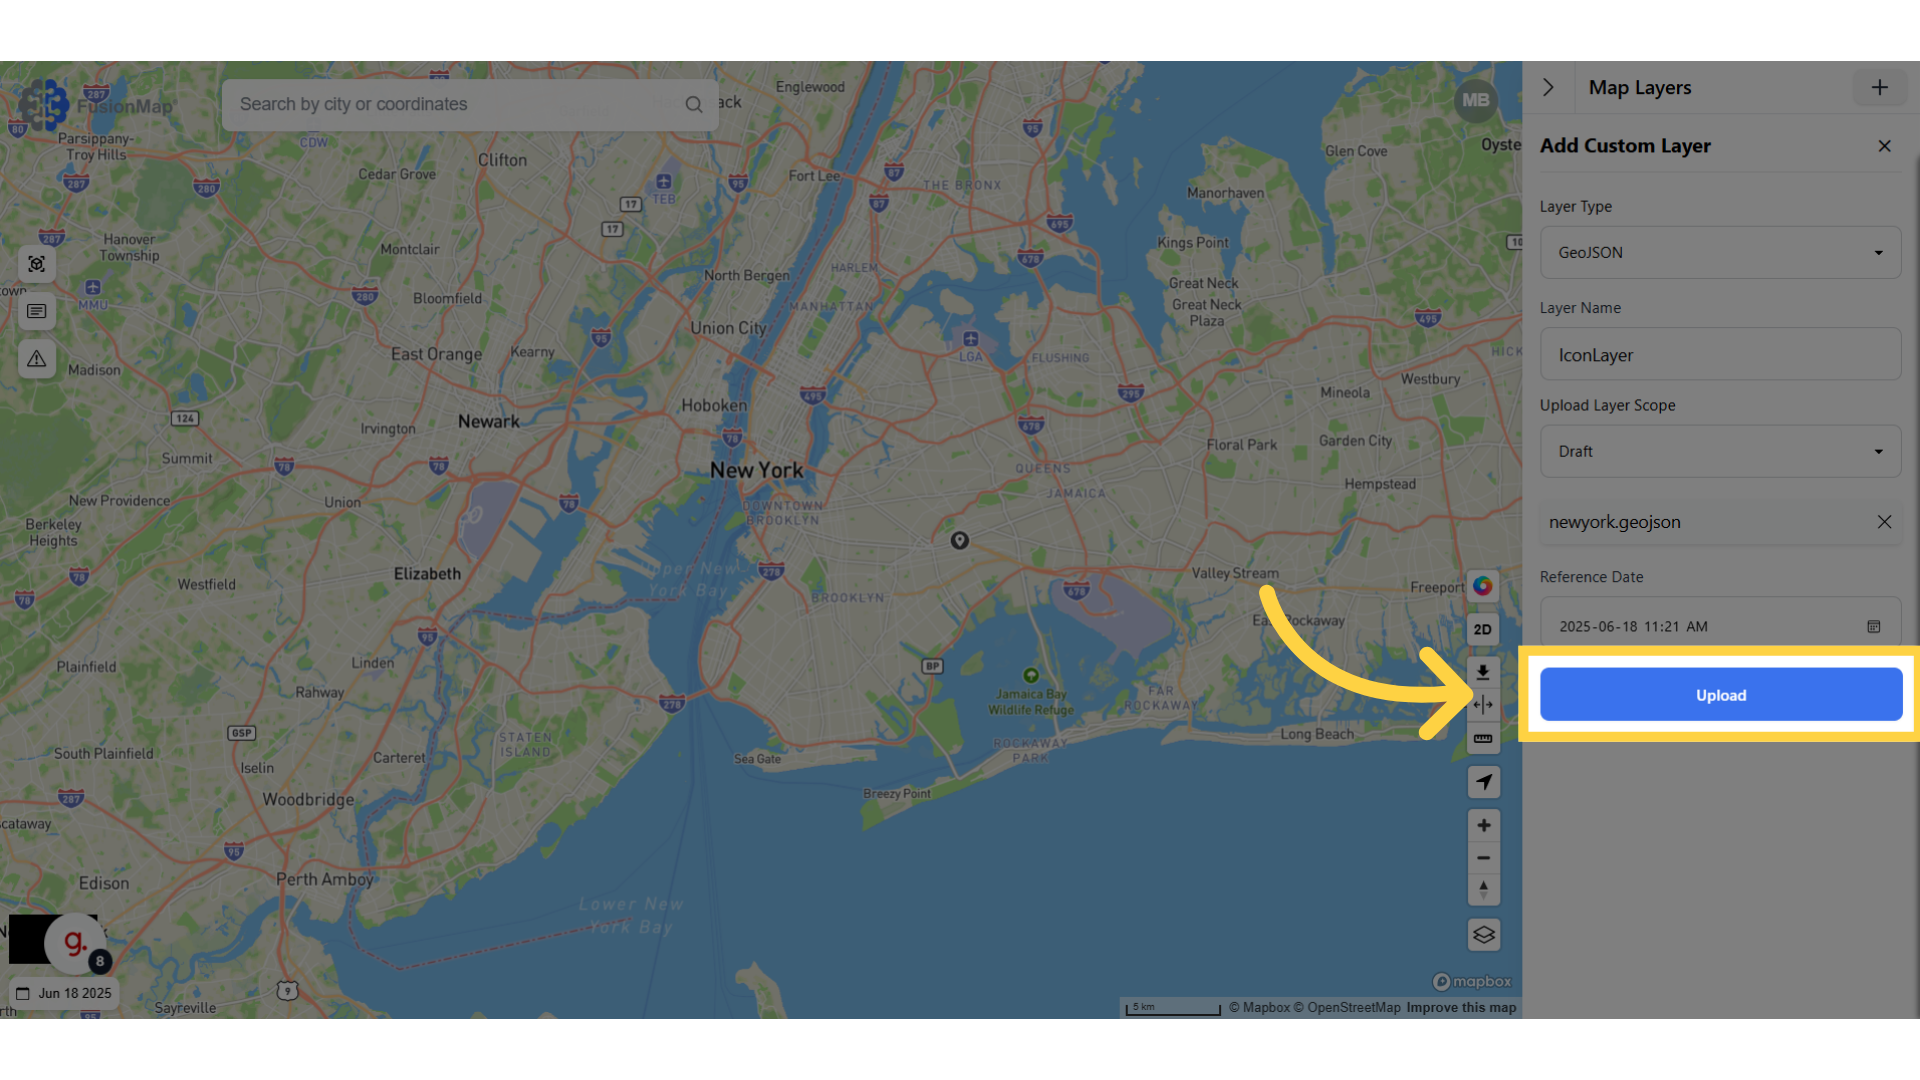
5. Click "Upload"
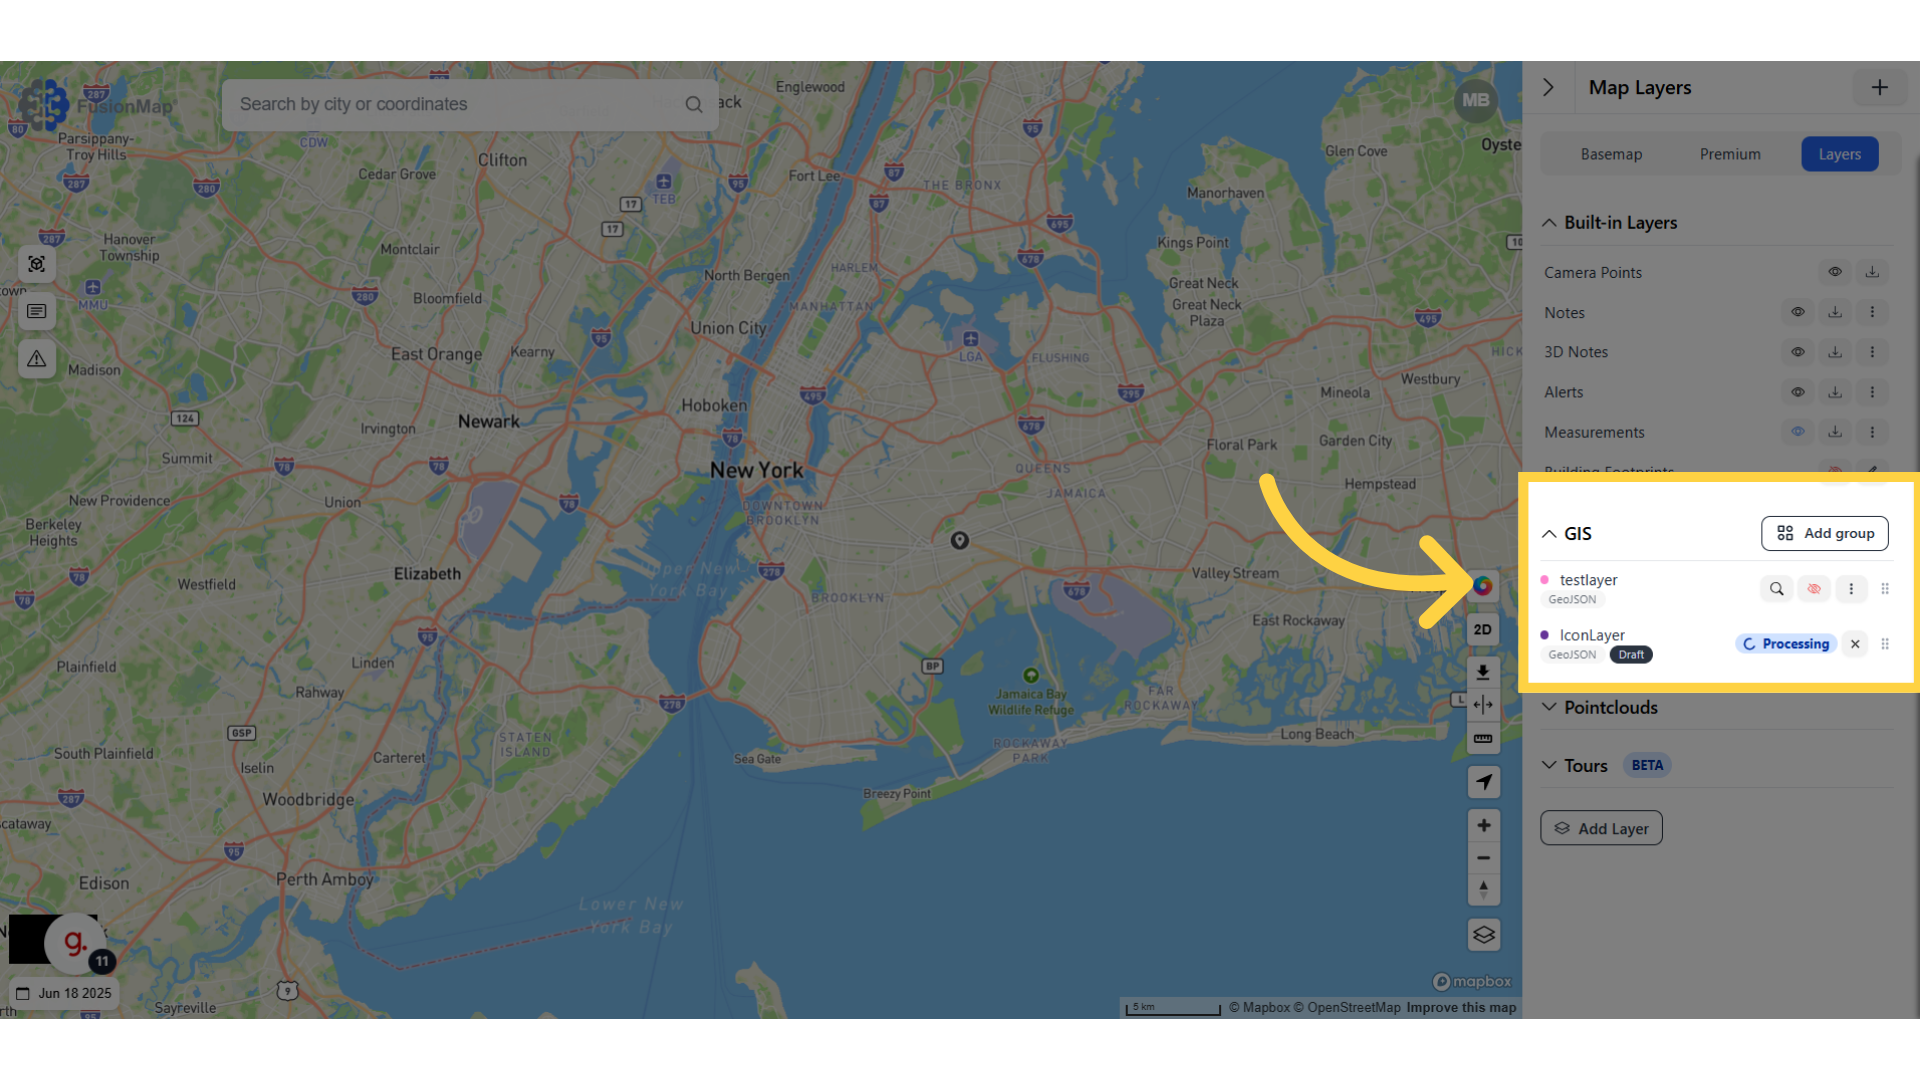
6. Wait for your custom layer to finish processing
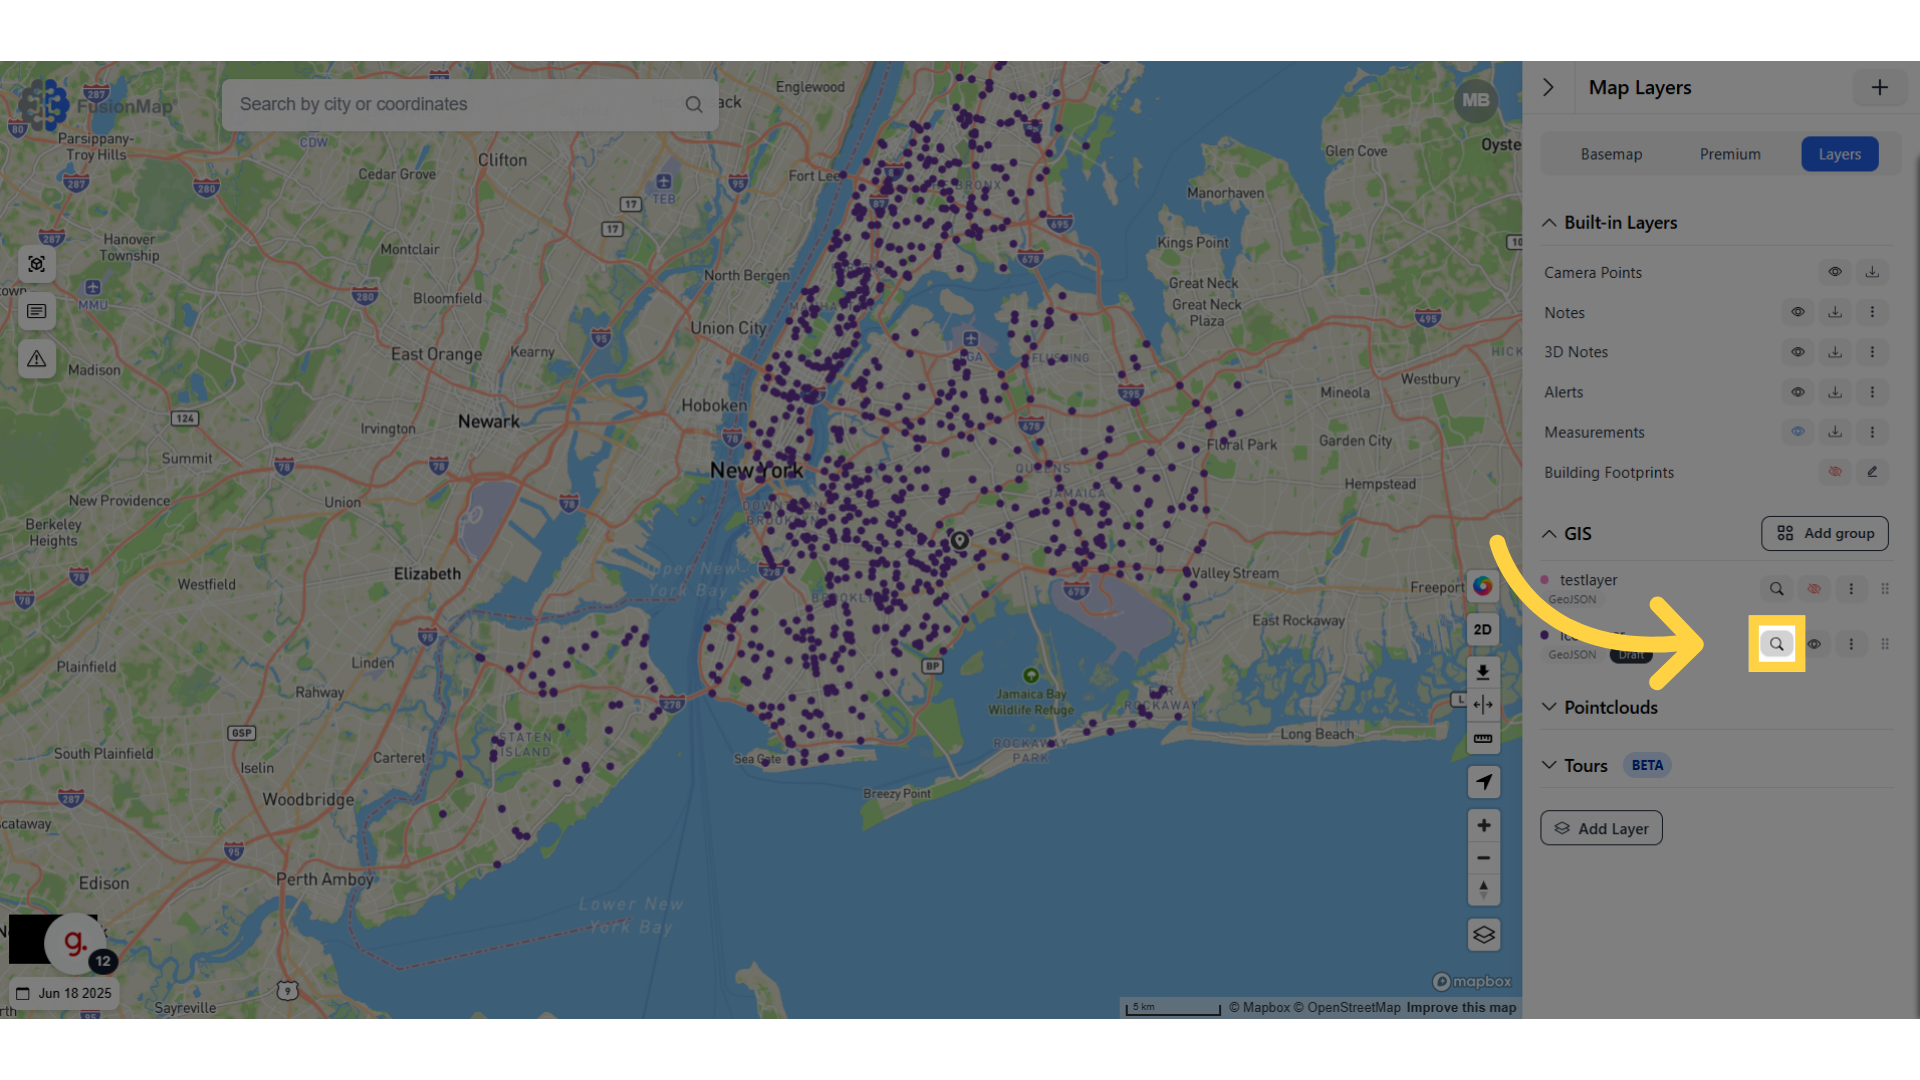
7. Click the search icon to navigate to your layer's location
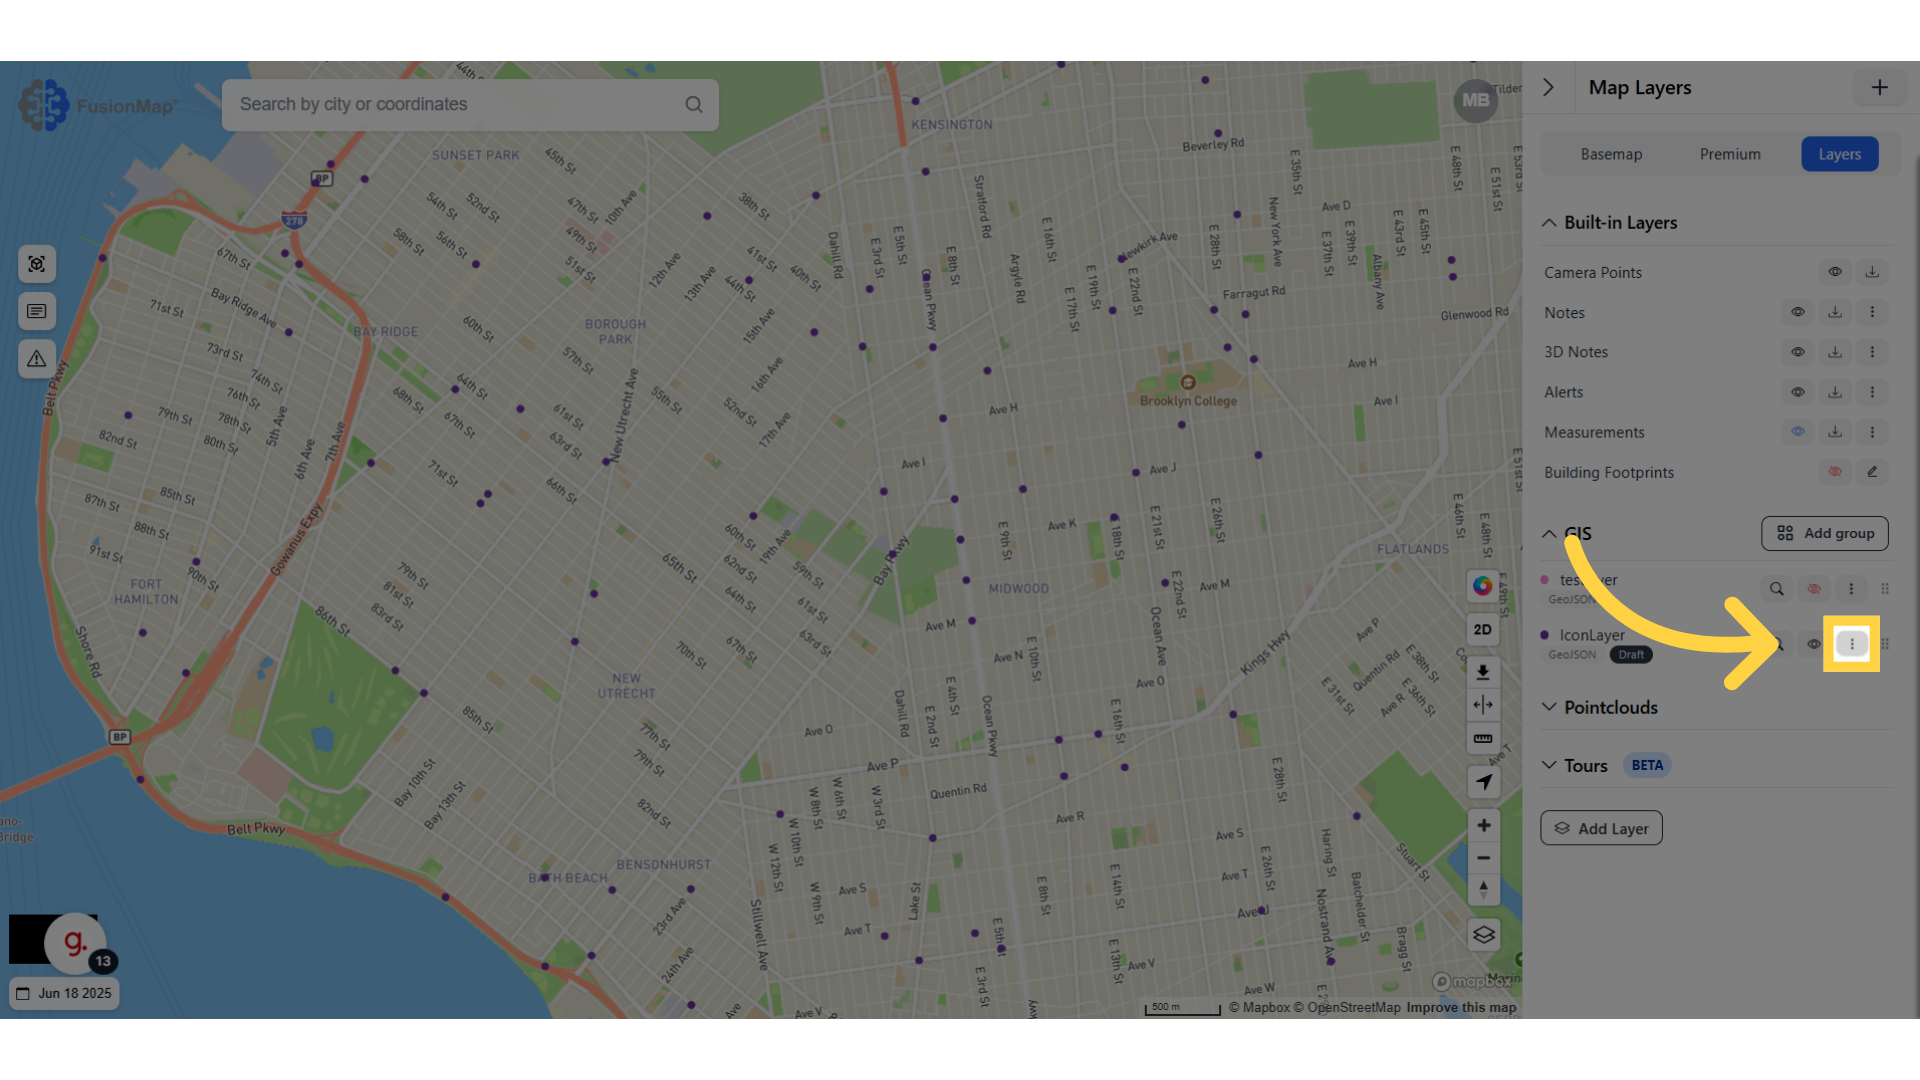
8. Click the three dots to access settings
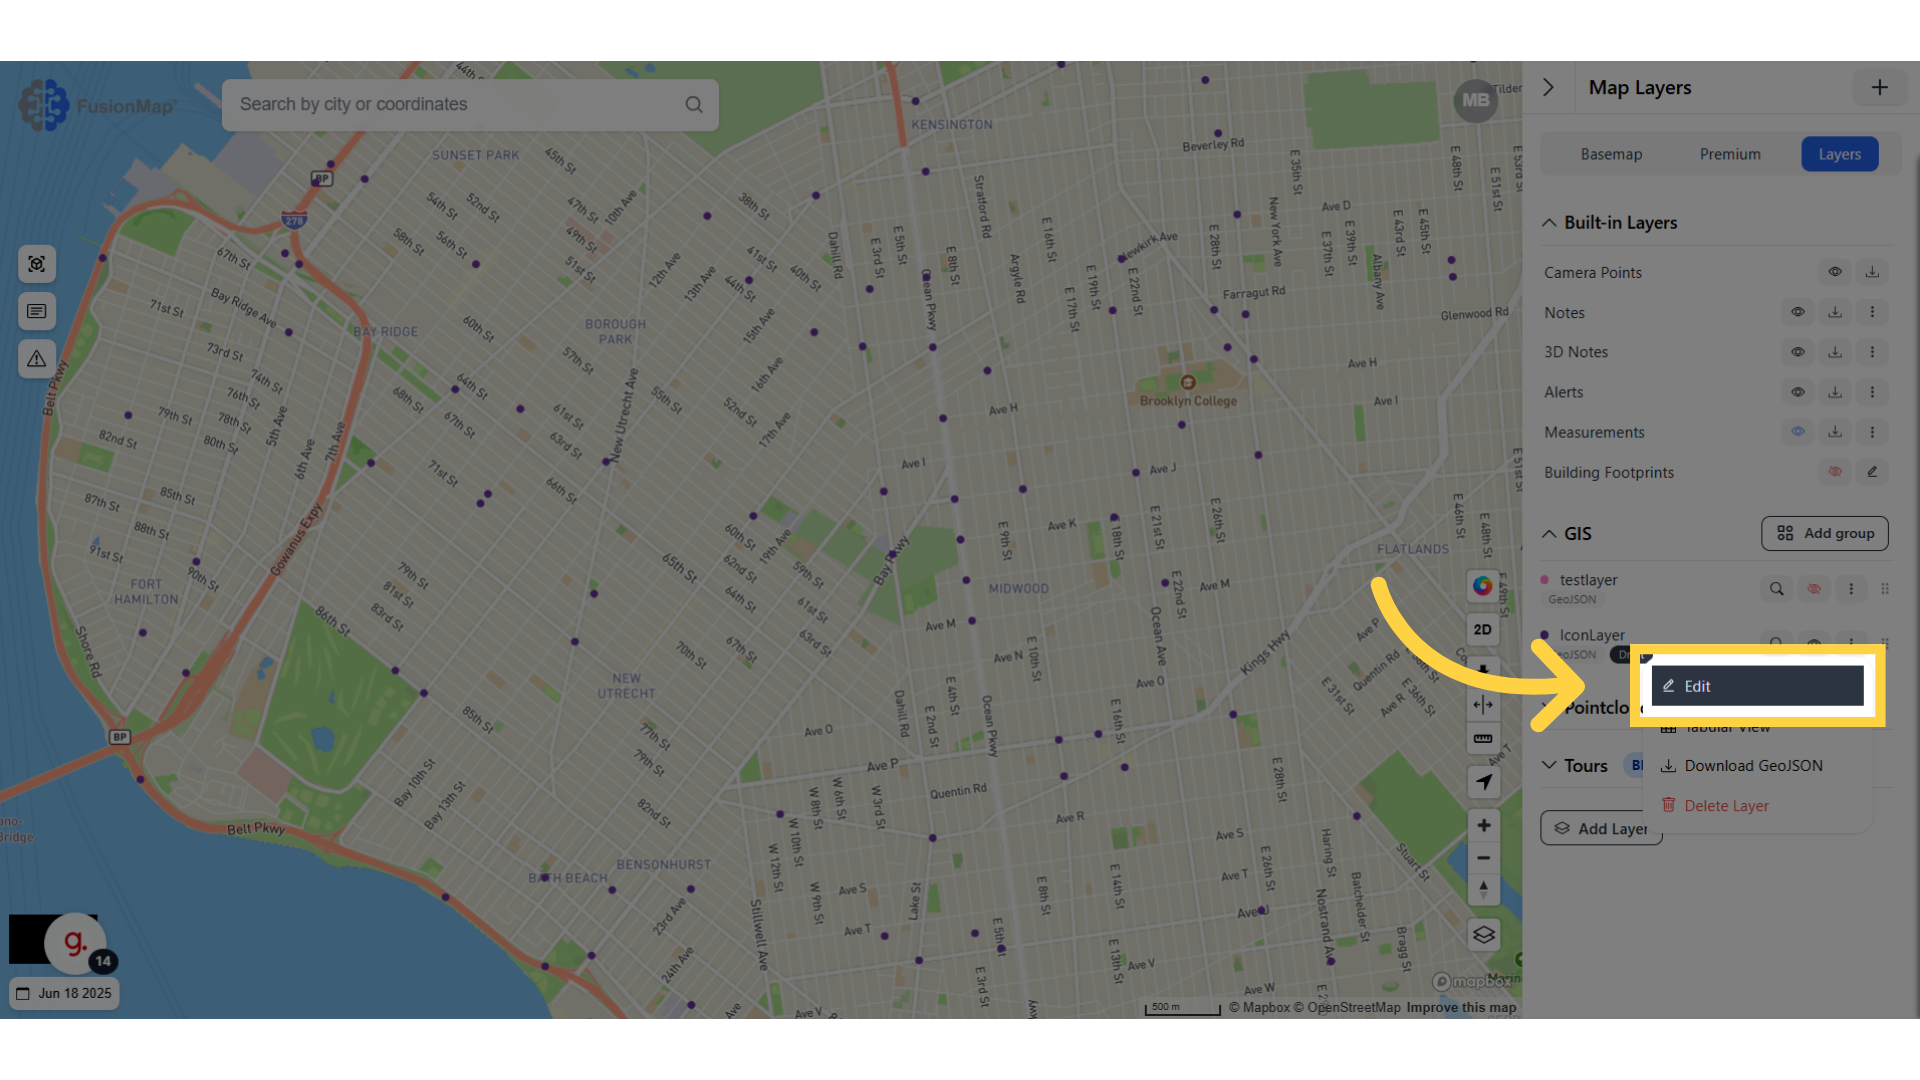
9. Click "Edit"
10. Click "Icon"
Switch to the icon tab

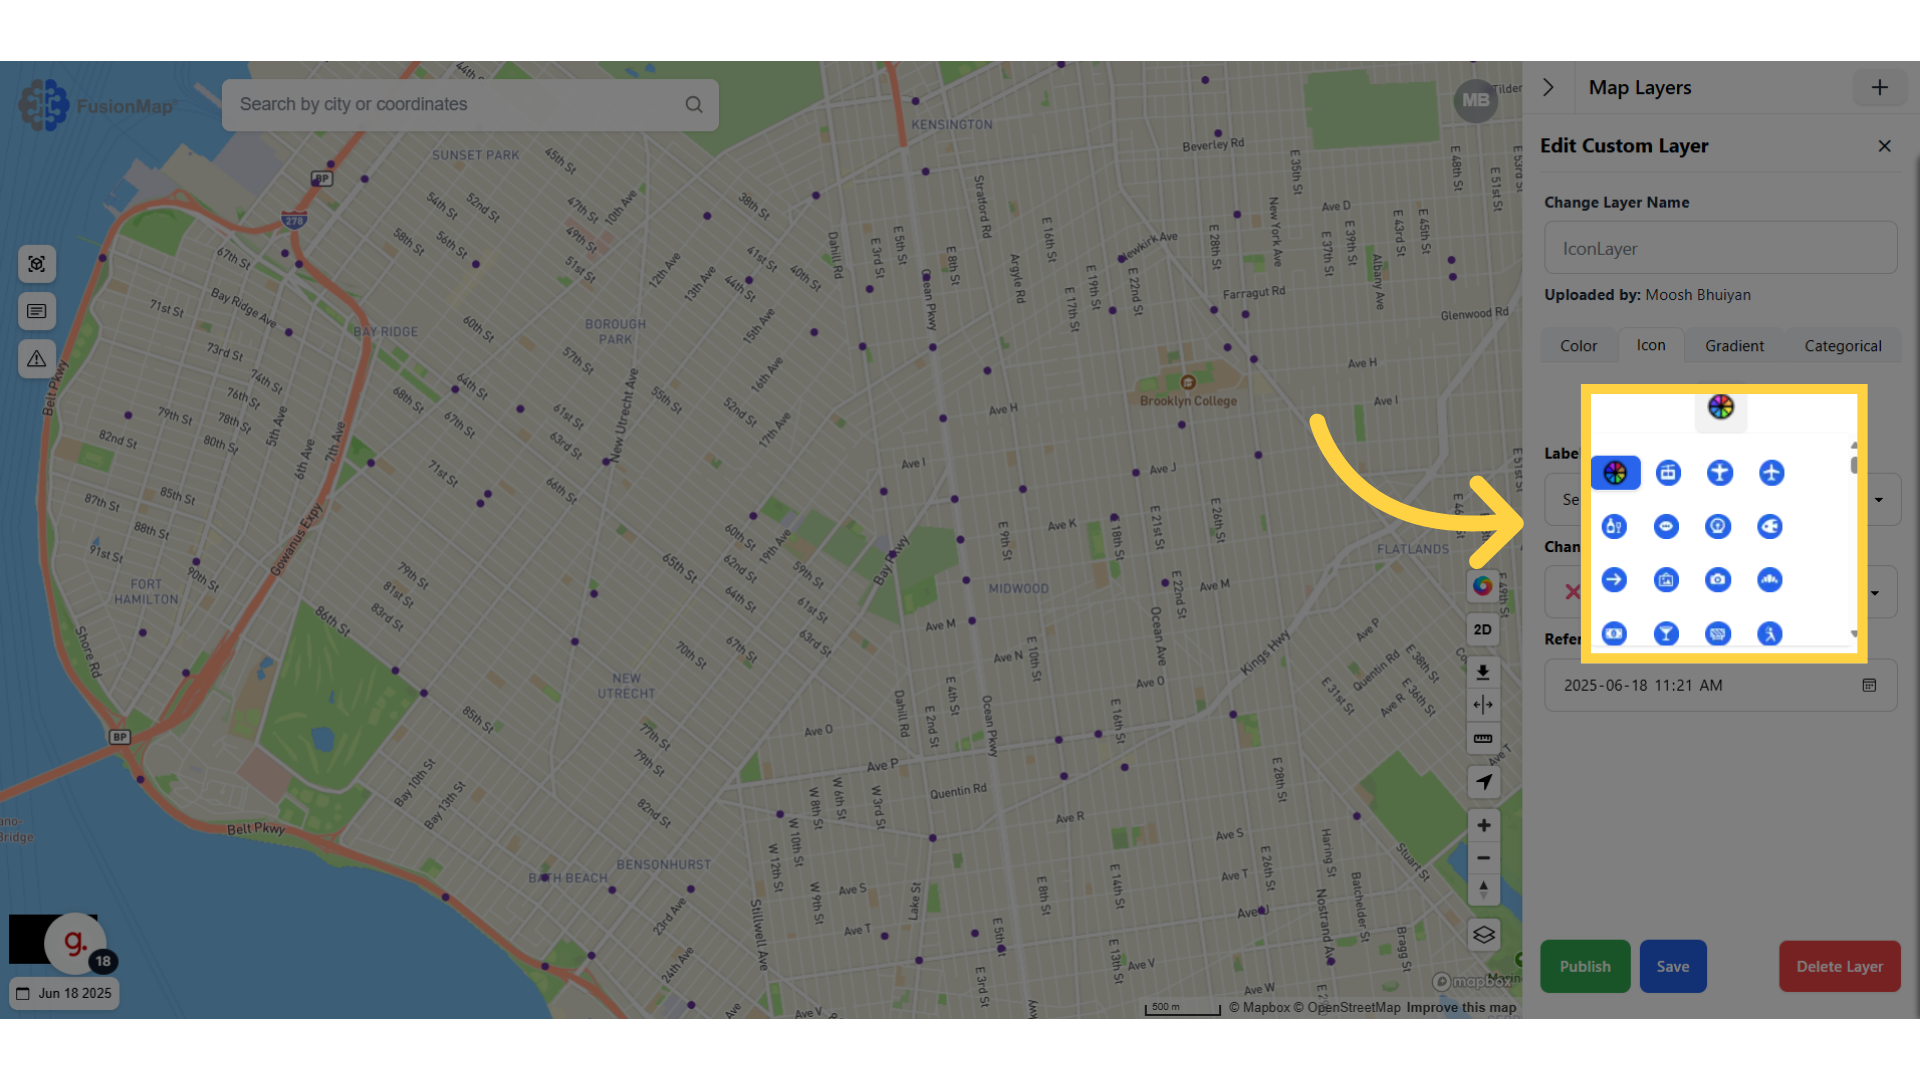
11. Click on the current icon
Click on the current icon to open the drop down menu and make a selection
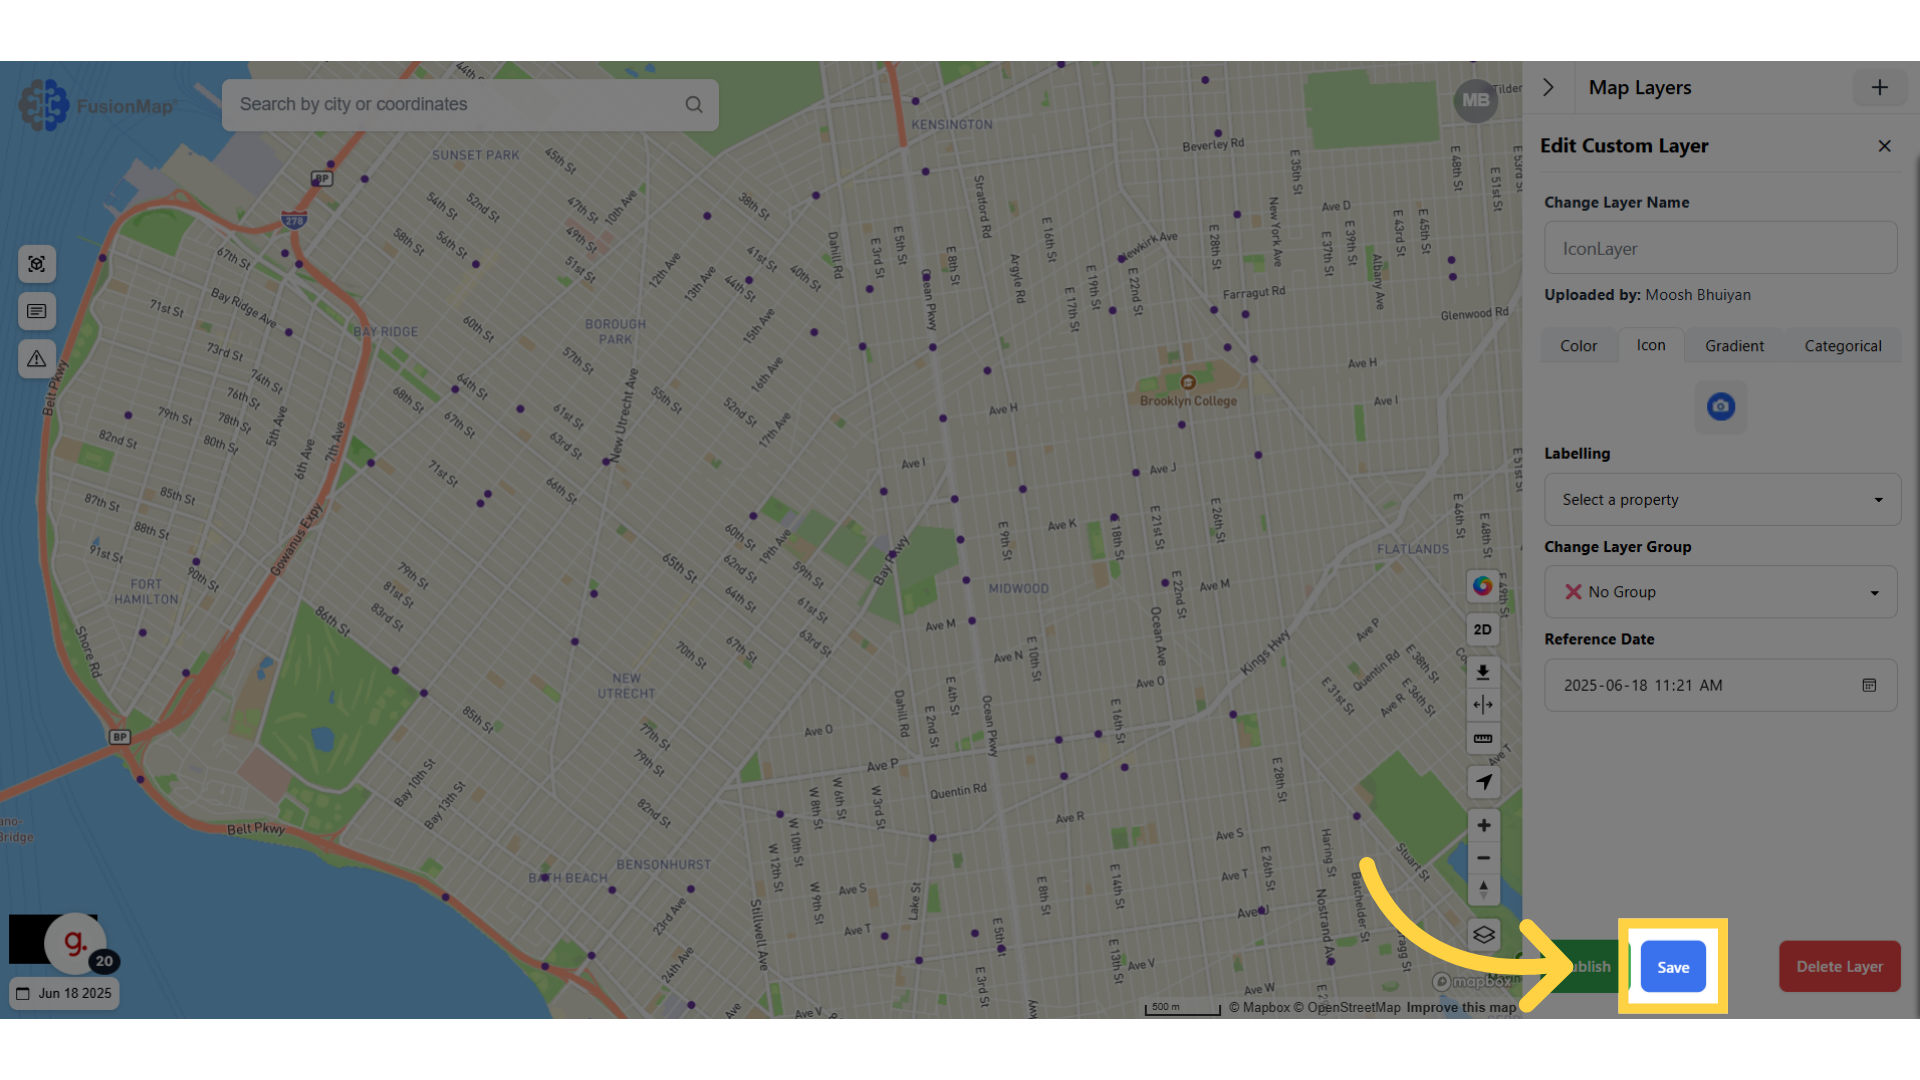
12. Click "Save"
Save the changes made to the custom layer.
13. Close the layers sidebar

14. Your changes will be visualized on the map
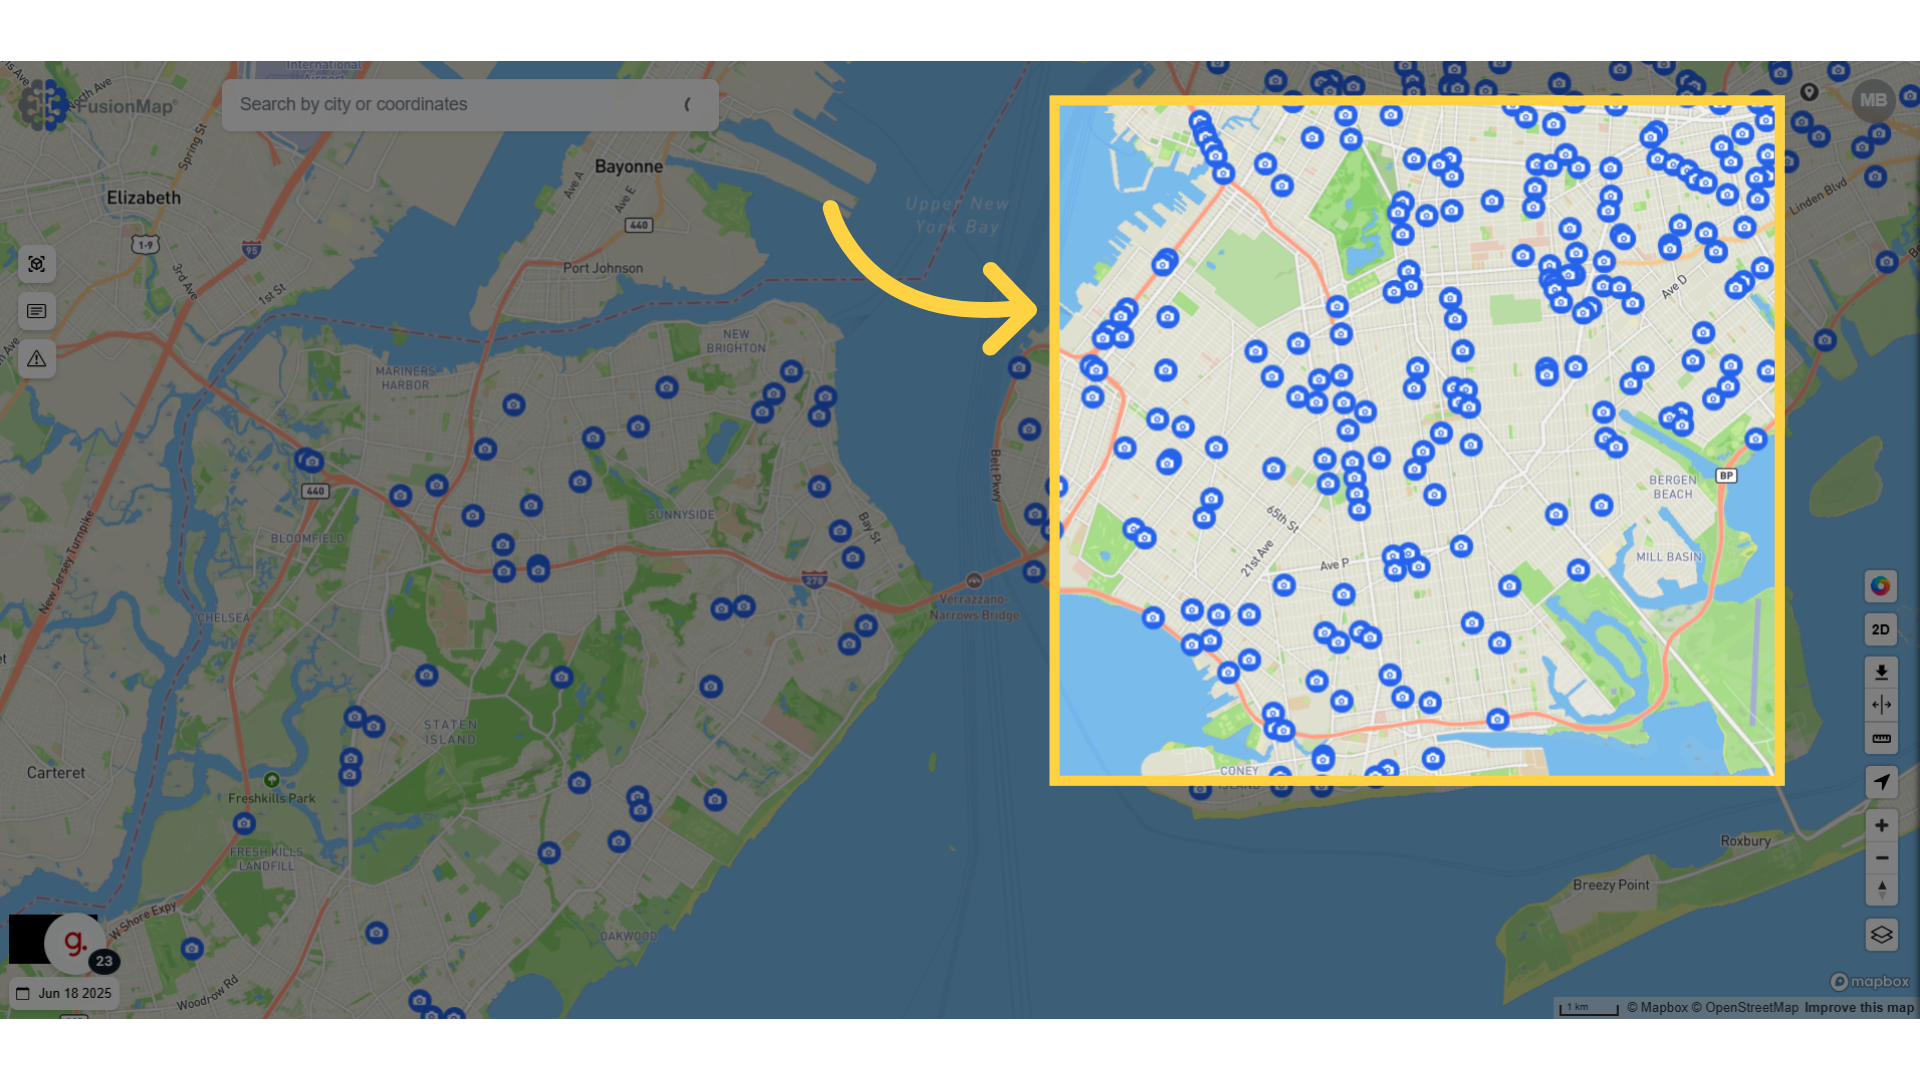
You’ve now seen how to customize icons in custom layers using FusionMap, allowing for clearer, more personalized visual communication in your maps.